
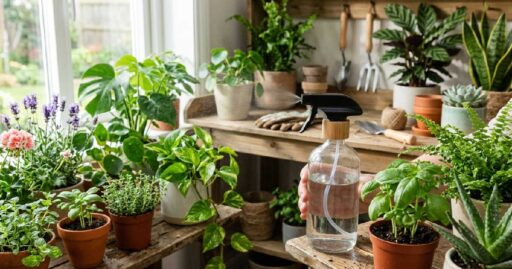
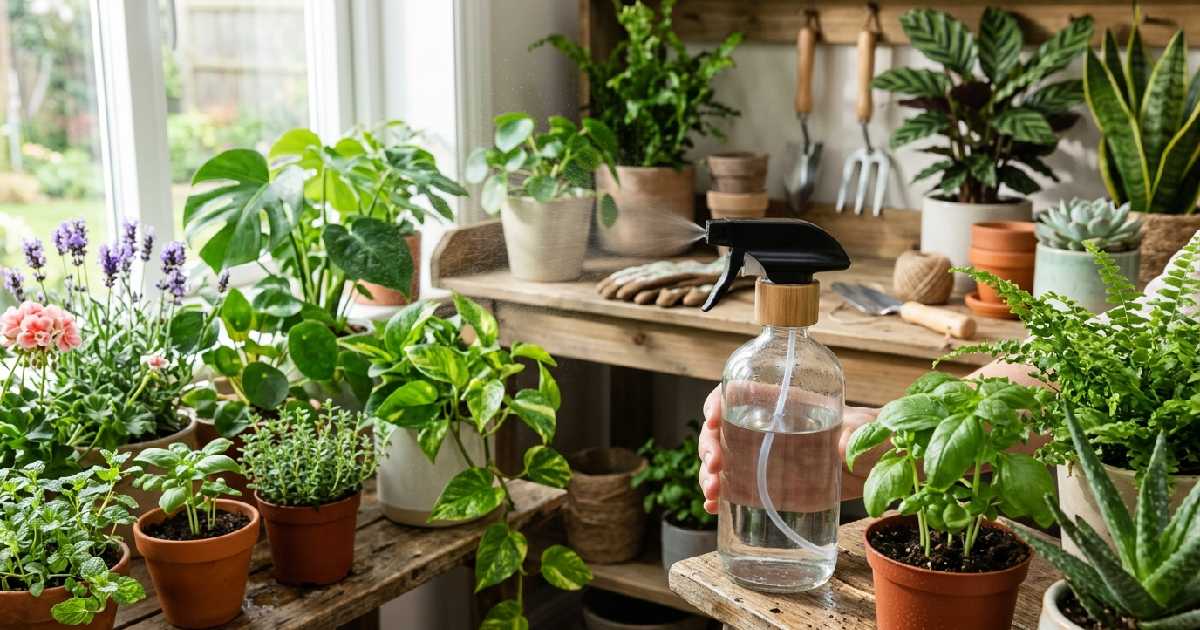

Walk into any garden shop, and you’ll see a whole wall of spray bottles. Small ones, big ones. Some with long hoses. It’s easy to walk right past them. But a simple spray bottle can do more for your plants than you’d think. It doesn’t matter if you have three pots on a balcony or a full backyard garden. This little tool earns its spot.
A spray bottle is not just for “watering.” It lets you control how much water goes where, and in what form. Fine mist, light stream you decide. It can raise the humidity around a tropical plant, feed leaves with liquid fertilizer, wash off dust, and even fight bugs without harsh chemicals. Once you get the hang of it, this one tool becomes a regular part of your plant routine.
In this article, we’ll cover the main types of spray bottles, how to pick a good one, and seven smart ways to use it. By the end, you’ll know exactly which bottle fits your garden and how to use it well.
What Is a Gardening Spray Bottle?
It’s a container, usually plastic or glass, with a nozzle on top. Squeeze the trigger, and it turns water (or any liquid) into a fine mist or a small stream. Simple idea, but it changes a lot.
Pour water straight from a can, and you might wash away soil or bruise soft leaves. A spray bottle spreads the water out gently instead. That gentle touch matters a lot for seedlings, cuttings, and soft-leaved plants like ferns or African violets.
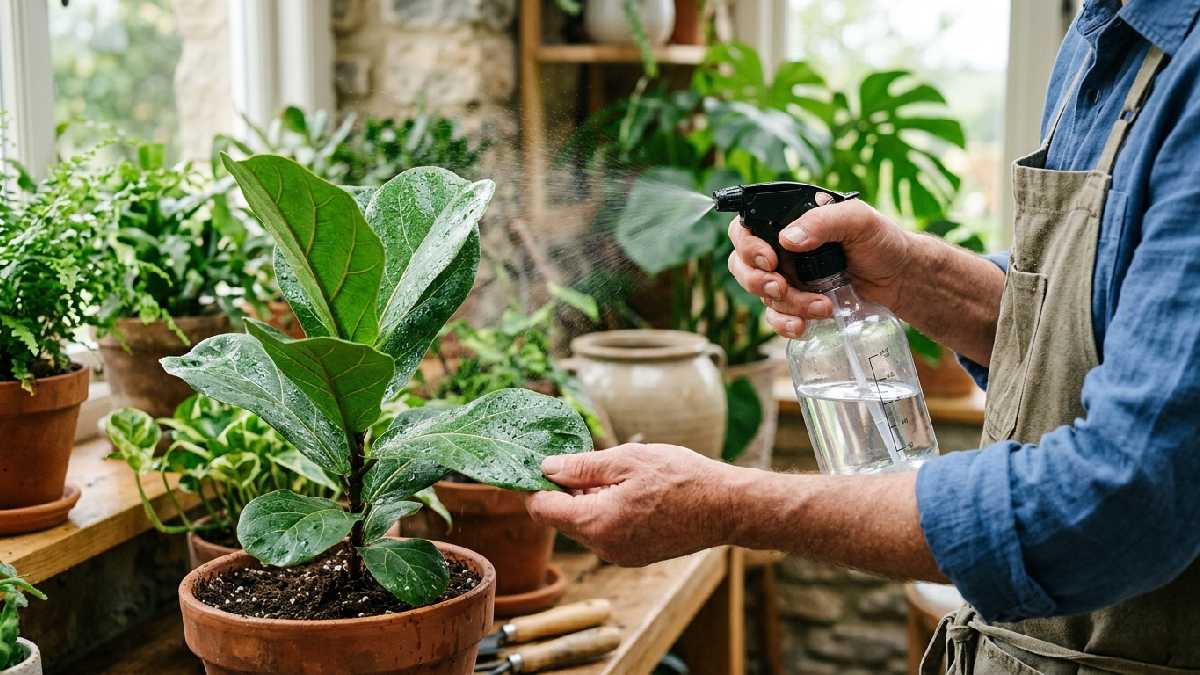
It’s also the easiest way to apply liquid fertilizer, pest sprays, or leaf-cleaning solutions. You can aim right at the leaves, or just the soil, or one bug-infested corner of a plant. No need to soak the whole pot.
Types of Gardening Spray Bottles
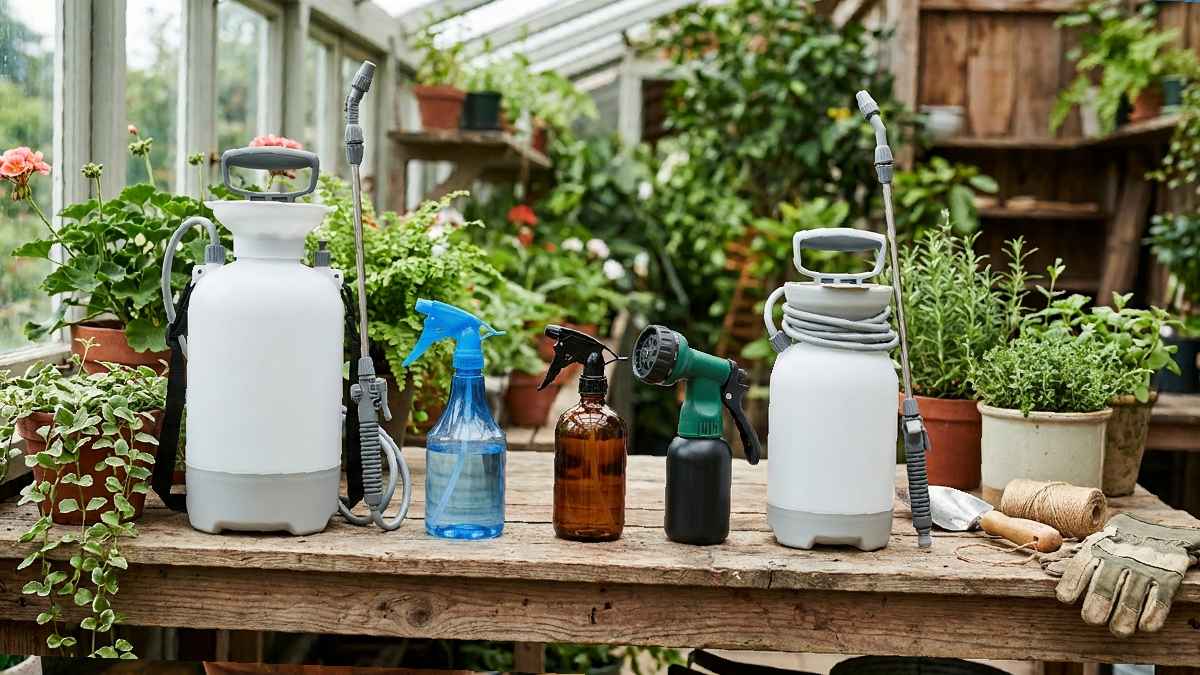
Not all spray bottles do the same job. Here’s a quick look at the main types.
1. Trigger Spray Bottles
The most common type. You squeeze, it sprays. Most let you turn the nozzle to switch between a fine mist and a stronger jet. Cheap, easy to find, good for daily use like misting leaves or spot-treating a plant.
The downside? Your hand gets tired if you’re spraying a lot of plants in one go.
2. Pump Spray Bottles
With these, you pump air into the bottle first. This builds up pressure inside. Then you just press a small lever, and the spray flows out on its own, no repeated squeezing needed.
Great for bigger jobs. Think a whole row of tomato plants or a full flower bed. If you’ve got more than a dozen plants, this style saves your hand and your patience.
3. Misting Bottles
These give off a super fine spray, almost like fog. Perfect for plants that love humidity, like orchids, ferns, and calatheas. The droplets are so light they won’t weigh down the leaves or pool on the soil.
4. Hose-End Sprayers
These clip onto your garden hose. Water and fertilizer (or pesticide) mix together as it flows through. Good for large gardens or lawns where hand-spraying would take forever.
5. Battery-Powered Sprayers
For big properties, some people use electric sprayers. Push a button, spray flows out, no pumping. Pricier, but it saves real time and effort.
For most home gardeners, a decent trigger bottle or small pump sprayer is really all you need.
How to Pick the Right Spray Bottle
Buy the wrong one and it’ll leak, clog, or annoy you every single time. Here’s what to check before you buy.
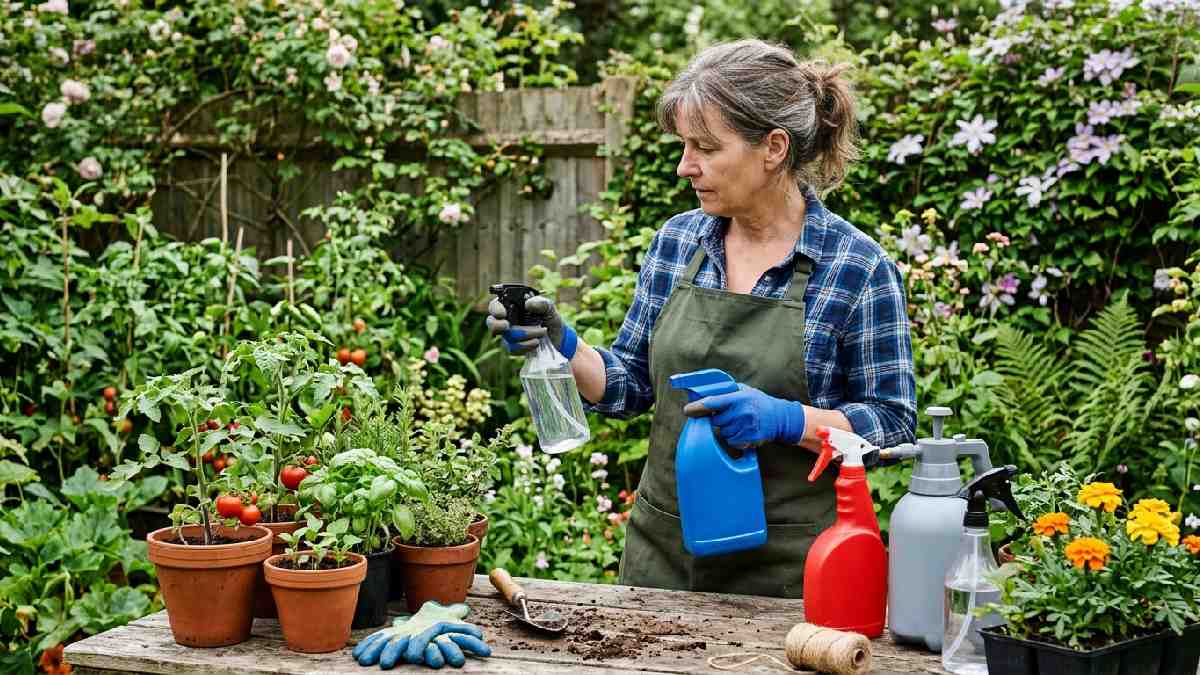
Nozzle settings. Look for a bottle that switches between a fine mist and a direct stream. Mist works for humidity and gentle watering. A stronger stream helps when you need to hit pests hiding under leaves.
Bottle size. A 16 to 24-ounce bottle covers a few houseplants just fine. Got a bigger garden? Go for a 1-liter or half-gallon pump sprayer so you’re not refilling every five minutes.
Material. Cheap plastic can crack in the sun over time. If it’ll live outdoors, look for UV-resistant plastic. Glass bottles look nice on a windowsill but they’re heavier and can break if dropped.
Comfortable grip. If you’re spraying often, a stiff trigger will wear out your hand fast. A soft-grip handle makes a real difference.
Chemical resistance. Planning to spray neem oil or fertilizer through it? Make sure the seals and nozzle can handle oils and chemicals without breaking down.
No leaks. A leaky bottle wastes product and makes a mess. Test the trigger a few times before buying, if you can.
7 Smart Uses for a Gardening Spray Bottle
Now, let’s get into it. Here are seven real ways to use your spray bottle for healthier plants.
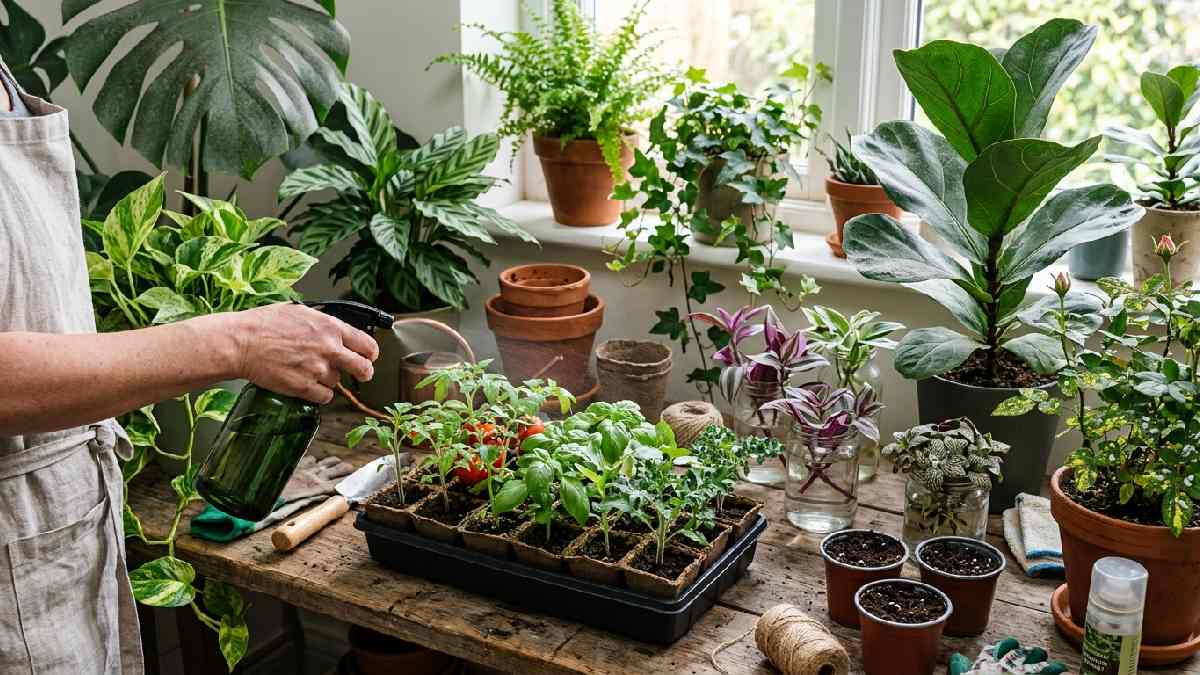
1. Gently Watering Seedlings and Delicate Plants
Young seedlings have thin roots that haven’t taken hold in the soil yet. Pour water on them from a can, and you might knock them right over or wash away the soil around them.
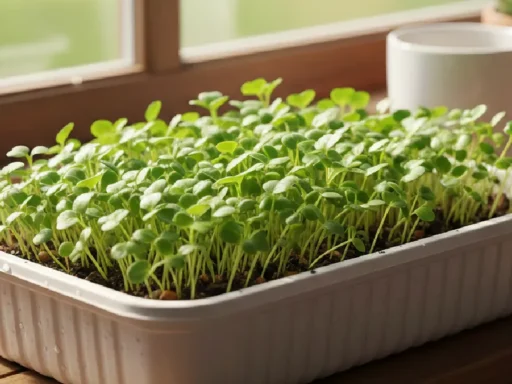
A spray bottle fixes this. A gentle mist keeps the soil damp without disturbing those tiny roots. Works well for:
- Freshly planted seeds
- Seedlings in trays or small pots
- Delicate plants like African violets and ferns
- Succulent cuttings just starting to root
Hold the bottle six to eight inches above the soil and mist evenly until it looks damp, not soggy. Check daily, since misting covers less ground and can dry out faster than a regular watering.
2. Raising Humidity for Tropical Plants
A lot of popular houseplants, like monsteras, calatheas, ferns, and orchids, come from humid rainforests originally. Your living room, especially with the AC or heater running, is usually much drier than that.
Mist the leaves with a fine spray and you raise the humidity around the plant for a while. This can help stop those brown, crispy leaf tips and keep the leaves looking fresh.
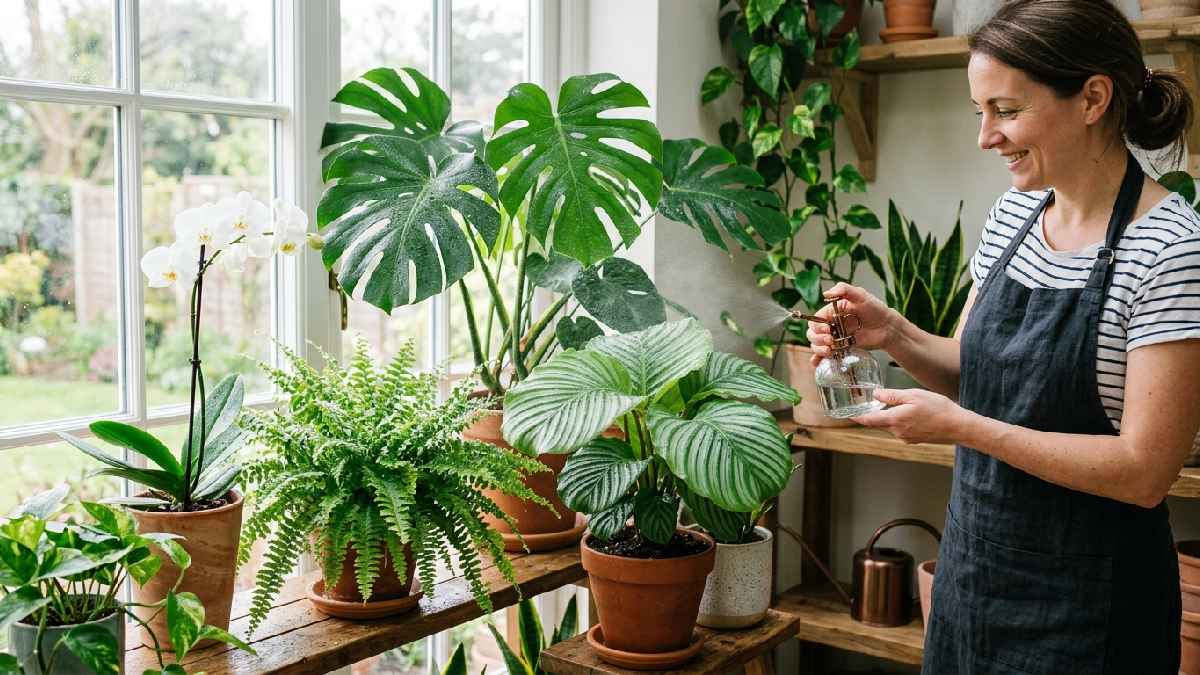
A few tips: mist in the morning, so leaves dry off before night falls (wet leaves overnight invite fungus). Hit the underside of the leaves too, not just the top. Skip this for succulents and cacti, since extra moisture on their leaves can cause rot. And remember, misting alone won’t fix seriously dry air long-term. A humidifier or a pebble tray does that job better; misting is just a nice extra.
3. Feeding Plants Through Their Leaves
Foliar feeding means feeding a plant through its leaves, not just the roots. Leaves absorb some nutrients fast through tiny pores. Handy when a plant needs a quick boost, or when the soil isn’t cooperating.
A spray bottle spreads a diluted liquid fertilizer evenly across the leaves without drenching the soil.
Always dilute the fertilizer to the strength on the label. Leaves are more sensitive than roots, and a solution that’s too strong can burn them. Spray early morning or evening, never in strong midday sun, since water drops can act like tiny magnifying glasses and scorch the leaf. Cover both sides of the leaf; the underside often absorbs nutrients better. And treat this as a boost, not a full replacement for regular soil feeding.
4. Fighting Pests Without Harsh Chemicals
This might be the most useful job a spray bottle does. Aphids, spider mites, whiteflies… most common pests can be handled with simple, natural sprays instead of strong pesticides.
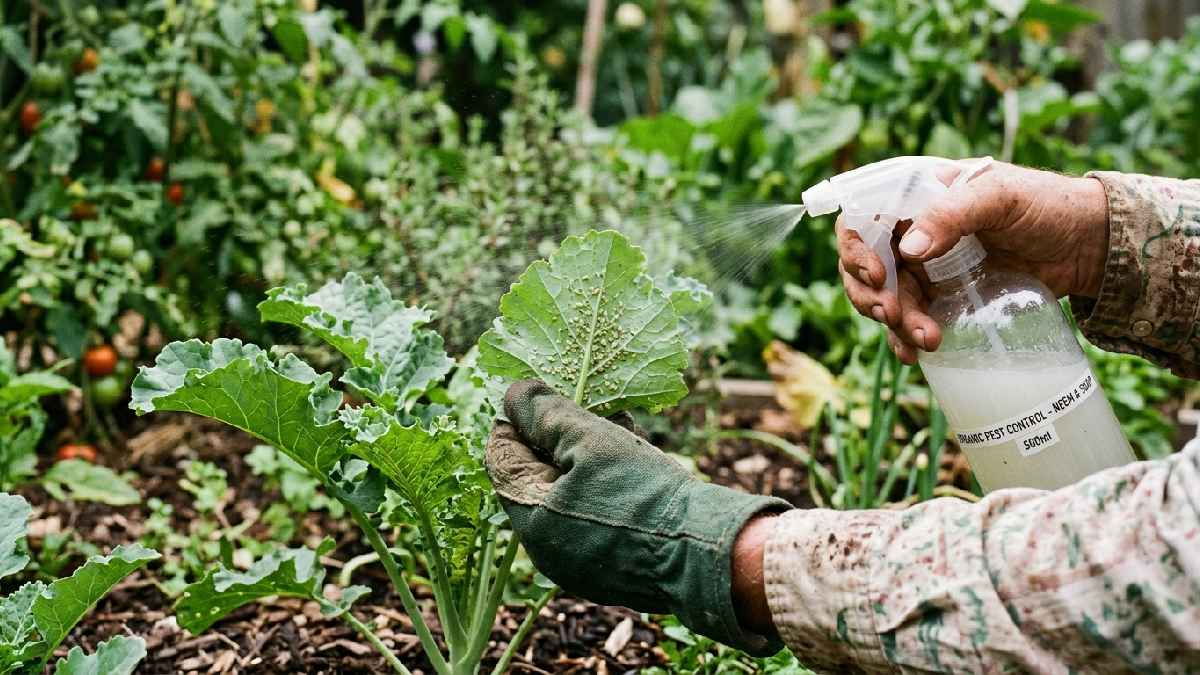
Some go-to options:
- Neem oil spray, mixed with water and a drop of mild soap
- Insecticidal soap spray, just mild soap and water, which smothers soft-bodied bugs
- Diluted rubbing alcohol, good against mealybugs, though test a small leaf first
Spray in the evening or early morning so sunlight doesn’t burn the leaves. Aim under the leaves, where pests like to hide. Repeat every five to seven days for a few weeks. One spray rarely kills off an entire pest colony, especially the eggs. And keep a separate, labeled bottle just for pest treatments, so it never gets mixed up with your plain water bottle.
5. Cleaning Dust Off Leaves
Dust on leaves isn’t just about looks. A thick layer blocks light, and that means less photosynthesis. Indoor plants near windows or busy rooms collect dust fast.
A light mist, followed by a gentle wipe with a soft cloth, clears it right off. Support the leaf from underneath while you wipe. For plants with lots of tiny leaves, like ferns, misting alone loosens the dust without needing to wipe each one.
Do this every two to four weeks indoors, more often if your home is dusty. Skip it for fuzzy-leaved plants like African violets, though, since water sitting on the fuzz can cause spotting. A soft brush works better there.
6. Helping Cuttings Root
If you like growing new plants from cuttings, you’ll use your spray bottle a lot. Cuttings rooting in soil need steady moisture around the stem and leaves, or they wilt before roots even form.
Spraying is gentler than pouring water directly on a fresh cutting, which can topple it or flood the small amount of soil it’s sitting in.
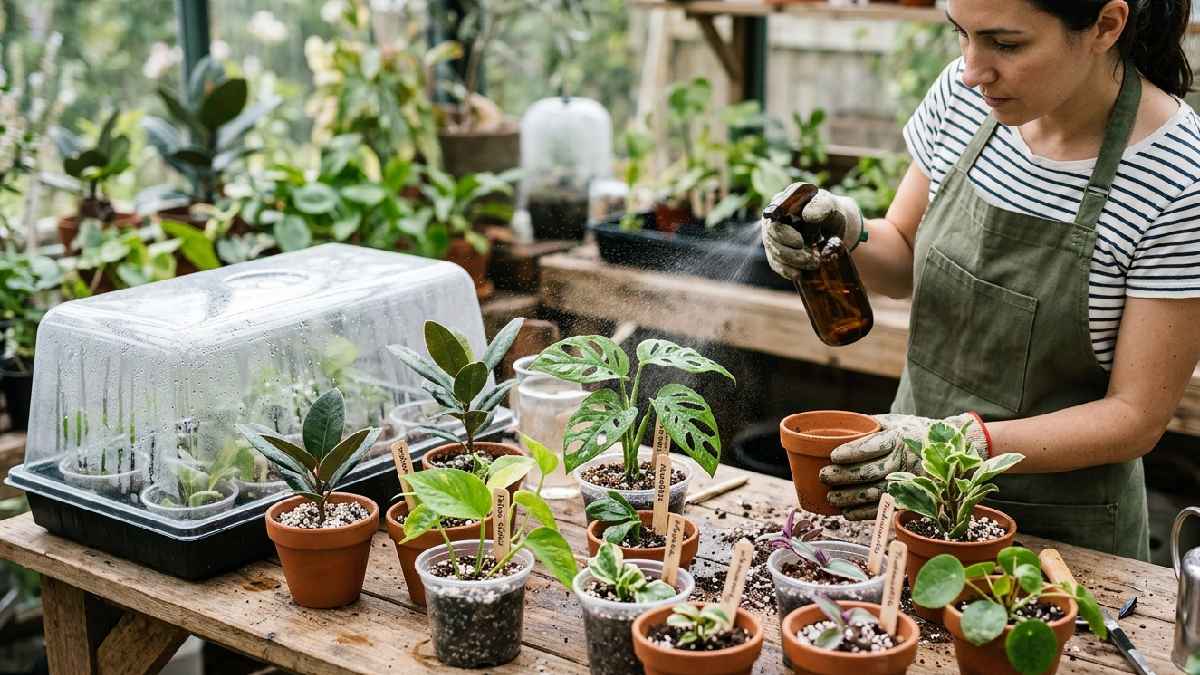
Mist the cutting and the soil around it once or twice a day, depending on your climate. Using a plastic bag or dome to hold in humidity? Mist the inside walls now and then. And watch for mold, too much moisture with no airflow invites fungus, so let the setup breathe now and then.
7. Cooling Plants on Hot Days
On really hot days, plants can droop or curl at the edges, a sign of heat stress. A spray bottle won’t replace a good deep watering, but a light mist can cool the leaf surface for a bit through evaporation.
Handy for leafy vegetables like lettuce and spinach during a hot afternoon, ferns and moisture-loving plants in a heat wave, and new transplants still adjusting outdoors.
Mist early morning or late afternoon, never during peak sun, since droplets in strong light can burn the leaf. Treat it as a supplement to root watering, not a replacement. And skip it for plants prone to fungal trouble in hot, humid weather, since extra leaf moisture just makes that worse.
Tips for Using a Spray Bottle the Right Way
Owning a good bottle is only half the job. How you use it matters just as much.
Use room-temperature water. Cold tap water can shock roots and leaves, especially on tropical houseplants. Let it sit out for a while first if you can.
Watch your water quality. Tap water with a lot of chlorine or minerals can leave white spots on leaves over time. If that happens, switch to filtered or distilled water for misting.
Keep your spray distance steady. Too close, and drops get heavy and drip. Too far, and the plant barely gets wet. Six to ten inches works for most plants.
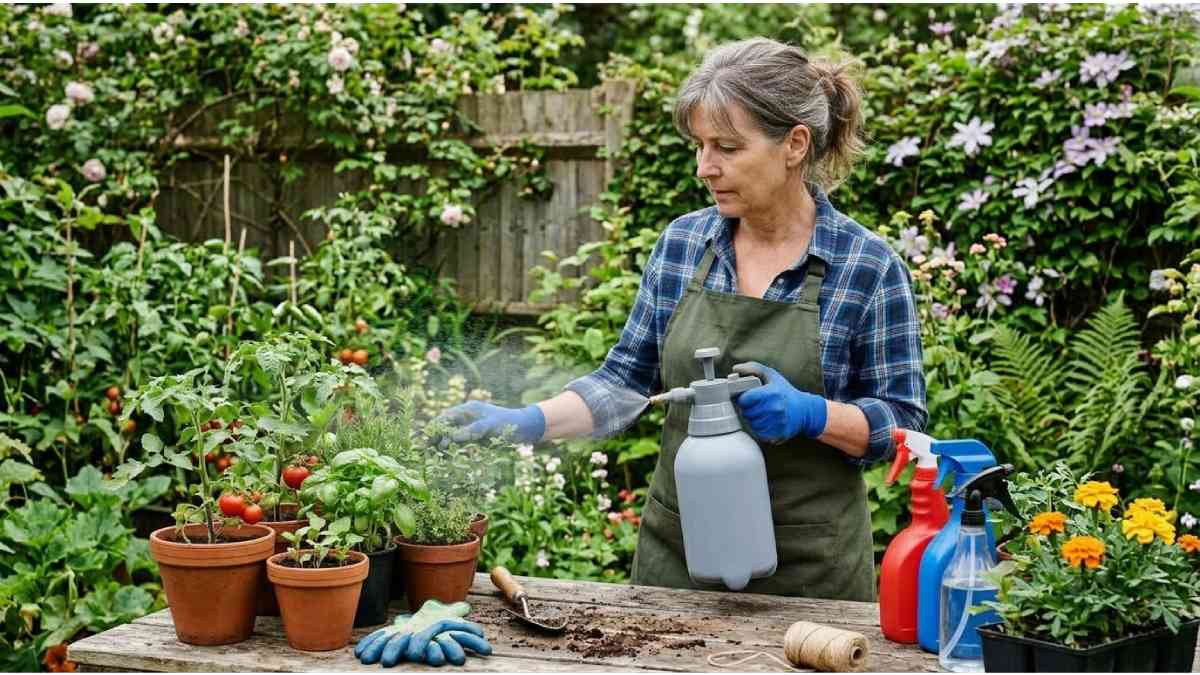
Time it right. Morning misting lets leaves dry during the day, which lowers the risk of fungal disease. Evening misting leaves them wet all night, and pests and fungi love that.
Label your bottles. If you keep separate bottles for water, fertilizer, and pest spray, label each one clearly. One mix-up, and you could spray fertilizer concentrate on a plant that just needed plain water.
Clean the bottle now and then. Fertilizer or oil-based sprays leave residue that clogs the nozzle over time. Rinse with warm water after each use, especially after neem oil.
Match the setting to the job. Fine mist for humidity and gentle watering. A firmer stream for rinsing pests off or covering more ground quickly.
Common Mistakes to Avoid
Even experienced gardeners slip up here sometimes.
Don’t rely on misting as your only water source. It only wets the surface, not the roots. Bigger plants still need regular deep watering at the soil.
Don’t overwater succulents and cacti by misting them. These plants are built for dry air, and extra moisture on their leaves invites rot.
Don’t spray in direct sunlight. Water droplets can focus sunlight onto the leaf and leave small burn marks.
Don’t ignore what each plant actually needs. Fuzzy-leaved plants get spotty if their leaves stay wet too long.
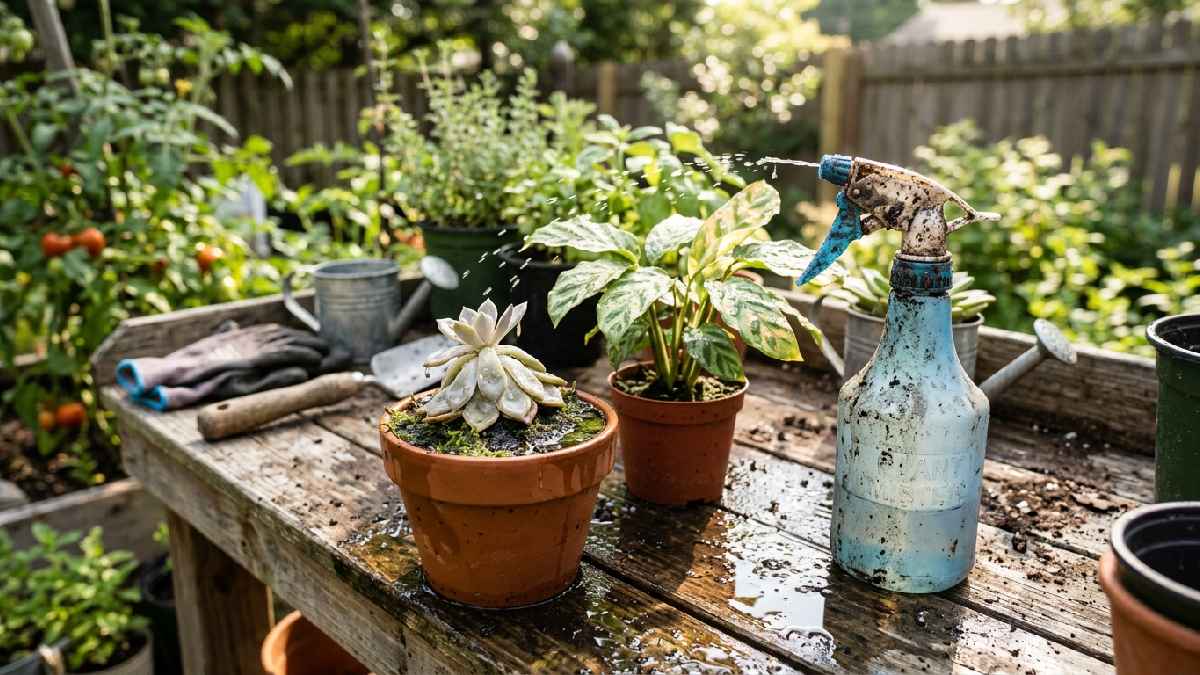
Don’t use a dirty old bottle for fertilizer or pesticide. Leftover residue can clog the nozzle at the worst time, or react oddly with the new solution.
Don’t forget the underside of the leaves. That’s where most pests hide, and where dust builds up too, but it’s easy to skip when spraying from above.
How Often Should You Spray Your Plants?
There’s no single answer here since it depends on the plant, the season, and your climate. But here’s a rough starting point.
Seedlings need misting once or twice a day until they’re established. Tropical houseplants do well with misting two or three times a week, more in dry winter months. Succulents and cacti should skip regular misting, water the soil instead. Cuttings in propagation need misting once or twice daily. Pest treatments should repeat every five to seven days for two to three weeks. Dust cleaning works well every two to four weeks on smooth-leaved plants.
Watch your plants closely. Yellowing leaves or a musty smell usually mean too much moisture. Dry, crispy edges usually mean the plant could use a bit more humidity.
Simple DIY Spray Recipes
You don’t need fancy store-bought products to get results. A lot of gardeners keep a shelf of homemade sprays made from kitchen basics. Here are a few worth trying.
Basic neem oil spray: Mix one teaspoon of neem oil, half a teaspoon of mild liquid soap, and one liter of water. Shake it well before each use, since neem oil separates fast. Good for general pest control on houseplants and vegetables.
Mild insecticidal soap: One tablespoon of gentle, unscented liquid soap in one liter of water. Works well on soft-bodied pests like aphids and mites. Skip dish soaps with strong degreasers; they can hurt the leaf surface.
Baking soda spray: One teaspoon baking soda, half a teaspoon liquid soap, one liter water. Can slow down powdery mildew on leaves, works better as prevention than as a cure once it’s already spread.
Garlic and chili spray: Blend a few garlic cloves and a chili pepper with water, strain out the bits, then dilute further before spraying. Many gardeners use it to keep chewing insects away.
Rubbing alcohol spray for mealybugs: One part rubbing alcohol to three parts water. Test on one leaf first, some sensitive plants react to alcohol.
Before spraying any homemade mix across a whole plant, test it on one leaf and wait a day. Check for burning or spotting. Every plant reacts a little differently, and this small step can save a plant you’ve spent months growing.
Adjusting Your Routine Through the Seasons
Plant needs shift with the seasons, and so should your spray bottle habits.
In spring, most plants are actively growing, so this is prime time for misting, light feeding, and propagating new cuttings. In summer, mist earlier in the day to dodge the harsh sun, and keep an eye out for pests, since they multiply fast in the heat. In fall, growth slows down for a lot of plants, so you can ease up on misting and feeding, and it’s a good time for a thorough leaf-cleaning session before things move indoors. In winter, indoor heating dries the air a lot, so tropical houseplants often need more frequent misting, while dormant plants need less water overall.
Don’t run the exact same routine all year. Your plants’ needs change, and your spray bottle habits should change with them.
Signs Your Plant Is Asking for a Spray
Plants can’t talk, but they do give hints. Learn to read them, and you’ll know exactly when to reach for that spray bottle.
Crispy, brown tips on the leaves? That’s often a sign of low humidity, especially in tropical plants like calatheas or ferns. A few extra mistings a week can help. Leaves that droop by midday but perk back up at night? That’s often heat stress, not thirst, and a light mist can offer some relief until you water properly at the roots.
Sticky residue on leaves, or tiny webs under them? That points to pests like aphids or spider mites, and it’s time for a pest spray, not plain water. Dull, gray-looking leaves that seem to have lost their shine? Probably just dust. A quick misting and wipe usually brings the color right back.
And if a seedling looks like it’s leaning or the soil around it looks disturbed, ease up on the watering can and switch to your spray bottle instead. Gentle beats forceful every time with young plants.
A Quick Buying Checklist
Standing in a store aisle staring at ten different spray bottles can feel confusing. Keep this short checklist in mind and the decision gets a lot easier.
Does it have an adjustable nozzle? You want both a mist and a stream option. Is the size right for your number of plants? Small bottle for a handful of houseplants, bigger pump sprayer for a full garden. Is the plastic sturdy, or does it feel flimsy and thin? Cheap plastic cracks fast, especially outdoors in the sun.
Does the trigger feel comfortable in your hand? Try squeezing it a few times before buying. Will you be spraying oils or fertilizer through it? Check that the seals can handle that without breaking down. And does it leak when you test it? Even a small drip at the nozzle usually gets worse with time.
Tick off these points, and you’ll walk out with a bottle that actually works for months, not one that clogs or leaks after two weeks.
Frequently Asked Questions
Can I use one bottle for water, fertilizer, and pesticide?
Better to keep separate, labeled bottles for each. Even a little leftover residue can affect a plant when you think you're just giving it plain water.
Is misting the same as watering?
No. Misting adds moisture to the air and the leaf surface. It doesn't reach the roots the way soil watering does. Most plants still need regular watering at the soil, misting or not.
What's the best time to mist plants?
Morning, usually. It gives the leaves time to dry before night, which helps avoid fungal problems.
Can a spray bottle control pests without chemicals?
Yes. Diluted neem oil, mild soap and water, or diluted rubbing alcohol are all natural options many gardeners use against aphids, mealybugs, and spider mites.
What type of spray bottle is best for a beginner?
A basic trigger bottle with an adjustable nozzle. Cheap, easy to use, and works fine for watering, misting, and light fertilizing.
Conclusion
A gardening spray bottle looks like a small, ordinary tool, but it plays a bigger role than most people give it credit for. From gently watering fragile seedlings, to raising humidity for tropical plants, feeding leaves, fighting off pests naturally, cleaning dusty foliage, helping cuttings root, and cooling stressed plants on hot days, it earns its place in any gardener’s toolkit.
Pick a bottle that fits what you actually grow, whether that’s a small trigger bottle for a few houseplants or a bigger pump sprayer for a full garden bed. And use it right: the right time of day, the right water, matched to what each plant actually needs.
Get the hang of it, and this one simple tool becomes one of the most reliable ways to keep your plants green, strong, and thriving all season.
If you already have a watering can and a bag of fertilizer sitting around, don’t think of the spray bottle as replacing them. Think of it as the finishing touch, the tool you reach for when a plant needs something gentler, faster, or more precise than a full watering can allow. Some of the best-looking plant collections you’ll ever see belong to people who never treat their spray bottle as an afterthought. They keep two or three on hand, clean them often, and reach for the right one without even thinking twice.
Start small if you’re new to this. Pick up one good trigger bottle, learn how your plants respond to misting, and build from there. You don’t need a shelf full of expensive gear to see real results. A little consistency with the right tool goes a much longer way than most people expect.