
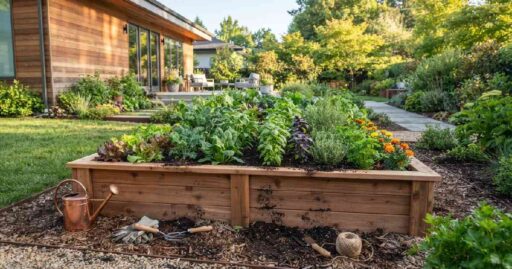
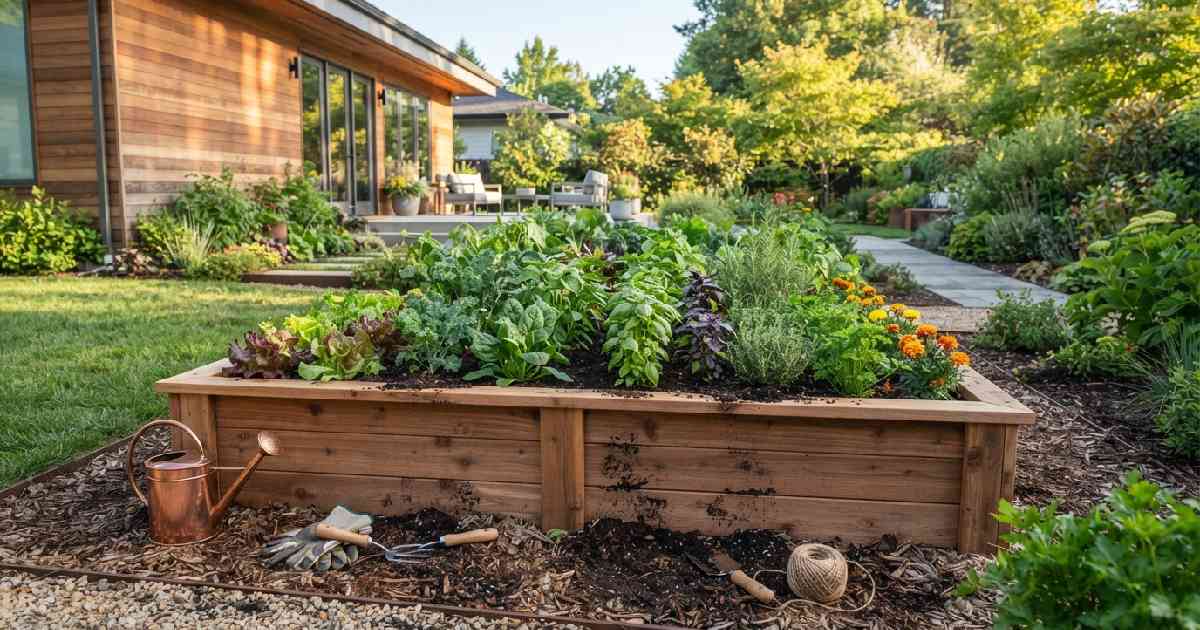

Got rocky soil in your yard? Not-so-great drainage, or just this patch of ground that never really does anything right? Learning how to build a raised garden bed can fix a lot of it in pretty much one weekend. You get to control the soil from that first shovel-full on, so you’re not constantly battling compacted clay. And you’re not digging around roots and rubble before you even start planting, which honestly feels like 90% of gardening pain.
Also, raised beds are way easier on your back and knees. Less bending, less kneeling in the mud. And the clear border helps stop grass and weeds from sneaking in from the sides, kind of acting like a little boundary line you can actually see. For a lot of gardeners, that alone makes the afternoon of building it feel worth it.
This guide covers where to put it, how big to make it, which materials are worth your money, and how to build the whole bed step by step. by the end, you should know exactly what to buy, how to put it together, and how to fill it so your plants get a strong start.
Why build a raised garden bed?
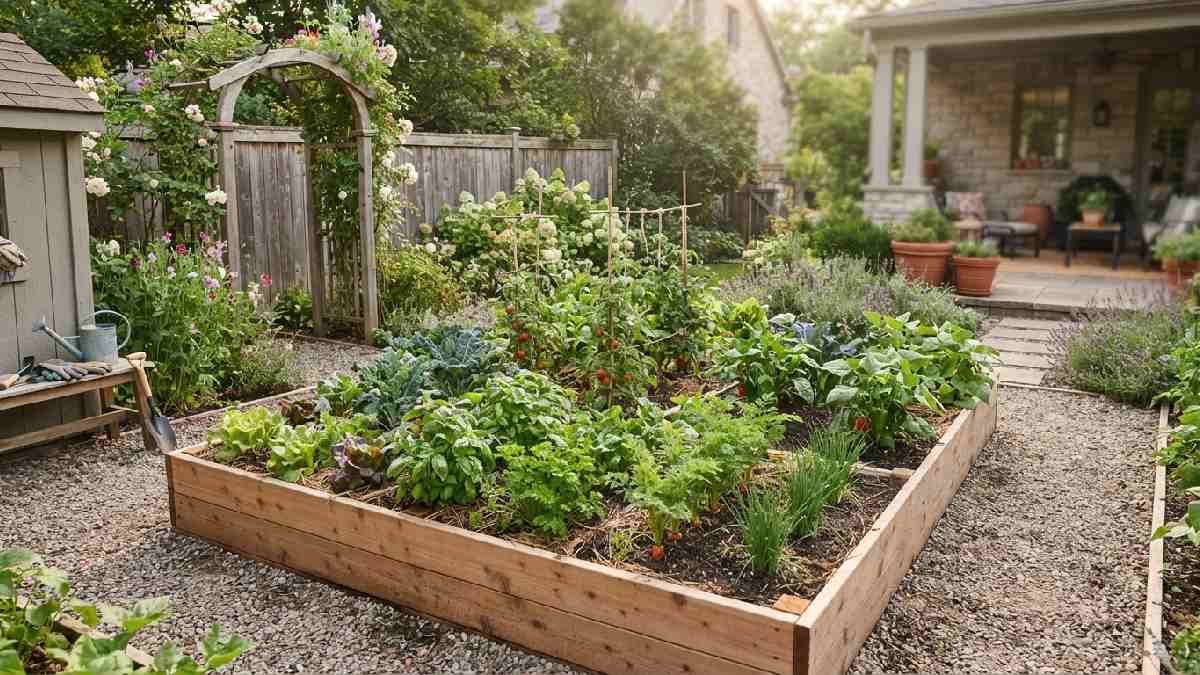
A raised bed is basically a bottomless box, filled up with good soil, sitting on top of whatever ground you already have. it sounds simple, but it solves a surprising number of gardening problems at once.
Drainage improves pretty much right away. The raised soil doesn’t just sit in standing water the way a flat, low bed can after a heavy rain. The soil also warms up faster in spring, so you can start planting a couple of weeks earlier. Plus, since you’re not stepping onto the bed itself, the soil doesn’t get compacted as in-ground gardens do over time. Roots stay happier, and growth tends to be stronger.
There’s also the practical side. A raised bed with a clear edge is easier to keep neat. Weeds struggle more to creep in. Paths stay defined, and the whole space looks a little more intentional, rather than “random plot” energy.
Choosing the right location and size
Getting the spot and the measurements right before you build saves you from redoing stuff later. It’s worth spending a little time here before you buy a single board.
Picking a sunny spot
Most vegetables want at least six to eight hours of direct sun each day. So choose the sunniest area you’ve got. If you can, watch it for a full day, because shade from a tree or fence can move around in ways that don’t seem obvious at first. Level ground also makes construction easier, though a slight slope isn’t an automatic dealbreaker if it’s what you’ve got.
Deciding on size and height
Width is a big deal here. Keep the bed narrow enough that you can reach the center from either side without stepping on the soil. Usually, stick to no more than about four feet wide. Length is more flexible, and it can match your space and materials, though eight feet is pretty common and manageable for a first bed.
Height depends on what you’re growing and how much bending you want to do. For most vegetables, six to twelve inches works well. go taller, like eighteen to twenty-four inches, if your native soil is truly rough, if you want less bending, or if you plan to sit on the edge while you garden.
Choosing materials for your raised bed
What you build it from affects cost, how long it lasts, and how it looks in your yard. It’s better to weigh the options rather than grabbing whatever seems cheapest on the shelf.
Wood
Wood is probably the most common choice, and there’s a reason. It’s affordable, easy to cut and assemble, and it looks natural in most gardens. Untreated cedar or redwood naturally resists rot. Depending on conditions, it can last eight to fifteen years without chemical treatment, though it usually costs more upfront than basic pine.
Pine is cheaper, sure, but it breaks down faster, often needing replacement in five to seven years. Also, avoid old treated lumber that contains chromated copper arsenate, since it can leach chemicals into the soil. Modern pressure-treated wood is generally considered safe for vegetable beds, but if you’d rather not take the chance, use naturally rot-resistant wood, or line the inside with heavy plastic sheeting.
Metal
Galvanized steel beds have been getting more popular lately, and it’s not hard to see why. They last for decades, don’t rot, and they have a clean, modern vibe. The cost is higher than wood at first, but the long lifespan often makes up for it.
One thing to watch: in super hot climates, metal can heat the soil near the edges more than wood does. So if you’re in a hot region, it’s smart to add extra mulch along the sides.
Composite and plastic
Composite lumber, made from recycled plastic and wood fibers, resists rot completely and usually won’t splinter. it costs more than basic wood, but it needs basically no maintenance after it’s set.
Straight plastic or resin beds are the lightest and cheapest option. They work fine for a season or two, but after a few years in the sun, they can get brittle and crack.
Stone, brick, and concrete blocks
Stone, brick, and concrete block frames make a permanent, solid bed that can basically last forever, with little or no upkeep. They cost more and take longer to build than a wood frame. You also can’t resize or move the bed later, not easily anyway. This option is best if you already know exactly where you want the bed, and you’re okay with the higher up-front investment.
Tools and supplies you’ll need
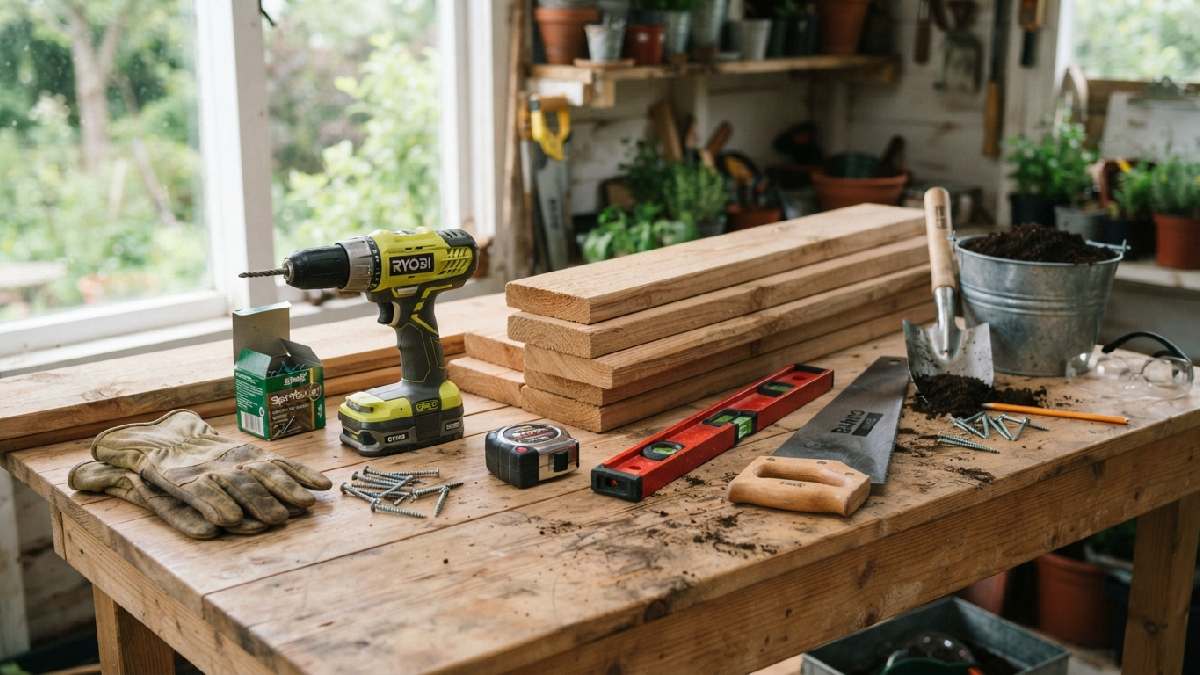
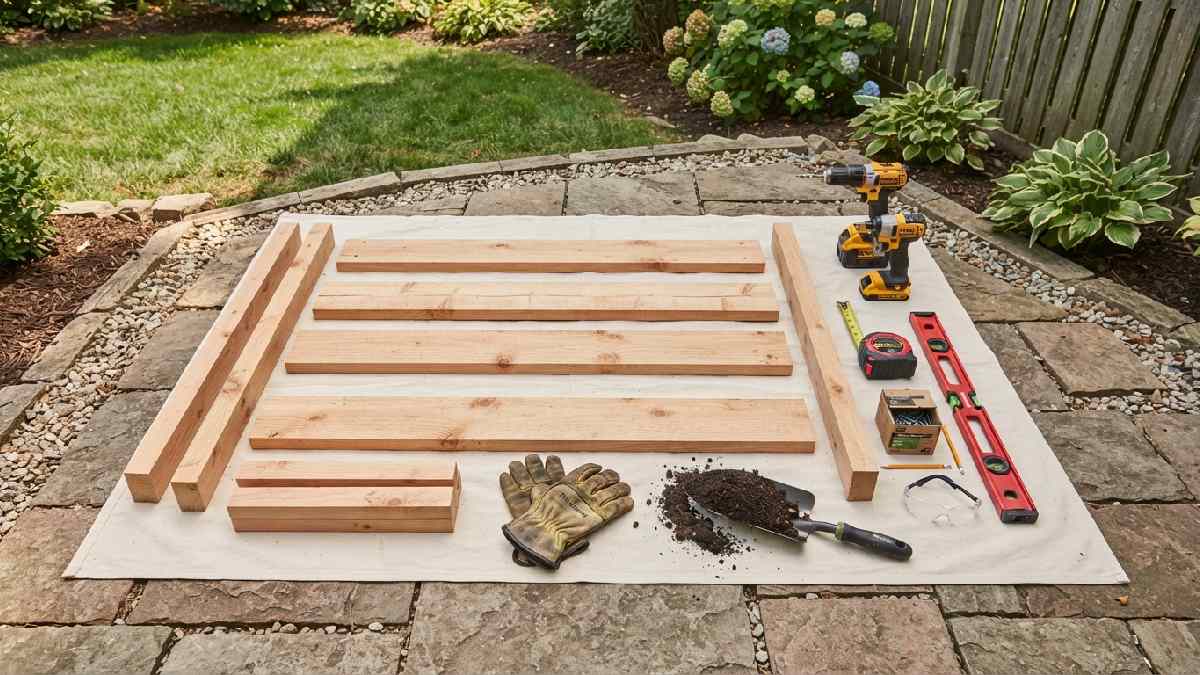
Before you start, it really helps to have everything on hand. Running back to the hardware store mid-project is annoying, and it’s easy to prevent with a quick checklist. For a standard wood-framed bed, gather boards cut to size, corner brackets or exterior screws, a drill or screwdriver, a level, a tape measure, and a saw if your lumber isn’t pre-cut.
A rubber mallet can be useful if you’re using stackable interlocking corners instead of screws. Work gloves are also a good idea, especially when you’re handling rougher cedar or reclaimed wood.
If you’re lining the bed or adding a weed barrier at the bottom, grab landscape fabric and a staple gun. And for filling the bed, you’ll want a wheelbarrow or garden cart, because moving soil and compost by hand gets old fast once you’re dealing with a full cubic yard or more.
How to Build a Raised Garden Bed, Step by Step (kind of)
Once you’ve picked a spot, decided on size, and grabbed materials, putting the bed together is usually pretty fast. For a normal wood-framed one, it can be only a few hours- honestly, not that long
Step 1: Gather Your Tools and Materials
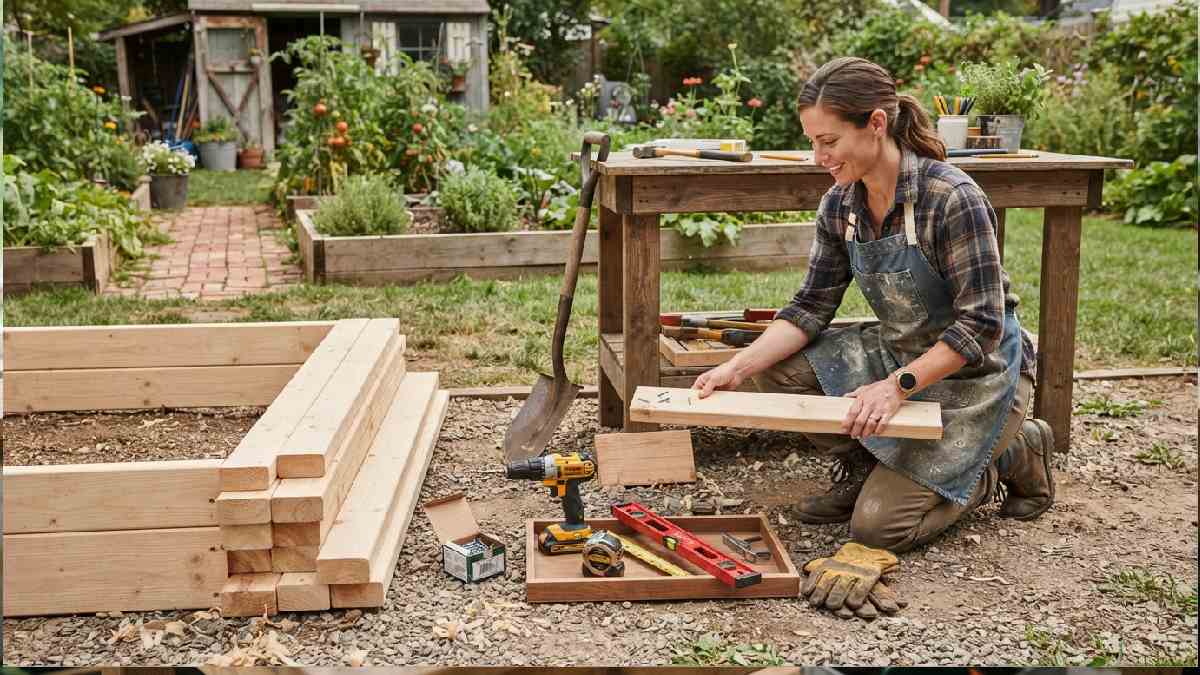
For a basic wood bed, you’ll want boards cut to your dimensions, corner brackets or screws, a drill, a level, a tape measure, and a saw if your lumber isn’t already cut. A lot of hardware stores will cut boards to length for you too, which saves time if you don’t really have a saw lying around
Step 2: Prepare the Ground
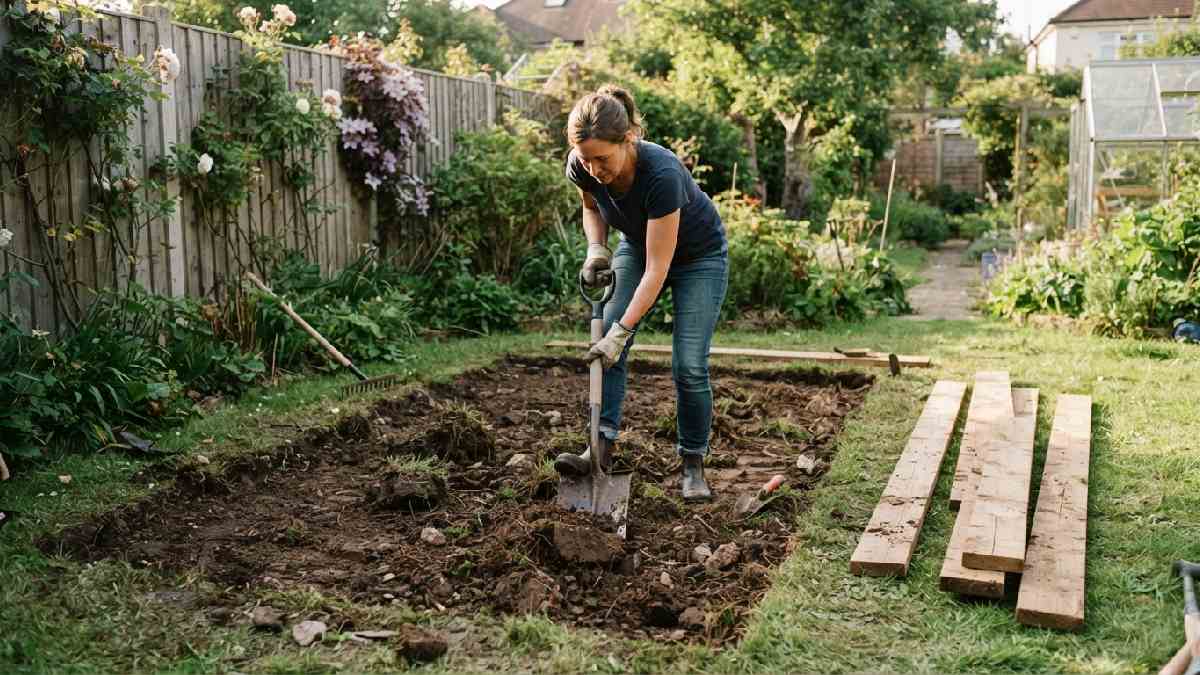
Clear out grass, weeds, and anything big and rocky. You don’t need to till or dig up the soil under it, because the bed sits on top. But getting rid of existing plants now is helpful, because otherwise they can keep coming up through your new soil later. Tossing down a couple sheets of cardboard or newspaper before you fill the bed creates like a quiet weed barrier, just so things don’t sneak up
Step 3: Assemble the Frame
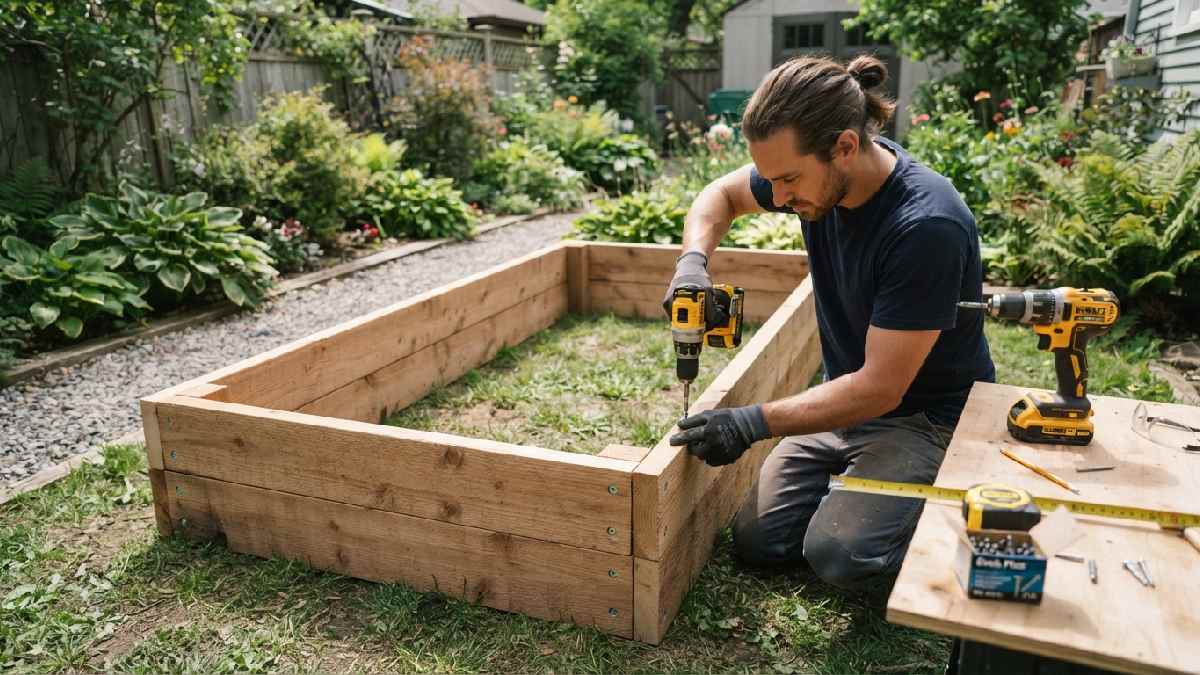
Set the boards out in the shape of your bed, then attach the corners with screws or metal brackets. For a basic rectangular bed, you’re basically making a box with four boards, and then securing them. Pre-drilling holes first helps stop the wood from splitting, especially near the ends when you’re tightening everything down
For taller beds, add a second layer of boards on top of the first one. If you can, stagger the joints for more strength. Also add a vertical support post in the center of longer sides, so the frame doesn’t bow out once it’s full of heavy, wet soil, because that weight adds up faster than people think
Step 4: Level and Position the Bed
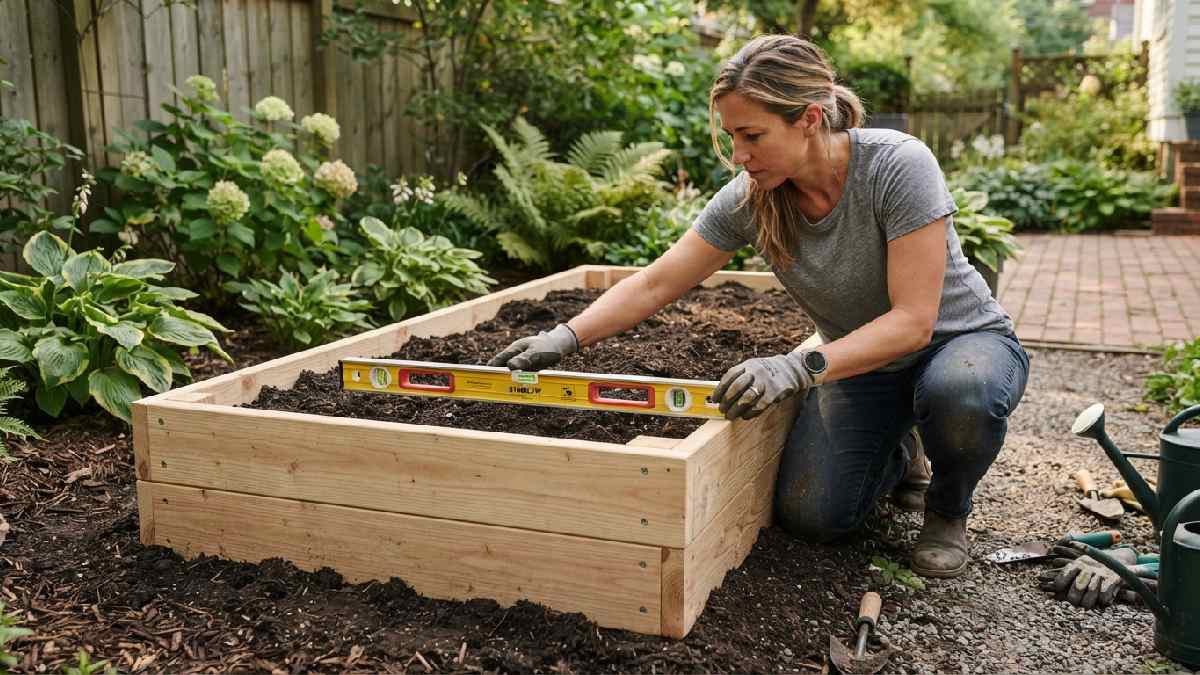
Now move the assembled frame to its final location, then check level in more than one direction. If it’s even slightly uneven, it drains kind of uneven too, and that can make one side stay soggy while the other side dries out too much. If you see high spots, dig them down, or add a bit of soil under low corners until it sits level
Step 5: Line the Bottom If Needed
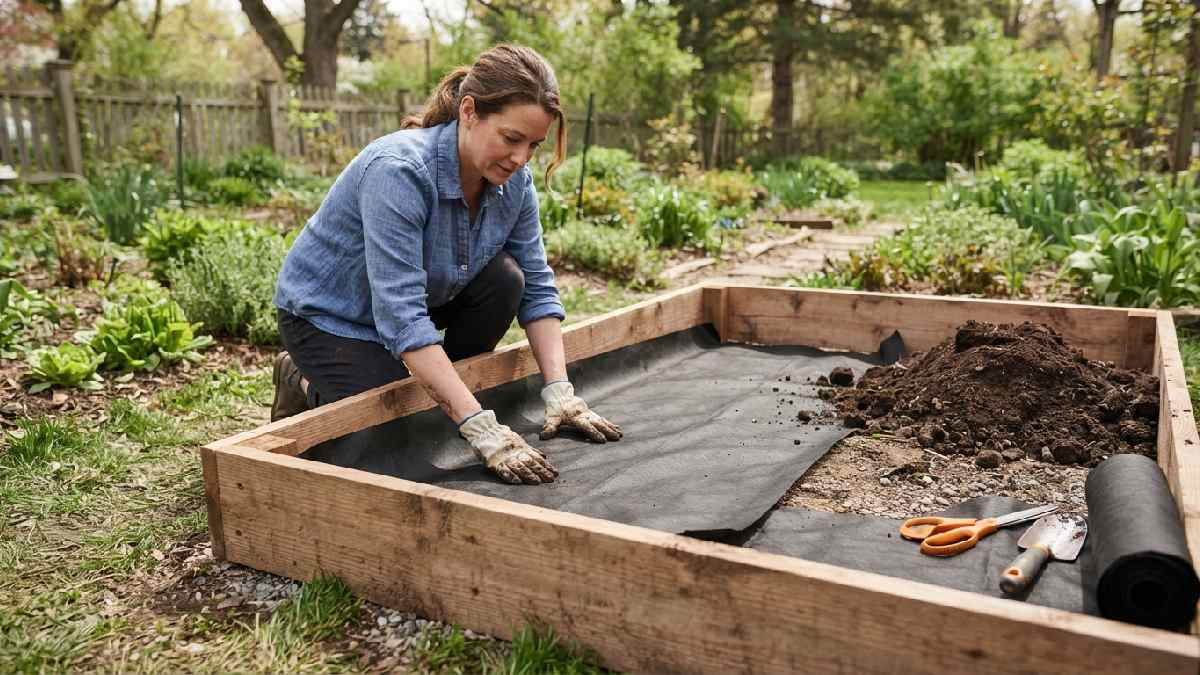
If your native soil is contaminated, or you’re building on concrete or something similarly hard, then permeable landscape fabric under the bed can help keep drainage working cleanly while blocking weeds and pests from tunneling up. But if your bed is sitting directly on healthy garden soil, this step is optional. The soil-to-soil contact actually helps drainage a lot, and earthworms can move up into the new bed on their own, which is kind of nice
Filling Your Raised Bed With Soil
The stuff you put inside the frame matters about as much as the frame itself. Even the toughest bed won’t help plants much if the soil is poor
The Right Soil Mix
An all-purpose mix is usually about forty percent topsoil, forty percent compost, and twenty percent an aerating material like perlite or coarse sand. This kind of balance helps the soil hold moisture without getting waterlogged; it drains well, and it starts plants off with nutrients right away
Try not to fill the whole bed with pure compost. It can end up too rich and out of balance for new seedlings. And straight topsoil alone tends to compact over time, without the organic matter that compost provides
Filling Deep Beds Without Buying Too Much Soil
If your bed is taller than around twelve inches, filling the entire depth with premium mix can get expensive fast. There’s a method called hugelkultur that helps. Fill the bottom third or even half with logs, branches, and other coarse woody stuff, then cover it with your soil mix on top. Over the next seasons, the wood breaks down slowly, adds nutrients, improves structure, and you save a decent amount on soil in the meantime
Settling In Before Planting
After filling, water the new soil thoroughly and let it settle for a day or two before planting. Soil often compresses a noticeable amount once it gets wet, so you might need to top it off before you put in seeds or seedlings
Maintaining Your Raised Garden Bed
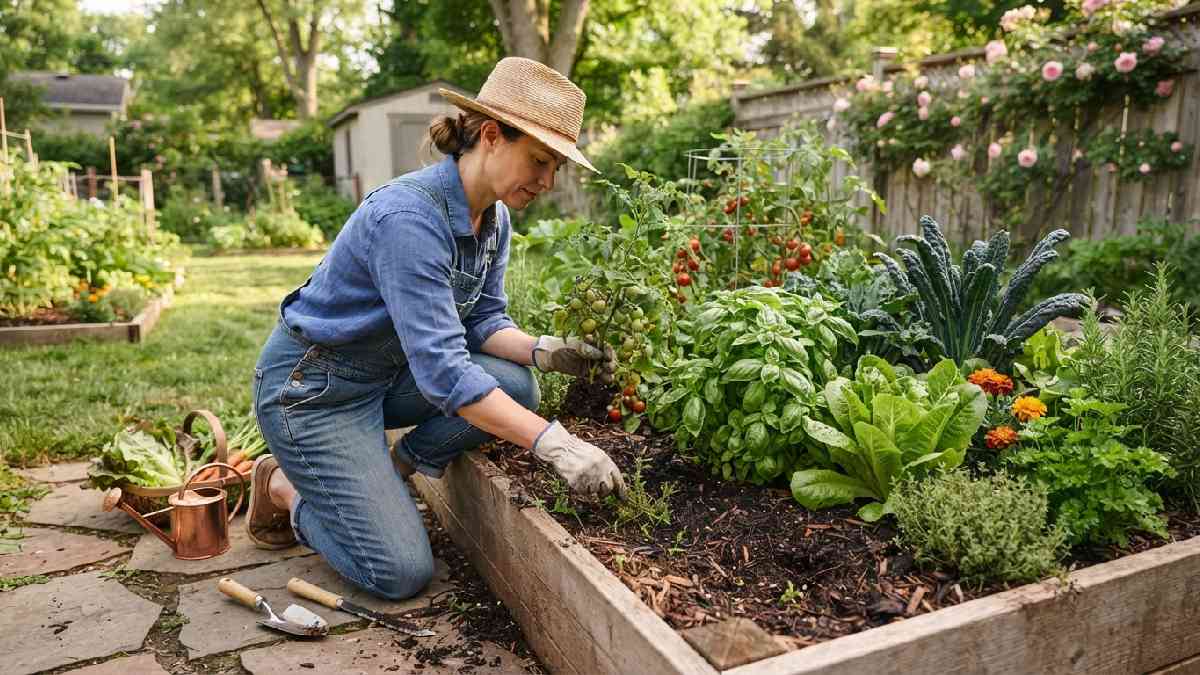
Once your raised bed is established, it still needs some yearly care. Generally though, it’s less fuss than an in-ground garden, because you’re working with contained soil
Refreshing the Soil Each Season
Soil settles, and nutrients get used up over a growing season. Plan to add about one or two inches of fresh compost at the start of each new season. It keeps fertility up without having to empty the whole bed and start over every time
Watching for Drainage Issues
Even if the bed was built right, drainage can shift over time if soil compacts or the frame moves out of level. If you see water pooling on top after rain, check that drainage holes or gaps near the base haven’t gotten clogged. You may also want to work in extra compost or perlite to loosen any compacted areas
Repairing or Replacing Materials
Wood frames eventually wear out, usually starting at corners or wherever the wood stays damp. If you catch rot early and swap just that one board, it’s way easier than rebuilding the whole structure later when the frame fails more seriously
Rotating Crops in a Raised Bed
Even with a smaller raised bed, rotating crops helps. Try not to plant the same crop family in the same place year after year. Tomatoes, peppers, and eggplant share similar pests and diseases, so if you keep growing them in the same spot season after season, problems can build up in the soil. If you split a bed into a couple of zones, then rotate what goes where each year, the soil stays healthier with basically minimal extra work
Watering a Raised Garden Bed
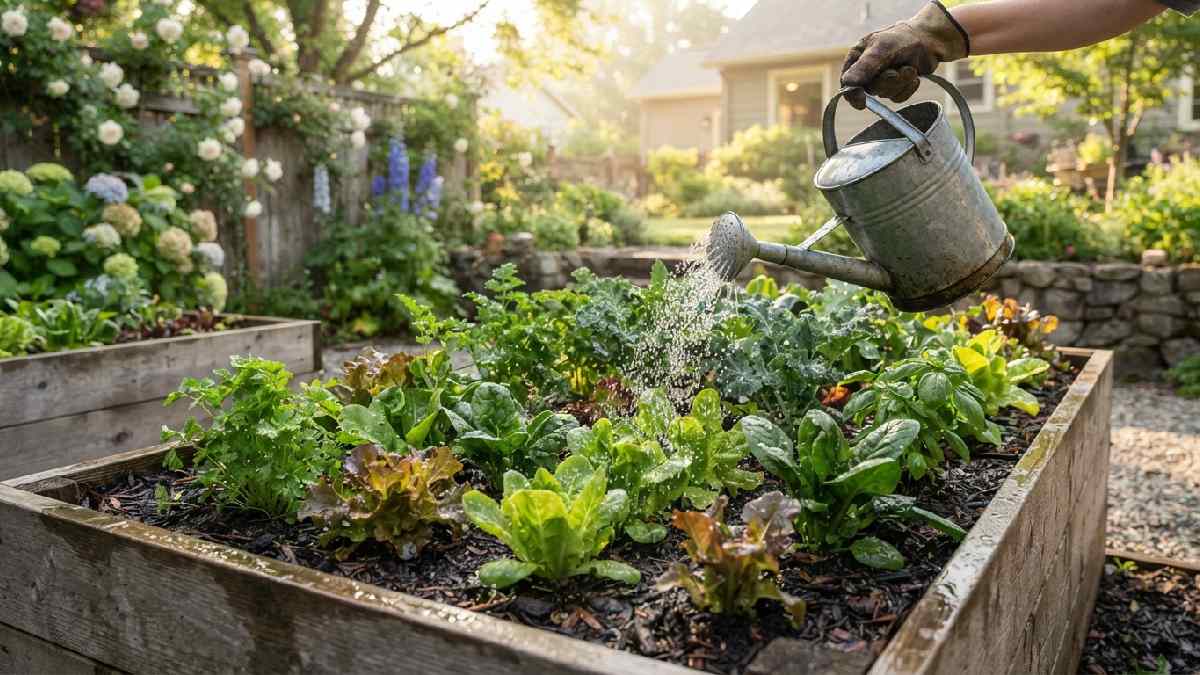
Raised beds drain well, which is great for avoiding root rot, but it also means they dry out faster than in-ground beds. So the watering schedule you used before may not be enough once you switch to raised beds.
Why Raised Beds Need More Frequent Watering
That extra drainage is also the reason water moves through the soil faster and doesn’t linger as long. On hot days, especially if the bed is shorter or narrower, the edges can dry out within a day, even when the center still feels kind of damp. Checking the soil by sticking a finger a couple inches down, instead of only staring at the surface, tells you way more accurately when it’s actually time to water
Setting Up Drip Irrigation
If you’ve got more than one or two beds, honestly, a drip irrigation setup is one of those things that makes the whole season feel less annoying. The drip lines send water slow-ish and straight to the soil right near the base of each plant. That means way less waste than those overhead sprinklers, and your leaves stay drier , so fungal problems are less likely to show up. Most at-home irrigation kits plug into a regular garden hose, and you can get the layout done along the bed length in under an hour or so.
Then add a timer, and it really removes the guessing, like, totally. A short early morning run helps keep moisture steady, even when you’re busy, out of town , or you just forget for a day (it happens).
Mulching to Reduce Watering Needs
Throwing down a two- to three-inch mulch layer on top of the soil works like a pretty simple cheat code. Straw, shredded leaves, wood chips , or even other common mulching materials all do the job. It slows evaporation a lot and it can cut how frequently you need to water by a noticeable chunk. On top of that, mulch kind of steadies soil temperatures, so roots stay cooler during hot stretches, and the plants don’t get as much stress.
Frequently Asked Questions
How deep does a raised garden bed need to be?
Six to twelve inches is a sweet spot for most vegetables, mostly because most root systems don’t need a ton of extra room. Plants that grow deeper, like tomatoes or long carrots, usually like about twelve to eighteen inches. And if you’re building over bad native soil, going to eighteen inches or more often helps.
What is the cheapest way to build a raised garden bed?
Untreated pine boards are usually the most budget-friendly option, even if they won’t last as long as cedar or metal. Reclaimed bits, like old fence boards or bricks you already have, can push costs even lower, especially if you’re not too concerned about the pieces matching perfectly.
Do raised garden beds need a bottom?
Usually no. Most raised beds are open underneath, so roots can keep reaching down into the native soil below. It also lets worms and other helpful organisms move up into the bed naturally. A solid bottom is mostly only necessary when the bed is sitting on something like a patio or deck, where soil contact isn’t really happening.
How long do raised garden beds last?
That depends on what you use. Untreated pine might last five to seven years. Cedar and redwood can run eight to fifteen years, give or take. Metal or composite beds can go for several decades with very little fuss.
Can I build a raised garden bed without any woodworking experience?
Yes, seriously. A basic rectangular bed just means cutting a few straight boards to length, which hardware stores can often do for you, and then screwing the corners together. It’s one of those beginner-friendly outdoor projects that can be knocked out in a single afternoon.
Final Thoughts
Building a raised garden bed is one of those projects that tends to pay off fast, because you get better drainage, easier upkeep, and usually a stronger harvest than you’d get trying to fight poor native soil. The actual build isn’t usually too hard, and the materials are flexible enough to match pretty much any budget, from simple pine boards all the way to a permanent stone setup.
Start with one bed in a sunny spot, dial in your soil mix, and watch how it performs through a whole season before adding more. Pay extra attention to watering during the first few weeks, because that’s when new soil and young roots are most sensitive to drying out. For a lot of gardeners, that first raised bed is the one that finally makes gardening feel manageable, instead of like a nonstop argument with the ground.