Growing Microgreens Without Soil(Step, by, Step Beginner Guide)
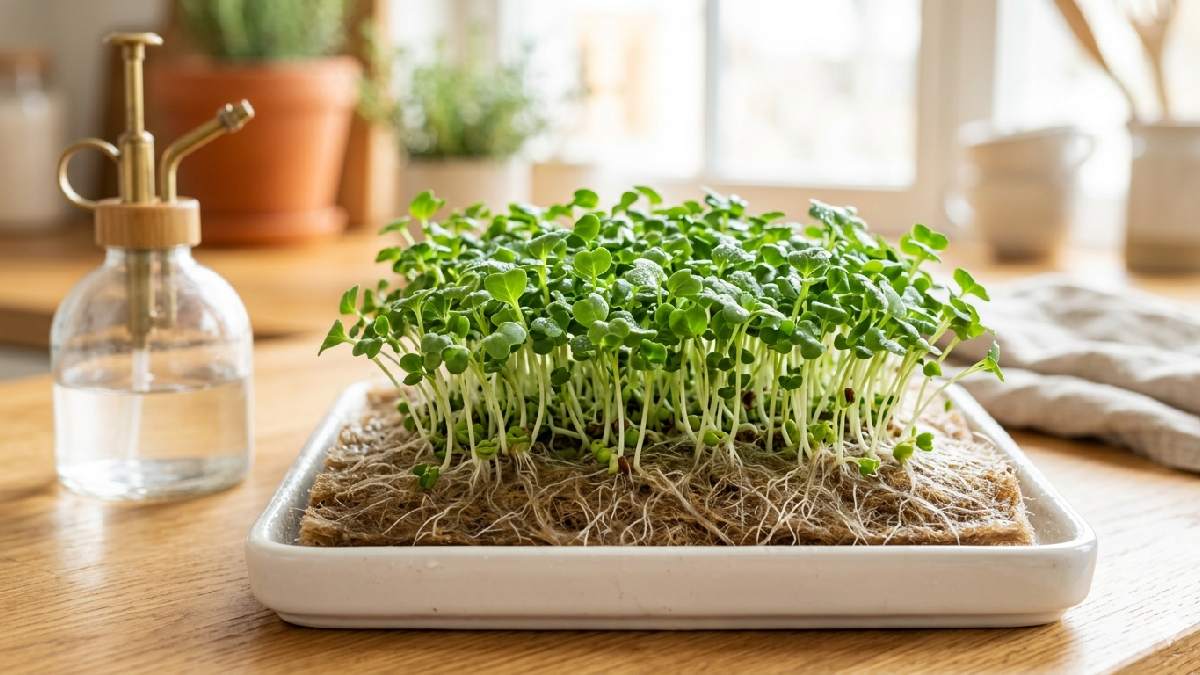
I tried growing microgreens without soil once, felt strange at first. No dirt, just a mat and water. Seeds sat there quietly, then tiny shoots started pushing up. Roots spread under the mat, leaves reached for light. It looked clean, simple, almost too easy. Growth felt quick, but different somehow.
Light mattered more; water had to be careful. Too many things got messy. Too little, the shots slowed down. The kitchen corner was still turned on. The effort felt small, the reward came fast. Watching greens grow this way feels new, a bit surprising.
Introduction to Soil, Free Microgreens
first saw soil-free microgreens in a small tray setup. No mud, no mess. Just a thin mat holding everything together. The seeds looked fragile sitting on top. Then they changed fast. Tiny shoots came up, roots spread under the surface. It felt clean but a bit unusual at the start.
Water replaced soil completely here.
Everything depends on moisture and light balance. Too wet and things go wrong quickly. Too dry and growth slows. Beginners notice these shifts daily. Still simple once you get used to it. The kitchen corner feels fresh, almost like a mini farm. Effort stays low, results come fast.
What Are Microgreens?
Microgreens are tiny plants, not fully grown yet. Seeds sprout fast, then small leaves appear. You cut them early, before the full stage. They look small but feel fresh and strong. Flavor hits sharper than normal vegetables. Some taste spicy, some mild, some earthy.
Broccoli, radish, and pea shoots are common examples. They grow quickly, sometimes just in days. Even without soil, they still push up. The kitchen tray turns green fast. Beginners get surprised watching them daily. Effort stays simple, reward feels big.
Can Microgreens Grow Without Soil?
Yes, microgreens can grow without soil easily. I tried it for the first time and felt odd. No dirt, just a growing mat and water. Seeds still sprouted fast, tiny shoots pushed up strong. Roots spread under the surface, not visible. Leaves came out green and fresh.
Light and water do all the work here. Too much water creates problems, too little slows growth. Beginners notice changes quickly. Kitchen tray still turns green, simple setup. Effort stays low, result still good.
Why People Prefer Soil-Free Growing
Soil-free growing feels cleaner, no mess on hands or kitchen counter. I liked it because the cleanup becomes almost nothing. Just rinse trays, that’s it. No dirt smell, no spilling soil everywhere. Beginners find it easier to handle. Everything looks simple, almost controlled.
Water does most of the work, not soil. Growth still comes fast, sometimes faster than expected. Tiny shoots still push up strong. Kitchen stays neat while greens grow. Effort feels low, results still surprise.
Benefits of Growing Microgreens Without Soil
I switched to soil, free once, and felt cleaner right away. No dirt spilling, no heavy trays. The setup stayed simple, just mats and water. Roots spread neatly underneath, no mess around. Beginners notice less stress in the setup. Cleaning becomes easy; a quick rinse is done.
Mold control feels better with airflow. Growth is still fast, sometimes even faster. Light matters more; water stays balanced. The kitchen corner looks tidy, still green and alive. Tiny shoots push up strong. Effort feels low, reward comes quickly. Every tray still tells its own story.
Cleaner and Less Messy Setup
No soil everywhere, no muddy hands. The setup stays neat most of the time. Just tray, mat, seeds, water. I liked that part, honestly. No spilling dirt on the floor. Cleanup feels quick, almost nothing to do. Sometimes water overflows a bit, small mistake happens.
Still easier than soil setups. Everything looks tidy on the shelf. Beginners feel less stress here. Kitchen stays clean, no mess spreading around. Effort stays low, results still good.
Faster and More Efficient Growth
Growth feels quick without soil. Seeds wake up fast on mats. First shoots appear in a few days, sometimes even earlier. I noticed they push up together, almost the same timing. Light and water control everything here. Small mistake slows them, small fix boosts them again.
Leaves come clean, no dirt stuck anywhere. Roots spread easily under the surface. Beginners see results fast, no long waiting game. The kitchen corner feels active, always something is changing. Effort stays light, growth feels surprisingly fast.
Reduced Risk of Pests and Diseases
No soil, so fewer bugs show up. I noticed that early, trays stayed cleaner. Mold still can happen, but less often if the air moves right. Little flies don’t really come like soil setups. Leaves stay clean, no hidden insects inside.
Beginners feel safer here, with less worry overall. Still need care, though, water mistakes can cause problems. Clean setup helps a lot. The kitchen feels fresher, less messy. Growth stays healthy most times, simple and controlled.
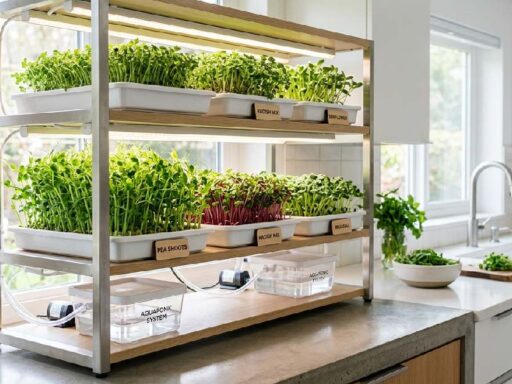
Perfect for Indoor Gardening
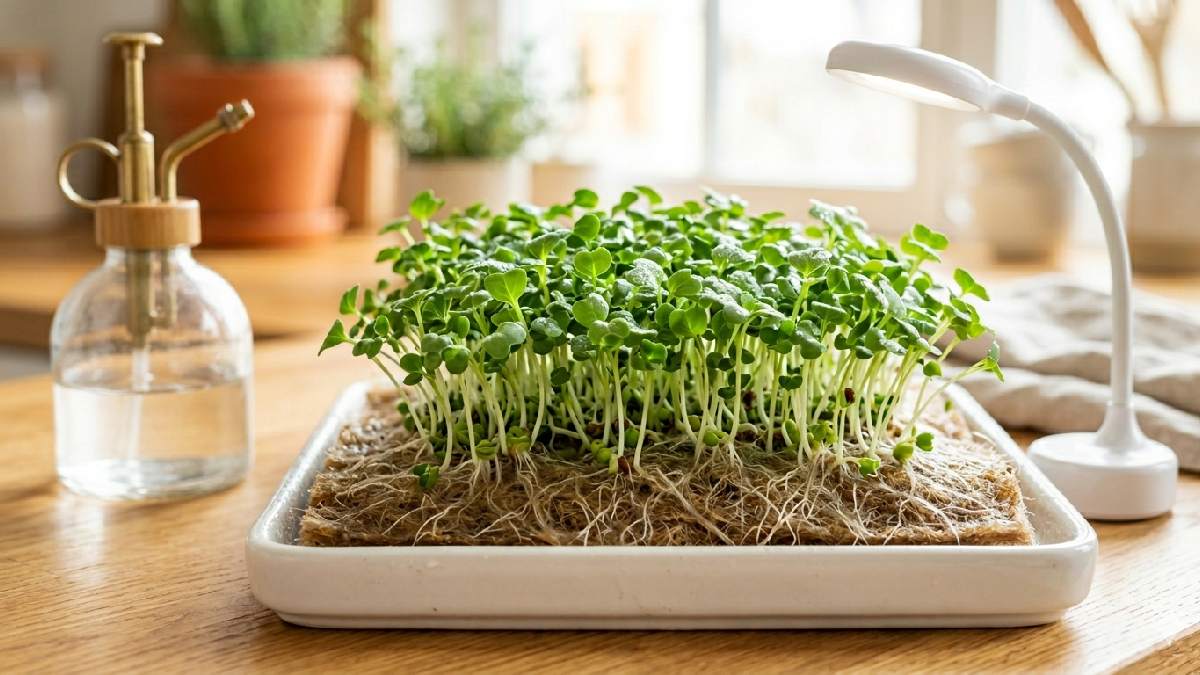
This setup fits inside small rooms easily. No soil smell, no heavy mess anywhere. I kept trays on a shelf, which looked simple and clean. Even low sunlight corners worked with LED light. Growth still stayed steady, not perfect, but good enough.
Beginners find it easy to start here. Water, light, check daily, that’s all, mostly. Kitchen space feels active without much effort. Small trays, quick results, no outdoor need at all. Indoor gardening suddenly feels very possible.
Best Growing Media for Soil, Free Microgreens
I tried a few setups before finding what works. Coconut coir felt soft and held water nicely. Seeds stayed in place, roots spread slowly and steadily. Grow mats worked too, clean and easy. No mess, just rinse and reuse sometimes. Paper towels felt simple, but dried fast, and needed more attention.
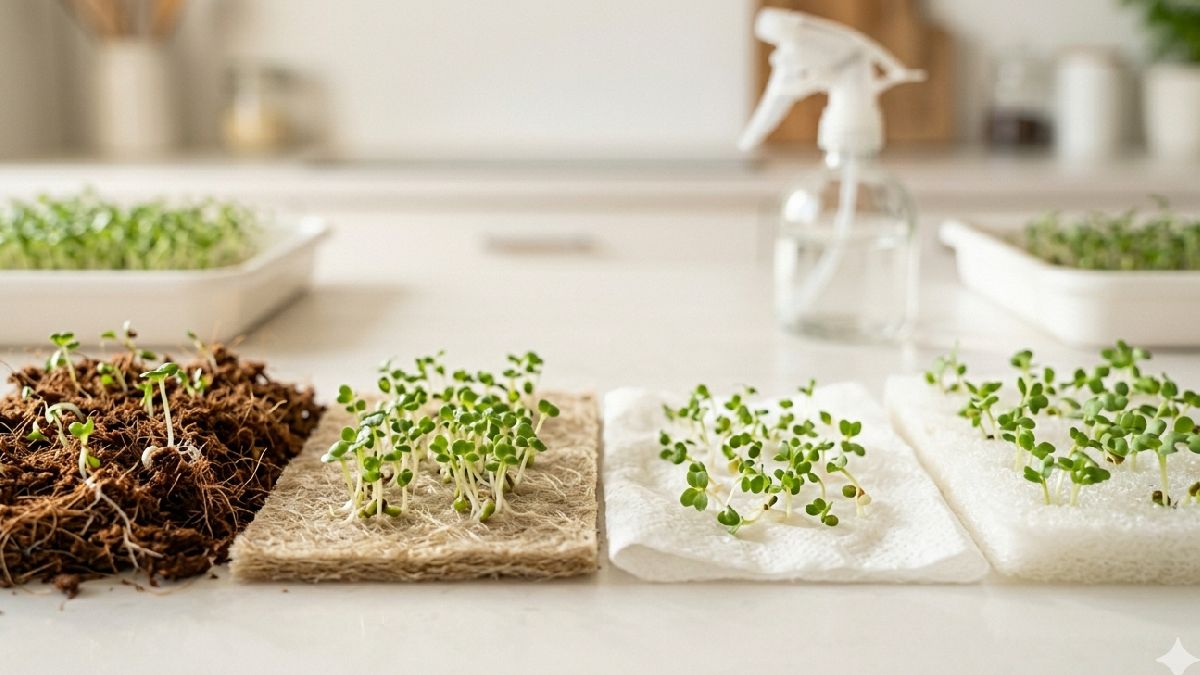
Beginners notice changes quickly with each medium. Some hold moisture longer, some dry quickly. Light misting matters every time. Shoots respond fast when medium right. Kitchen corner stays neat, feels alive. Tiny greens still push strong. Effort small, results feel big.
H3: Coconut Coir (Eco-Friendly Option)
Coconut coir feels soft under the seeds. I used it once, and the texture was light and fluffy. It holds water well but not too much. Roots spread easily inside it. No soil smell, very clean setup overall. Beginners find it simple to handle. Watering needs balance, not too wet. Growth stays steady if you watch it daily. Leaves come out clean, green, healthy look. Kitchen setup stays tidy, no mess outside the tray. Eco-friendly choice, feels natural and safe.
Hemp Grow Mats (Most Popular)
Hemp grow mats feel simple from the start. I laid one down, no mixing, no fuss. Seeds sit evenly on top, almost perfectly spread. Water goes in, mat holds it steady but not soggy. Shoots come up clean, roots hold tight underneath. Beginners like it because the setup is quick.
No soil mess at all. Growth feels even most of the time, not random patches. Trays look neat on shelves. The kitchen stays clean, and nothing spills around. Easy option, works well for most microgreens setups.
Paper Towels (Budget Method)
Paper towels feel too simple at first. I tried it once, just out of curiosity. Wet towel in tray, seeds spread on top. No soil, nothing fancy. Water control becomes tricky here, too wet, and it turns messy fast. Too dry, seeds just sit there. Sprouts still come up, surprisingly.

Roots hold onto fibers, and leaves push green slowly. Beginners use this method mostly for practice. It costs almost nothing, easy to start. The kitchen stays clean, no dirt at all. Growth works, but needs close watching every day.
Hydroponic Fiber Mats
Hydroponic fiber mats feel light and clean under seeds. I placed one in a tray; it sat flat, almost soft, sponge-like. Water spreads evenly, not pooling anywhere. Seeds stay in place, roots go down easily. Sprouts come up steady, green, and clean, looking.
No soil mess, no dirt stuck anywhere. Beginners like it because control feels simple. Just water, light, wait. The kitchen setup always stays neat. Growth feels smooth, but faster than paper towels. Daily check still needed, small mistakes show quickly.
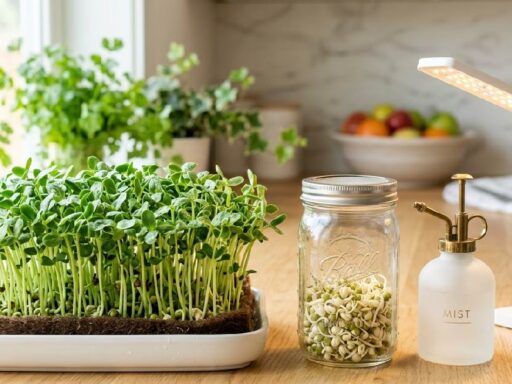
Essential Supplies You Need
I started soil-free microgreens with very basic things. Nothing fancy at all. A shallow tray sits first. Then a growing mat or a coco coir sheet. Seeds come next, small but full of life. Spray bottle feels important, water control becomes easy. Light source matters; both windows and LEDs work.
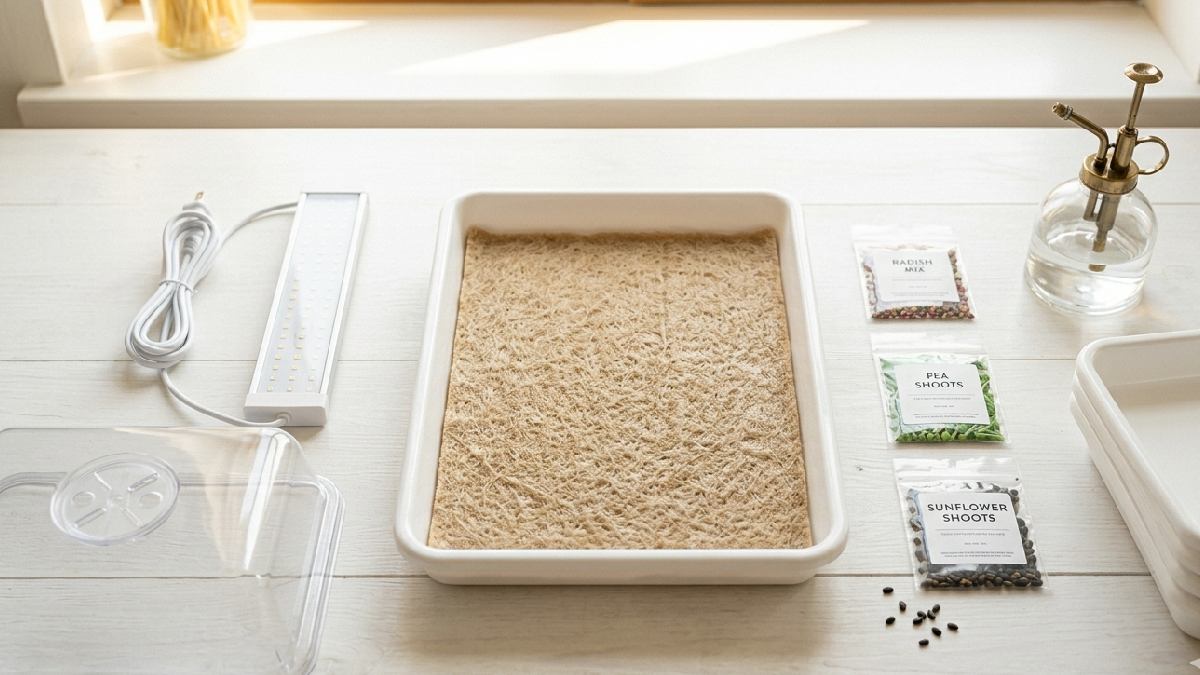
Some people add a cover dome, and the humidity stays better there. Beginners think setup is hard, but it really isn’t. Everything fits on a small table. Kitchen corner works fine too. Mist lightly, check daily. Tiny greens still push fast. Effort stays low, results feel fresh and green.
Growing Trays (With or Without Holes)
I used two trays once, one with holes, one without. Both worked, just felt different. The tray with holes drained water fast, and the roots stayed cleaner. The no-holes tray held moisture longer, sometimes too long. Seeds sat evenly, then tiny shoots started pushing up.
Beginners notice water control matters a lot. Too wet, roots struggle quietly. Too dry, growth slows down. I kept checking daily, just small looks. The kitchen corner stayed green anyway. Effort felt light, results still came.
High-Quality Microgreen Seeds
The first time I used random seeds, the result was messy. Some sprouted fast, some just stayed quiet. Later, I switched to proper microgreen seeds, and everything changed a bit. Germination became more even, and shoots pushed up strong. Leaves looked clean, color deeper green.
Beginners notice this difference quickly. Old seeds act lazily sometimes, grow patchily and weakly. Fresh ones respond fast to water and light. I still mess up small things, but seeds make it easier. The kitchen corner feels more alive now. Effort stays the same, reward feels bigger.
Water Spray Bottle
I used a normal glass at first, felt easy. Water went everywhere, too much sometimes. Then I switched to a spray bottle; things changed. Mist spreads softly, even on tiny seeds. No flooding, no dry spots. Shoots stay happy, roots don’t drown. Beginners notice control improves fast.
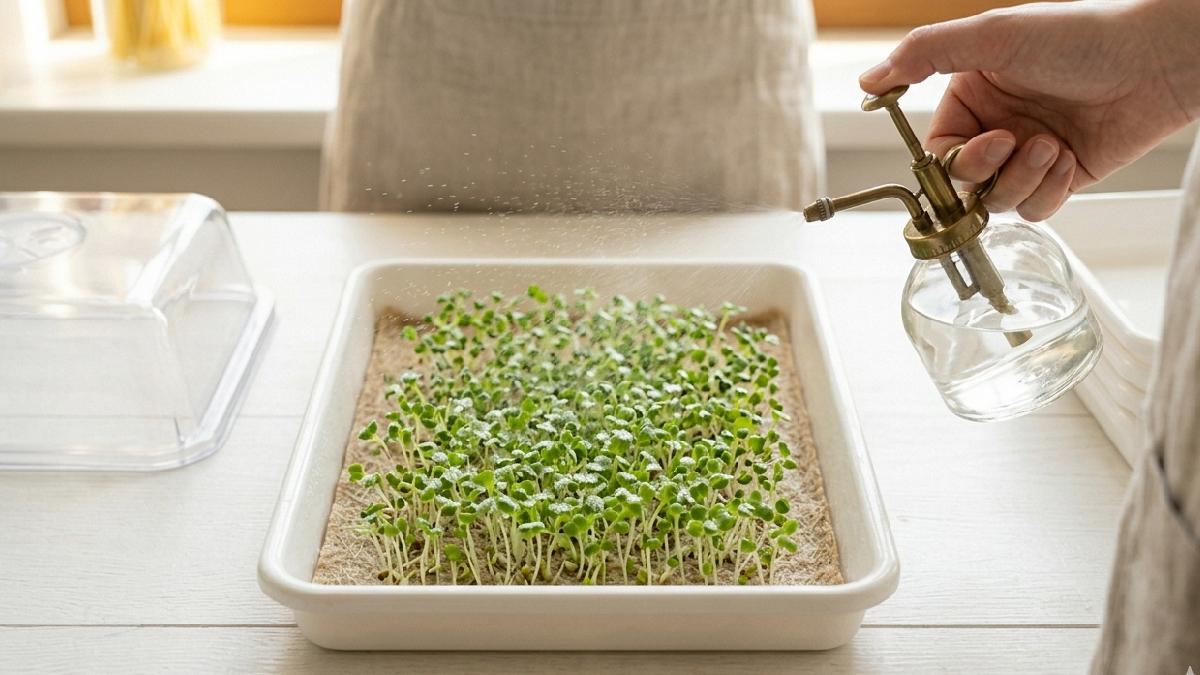
I spray lightly in the morning, sometimes in the evening too. Small drops sit on the soil, not heavy at all. The kitchen corner stays clean, with less mess. Effort feels small, growth still strong. Simple tool, big difference in daily care.
Light Source (Natural or LED)
I started with a window light, which felt simple enough. Morning sun came softly, then disappeared quickly. Some shoots leaned too much, chasing brightness. Then I tried the LED light, setup felt different. Light stayed steady, no mood change like the sun. Leaves grew more even, color turned deeper green.
Beginners notice balance matters here. Natural light works, but not always reliable. LED feels controlled, almost predictable growth. I still switch between both sometimes. Kitchen corner stays green either way. Even with a small effort, plants still respond strongly.
Step, by, Step Guide to Growing Microgreens Without Soil
I set everything on the counter one evening. No soil, just trays, water, and a growing mat. Felt a bit odd at first. Seeds scattered across the surface, not perfect but okay. Mist went on lightly, not soaked. Next days nothing much, then tiny green heads started showing. Roots went down into the mat quietly.
Leaves started reaching up toward the light. I adjusted the water slowly, learned by watching. Too wet made things messy, too dry slowed them down. LED light helped when the sun faded. The kitchen corner started feeling alive again. The effort stayed small, results came faster than expected.
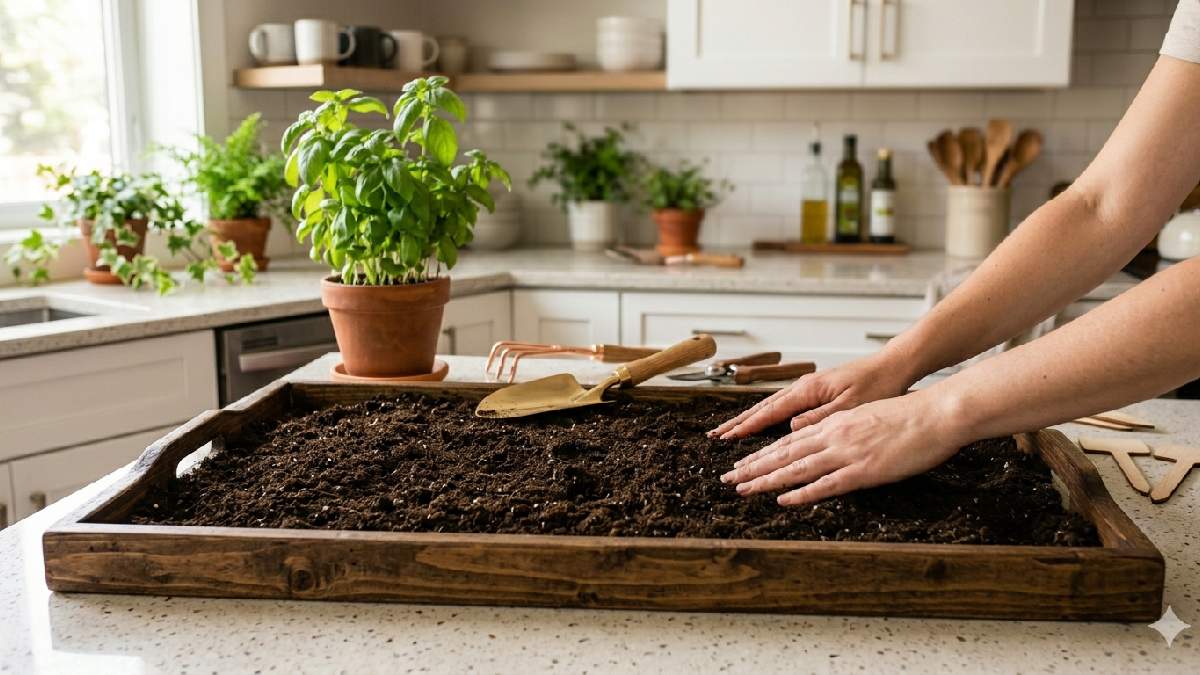
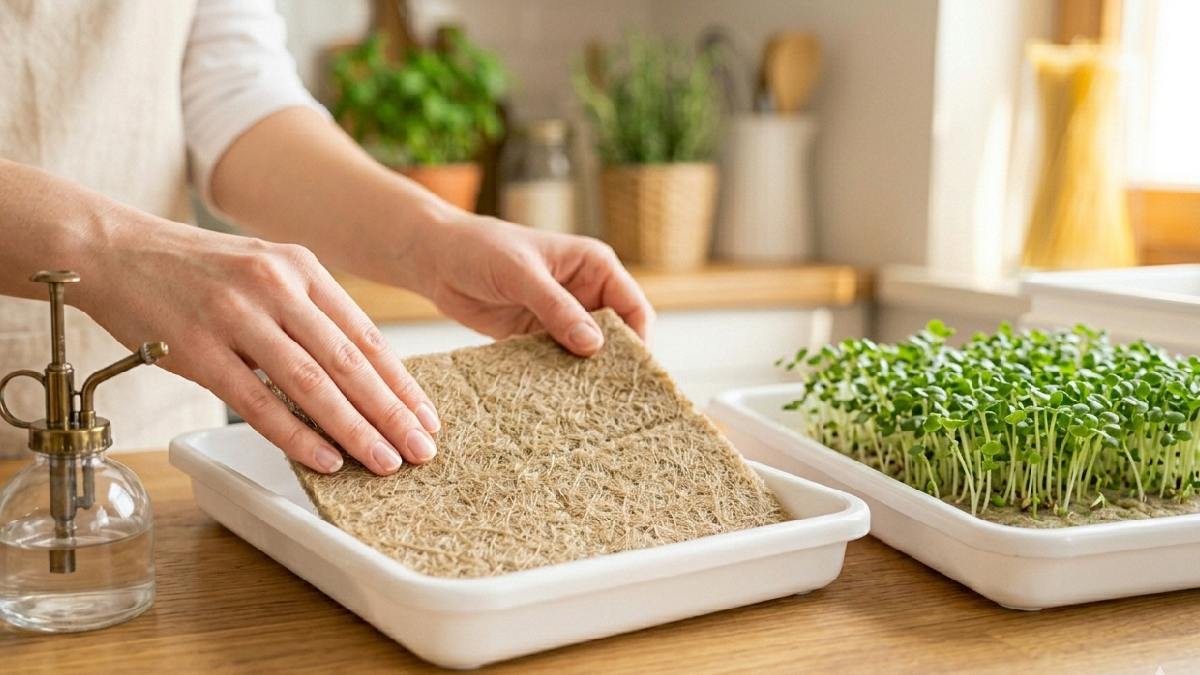
Step 1: Prepare Your Tray
I picked a shallow tray, nothing special, just clean plastic. Washed it quickly, still some water drops left inside. A growing mat went down first, felt soft under fingers. No soil this time, that felt different somehow. I pressed the mat lightly so it stayed flat.
Not too tight, not loose either. Seeds waited on the side, tiny but full of life. I spread them slowly, not very even, honestly. Still worked fine later. Tray looked simple, almost empty at that moment. Kitchen counter ready, small setup, but felt important.
Step 2: Add Growing Medium
I placed the growing mat inside the tray, which felt soft and a bit damp. Not perfect alignment, still covered most of the base. It sat there quietly, absorbing water slowly. No soil smell, only a clean surface. I pressed it down with fingers, gentle pressure only.
Some edges lifted slightly; I ignored that. Water went in next, sprayed lightly, not flooding. Mat turned darker, looked ready for seeds. Beginners might overdo water here; I almost did, too. Kitchen counter stayed clean, setup felt simple but alive already.
Step 3: Sow Seeds Evenly
I took seeds in hand, tiny and dry. Spread them across the mat, not very perfectly,t honestly. Some spots were crowded, and some empty gaps stayed there. Still went ahead like that. Seeds sat quietly, no movement at first. Felt almost nothing was happening.
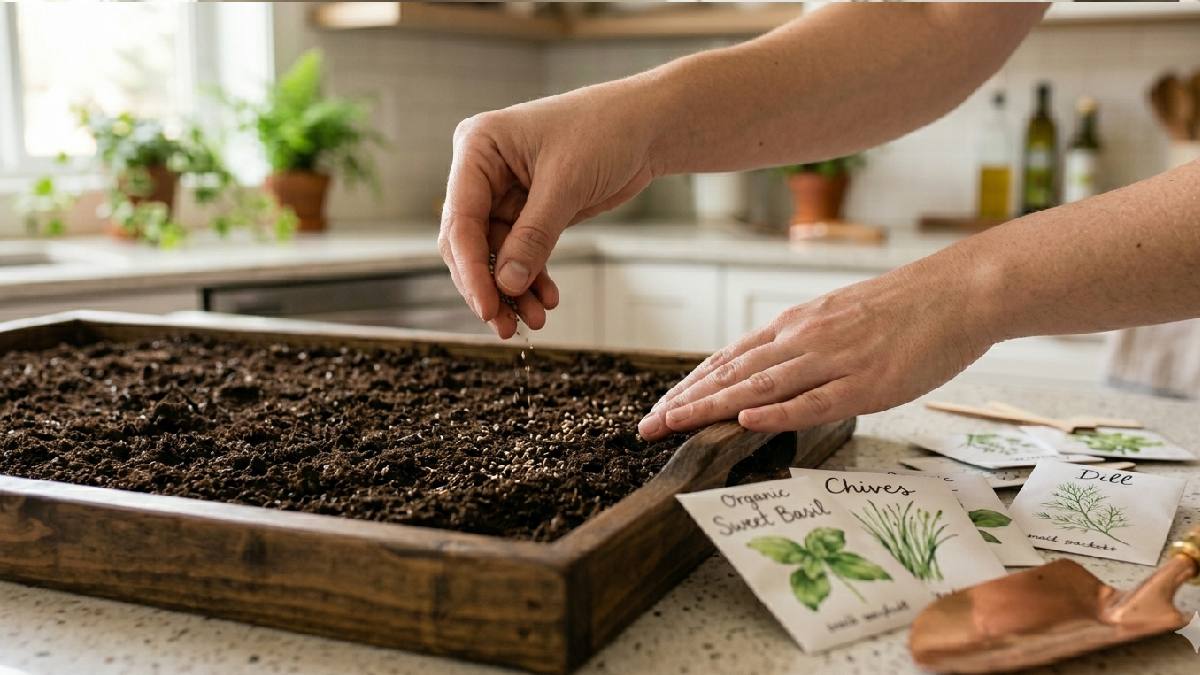
Then I misted them gently, just a soft spray. They stuck to the surface slowly. Beginners usually overthink this part; I did also. The kitchen light was soft, and the tray looked calm. Small mistakes stayed, growth still started fine later.
Step 4: Water and Cover Seeds
I sprayed water again, a light mist this time. Not soaking, just enough to keep seeds moist. Some drops pooled; I left them like that. The seeds looked darker after water, kind of settled in. Then I placed a cover over the tray. Not fully tight, a little air stayed inside.
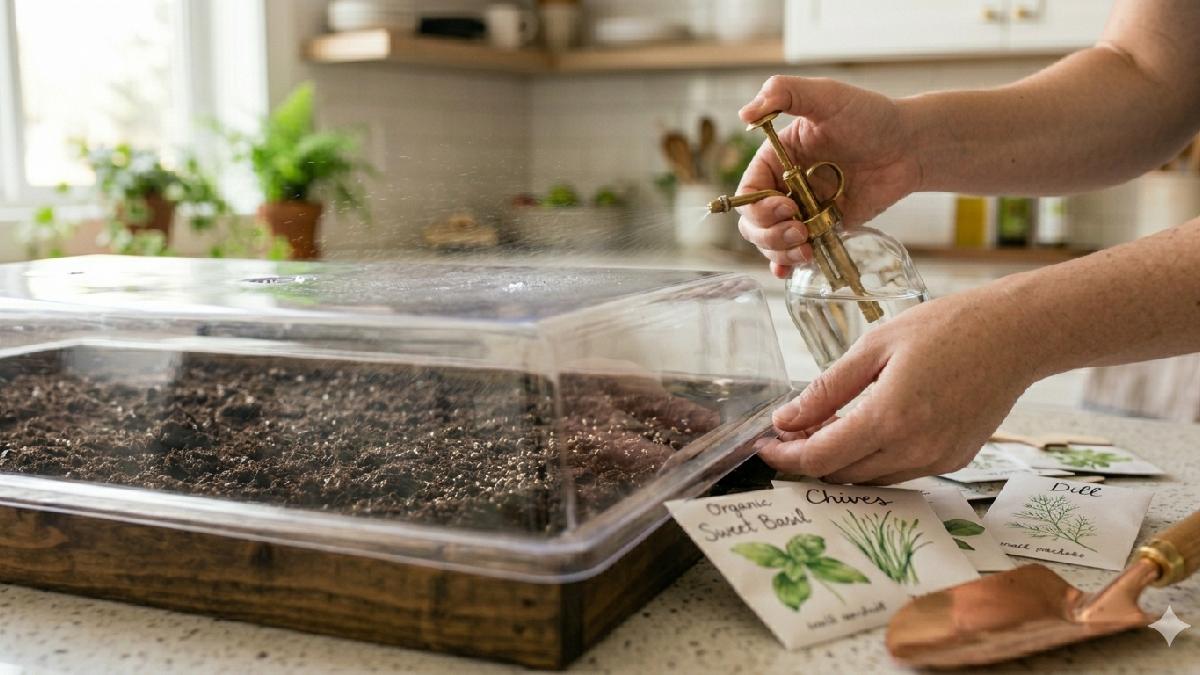
Felt a bit like a small greenhouse. Humidity built up slowly. Beginners often overwater here; I almost did the same. Tray stayed quiet on the counter, no movement yet. The kitchen felt still, but growth was starting underneath.
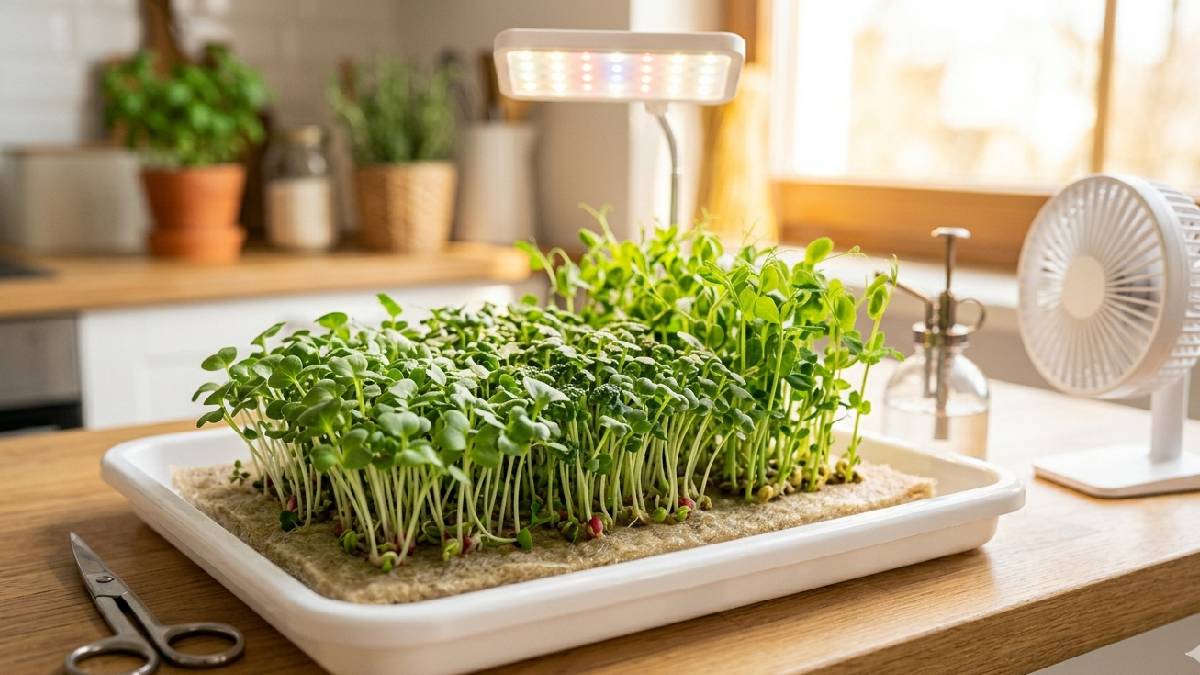
Step 5: Provide Light After Sprouting
First tiny sprouts showed up, almost surprising. I moved the tray closer to the light, near the window at first. Some shoots leaned, searching for brightness. Then I added the LED above, soft glow stayed steady. The leaves started standing upright slowly. Color turned deeper green over time.
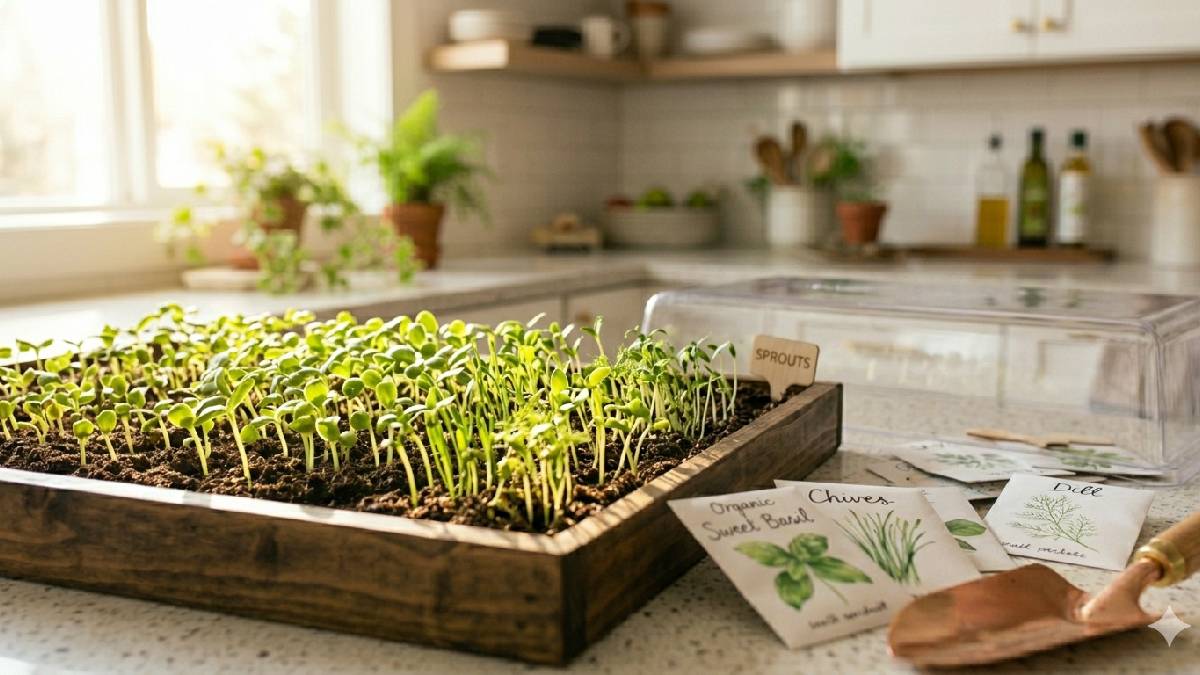
I checked it daily, with small changes every morning. Too much light made stretching, so I fixed that quickly. Beginners usually miss this step; I almost did, too. The kitchen corner slowly turned brighter, with a more alive feeling. Growth felt simple but active at the same time.
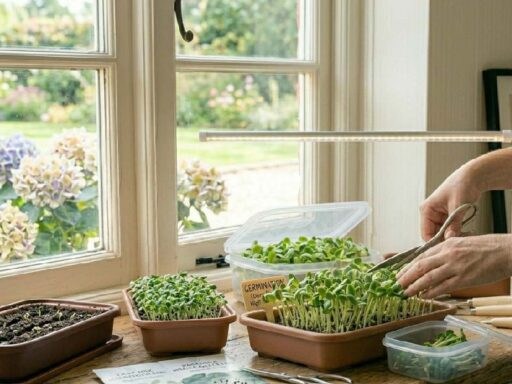
Step 6: Harvest Your Microgreens
Leaves looked ready, small but firm. I waited one more day, but I still felt unsure. Then grabbed scissors and cut just above the mat. Tiny bunches came off easily. Some shoots fell unevenly, didn’t matter much. Flavor surprised me, fresh and sharp. Beginners usually wait too long; I almost did the same.
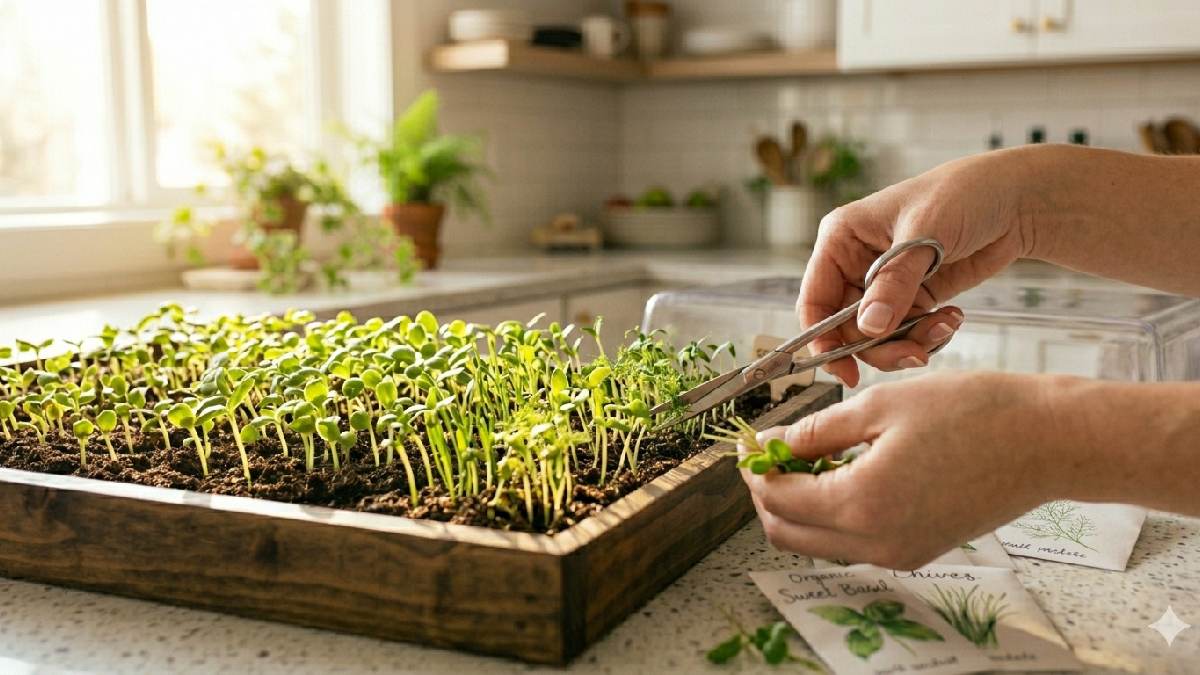
Roots stayed behind, clean on the mat. The tray looked empty after harvest, bit strange feeling. The kitchen counter smelled green somehow. The effort felt small, the reward came quickly. Eating fresh microgreens felt simple and real.
Best Microgreens to Grow Without Soil
I tested a few varieties; some worked better than others. Radish grows fast, with almost no effort. Broccoli stays steady, color deep and fresh. Pea shoots feel soft and climb quickly on mats. Mustard adds a spicy kick, tiny leaves, but a strong taste. Kale grows more slowly, still very reliable.
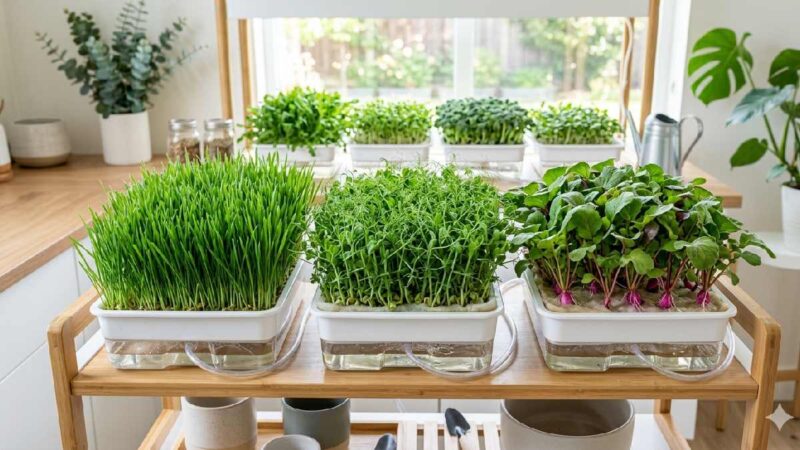
Arugula reacts fast to light, a little wild sometimes. Beginners notice clear differences between seeds. Some need more water, some less. Mats hold them fine, no soil needed. The kitchen corner fills with green quickly. Mist lightly, check daily. Tiny greens still surprise every time. Effort small, harvest feels big.
Radish Microgreens
Radish microgreens grow fast, almost too fast sometimes. I saw tiny shoots in just a couple of days. Leaves pushed up sharp and bright green. Stems stayed thin but strong enough. Flavor hits spicy, with a little pepper kick. Beginners notice speed first; it surprises them.
Water stayed light; no heavy soaking was needed. Light made them stand quickly and straight. I checked the tray often; changes came daily. The kitchen corner felt lively, almost busy. Effort stayed low, reward came quick.
Broccoli Microgreens
Broccoli microgreens grow steadily, not too fast but consistently. I saw small green heads pushing up after a few days. Leaves looked soft, slightly thick at the edges. Stems stayed firm, not floppy at all. Flavor is mild, with a bit of an earthy taste. Beginners like them because they feel easy.
Water mist stayed light; no overwatering needed. Light helped them stand straight and green. I checked the tray daily, and small changes kept coming. The kitchen corner felt calm but alive. Effort stayed simple, reward felt healthy and fresh.
Pea Shoots
Pea shoots grow tall, faster than I expected the first time. Stems climbed upward, a bit tangled sometimes. Leaves stayed soft, light green, and fresh, looking. Flavor is sweet, almost like garden snap. Beginners notice height quickly; it feels impressive.
I gave them more space than others. Water stayed moderate, not too wet. Light helped them stretch evenly. I checked the tray daily, and growth felt visible each morning. The kitchen corner looked greener, more alive. Effort stayed simple, reward felt big and fresh.
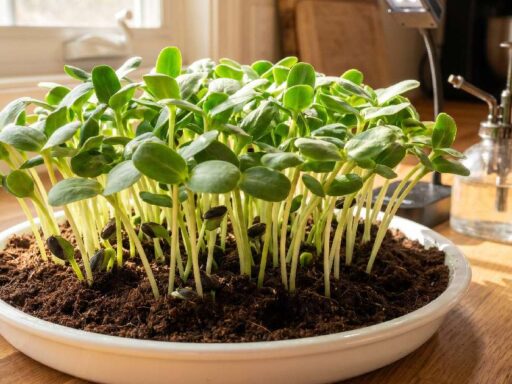
Sunflower Microgreens
Sunflower microgreens feel strong right from the start. Seeds are big, not like others. I soaked them first, felt necessary step. Sprouts pushed up thick and steady. Leaves opened wide, almost heavy-looking. Stems stayed sturdy, not fragile at all. Flavor: nutty, slightly crunchy bite.
Beginners notice structure quickly, which looks different from soft greens. Water kept balanced, not too much. Light helped them stay upright. I checked the tray often; the growth felt bold each day. The kitchen corner looked full and lively. Effort stayed simple, reward felt solid and fresh.
Common Problems and How to Fix Them
I faced issues early, thought something was wrong with the setup. Seeds sometimes didn’t sprout evenly. Water too much, the mats turned soggy. Too little, the seeds stayed dry. Mold showed up once, looked scary, but was fixable. I improved the airflow, and the problem after reducing fast. Light issues made the shoots stretch weirdly.
I moved the tray closer, and things improved. Beginners panic here, but it’s normal. Tiny adjustments fix most problems. Check moisture daily, not too wet. Rotate trays for even growth. Kitchen corner still stays alive. Microgreens bounce back quickly. Effort is small, learning feels big.
Mold Growth Issues
Mold showed up once in my tray, white fuzzy spots. I had overwatered and didn’t notice early. Smell felt a bit off. The leaves started looking tired. Beginners miss this part often; I did, too. Air felt trapped under the cover. Growth slowed suddenly.
I removed the cover and tried drying the soil. Some shoots survived, some didn’t. Mist changed after that mistake. Water became lighter, more careful. The kitchen corner was still recovered later. Effort stayed small, lesson felt big and real.
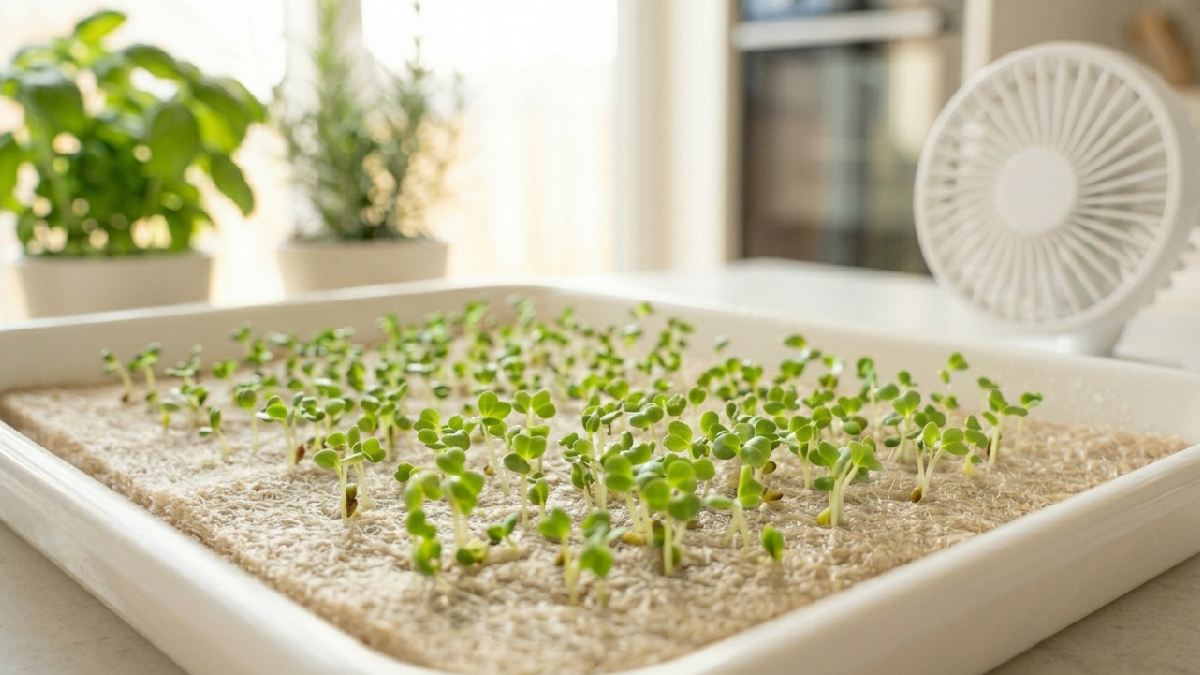
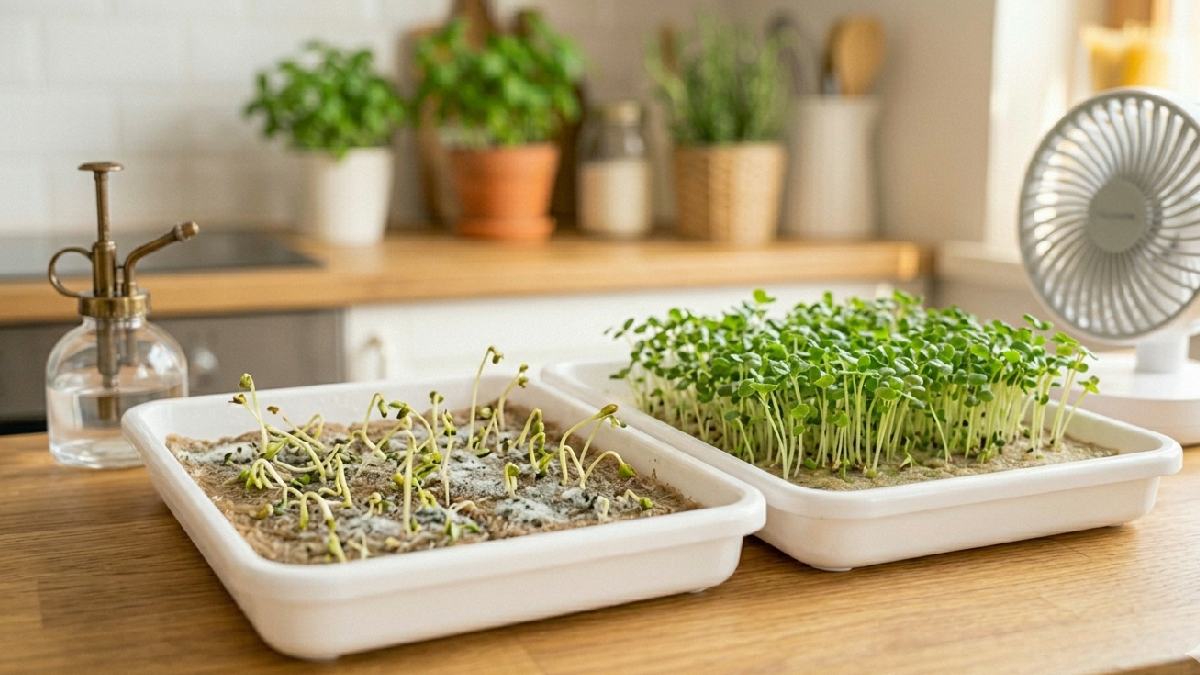
Uneven Germination
Seeds didn’t all sprout together in my first tray. Some popped early, others stayed quiet for days. It looked messy, with patchy green spots everywhere. I kept checking like something was wrong. Beginners often think the whole batch failed. I thought the same. Light was okay, and water was also fine.
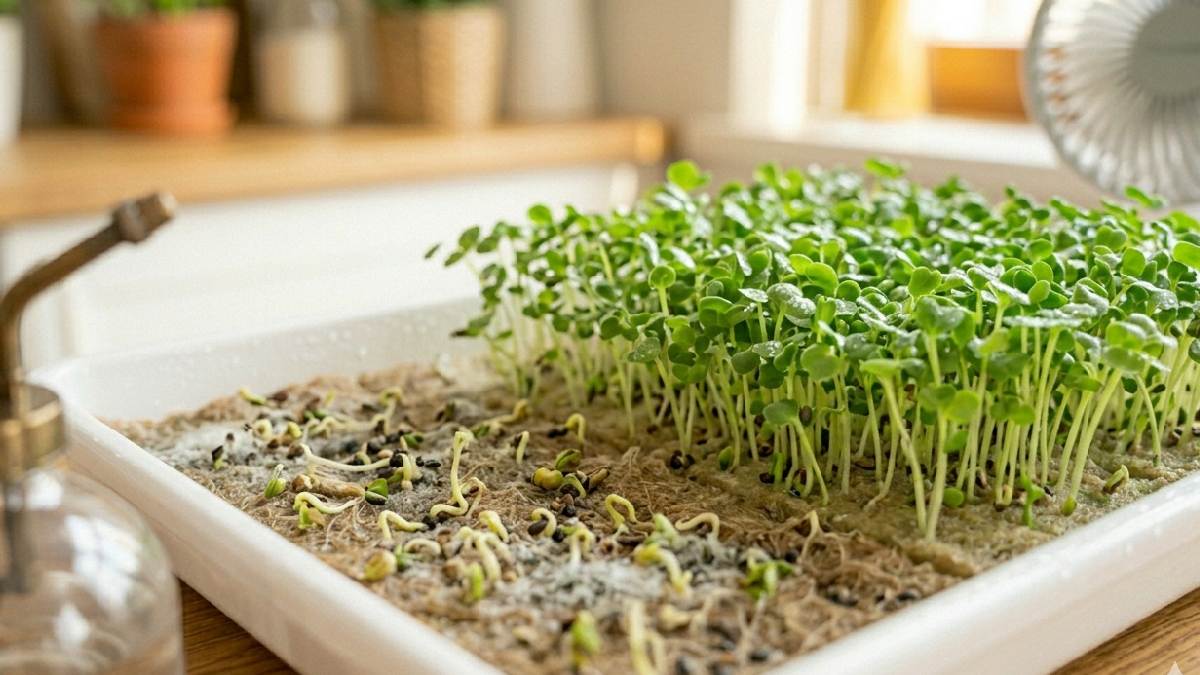
Still, gaps stayed there. I realized seeds weren’t spread evenly at the start. Some areas are too crowded, some are almost empty. Growth continued slowly after that. The kitchen corner looked uneven but alive. Effort stayed simple, result felt a bit random but real.
Weak or Thin Growth
Some trays came out weak, stems looking thin and tired. Leaves stayed small, not fully open. Light was not enough that time, and I noticed it late. The shots stretched too much, searching for brightness. Beginners often miss this early sign; I did the same. The water was fine, but the problem was with the light.
Growth felt soft, almost fragile to touch. I moved the tray closer to the LED later. Changes came slowly, not an instant fix. The kitchen corner is still green but less strong. Effort stayed the same, result felt weaker than expected.
Soil vs Soil, Free Microgreens (Quick Comparison)
I tried both setups, with soil and no soil. Soil feels natural, roots dig deep, growth steady. But it gets messy, and cleanup takes time. Soil, free feels clean, mats stay light, easy to handle. Water control becomes important there. Soil holds moisture longer, sometimes too much. Soil, free, dries faster, needs attention more often.

Beginners notice differences quickly in texture and speed. Both grow healthy greens. Flavor stays almost the same. Kitchen setup decides the choice sometimes. Small space? Soil-free works better. Traditional feel? Soil wins there. Effort changes, results stay close. Both ways give fresh microgreens.
Cleanliness Comparison
Pro Tips for Better Results
I learned small things after a few messy trays. Water balance mattered most, too much made everything soggy, too little slowed sprouts down. Light placement changed results fast, a bit too far and shots stretch weak, too close and leaves feel stressed. Fresh seeds always gave better growth; old ones acted slowly and unevenly.
Airflow helped more than expected; even a small breeze kept things healthy. Harvest timing made a real difference; an early cut gives crisp flavor, a late cut feels rough. Tiny adjustments, big change. Every tray still feels like a small experiment.
Avoid Overwatering
I used to think that more water means better growth. Turned out wrong. Soil stayed soggy, roots started struggling quietly. Leaves curled a bit, stems lost strength. Mold even showed once, in small white patches. Beginners often make this mistake; I did too. Mist felt enough, not heavy pouring.
Water sitting too long kills airflow. Growth slowed down without a clear reason at first. I reduced the water slowly, trays improved after that. The kitchen corner felt cleaner, plants looked happier. The effort stayed simple; the correction made a big difference.
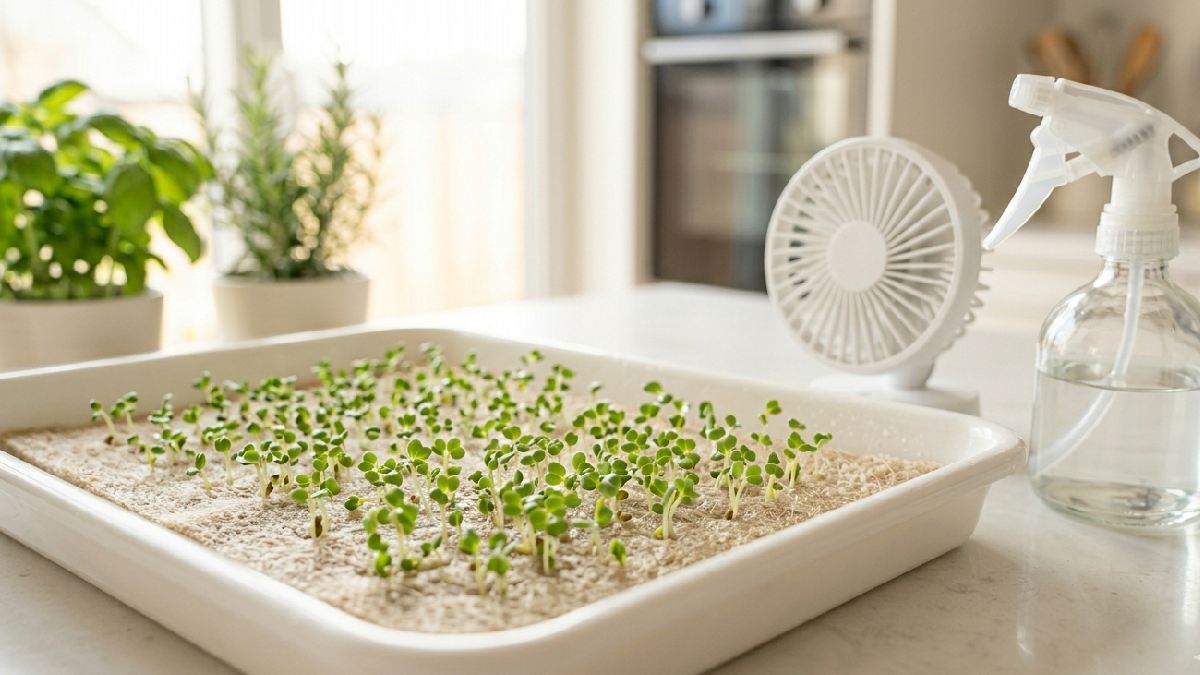
Ensure Proper Air Circulation
Air stayed still in my first setup. Tray felt closed, almost trapped. Leaves looked okay, but growth felt slow. Stems didn’t get strong enough. Beginners miss this often; I also did. I opened the window a bit, a small change. Gentle airflow started moving around trays.
Mold risk dropped after that. Shoots stood better, with less droopy look. I even used a small fan sometimes. Nothing strong, just soft air movement. The kitchen corner felt fresher, more active. Effort stayed light, result improved clearly.
Use Clean Equipment
I once reused a tray without washing it properly. Looked fine at first, felt harmless. Later, growth turned uneven and a bit weak. Old dirt stayed hidden in corners. Beginners don’t notice this mistake quickly; I didn’t either. Clean tools make a big difference here.
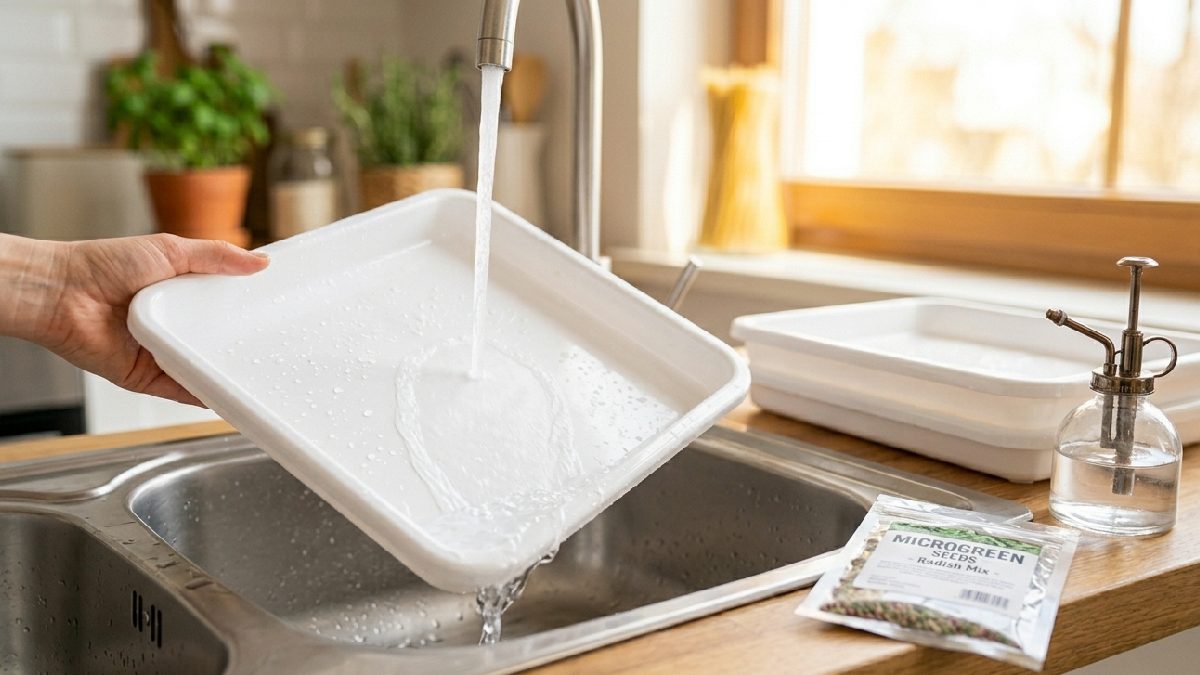
I started washing trays properly after every use. Even the spray bottle gets cleaned regularly. Seeds responded better after that change. Mold chances dropped a lot. The kitchen corner felt fresher and safer. The effort stayed simple, and the result improved clearly.
Rotate Trays for Even Growth
I kept one tray near the window for days. One side grew faster; the other side lagged. Plants leaned slightly, chasing light unevenly. It looked a bit messy, not balanced. Beginners usually miss this small detail; I did, too. Then I started rotating trays daily.
Small turn, nothing complicated. Growth became more even after that. Leaves stood straighter, stems looked balanced. Light hit all sides slowly over time. The kitchen corner felt more organized. Effort stayed simple, results looked cleaner and healthier.
FAQs About Growing Microgreens Without Soil
Can you grow all microgreens without soil?
Not every microgreen behaves the same without soil. Most grow fine on mats, but some struggle a bit indoors.
Do microgreens need nutrients in hydroponics?
Usually, no extra nutrients are needed. Seeds already carry energy, and water does most of the work in the early growth stage.
How long do soil, free microgreens take to grow?
Most soil, free microgreens take about 7 to 14 days. Growth depends on light, water, and the seed type used.
Are soil, free microgreens safe to eat?
Yes, they are safe if grown clean. Good water, clean trays, and proper airflow keep them fresh and healthy.
Conclusion
Growing microgreens without soil felt strange at first, but it slowly made sense. Trays stayed cleaner, setup looked simple, less mess around. Seeds still carried energy, and shoots pushed up strong. Some trays grew faster, some slower, not always predictable. Light and water mattered more here; small mistakes showed quickly.
I kept adjusting daily, nothing perfect, but it worked. The kitchen corner felt alive in a different way. Effort stayed light, routine became easier with time. You learn quietly, each tray teaching something new. Results are not always the same, but still satisfying enough to continue.