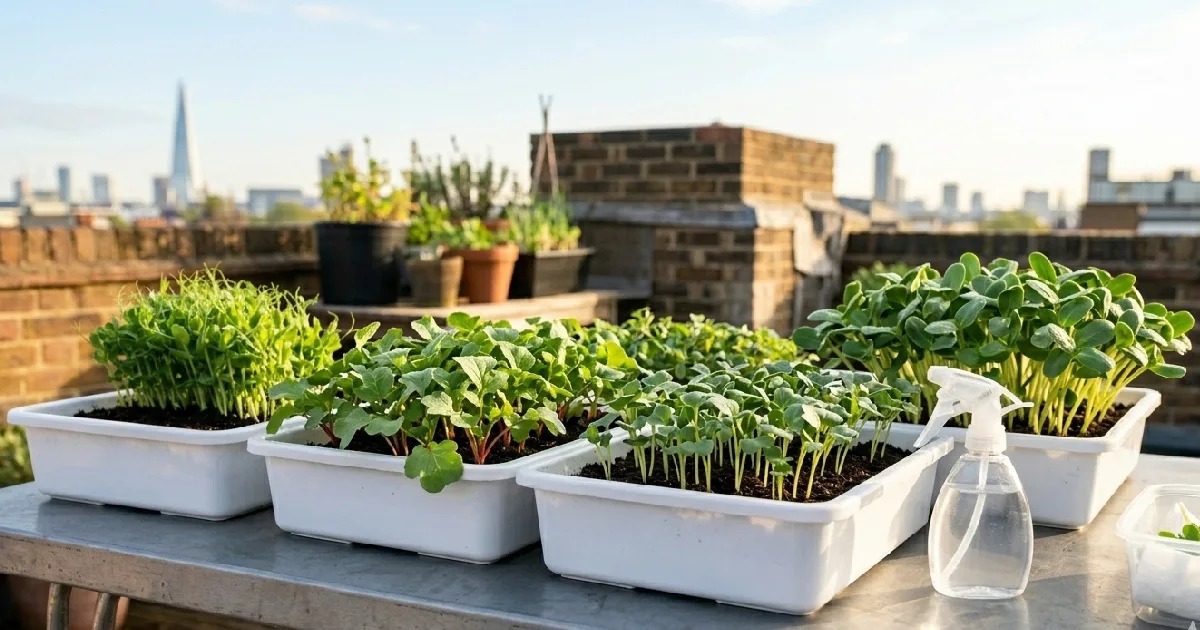
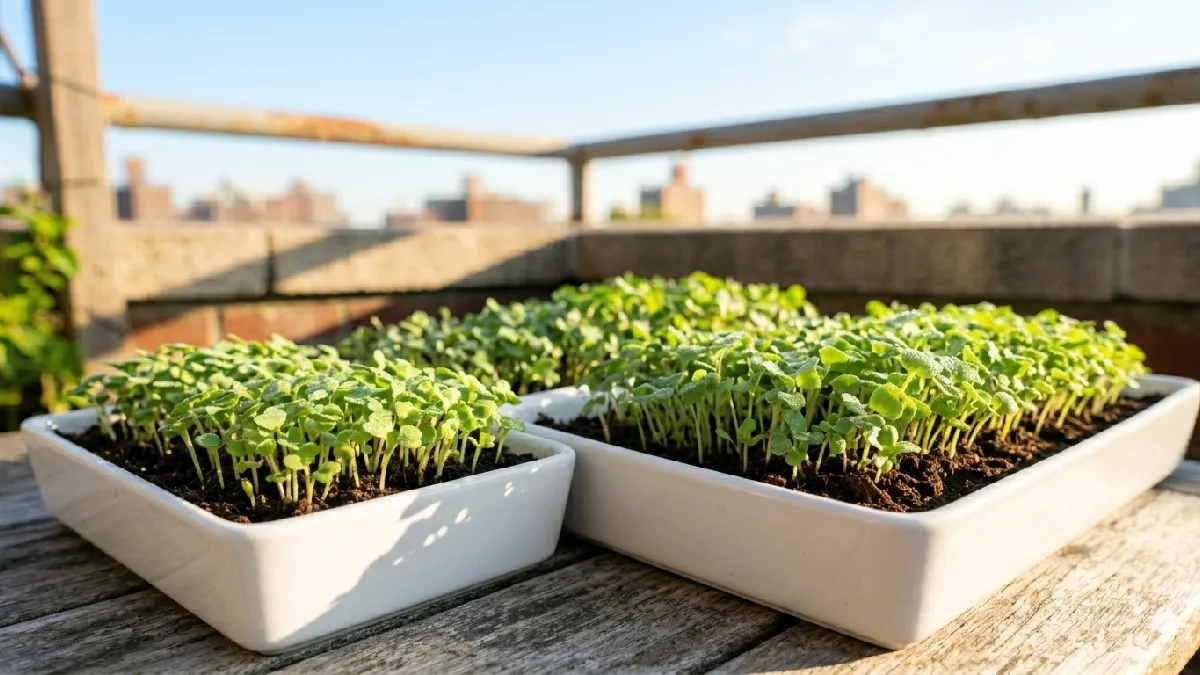
Step-by-Step Guide to Growing Microgreens Outdoors Successfully
Growing microgreens outdoors sounds easy, but it still needs a bit of planning. I tried my first tray on the balcony, and the results were not the same every time. Some days the sun is too strong, other days the wind just messes things up. Morning light works best, afternoon shade keeps things safe. I use a shallow tray, cocopeat mostly, sometimes soil if available.
Seeds spread by hand, not perfect lines, still works fine. Watering stays light, rain sometimes does the job too, not always good. I check daily, growth changes fast outside. Leaves turn green quickly, flavor feels more natural, a bit wild sometimes.
Introduction to Growing Microgreens Outdoors
Growing microgreens outdoors looks simple at first, but reality feels a bit different. I placed my first tray on the rooftop, thinking the sunlight would handle everything. Some trays shot up quickly, others just slowed down without reason. Heat came strongly some days, wind also messed with the leaves. Outdoor light feels natural, fresh air is also there, still not always stable.
I found a corner with partial sun, but shade too. Soil works fine, cocopeat is also okay if the moisture stays right. I watered lightly, sometimes overdid it, and the tray suffered. No perfect system outside, just small adjustments daily. Leaves still grow green, taste feels fresh, a bit wild sometimes.
What Are Microgreens?
Microgreens are tiny young plants, harvested early after sprouting. I first saw them as small green shoots, nothing like full-grown vegetables. They come from seeds like radish, broccoli, or mustard. Growth happens fast, just a day, a year, and you already see leaves forming.
They are not baby plants, fully grown, more like early-stage greens. Taste feels strong sometimes, even stronger than mature plants. People grow them for fresh food, quick harvest, and a simple setup. Small size, but nutrition feels surprisingly high.
Why Grow Microgreens Outdoors?
Growing microgreens outdoors feels natural and simple. I tried it on the rooftop, sunlight did most of the work. Plants looked stronger compared to the indoor trays sometimes. Fresh air helps leaves stay crisp, and growth feels more alive. You don’t need a full setup like lights or timers.
Just a good spot with balanced sun and shade works fine. Rainwater also helps, though sometimes it gets too much. Outdoor grow selectivity also makes one feel more relaxed. Still, weather changes everything, so daily checks become important.
Benefits of Growing Microgreens Outdoors
Growing microgreens outdoors brings a more natural and simple experience. I noticed plants look fresher under real sunlight, color also feels deeper. You don’t need grow lights or extra electricity, just a good open space. Air circulation stays strong outside, so plants feel less cramped.
Growth sometimes feels faster in good weather, especially morning sun. Costs stay low because the setup is basic. Still, you need to watch the weather changes daily. Rain, heat, or wind can affect trays quickly. Outdoor growing feels simple, natural, and a bit unpredictable, too.
Natural Sunlight Advantage
Natural sunlight gives microgreens a strong and balanced growth. I placed trays in the morning and the evening, plants looked more vibrant than the indoor ones. Sunlight provides full-spectrum light, no need for an artificial setup. Leaves grow thicker, color feels deeper, almost fresh-looking.
Energy feels natural; plants respond quickly to light changes. You don’t worry about electricity or timers here. Still, too much harsh sun can burn delicate shoots sometimes. A bit of shade balance keeps growth steady and safe.
Low-Cost Method
Growing microgreens outdoors is a very low-cost method. I started with a simple tray, no lights, no extra equipment. Just seeds, soil, and water were enough. Sunlight handled most of the work naturally. No electricity bill, no fancy setup needed.
Even old containers can be used for growing. It feels budget-friendly and easy to start anytime. Still, small care is needed for watering and weather changes. Overall, the cost stays minimal, results still feel fresh and useful.
Faster Growth Potential
Microgreens outdoors sometimes grow faster, especially under good sunlight. I noticed radish and mustard shoots popping up in a few days on the rooftop. Natural light gives strong energy, so plants respond quickly. Morning sun helps leaves develop early and stay active.
Air movement outside also supports healthy growth. Still, weather changes can slow things down suddenly. Too much heat or rain affects speed. When conditions are right, growth feels quick, almost surprising sometimes.
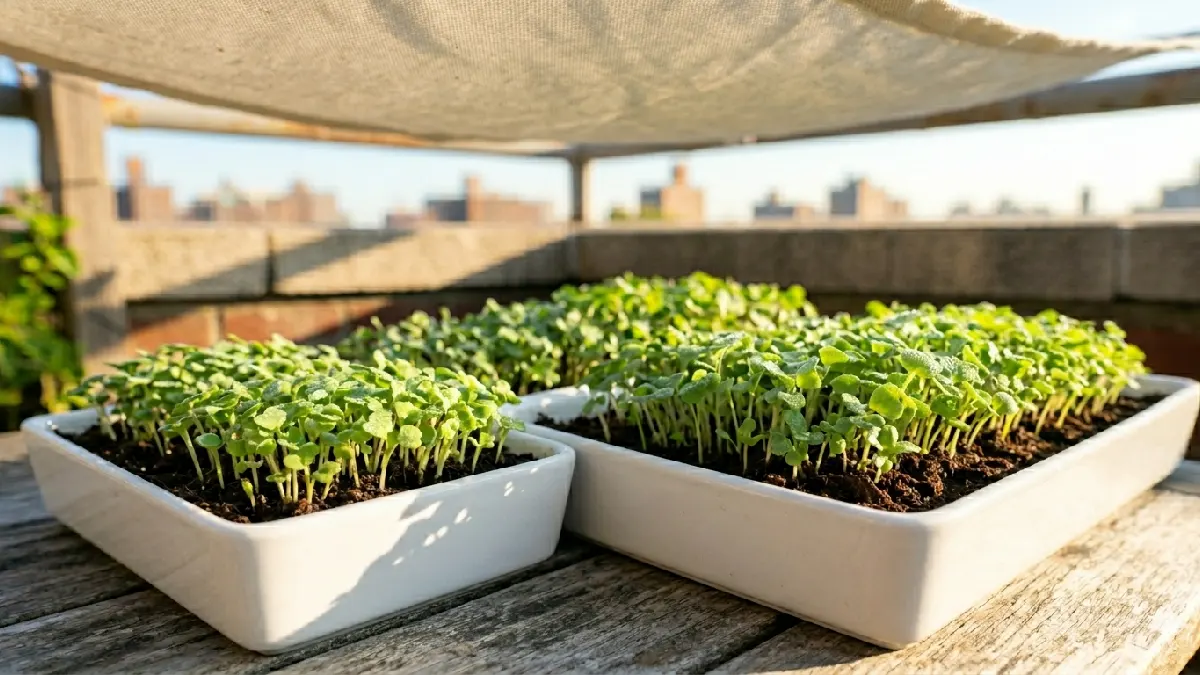
Best Conditions for Growing Microgreens Outdoors
Growing microgreens outdoors works best when conditions stay balanced, not extreme. I learned this after a few trays failed on hot days. Morning sunlight feels perfect, soft and steady, not too harsh. Afternoon shade helps protect delicate shoots from burning. Wind should be mild; strong gusts can damage trays easily.
Moisture needs control; soil should stay damp but not soggy. I check trays daily, and small weather changes matter a lot. With stable light, gentle air, and proper watering, outdoor microgreens grow healthy, green, and full of natural freshness.
Ideal Temperature Range
Microgreens grow best in moderate temperatures, not too hot or cold. I noticed trays struggle when the heat goes above the normal summer level. Around 18°C to 28°C feels comfortable for most varieties outdoors. Cooler mornings help seeds sprout better, and growth feels steady and calm.
Extreme heat dries soil fast, and plants look stressed quickly. Cold nights slow everything down, sometimes even stop growth for a while. Keeping trays in balanced weather spots gives more stable results. Simple range, but it makes a big difference in outdoor growing success.
Sunlight Requirements
Microgreens need proper sunlight, but not all-day harsh exposure. I keep trays where the morning sun hits softly and steadily. Around 3 to 5 hours of good light works fine outdoors. Too much direct afternoon sun can dry leaves and burn tips.
Partial shade later helps plants stay fresh and green. I noticed balanced sunlight gives even growth across the whole tray. No need for perfect conditions, just stable light daily. Simple sunlight control makes outdoor microgreens grow healthy and strong.
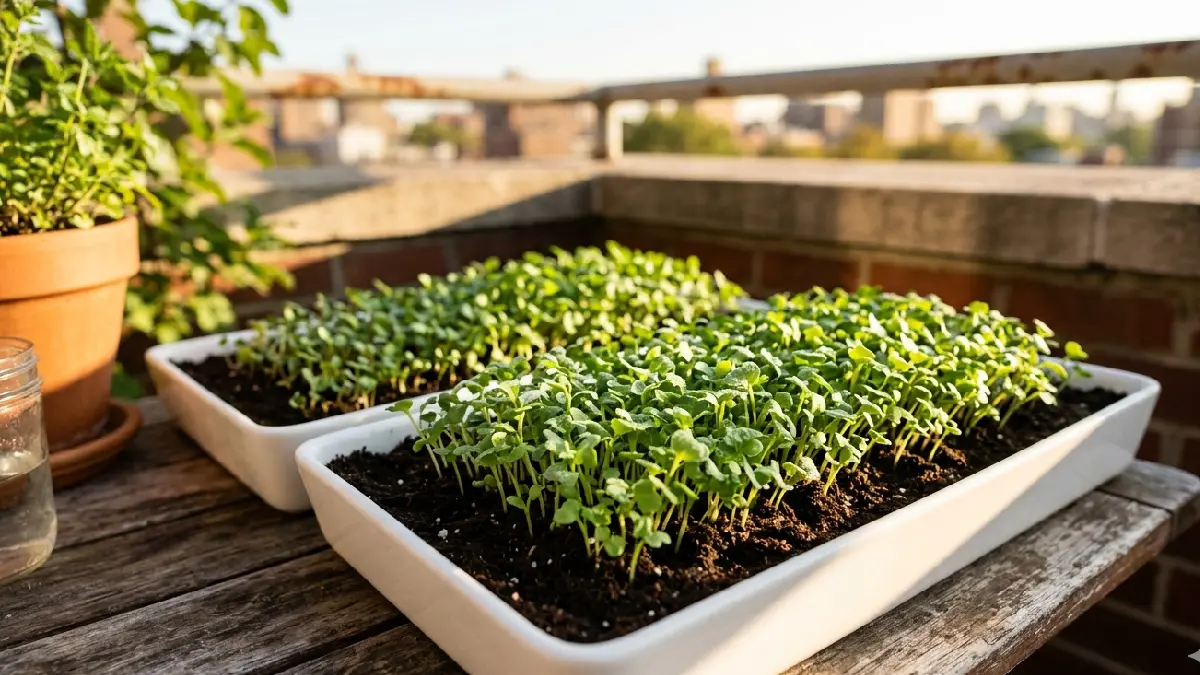
Soil and Growing Medium
Soil or growing medium plays a big role in outdoor microgreens. I tried normal garden soil first; the results were okay but a bit uneven. Later, I used cocopeat, growth looked cleaner and more controlled. Medium should stay light, soft, and hold moisture without getting soggy.
Heavy soil blocks roots and slows germination sometimes. A good mix allows seeds to spread and sprout evenly. I also noticed less mold when the medium stays airy. Simple choice, but it changes the whole growth quality outside.
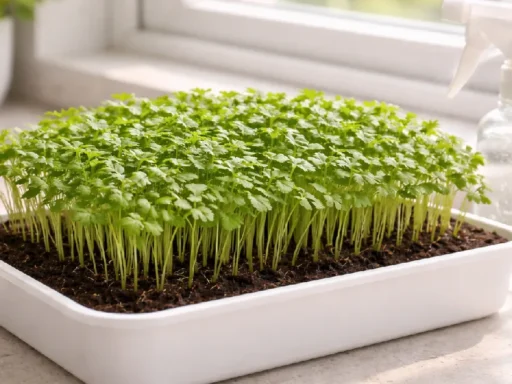
Step-by-Step Guide to Growing Microgreens Outdoors
Growing microgreens outdoors is simple when you follow basic steps with care. I started with a small tray on my rooftop, results came mixed at first. First, choose a spot with morning sunlight and light shade later. Fill the tray with soil or cocopeat, keep it soft and even.
Spread seeds properly, not too crowded, just a light covering works fine. Mist water gently, avoid flooding or heavy pouring. Check daily because outdoor conditions change fast. After a few days, tiny green shoots appear, and growth feels quick and natural. With small attention, the harvest becomes fresh and satisfying.
Step 1: Choosing the Right Seeds
Choosing the right seeds makes outdoor microgreens much easier. I learned this after a few weak trays using random seeds. Some varieties like radish, mustard, and broccoli grow fast and reliably outside. Old or low-quality seeds often give patchy results.
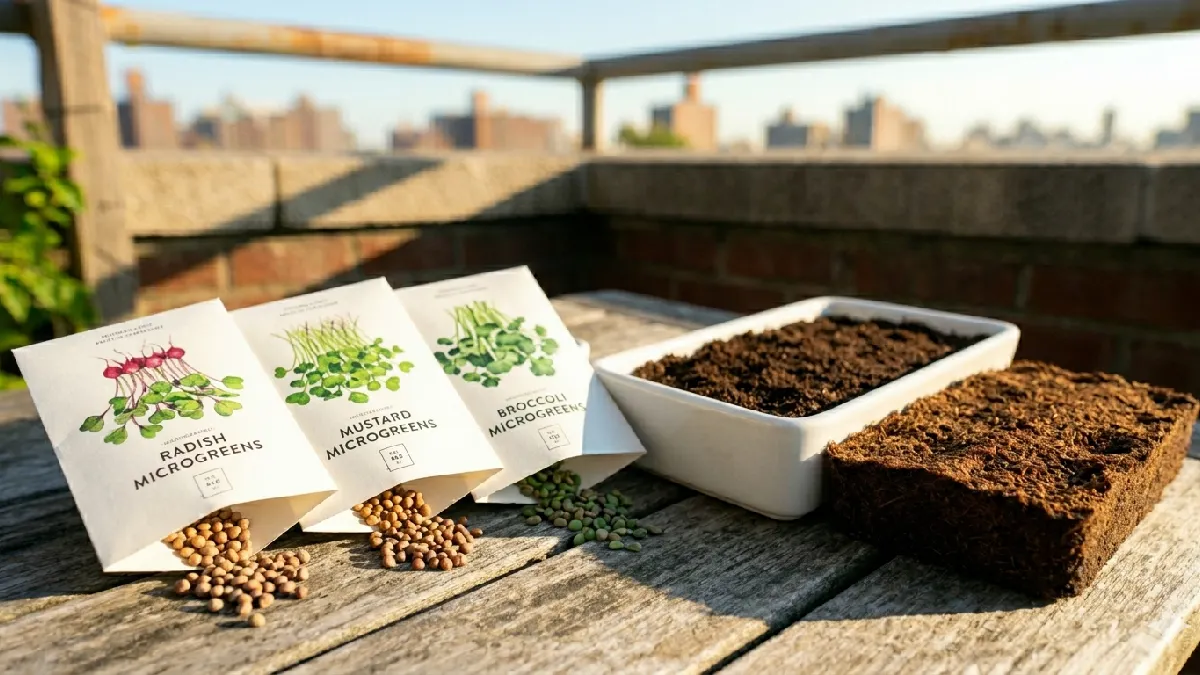
Fresh seeds sprout more quickly and look more even in the tray. I usually pick simple ones first before trying harder types. Seed choice decides how smooth your whole growing journey feels outdoors.
Step 2: Preparing Soil or Tray
Preparing the soil or tray is the first real step in outdoor growing. I take a simple, shallow tray, nothing fancy needed. Fill it with cocopeat or light soil mix, keep the texture soft. I press it lightly, not too hard, just an even surface. Sometimes I forget and make it uneven, still works, but the growth looks messy.
Moisture added before sowing helps seeds settle better. The tray should feel damp, not dripping wet. Small preparation like this decides how smooth germination will be later outdoors.
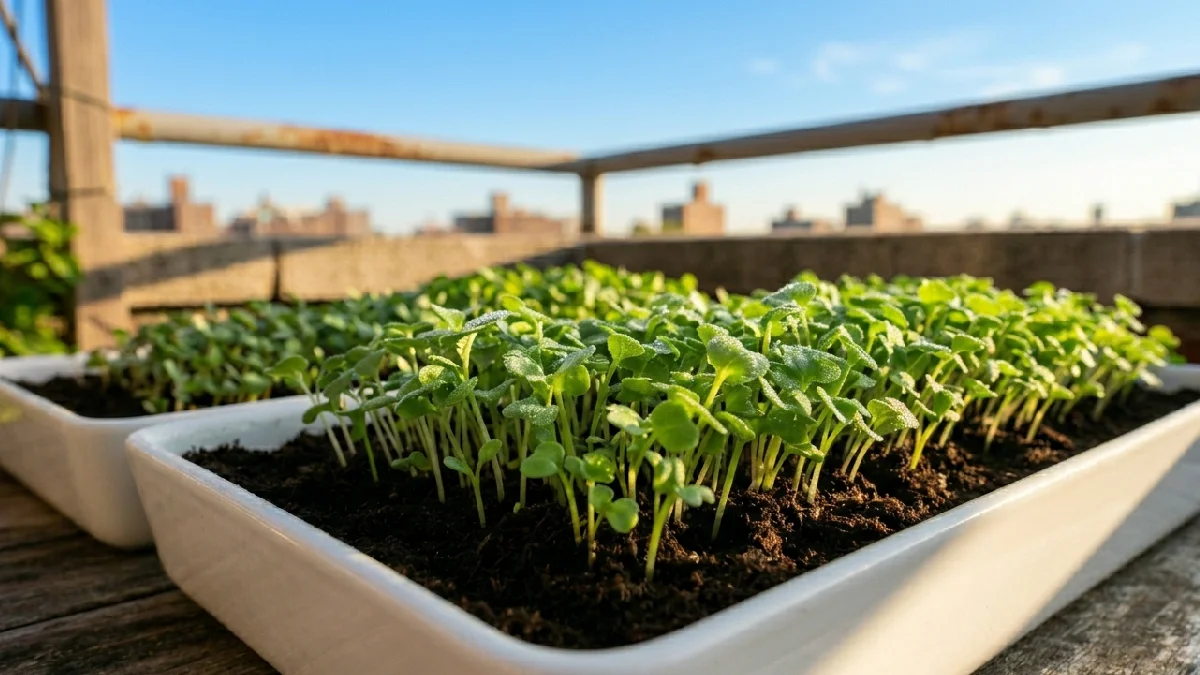
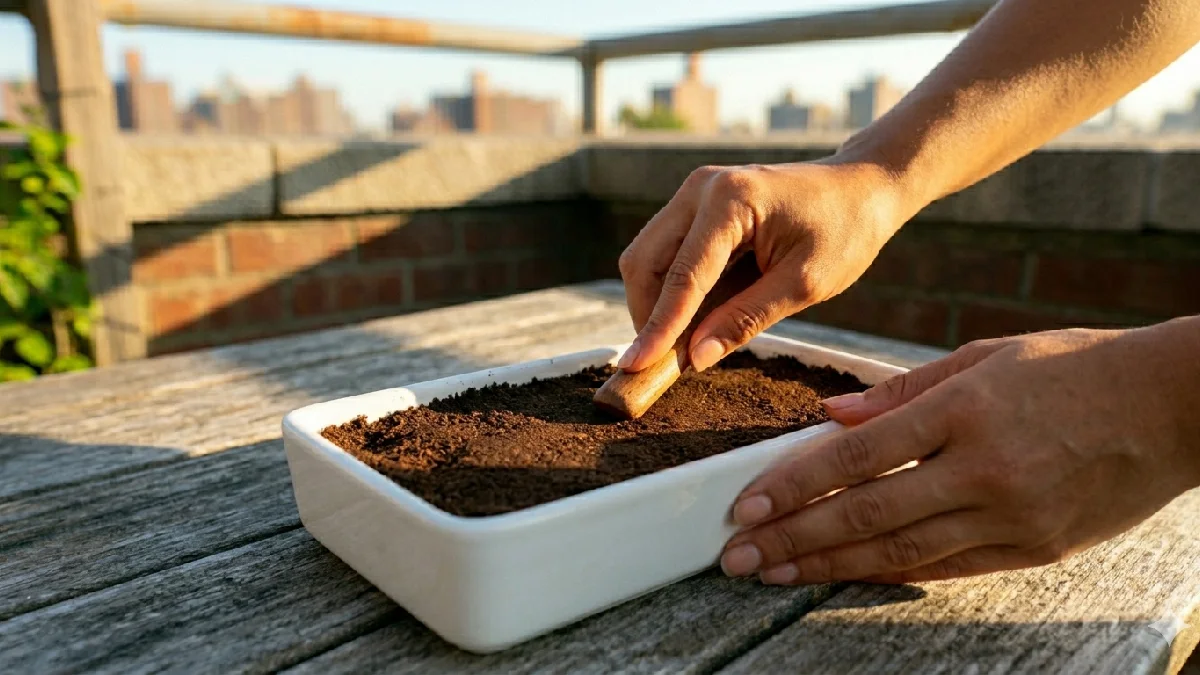
Step 3: Sowing Seeds Properly
Sowing seeds properly matters a lot for outdoor microgreens. I spread seeds by hand, not perfectly,t but evenly across the tray. If seeds are too crowded, plants fight for space later. Too few seeds give empty patches and uneven growth.
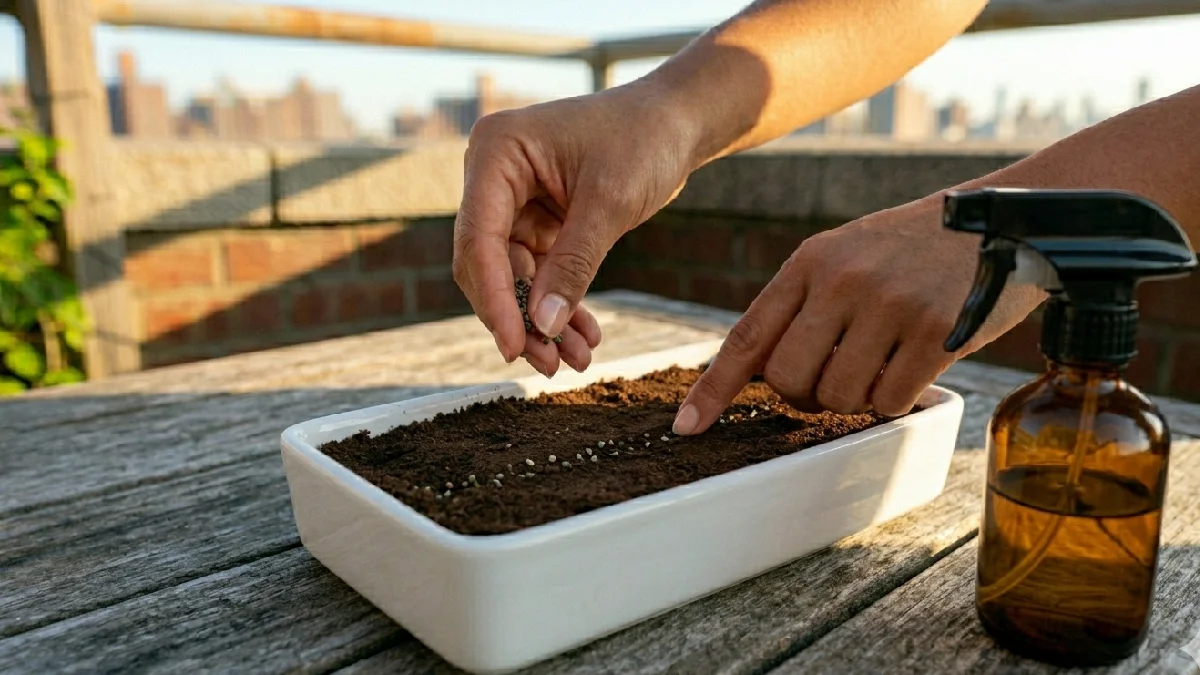
Light pressing helps seeds connect with soil or cocopeat. I don’t bury them deep; just a thin cover is enough. Mist water gently after sowing, not heavy pouring. Small care here makes germination more uniform, and trays look healthier outdoors.
Step 4: Watering Techniques
Watering microgreens outdoors needs a light and careful approach. I usually mist water instead of pouring directly, which keeps the soil stable. Too much water makes the medium soggy, and roots struggle. Too little water slows germination and makes leaves weak.
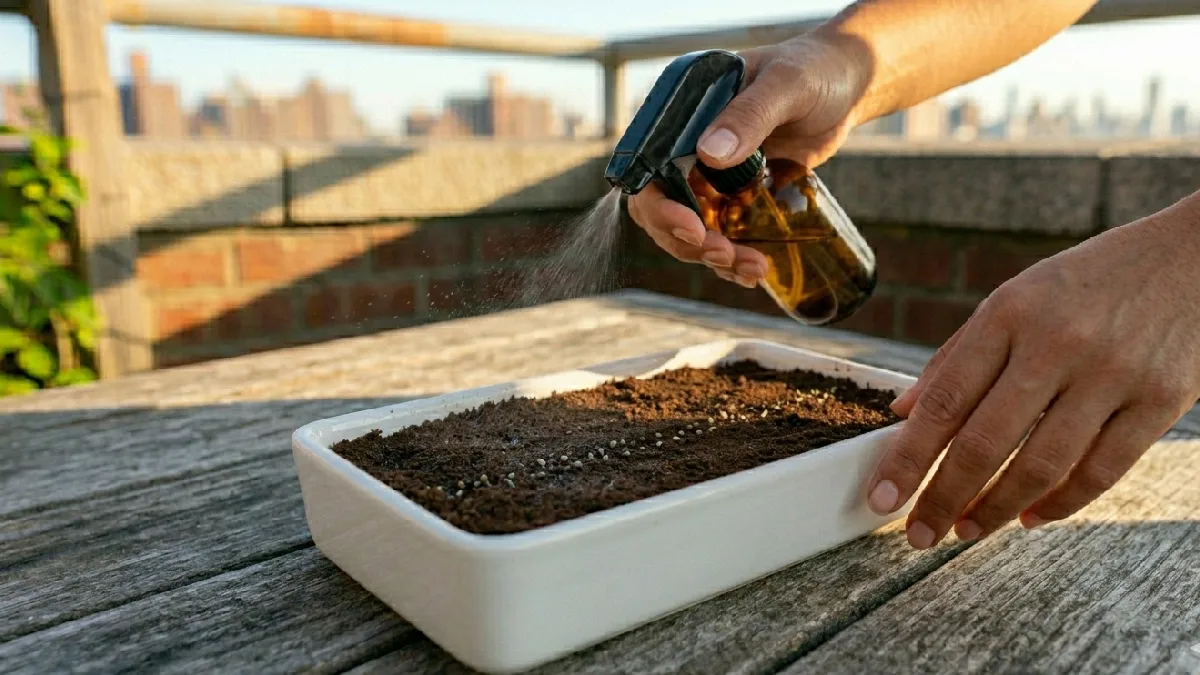
Morning watering works better; plants stay fresh through the day. Sometimes I check the soil with my fingers, just to feel the moisture level. Rain can help, but also overwater if not watched. Simple watering balance keeps outdoor microgreens green and healthy.
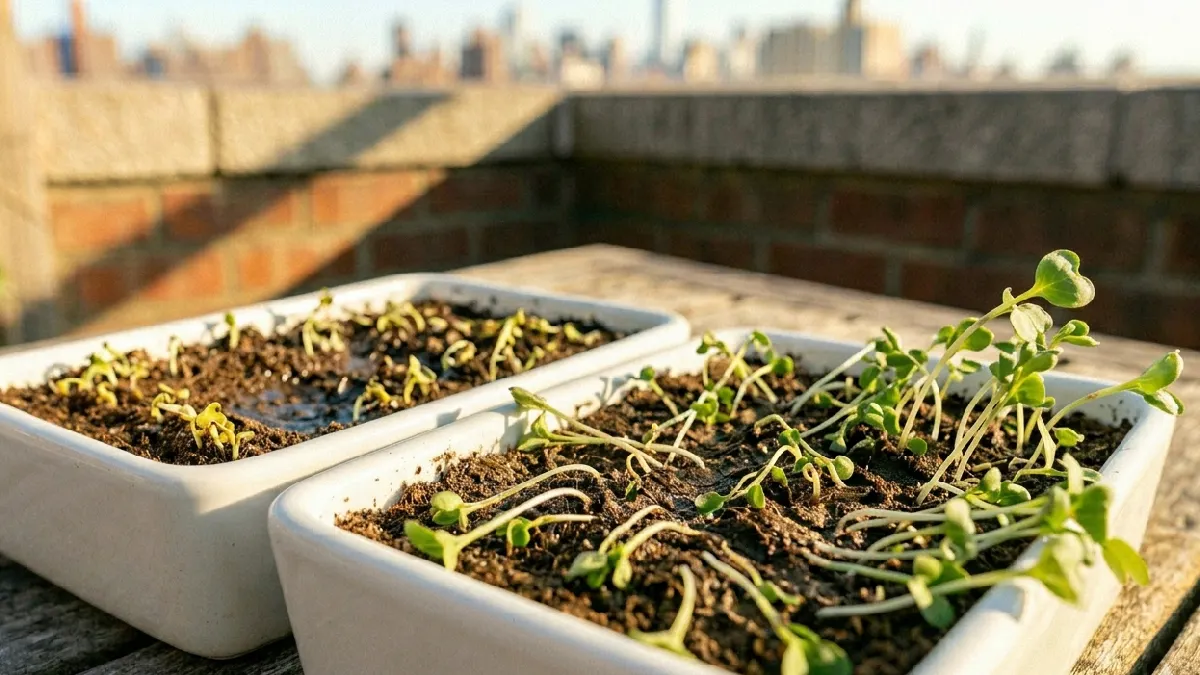
Step 5: Germination Process
Germination is the most exciting stage in outdoor microgreens. After sowing, I usually wait a few days and check the tray daily. Seeds slowly absorb moisture and start breaking open. Tiny white roots appear first, then small green shoots follow.
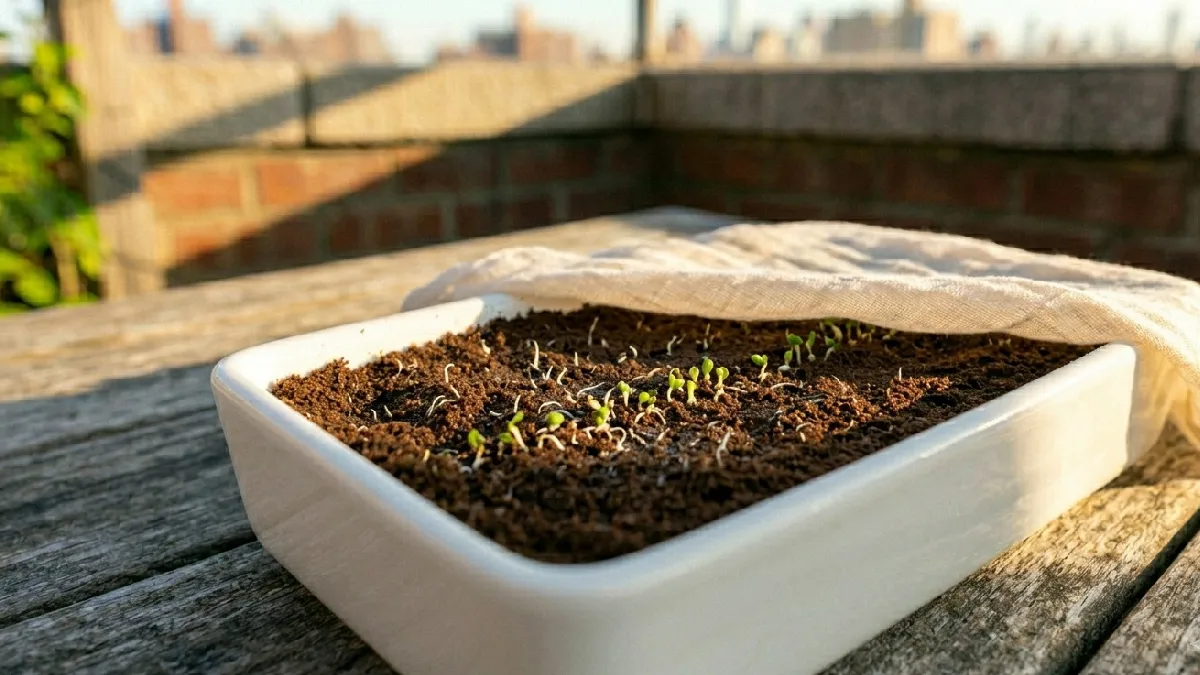
I keep the medium slightly dark and moist in the early days. Sometimes I cover the tray lightly to help even sprouting. Temperature and moisture affect speed a lot outside. When conditions stay right, germination feels fast and almost magical in a simple outdoor setup.
Step 6: Sunlight Exposure
Sunlight exposure plays a major role in outdoor microgreens growth. I place trays where the morning sun hits gently, not too harshly. Early light helps leaves turn green and stay strong. Afternoon sun can be too strong, sometimes drying delicate shoots quickly.
Partial shade later keeps plants balanced and fresh. I move trays a bit if the light feels uneven across the space. Each variety reacts differently; some need more light, some less. Proper sunlight balance keeps outdoor microgreens healthy, compact, and full of natural color.
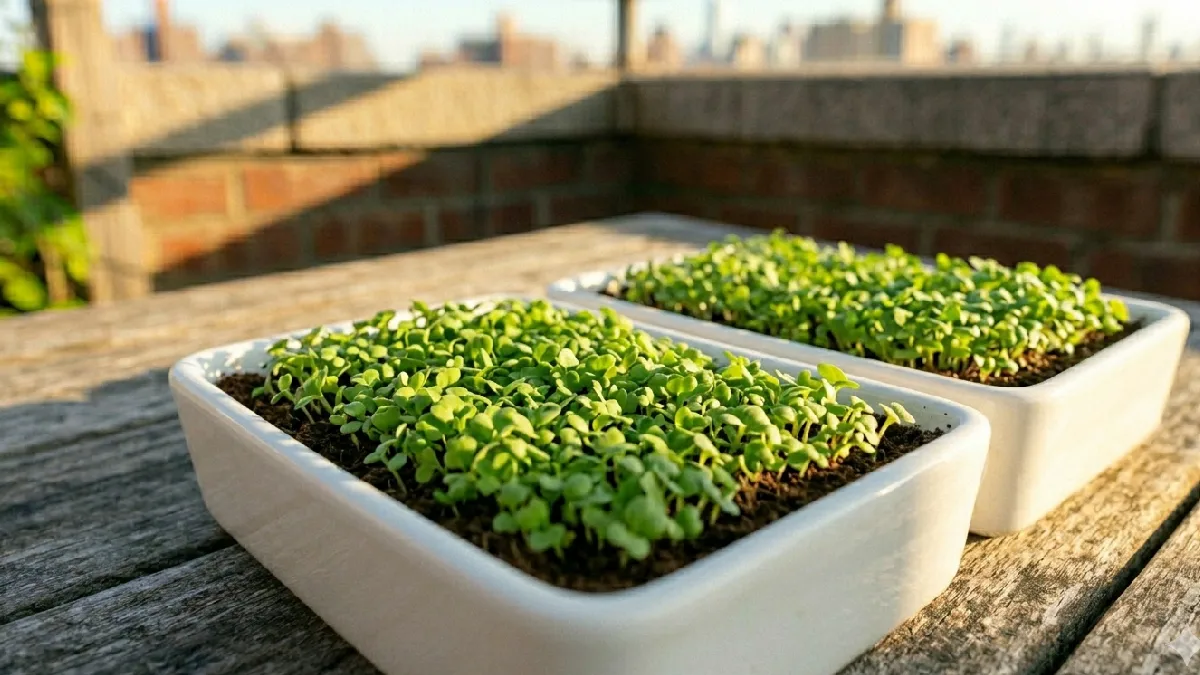
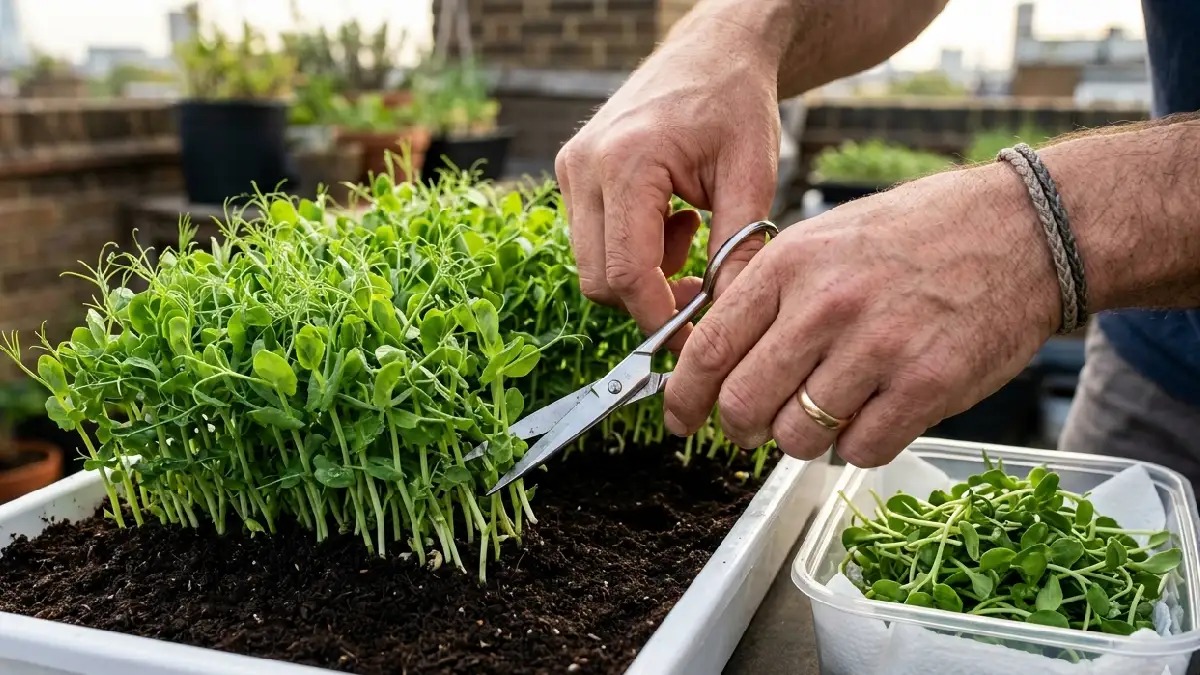
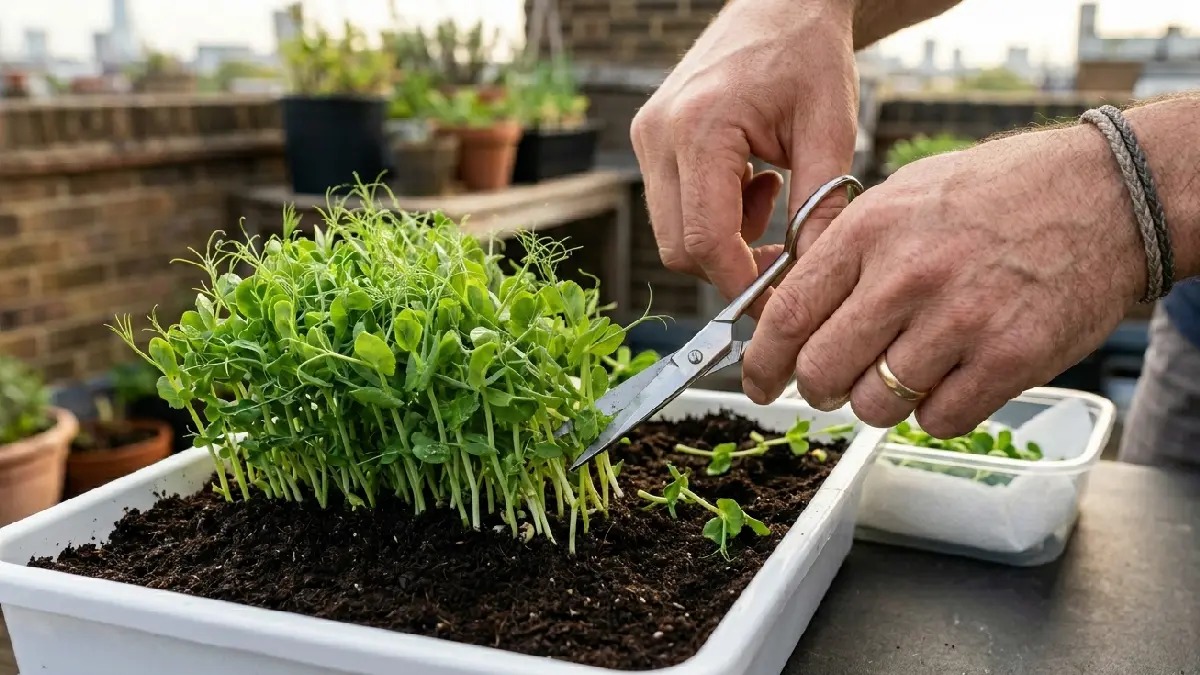
Step 7: Harvesting Microgreens
Harvesting microgreens outdoors feels satisfying after a few days of care. I usually wait until leaves are fully green and stems feel firm. Most varieties are ready in about 7 to 14 days. I use simple scissors and cut just above soil level.
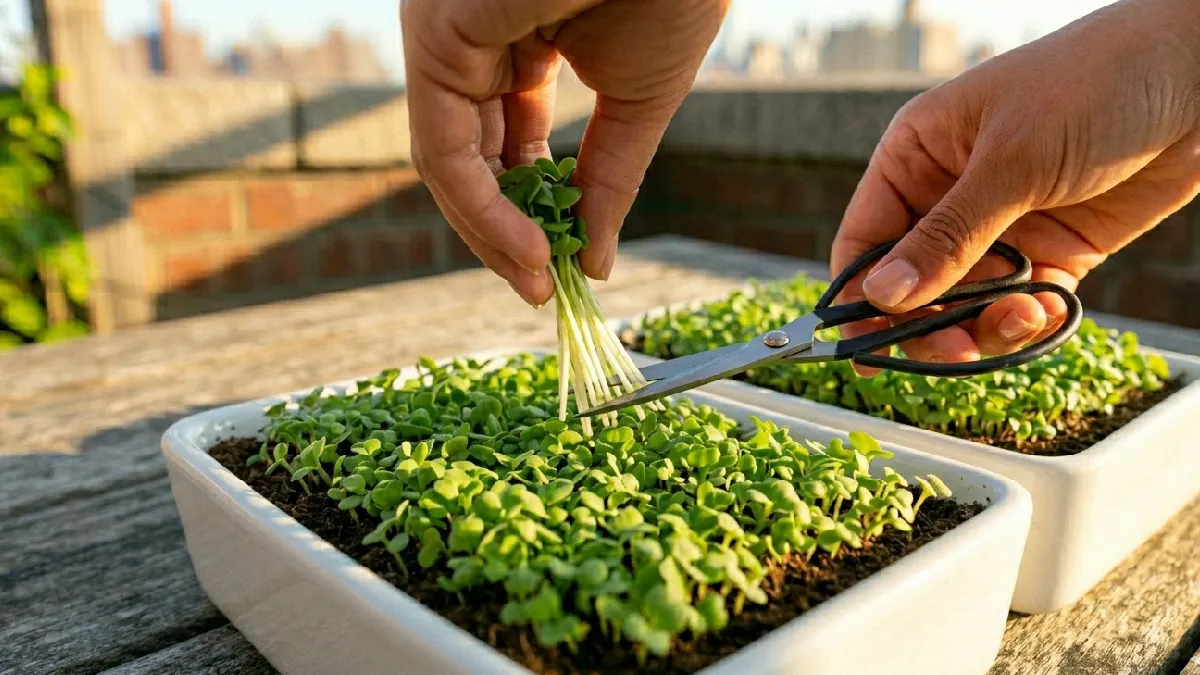
Morning time works better, plants feel fresh and crisp. Sometimes I harvest a little early for a softer taste. After cutting, I remove leftover roots and clean the tray. Freshly harvested microgreens look bright, taste strong, and feel rewarding after outdoor growth.
Common Problems in Growing Microgreens Outdoors
Growing microgreens outdoors looks simple, but problems appear quickly in a eal setup. I faced uneven growth many times on my rooftop trays. Weather changes are the biggest issue, too much heat or sudden rain affects plants fast. Wind can dry soil or damage young shoots easily.

Pests also become a small problem sometimes in open spaces. Overwatering after rain makes roots weak and soggy. Even sunlight imbalance causes patchy growth. Outdoor growing needs daily attention and small checks every day. With care and adjustment, most problems can be managed, but nothing stays fully predictable outside.
Pest and Insect Issues
Pests and insects are common problems in outdoor microgreens. I noticed small bugs on leaves when trays stayed outside for a few days. They feed on soft shoots and grow quickly. Ants sometimes disturb soil and seeds, too. Outdoor air brings more chances of infestation compared to an indoor setup.
I try simple methods like covering trays with a light net or checking daily. Mild neem spray also helps sometimes, but careful use is needed. Regular observation keeps damage low and plants safe.
Weather Damage
Weather damage is one of the biggest issues in outdoor microgreens. I saw trays suffer after sudden rain and strong heat in the same week. Heavy rain washes seeds or makes the soil too wet, and roots struggle after that. Hot sun dries medium fast, and leaves start curling quickly.
Strong winds damage young shoots and make growth uneven. Outdoor setup always depends on the natural mood. I try shifting trays to a safer corner when the weather looks extreme. Small protection saves most of the damage.
Mold and Overwatering
Mold and overwatering often happen together in outdoor microgreens. I made this mistake early, watering too much after rain. Soil stayed wet for a long time, and white mold started appearing on the surface. Roots struggled, and growth slowed down badly. Outdoor humidity makes it worse sometimes, especially in shaded areas.
I learned to keep the soil just moist, not soggy at all. Good airflow and sunlight help dry extra moisture naturally. Now I water carefully, only when the medium feels slightly dry. A small balance keeps trays clean and healthy.
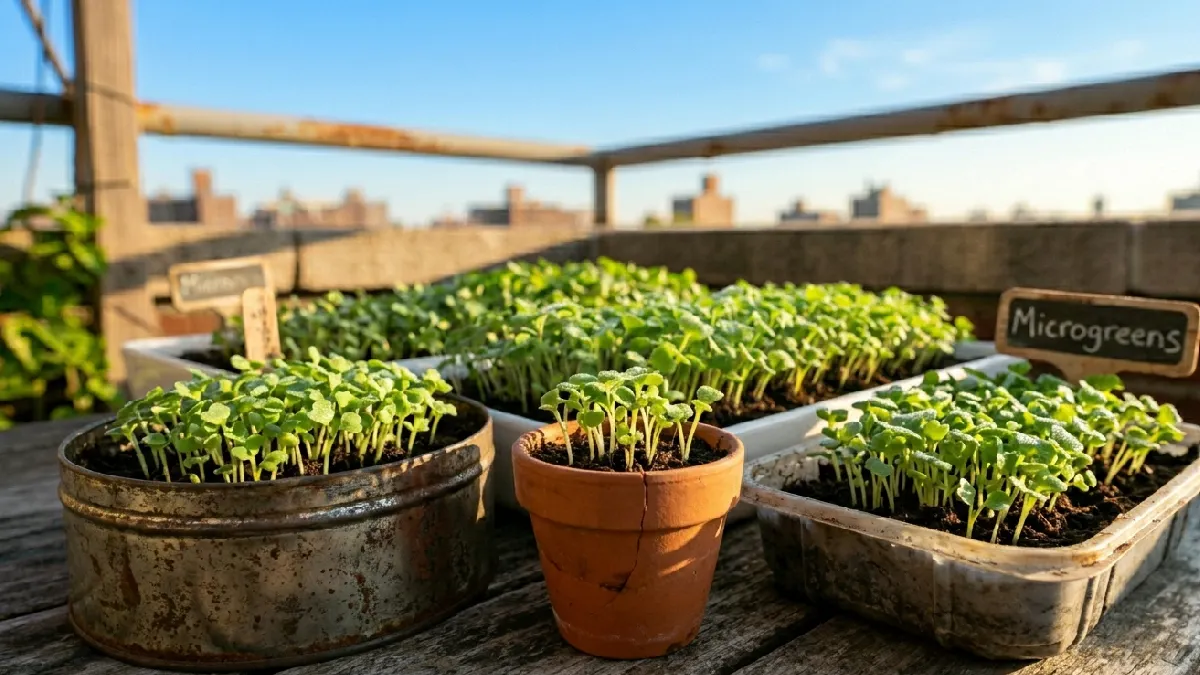
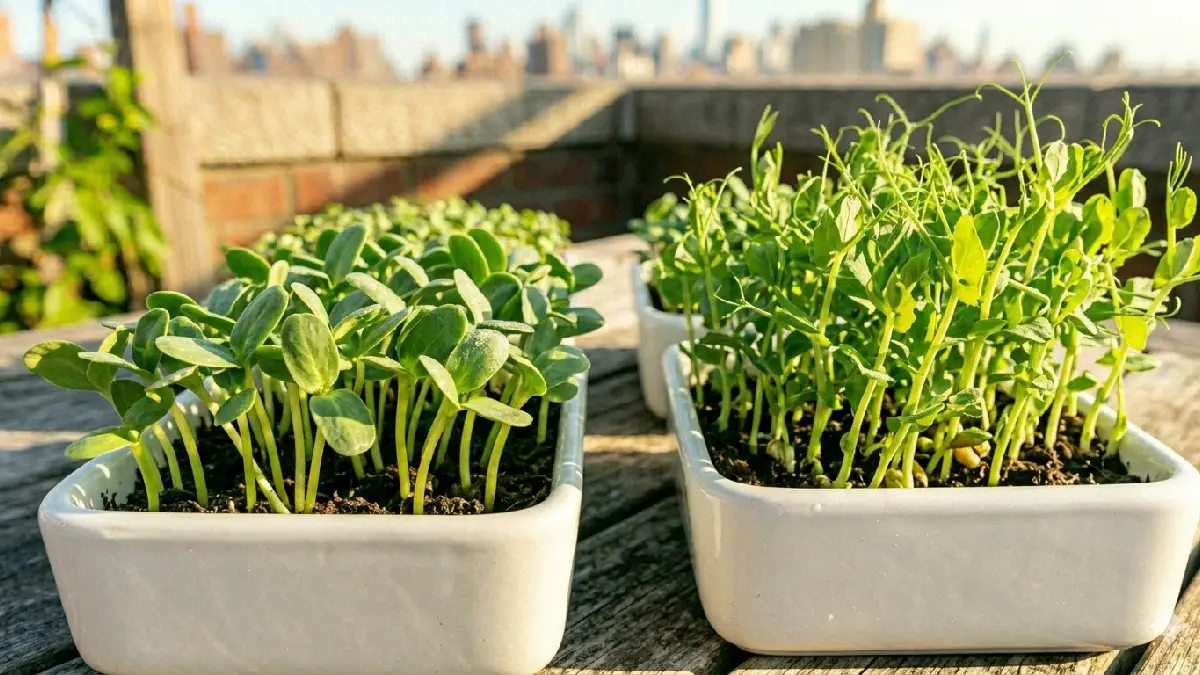
Best Microgreens for Outdoor Growing
Some microgreens perform much better outdoors than others. I noticed this after trying different trays on my rooftop. Fast-growing varieties handle sunlight and weather changes more easily. Radish, mustard, and broccoli grow quickly and give strong results even with little care.

Pea shoots also do well; they feel sturdy and adapt to outdoor air. Sunflower microgreens grow thick and healthy in good sunlight. These types recover faster from small weather changes. Outdoor growing works best when you choose hardy seeds. Simple varieties give more consistent harvests and reduce frustration for beginners.
Fast-Growing Varieties
Fast-growing varieties work best for outdoor microgreens because they handle changing conditions easily. I noticed radish and mustard popping up in just a few days on my rooftop tray. They don’t wait much, just shoot up quickly, even with simple care. Broccoli also grows steadily, not too fast but reliable, outside.
These varieties adjust well to sunlight and mild weather shifts. I prefer them for beginners because results come early, and motivation stays high. Quick growth also means less time for pests or weather damage to affect trays much.
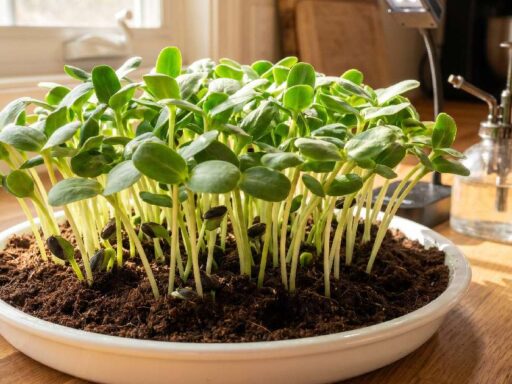
High-Yield Varieties
High-yield varieties give more greens from a single tray, which feels satisfying outdoors. I tried sunflower and pea shoots, both filled the tray nicely with thick growth. They take a bit longer than radish, but the output is heavier and more filling. Sunflowers grow sturdy stems and large leaves, while pea shoots spread wide and lush.
These varieties handle outdoor light well and produce good volume even with simple care. If space is small but you want more harvest, these work better. Just need steady watering and enough sunlight balance.
Nutrient-Rich Varieties
Nutrient-rich varieties give more health value in every small leaf. I noticed broccoli and kale microgreens feel stronger in taste and texture compared to others. They grow a bit slowly sometimes, but nutrition feels high and fresh.
These types work well outdoors when sunlight stays balanced, and the soil is clean. I grow them when I want better quality over speed. Leaves look small but feel packed with natural goodness. Even a small handful makes meals feel fresher and healthier.
Harvesting and Storage of Microgreens
Harvesting microgreens outdoors feels like the most satisfying step. I usually cut them when the leaves look fully green and the stems feel firm. Timing matters a bit, too early feels soft, too late becomes slightly tough. I use simple scissors and cut just above the soil; the roots stay behind.
Morning harvest works better; plants feel fresh and crisp. After cutting, I keep them in a clean container, and sometimes add a paper towel to control moisture. Fridge storage helps, but not too long. Fresh taste stays best for a few days only. Outdoor-grown greens feel more natural, slightly stronger in flavor.
Best Time to Harvest
Best time to harvest microgreens feels simple, but timing changes everything. I usually cut them when the first true leaves start showing, not too early, not too late. Around 7–14 days works for most varieties outdoors. Morning time feels best, leaves stay fresh and crisp.
I tried harvesting later once, stems got a bit tough, flavor changed slightly. Early harvest gives a softer texture and a milder taste. The weather also plays a role outside, so I check trays daily. Right timing makes greens look better and taste much fresher.
Proper Cutting Method
The proper cutting method keeps microgreens clean and fresh. I always use sharp scissors, which makes cutting smooth and easy. Cut just above the soil line; don’t pull roots out, as it makes a mess. I tried pulling once, tray got ruined a bit.
Gentle handling matters; leaves are soft and delicate. I cut in small sections, not all at once sometimes. Morning cutting feels better, greens stay crisp longer. Clean cut helps storage too, quality stays fresh for a few days.
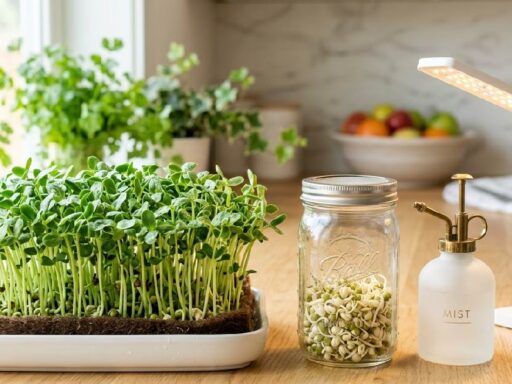
Storage Tips
Storage of microgreens needs a bit of care, not complicated but still important. I usually don’t wash them before storing; moisture makes them spoil faster. After harvesting, I place them in a clean container and add a paper towel inside.
It helps absorb extra moisture and keeps leaves dry. The fridge works fine, not the coldest section though. I tried storing wet greens once, but they went bad quickly. Fresh ones last around 3 to 5 days. Taste and texture feel best when used early.
FAQs About Growing Microgreens Outdoors
Can microgreens grow outdoors year-round?
Yes, but not always easy. I tried in different seasons, results changed a lot. Mild weather works best; extreme heat or cold slows growth or damages trays.
How long do they take to grow?
Most microgreens grow in 7 to 14 days. I noticed some fast ones, like radish, grow even quicker, while others take a bit more time outdoors.
Do they need direct sunlight?
They need sunlight, but not too strong all day. Morning light works best. I kept trays in partial shade later, and plants stayed green and healthy without burning.
Is it profitable?
It can be profitable on a small or large scale. I saw good demand for fresh microgreens. But consistency, quality, and daily care matter a lot for income.
Conclusion
Growing microgreens outdoors feels simple but teaches patience. I started thinking it’s easy, then the weather showed its own rules. Sunlight, wind, and water all play their part, not always predictable. Some trays fail, others grow beautifully in the same spot.
That’s the learning part. With daily checking and small adjustments, results improve over time. Fresh taste, natural growth, and low cost make it worth trying. It’s not a perfect system, but it feels real and satisfying.