
How to Grow Cilantro Microgreens at Home (Step, by, Step Guide)
Cilantro microgreens take a little patience. Seeds feel slow, kind of stubborn at first. I remember soaking them overnight; it helped a bit. Split seeds gently, not always perfect, but it works. Spread them on moist cocopeat, press lightly. No deep burying, they don’t like that much. Mist soft, keep medium damp, not soggy. Shoots take time, 10to 14 days. Feels slow, but then tiny greens appear.
Light matters; window or LED both fine. Trays sit quietly, then suddenly life shows. Leaves are small, aroma fresh, very cilantro-like. Harvest when leaves open a bit. Cut above the soil, roots stay down. Flavor hits strong, slightly citrus. Beginners get impatient; it happens. Still worth it. Growth weirdly teaches patience. The kitchen corner feels alive after. Tiny effort, big reward.
What Are Cilantro Microgreens?
Cilantro microgreens are young cilantro plants, harvested early before full leaves form. They look tiny, soft stems with small green leaves. Flavor comes strong, fresh, slightly citrus, and earthy. Not like mature cilantro exactly, more concentrated taste.
They grow in trays, soil, or cocopeat, which works fine. Seeds take time to sprout, kind of slow compared to others. Still, once they grow, they feel fresh and aromatic. People use them on salads, soups, and tacos: small greens, big flavor punch.
Definition of Cilantro Microgreens
Cilantro microgreens are young seedlings of coriander plants, harvested just after sprouting. They grow from coriander seeds and are cut before true leaves form. These tiny greens look soft, with thin stems and small green leaves.
Flavor feels stronger than mature cilantro, fresher and slightly citrusy. They are grown in trays indoors using soil or cocopeat and usually harvested within 10to 14 days. Simple plants, but packed with taste and nutrition in the early stages.
Taste and Flavor Profile
Cilantro microgreens taste fresh and strong, kind of citrusy with light earthy notes. Flavor feels more concentrated than grown cilantro leaves. First bite feels bright, a little sharp, not heavy at all. I noticed it hits fast, then fades clean.
Some people love it instantly, others need time to adjust. It works well with spicy or salty foods and balances them nicely. Even a small amount changes the whole dish’s taste. Fresh, green, and slightly punchy flavor makes it stand out in meals.
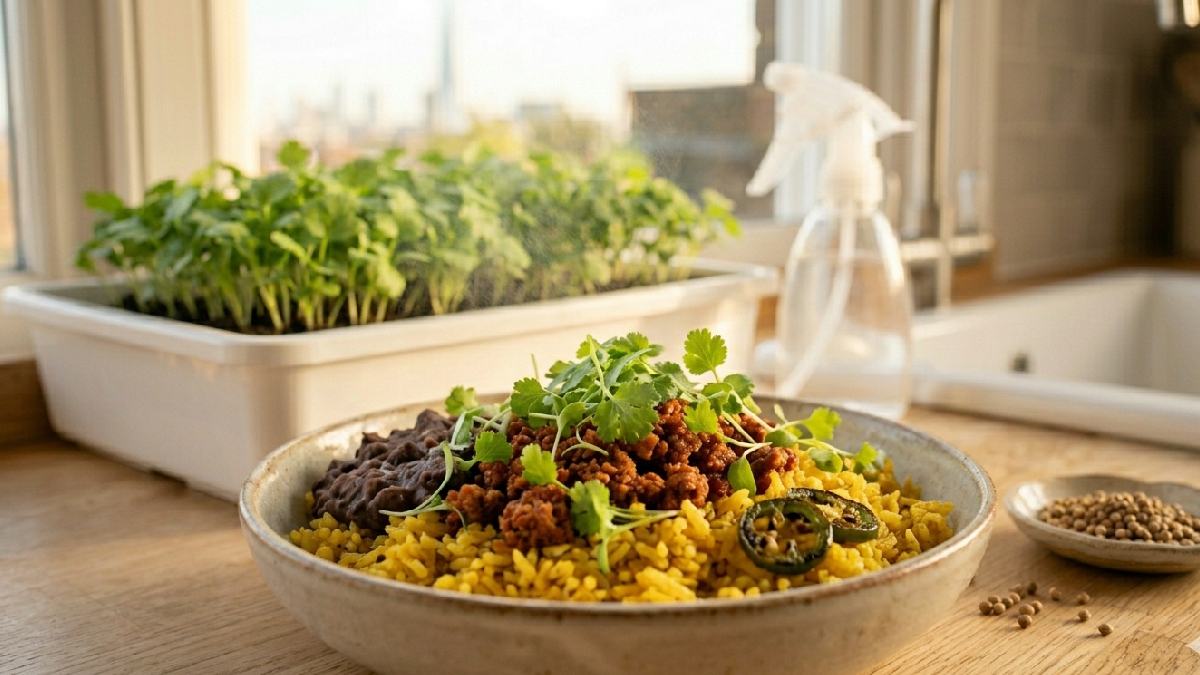
Common Uses in Food
Cilantro microgreens are used fresh, right after cutting. They add bright flavor to salads, soups, and wraps. I often sprinkle them on tacos or rice bowls, taste feels sharper and fresher. They also work on sandwiches, which gives a little herbal kick.
Some people mix them into chutneys or dips. Cooking too much kills flavor, so raw use is better. A small handful is enough to lift simple meals. An easy way to make everyday food feel fresher and lively.
Benefits of Growing Cilantro Microgreens
Cilantro microgreens deliver impressive nutrition in a very small package. They carry vitamins C, E, and K along with antioxidants and minerals that support daily health, and gram for gram, they are more nutrient-dense than fully grown cilantro. Growing them at home puts you in complete control of the process, no pesticides, no chemicals, just clean food you grow yourself.
The satisfaction of harvesting something you planted just two weeks ago is genuinely rewarding, especially for people who have never grown anything before. Cost-wise, a small packet of seeds and a basic tray is all it takes. No garden, no greenhouse, no expensive setup. Just a windowsill and a little consistency get you there.
Nutritional Benefits
Cilantro microgreens carry strong nutrition in tiny leaves. They have vitamins like A, C, and K in higher concentrations than mature plants. Antioxidants feel more active and support overall health. I noticed they feel lighter but more “fresh” in taste and energy.
They also contain minerals that help the body balance. Even a small handful adds value to meals. People use them for digestion support and a natural detox feel. Not a miracle food, but still a clean, healthy boost in a daily diet.
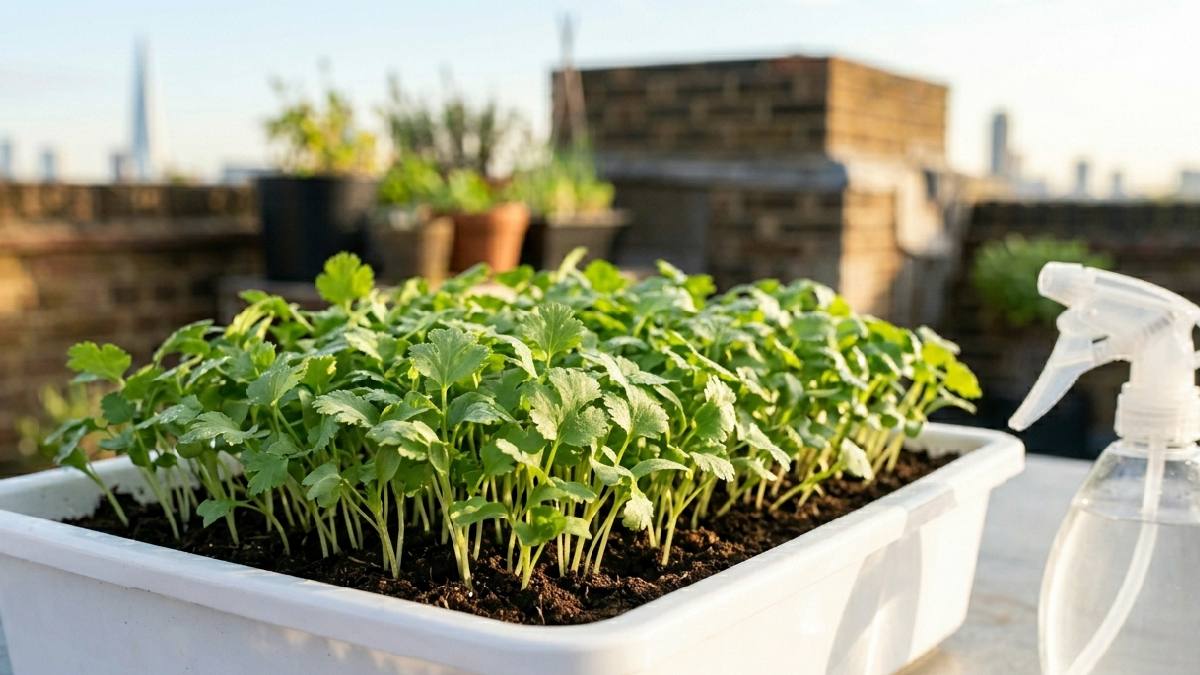
Why Grow at Home
Growing cilantro microgreens at home feels simple and useful. You get fresh greens anytime, no need to buy from the store. Taste feels stronger, fresher too. I started because market bunches spoil fast; honestly, it got annoying.
Home setup fixes that problem. A small tray on a windowsill is enough. You see growth daily, kind of satisfying moment. No chemicals, no long storage. Just cut and eat fresh. Even a small effort gives a quick reward; the kitchen feels more alive and active.
Space and Cost Advantages
Cilantro microgreens don’t need much space; even a small tray fits on a windowsill. The kitchen corner is enough, no garden required. I started with just one plastic container, which worked fine. Cost stays low too, only seeds and basic medium needed.
No heavy tools, no big setup. Watering and light are simple, nothing expensive. Even beginners can start small without worry. Over time, one tray can give fresh greens again and again. Small space, low cost, but steady fresh harvest.
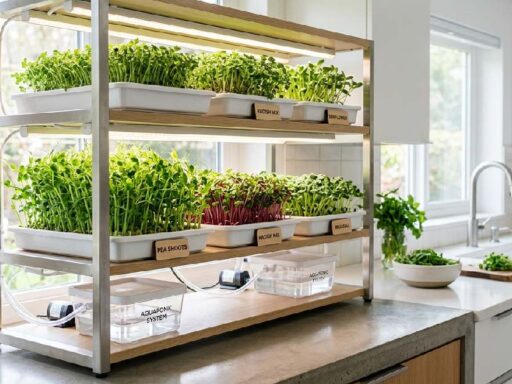
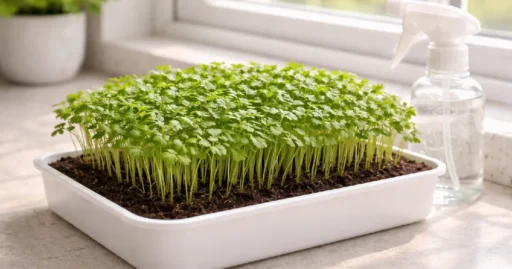
Things You Need to Grow Cilantro Microgreens
Growing cilantro microgreens doesn’t need much, just a few basic things. First, good coriander seeds, fresh ones, make a big difference. Then, a shallow tray, nothing fancy, even a simple plastic container, works fine. You also need a growing medium like cocopeat or light soil, something that holds moisture but stays airy.
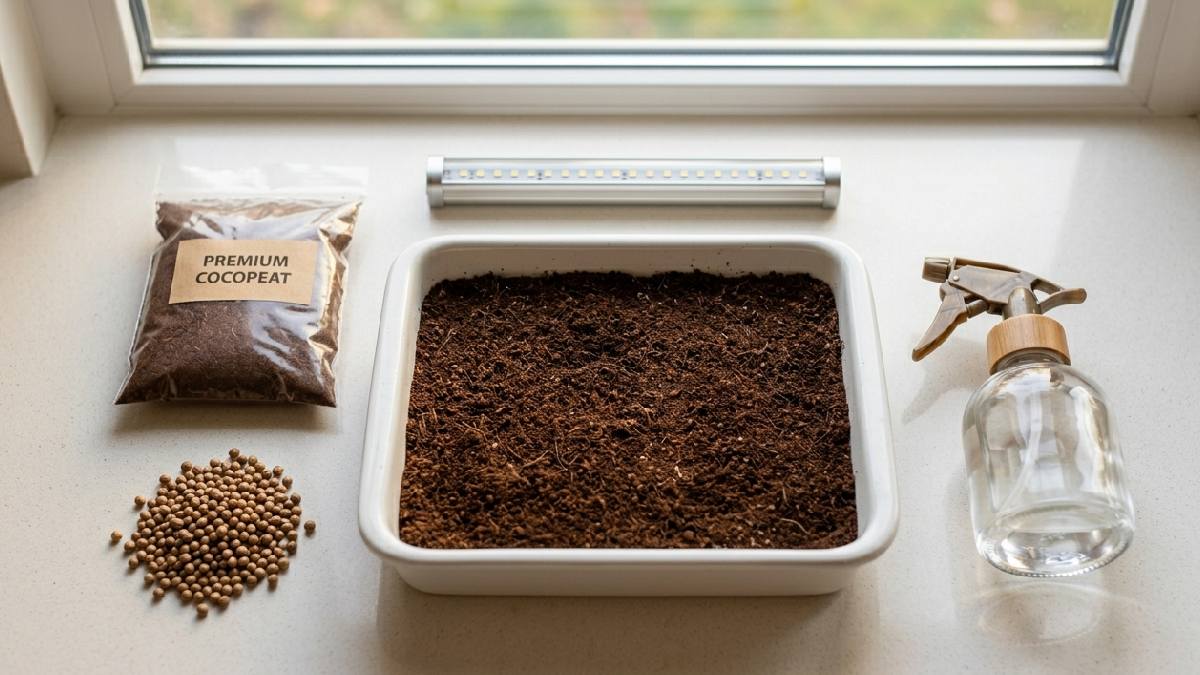
A spray bottle helps with gentle watering and avoids overdoing it. Light source matters too, sunlight from a window or a small LED grow light. That’s it, no heavy tools or setup. I started with almost nothing and still got good results. Small setup, easy start, fresh greens at home.
Seeds (Coriander Seeds)
Coriander seeds are the heart of cilantro microgreens. Use fresh, whole seeds for best germination. Old seeds often sprout unevenly or stay inactive. I usually pick organic ones; they feel more reliable. Slightly crushing or splitting seeds before planting helps them wake up faster.
Some people soak them overnight, too, which gives a better start. Spread evenly on medium, don’t overcrowd. Seeds look simple, but quality changes everything. Good seeds mean steady growth; weak ones slow everything down.
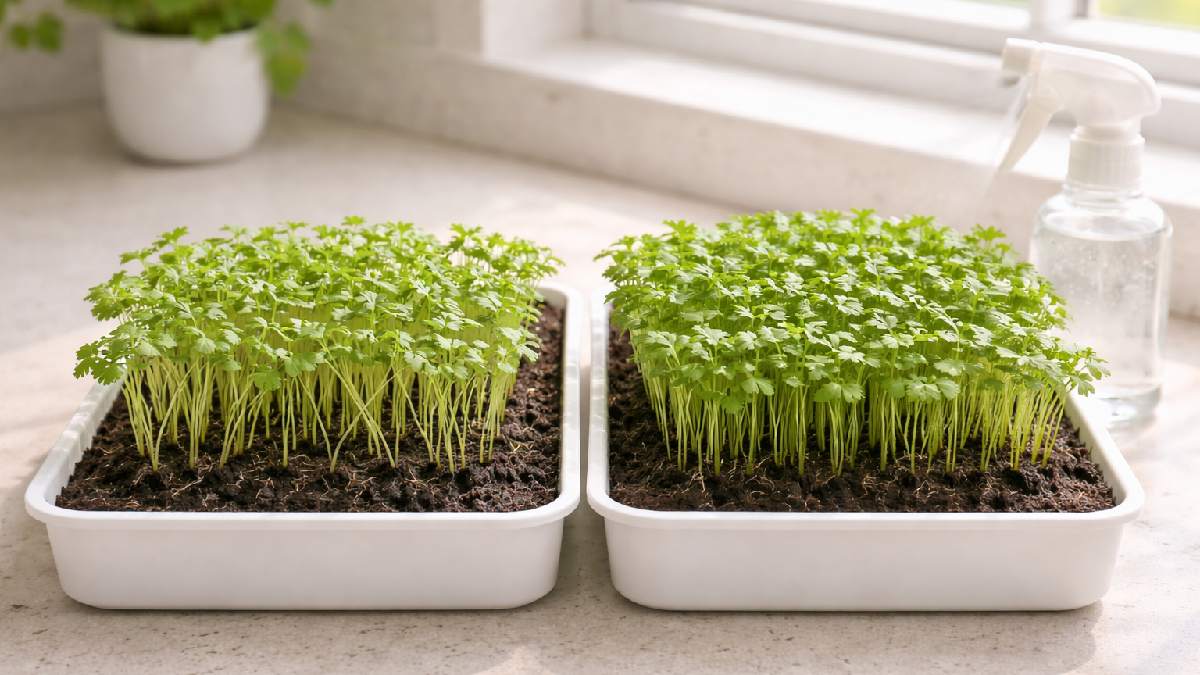
Growing Tray and Containers
A shallow growing tray works best for cilantro microgreens. Nothing fancy needed, just something clean with drainage or small holes. I’ve used simple plastic containers, too; they work fine if handled right. Depth should stay low so moisture spreads evenly.
Too deep trays hold extra water; roots don’t like that. Clean container matters a lot; old dirt can cause issues. Keep it simple, easy to wash, easy to reuse. A small setup still gives strong results when care stays consistent.
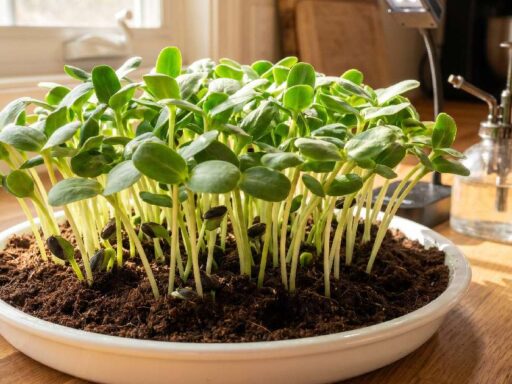
Soil or Growing Medium
Cilantro microgreens need a soft, airy growing medium. Cocopeat or light potting soil works best. It should hold moisture but never feel heavy or packed. I prefer cocopeat; it feels cleaner and easier to handle. Seeds sit on top, not buried deep, just pressed slightly.
Medium stays damp, not soggy; roots struggle. Good texture helps germination stay steady, even if a bit slow. Poor medium makes growth patchy and weak sprouts. Simple setup, but quality matters a lot here.
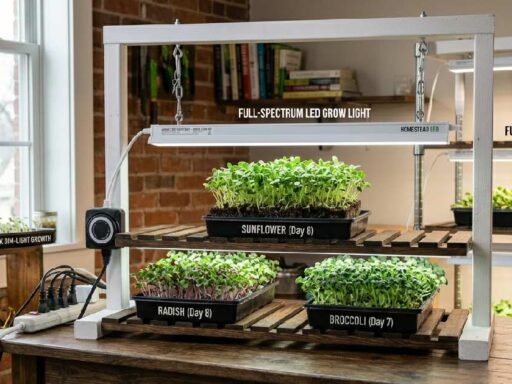
Light Source (Sunlight or Grow Lights)
Cilantro microgreens grow fine under sunlight or grow lights. A bright windowsill works well, and soft natural light helps leaves stay green. If sunlight is weak, LED grow lights do the job easily. I keep the lights close but not too harsh, around a few inches above the trays.
Too little light makes stems stretch, and color turns pale. Good light keeps growth steady and compact. Rotate trays sometimes for even exposure. Balance matters here; a simple setup still gives strong results.
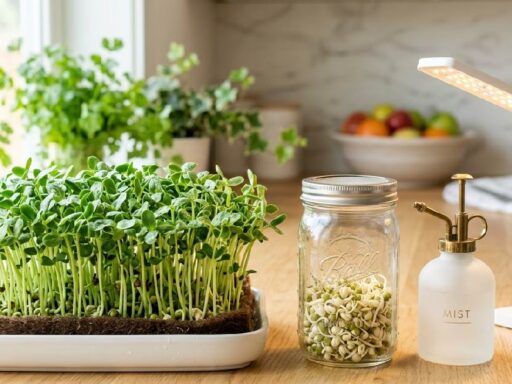
Watering Tools
For cilantro microgreens, simple watering tools work best. A spray bottle is the most common choice. It gives light mist, controls moisture easily, no overwatering stress. Some people use a small watering can with a fine spout, but it needs careful hands.
I mostly stick with a spray bottle; it feels safer. Tray bottom watering also works, letting roots sip water slowly. Avoid heavy pouring; it disturbs seeds and causes uneven growth. Keep tools clean, always. Small setup, big difference in results.
Step, by, Step Guide to Grow Cilantro Microgreens
Start by soaking coriander seeds in room temperature water for 6to 8 hours to soften the hard outer shell and speed up germination. Fill your growing tray with about an inch of moistened growing medium, level it out evenly, and scatter the soaked seeds across the surface as uniformly as possible. Press them gently into the medium to ensure good seed contact, then cover the tray and place it somewhere dark and warm for 3to 5 days during the blackout stage.
Once sprouts reach about an inch tall, move the tray into light, a bright windowsill or grow light works well. Water gently every day using a spray bottle or bottom watering method. Around day 10to 14, when true leaves have fully opened, and stems are 1to 3 inches tall, your microgreens are ready to harvest with clean scissors.
Step 1: Prepare the Seeds
Start with good coriander seeds; fresh ones work best. I usually pick clean organic seeds; old ones just don’t behave well. Take a small bowl, rinse it lightly first. Some people soak them overnight. I do it sometimes when germination feels slow.
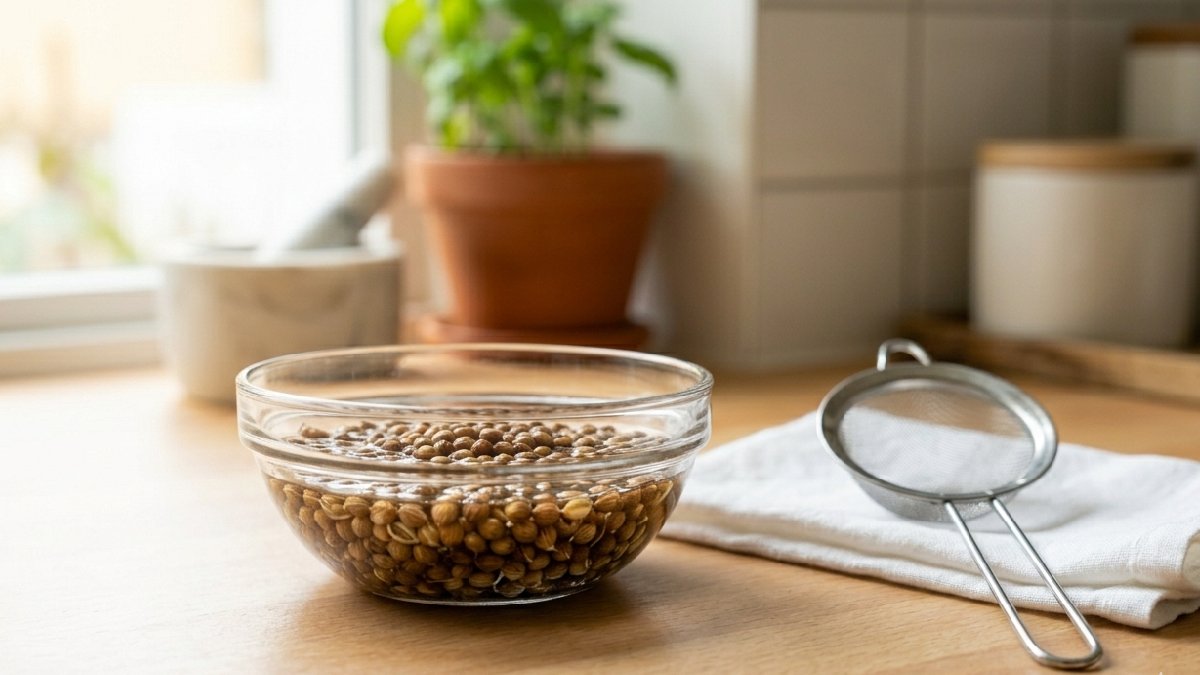
After soaking, drain water properly; don’t leave them soggy. You can also gently crush the seeds a bit, which helps the sprouting speed. Keep it simple, no overthinking here. Seeds are ready when they feel slightly soft and clean.
Step 2: Sow the Seeds Properly
Take your tray and spread a thin layer of cocopeat or light soil. Keep it even, not too packed. I usually level it with my hand, it feels easier that way. Sprinkle coriander seeds evenly across the surface; don’t pile them up in one spot. Crowd, free space helps each seed breathe and grow better.
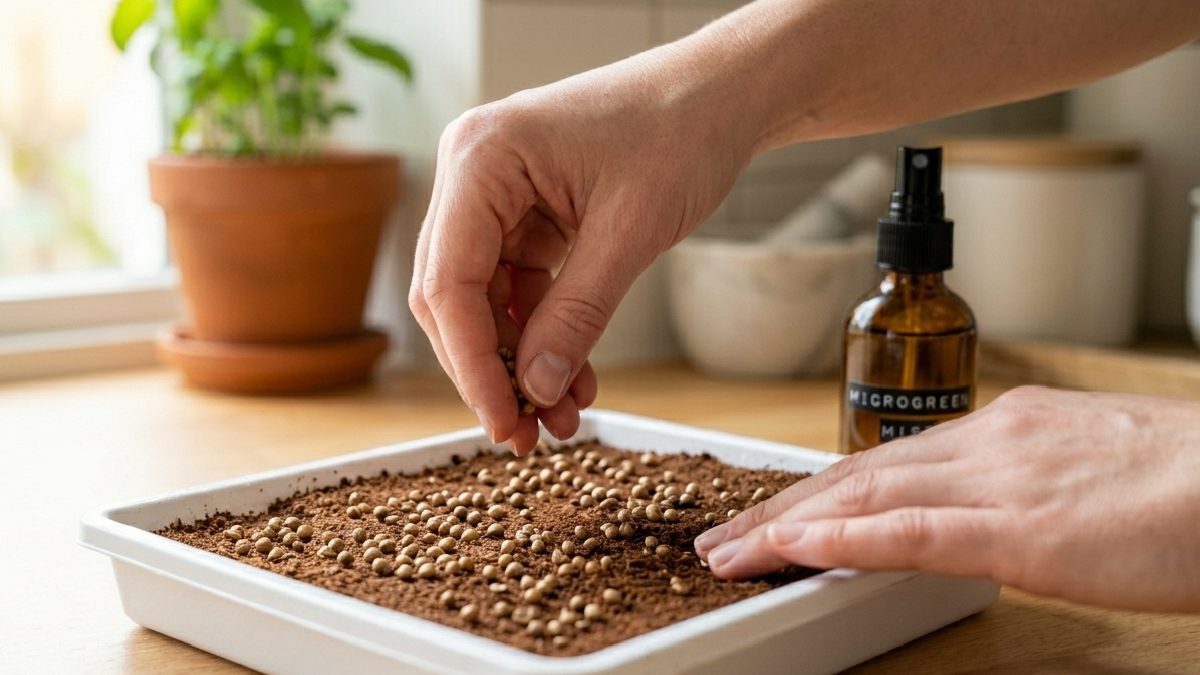
Press them lightly into the medium, just enough to hold. No deep covering needed, they like surface contact more. Mist gently after sowing, keep everything moist but not soggy. Simple step, but it sets the whole growth journey right.
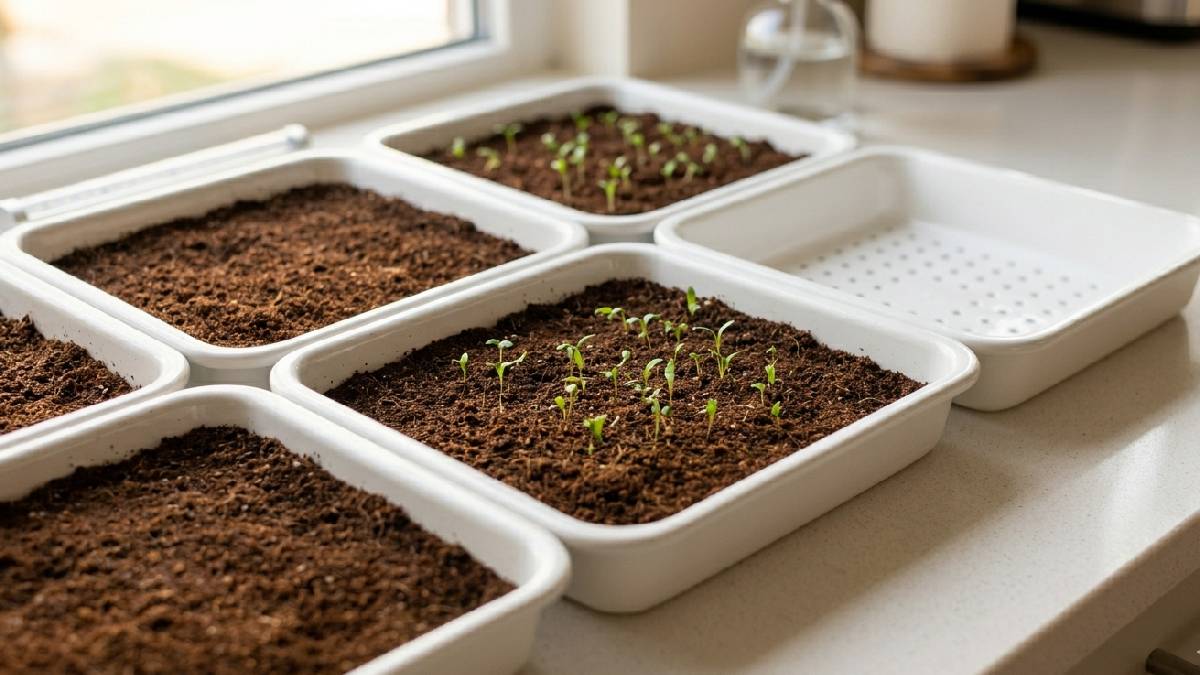
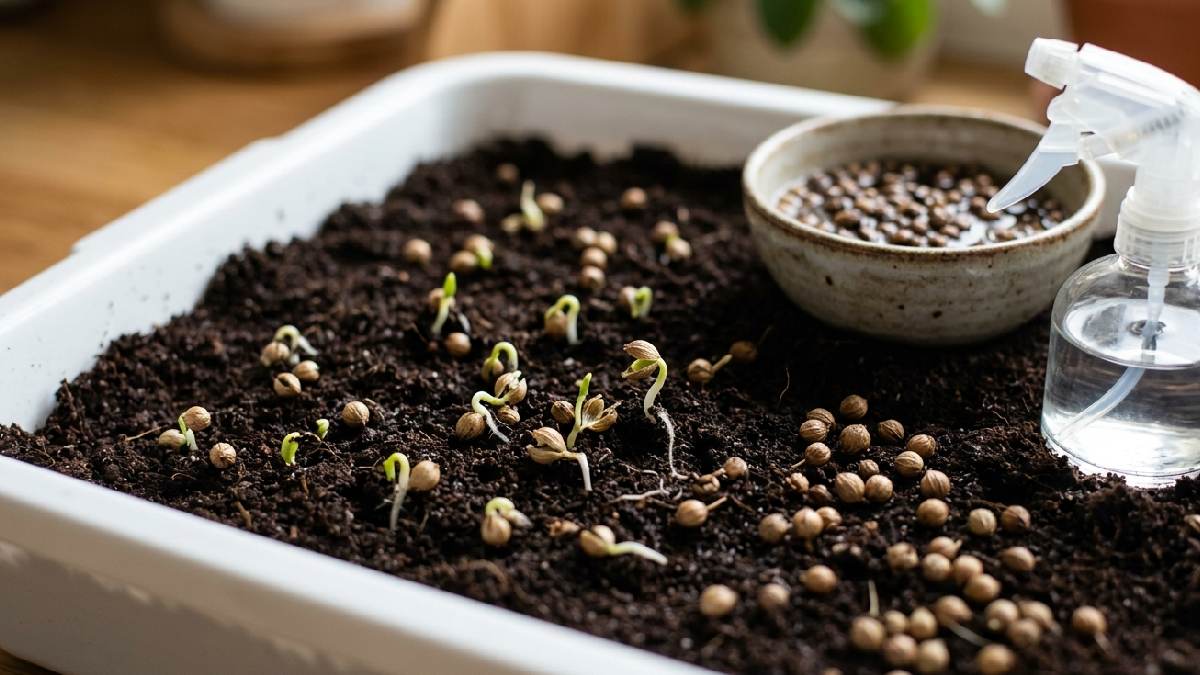
Step 3: Germination and Blackout Stage
After sowing, cover the tray to start the blackout stage. Keeps seeds dark, warm, slightly humid. I use another tray or a simple lid, nothing fancy. This helps coriander wake up slowly but steadily. Usually 3to 5 days, sometimes more. I mist once or twice, not too much, just enough moisture.
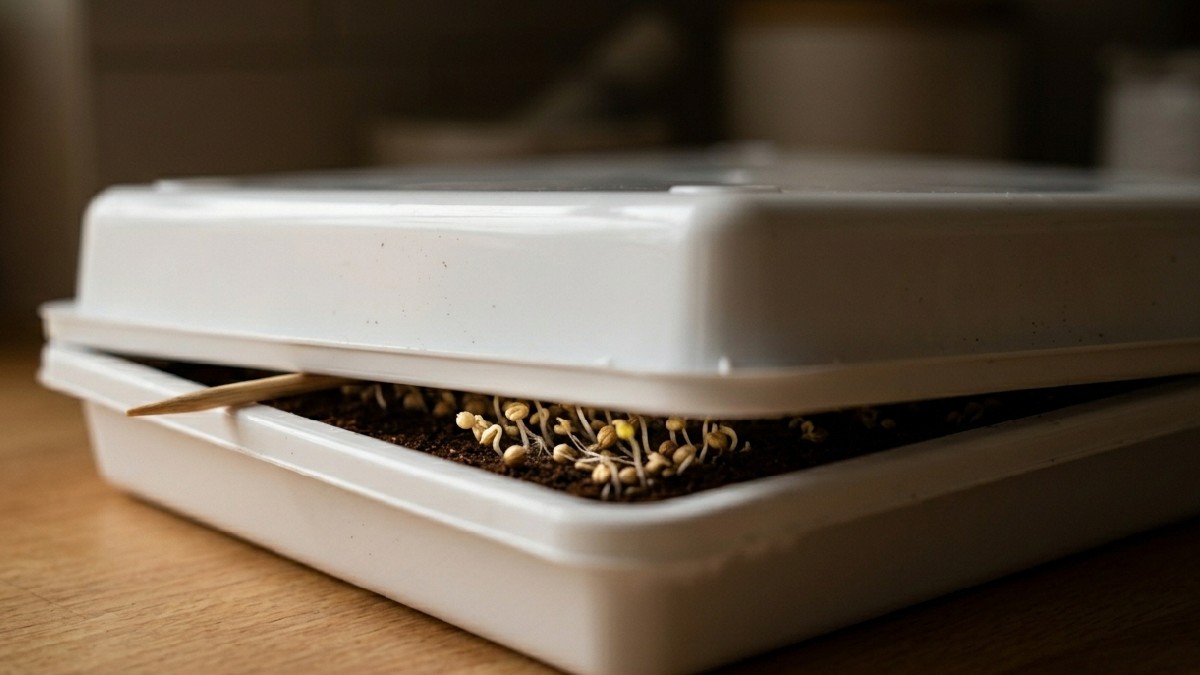
Don’t open again and again, let it sit calm. Tiny sprouts push quietly under cover; you won’t see much at first. It feels still, almost nothing is happening, but roots are working below. Patience matters here; this stage decides growth strength.
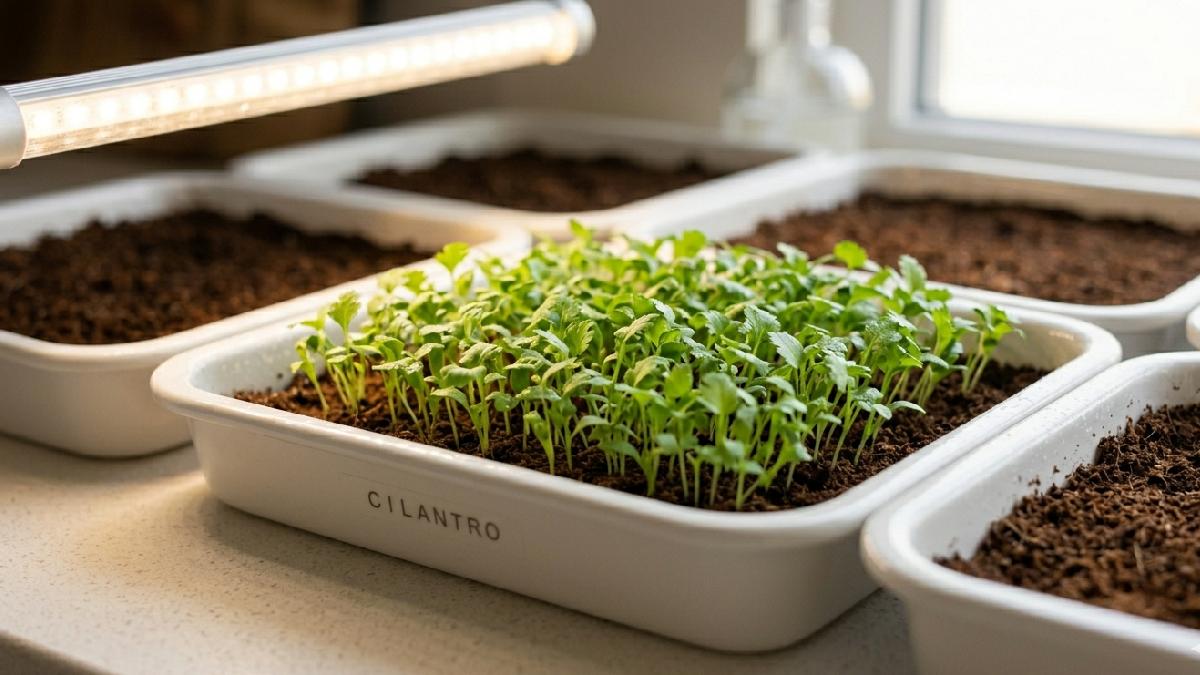
Step 4: Provide Light for Growth
Once sprouts appear, remove the cover and give light immediately. I place a tray near a bright window, and soft sunlight works fine. LED grow lights also do the job if sunlight is weak. Keep light steady, not too harsh, just enough for green growth.
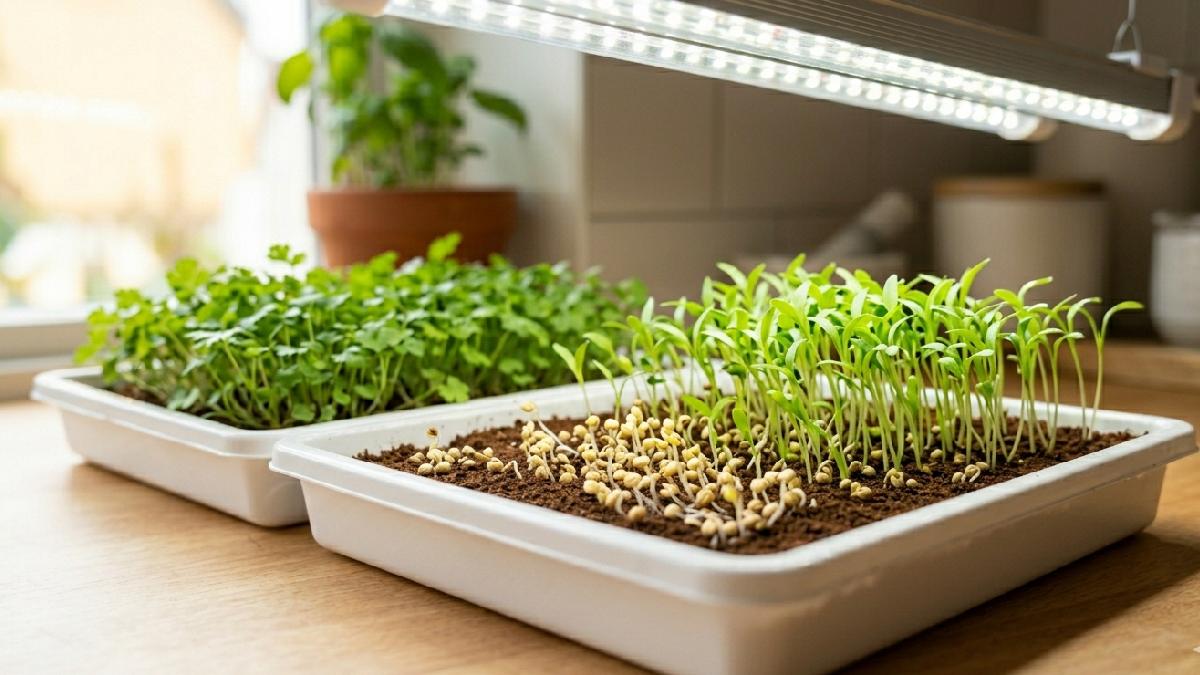
Stems start standing up, and leaves slowly open. I rotate the tray sometimes so the growth stays even. Without light, shoots stretch weak and pale, so timing matters here. This stage feels active, and you can see the daily change clearly. Growth finally becomes visible and strong.
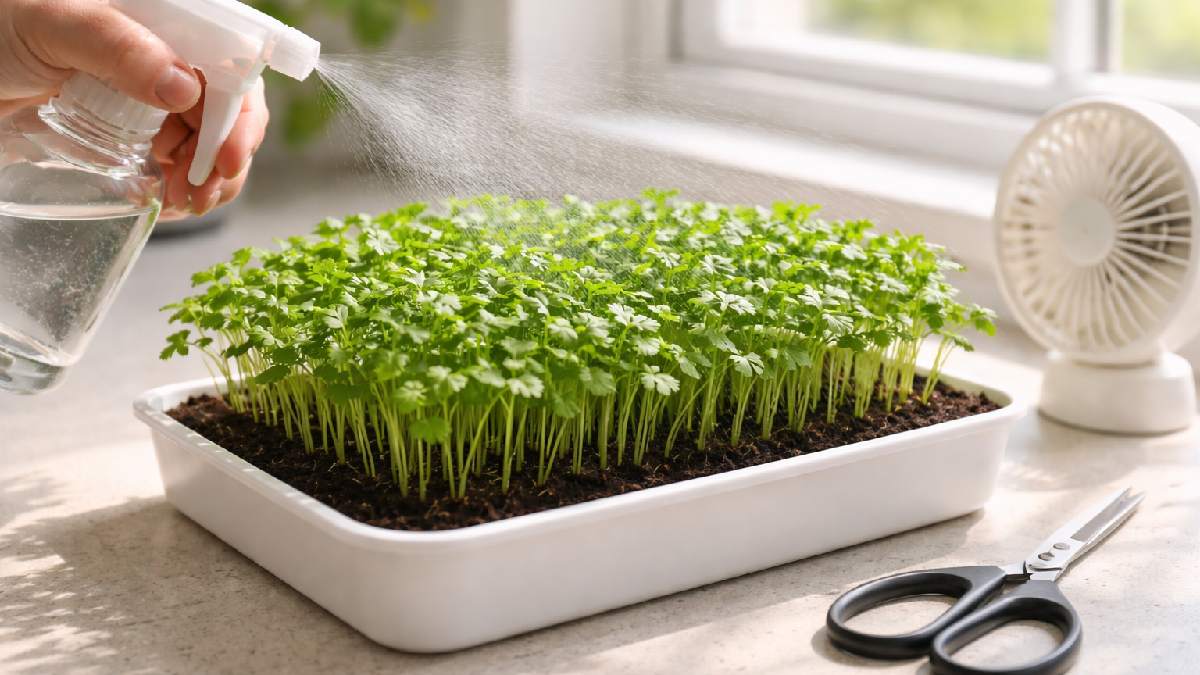
Step 5: Watering the Microgreens
Watering needs balance here, not too much, not too little. I usually use a spray bottle; a light mist feels safest. Soil should stay damp, never soggy or flooded. Overwatering makes roots weak and can bring mold, which I learned the hard way once.
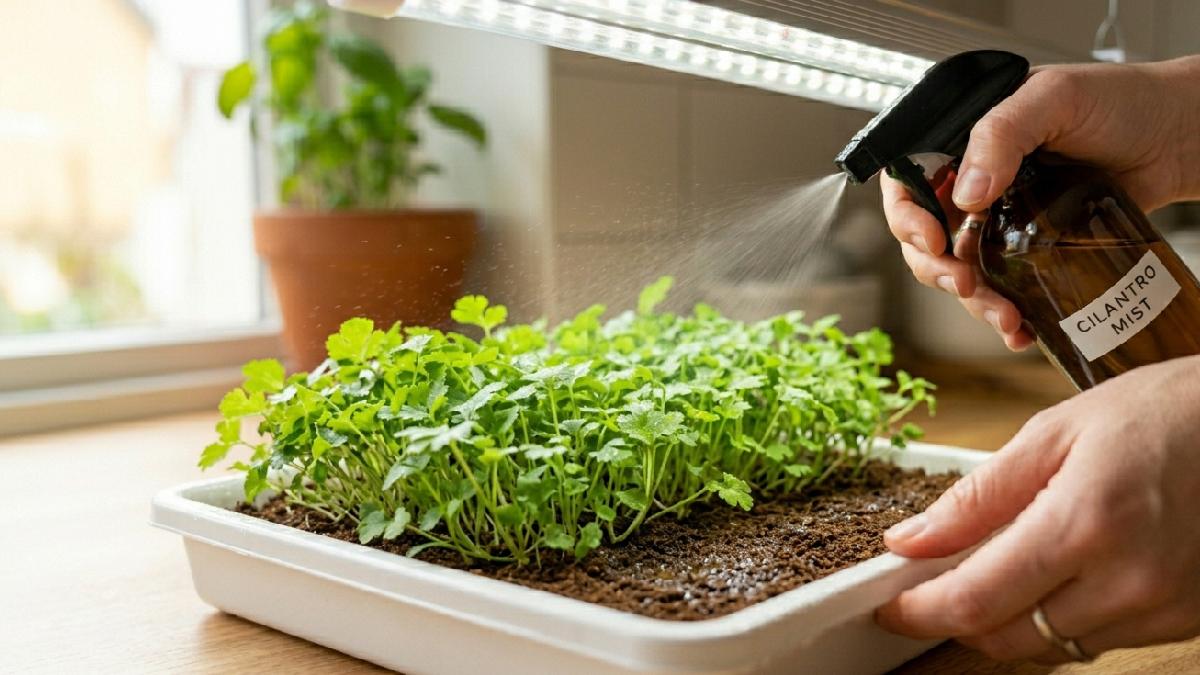
If the top feels dry, I mist again, and small checks daily help a lot. Some people use bottom watering, the tray absorbs slowly, also works fine. Keep rhythm simple; plants respond better when conditions stay steady.
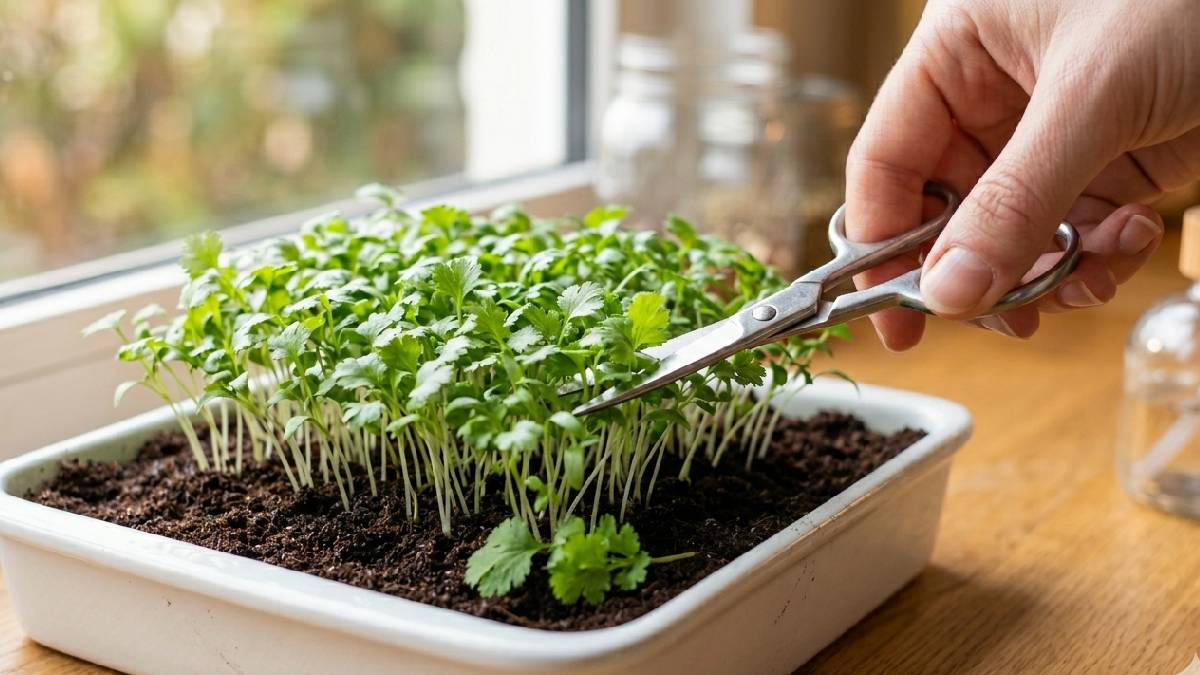
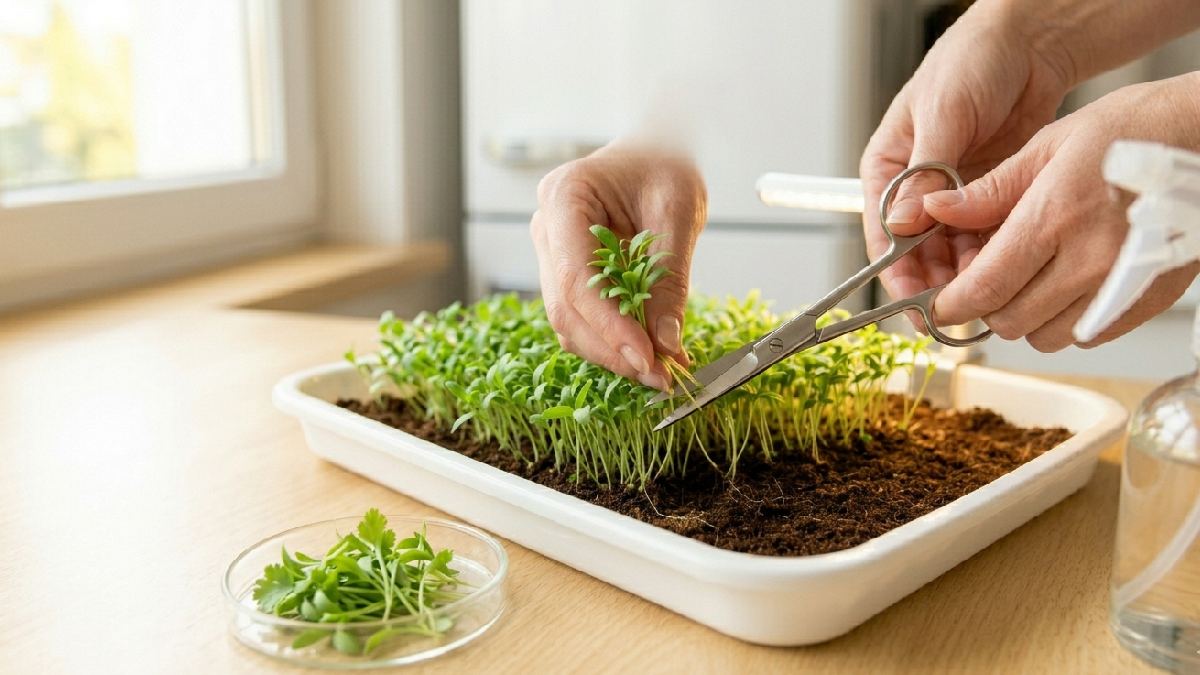
Step 6: Harvesting the Microgreens
Harvest time comes when cilantro microgreens reach 7to 14 days. Leaves look small but open, stems firm. I take clean scissors, cut just above the soil line. Roots stay behind, tray stays clean. It feels quick, an almost instant reward after waiting days.
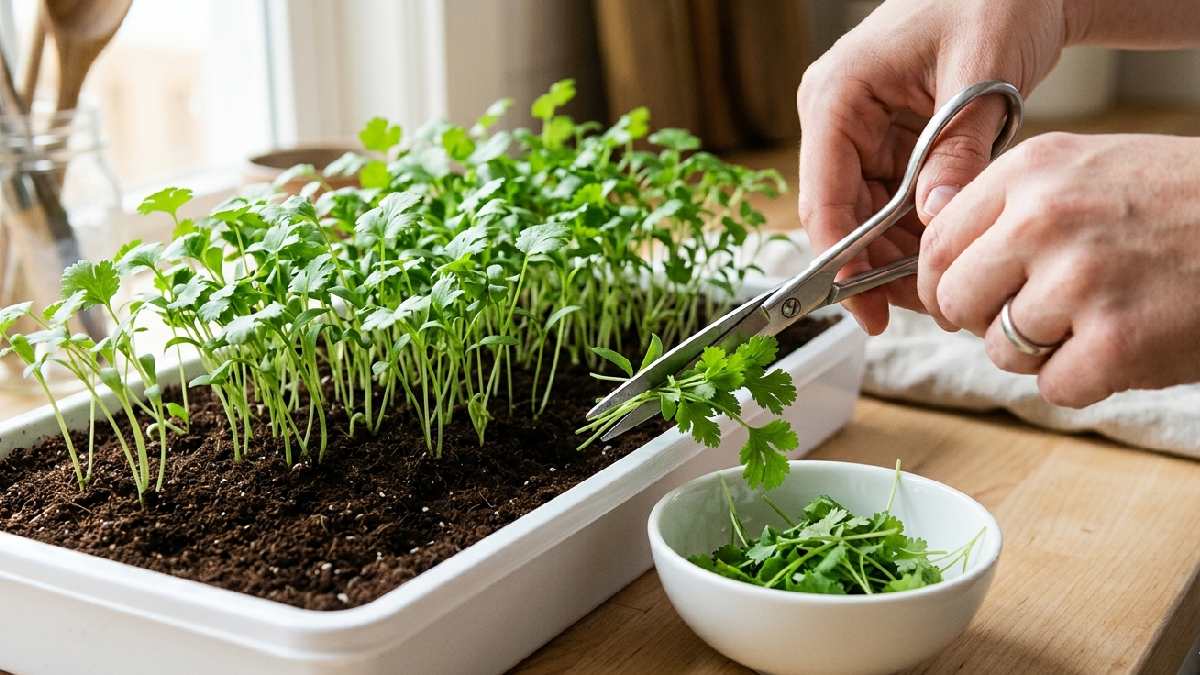
Flavor hits fresh, slightly citrus, strong compared to mature cilantro. Some trays even give a light second flush, not always though. I harvest in small batches and keep everything fresh. Wash gently if needed, then use immediately. Simple step, but the most satisfying part of the whole process.
Common Problems When Growing Cilantro Microgreens
Mold is the most common issue growers face with cilantro microgreens, usually caused by overwatering, poor airflow, or overcrowded seeds. Improve air circulation and water less frequently to keep it under control. Slow or patchy germination is another frustrating problem, most often linked to old seeds, skipping the pre-soak step, or temperatures that are too cold for the seeds to sprout properly.
Always pre-soak coriander seeds for 6to 8 hours before sowing. Seed hulls sticking to the leaves are also common with cilantro, specifically. Just mist the tops gently and give it a day or two; they usually fall off on their own without any interference.
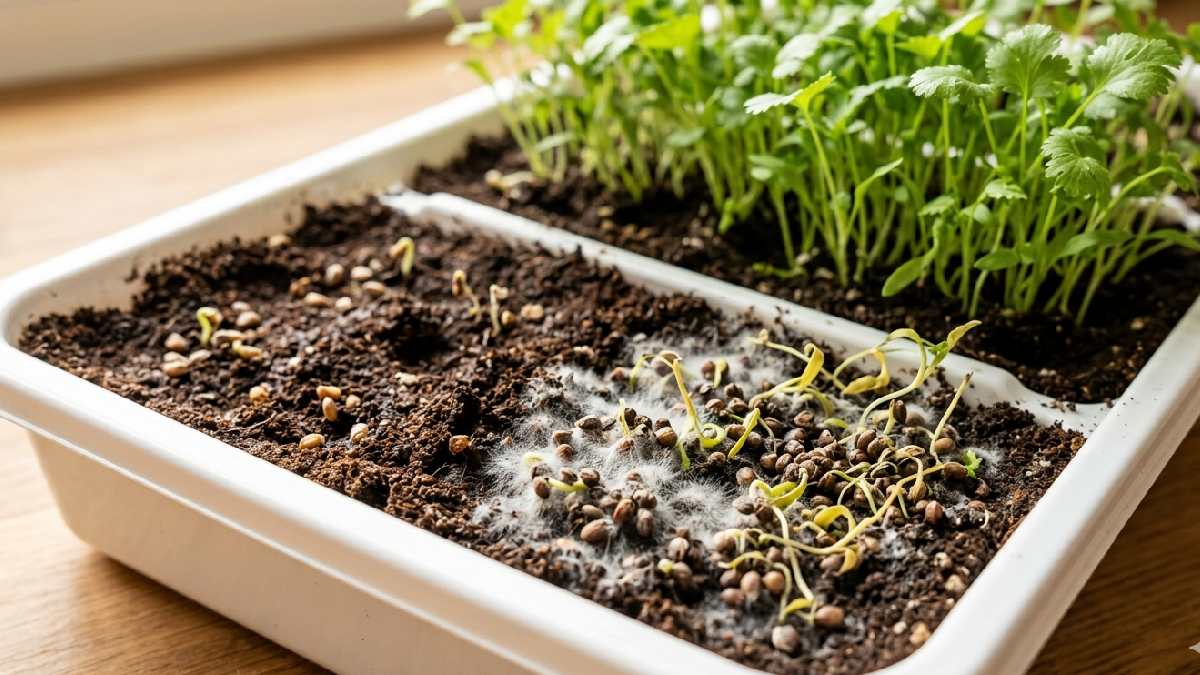
Mold Growth and How to Prevent It
Cilantro microgreens can get mold if conditions stay too wet. Soil feels soggy, air stays still, then white fuzz shows up. It happens fast, especially in closed trays. I learned this after losing a small batch once. Since then, I keep moisture balanced, not soaked.
Light mist works better than heavy watering. Air movement matters; even a small fan helps a lot. Cover only for a few days, then remove it. Clean trays also reduce risk. Mold slows growth and ruins flavor, so prevention matters more than fixing later.
Slow or Poor Germination
Cilantro microgreens often germinate slowly, sometimes unevenly, too. Seeds feel stubborn; not all sprout at the same time. I soaked them overnight once, and it helped a bit, still not perfect. The thick seed shell slows things down.
Keeping them slightly crushed or split improves results. Moisture matters a lot, too dry, nothing happens, too wet, they rot. Covering the tray for a few days keeps the warmth steady. Patience is key here; beginners feel stuck at the start, but growth comes later.
Seed Hulls Stuck on Leaves
Cilantro microgreens often carry seed hulls on top of leaves. It looks a bit messy; it happens a lot with this crop. Sprouts push up, but shells stay stuck, holding tight. I spray a little water, gently mist, sometimes hulls drop off slowly.
Not always perfect,t though. Some growers place a light cover early to soften shells. Air humidity helps too. Beginners feel worried seeing it, but the plant is fine. Leaves still grow under it. Just part of cilantro behavior, nothing serious.
Soil vs Hydroponic Growing Method
The soil method feels more natural for cilantro microgreens. Cocopeat or light soil holds moisture well, roots get a stable grip, and growth looks steady. It’s simple, cheap, and easy for beginners, but cleaning trays can get messy sometimes. The hydroponic method uses mats or water-based setups, with no soil involved, so it stays cleaner and reduces dirt issues.
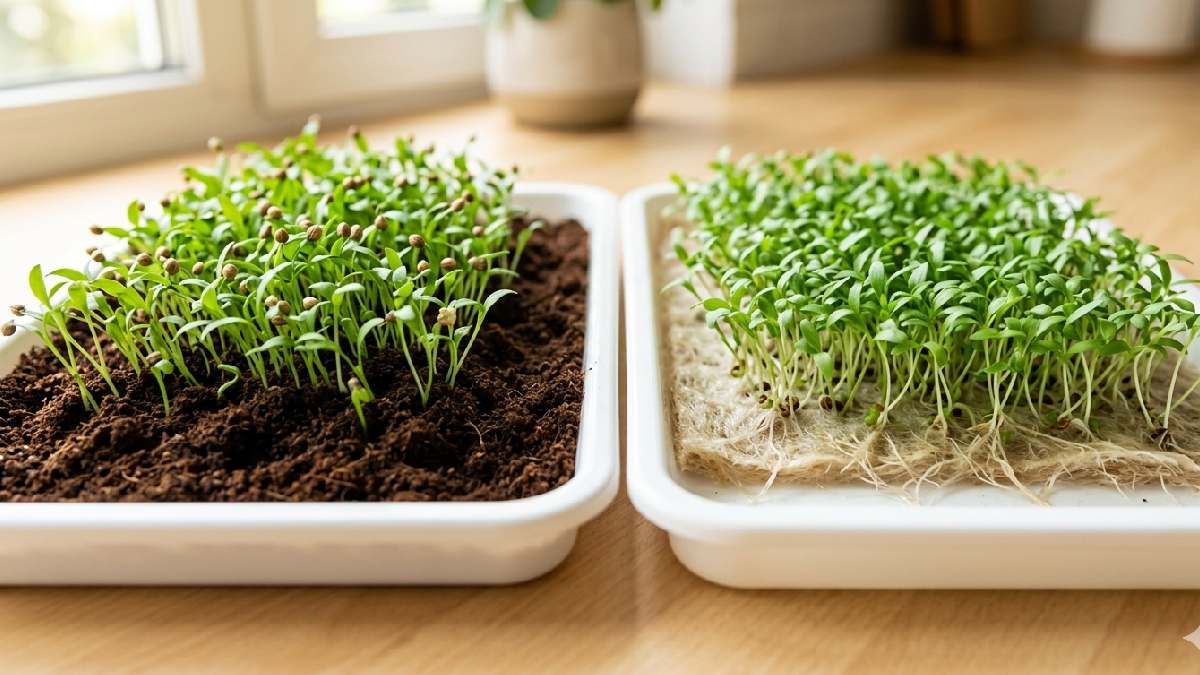
But it needs more control; moisture balance matters a lot. I tried both, soil gave more consistent results, and hydroponics felt a bit tricky at the start. Both work fine; the choice depends on comfort. Beginners usually prefer soil, and advanced growers sometimes switch to hydroponics.
Growing in Soil (Pros and Cons)
Growing cilantro microgreens in soil feels natural and stable. Soil holds moisture well, and roots get a strong grip. Plants look healthier, and growth feels steady. But soil can get messy, and cleaning trays takes time. Overwatering becomes a risk; mold can appear if care slips.
Still, beginners like soil because it’s easy to find and cheap. Just keep it light and airy, not packed too hard. Mist gently, avoid soaking. Balance matters here; small care changes result fast.
Growing Hydroponically (Pros and Cons)
The best method for beginners is a simple tray setup. Take a shallow tray, fill it with cocopeat, and keep it lightly moist. Spread cilantro seeds evenly, not too crowded. Press gently; no deep covering is needed. Mist softly, cover the tray for a few days to help sprouting.
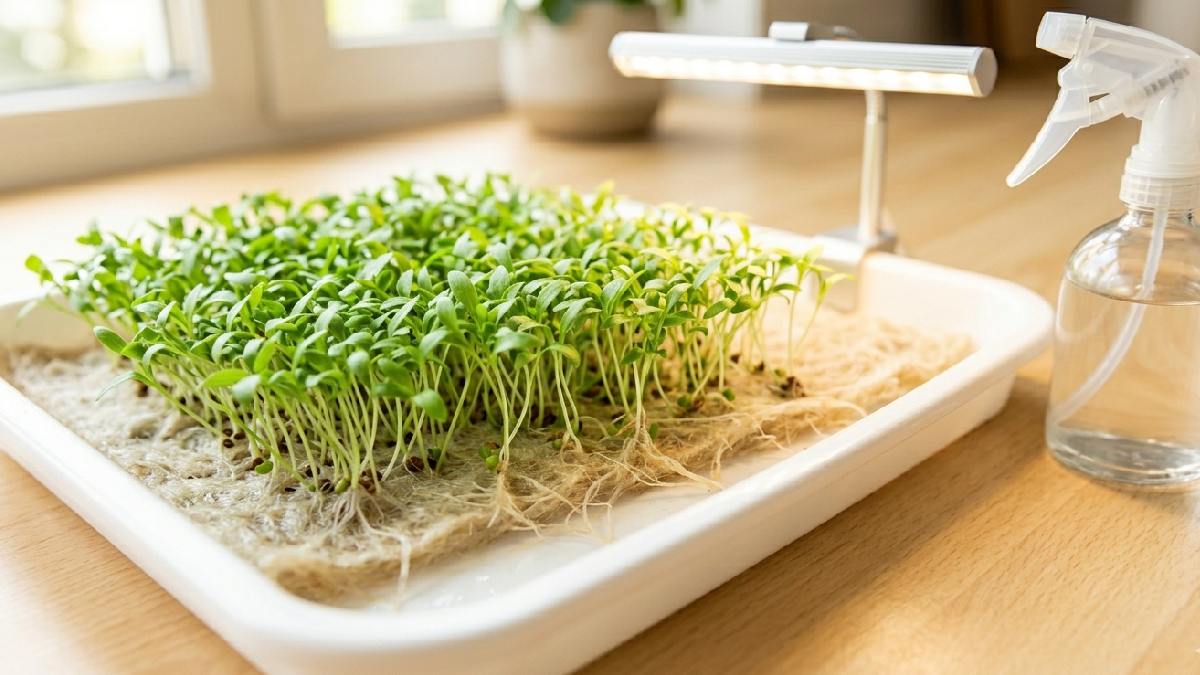
Check daily, keep medium damp, not wet. Once sprouts appear, remove the cover, give light from a window or an LED. Growth feels slow at the start, then sudden green shows up. Harvest when leaves open slightly. Cut above the soil, clean and easy.
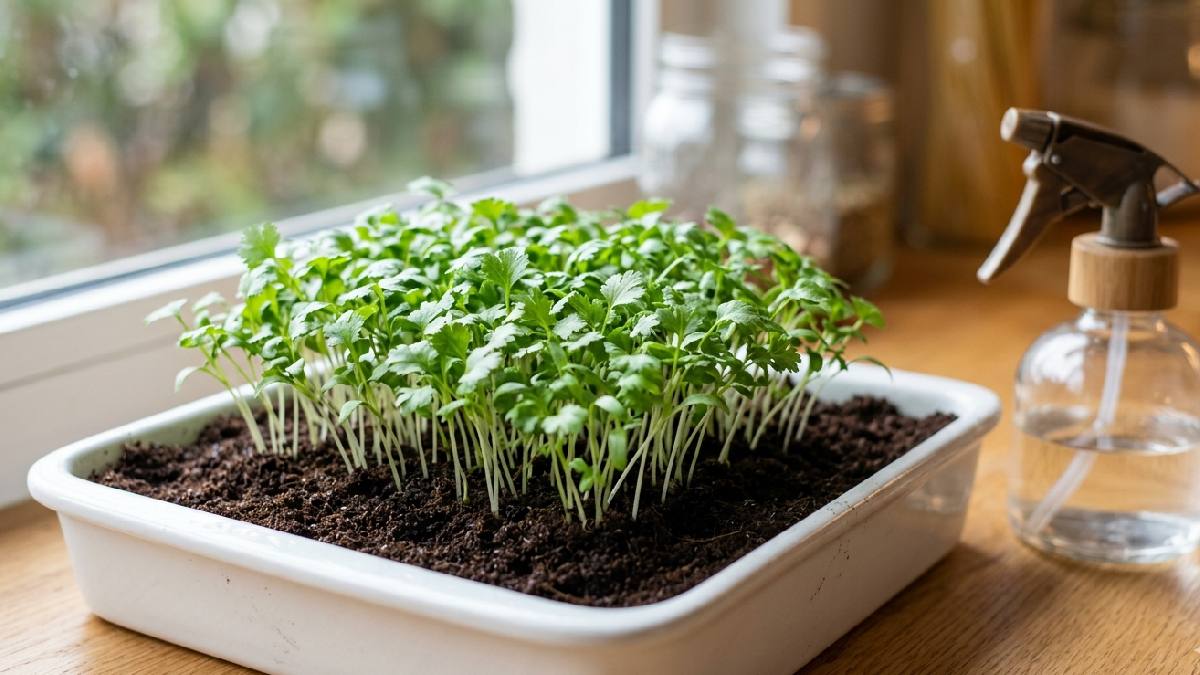
Best Method for Beginners
The best method for beginners is a simple tray setup with cocopeat or light soil. Start with fresh coriander seeds, maybe soak them overnight for better germination. Spread evenly, don’t overcrowd, just a light layer on top. Mist gently and cover the tray for a few days to create darkness. I usually leave it 3to 5 days, then check tiny sprouts.
After that, remove the cover and give soft light from the window or an LED. Keep watering lightly, a spray bottle works best, soil just damp, not wet. Growth looks slow at first, then suddenly green appears everywhere. Harvest around 10to 14 days, cut above the soil. Easy steps, small care, steady results.
How to Harvest and Store Cilantro Microgreens
Harvest cilantro microgreens when they are 1to 3 inches tall,l and the first true leaves have fully opened, usually around day 10to 14. Use a clean pair of scissors and cut the stems just above the soil line. Rinse gently under cool water and pat dry before using. Always harvest just before eating for the best flavor and freshness.

If you need to store them, place the cut greens in an airtight container lined with a dry paper towel and keep them in the refrigerator. Stored this way, they stay fresh for about 5 to 7 days. Use them within the first 2to 3 days for the best taste and texture.
When to Harvest
The right time to harvest cilantro microgreens is when they are 1to 3 inches tall and the first set of true leaves, the ones that look distinctly like cilantro leavesha s fully opened. This usually happens between day 10 and day 14, though it can vary depending on your growing conditions.
Harvesting too early means you are missing out on flavor and nutrition. Waiting too long can result in greens that are more fibrous and less tender than they should be. Check your tray daily from around day 8 onward so you can catch the ideal harvest window.
How to Harvest Properly
Harvest cilantro microgreens when leaves are open and stems feel firm, usually around 10to 14 days. I use clean scissors and cut just above the oil line. Don’t pull roots, keep the tray clean, and avoid mess.
Cut in small batches if needed, so freshness stays better. Harvest early morning feels best, flavor stays strong and crisp. After cutting, handle gently, avoid crushing leaves. Simple cut, quick process, but timing matters a lot for the best taste and texture.
Storage Tips and Shelf Life
Cilantro microgreens stay fresh for only a short time after harvest. I usually store them in a clean container with a paper towel, which keeps moisture balanced. Place inside fridge, not too cold section. They stay good around 3to 5 days, sometimes a bit more if handled gently.
Avoid washing before storage, as it makes them spoil faster. I cut only what I need, keeping the rest fresh longer on the tray. Flavor is best when eaten fresh the same day. After a few days, the leaves lose crunch, and the aroma slowly fades. Simple care keeps them usable for a small time window.
Pro Tips for Growing Healthy Cilantro Microgreens
Start with fresh coriander seeds; old ones behave lazily. I sometimes crush them lightly, and germination improves a bit. Keep moisture steady, not wet, not dry, balance matters here. Cover the tray only for the first few days, then give light quickly. I noticed airflow helps a lot, prevents mold, and weakens growth.
Use a spray bottle; a gentle mist works better than pouring water. Rotate the tray so all sides get equal light. Harvest on time, don’t wait too long, flavor drops after delay. Small care steps, but results feel strong and clean every time.
Use High-Quality Seeds
Good cilantro microgreens start with quality seeds. Fresh coriander seeds sprout faster and more evenly. Old or low-grade seeds often give patchy growth; some don’t even germinate. I noticed this difference early; the results changed a lot.
Organic seeds usually perform better and feel more reliable. Slightly crushing or soaking helps too, but seed quality still matters most. Always check freshness before planting. Better seeds mean stronger shoots, cleaner trays, and less frustration overall.
Maintain Proper Airflow
Good airflow keeps cilantro microgreens healthy and clean. Stale air makes moisture sit too long, which can cause mold or weak growth. I keep a small fan nearby on low speed, just enough movement.
Not strong wind, just gentle air. It helps leaves stay dry on top and roots breathe better. Opening a window sometimes also works fine. Balanced airflow makes shoots stronger, greener, and less risky to grow.
Avoid Overwatering
Overwatering is one of the biggest mistakes with cilantro microgreens. Too much water makes soil soggy and roots weak. I learned this early when a whole tray turned mushy. Light mist works best, just enough to keep medium damp.
A spray bottle gives better control than pouring water. Check moisture daily, not guessing. If it feels wet already, skip watering. Balanced moisture keeps growth steady, clean, and mold-free for better harvest.
Ensure Proper Light Exposure
Light plays a big role in healthy cilantro microgreens. Once sprouts come out, they need steady light to grow strong. I place the tray near a bright window, and soft sunlight works fine most days. If light feels weak, a small LED grow light helps a lot.
Keep it close, not too harsh though. Without enough light, stems stretch and fall over. I rotate the tray sometimes, which keeps the growth even. Simple habit, but it changes results clearly.
FAQs About Growing Cilantro Microgreens
No schema found.onclusion
Growing cilantro microgreens at home feels simple once you understand the steps. Fresh seeds, light soil, and gentle watering make most of the work easy. I started messily, too, overwatered a few trays, and learned slowly. Now growth feels steady and predictable. Tiny shoots appear, then suddenly the whole tray turns green.
Flavor hits fresh and strong, better than store-bought: small setup, low cost, quick harvest. Mistakes happen, and still plants forgive most of them. With a bit of care, anyone can grow healthy cilantro microgreens at home and enjoy fresh greens anytime.