
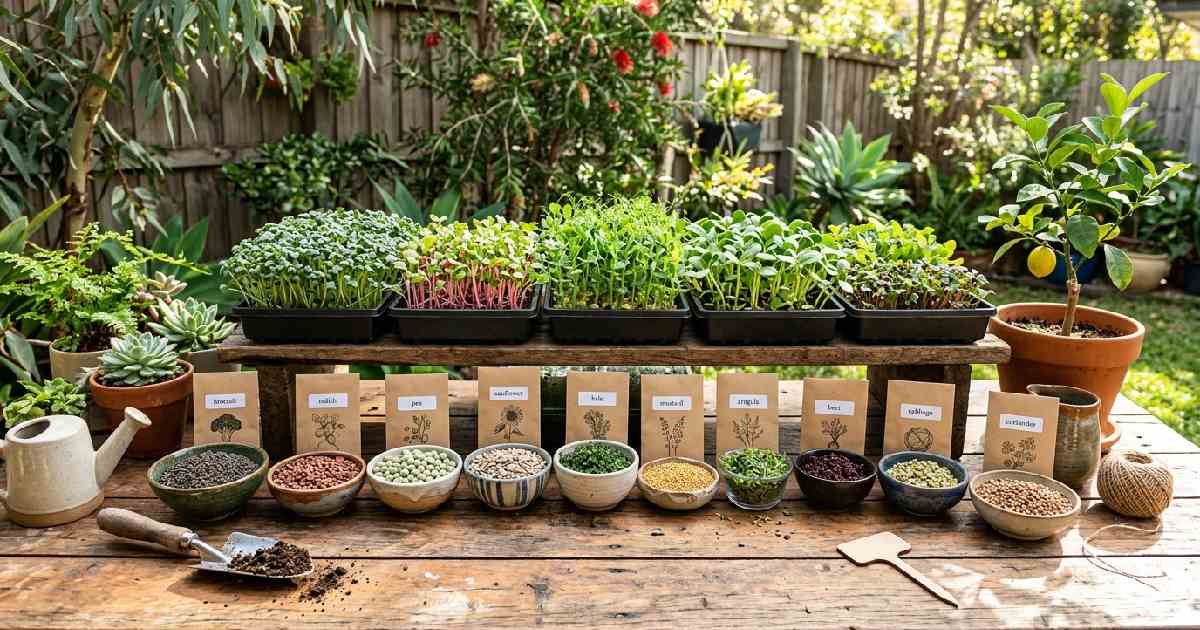

Microgreen seeds Australia are a great starting point if you want to grow fresh greens at home without much space or effort. Microgreens are one of the easiest ways to start. They grow fast and taste great.
But first, you need one thing: good seeds.
Finding good microgreen seeds in Australia is not hard once you know what to look for. In this guide, we will show you the 10 best microgreen seeds in Australia to grow. We will also share tips on picking and storing them the right way.
Why Good Seeds Matter So Much
Let’s talk about why seed quality makes such a big difference for microgreens.
Microgreens grow fast, and you harvest them in days or weeks. There is no long growing season to fix a slow start. If your seeds are old or low in quality, you’ll notice the problem right away.
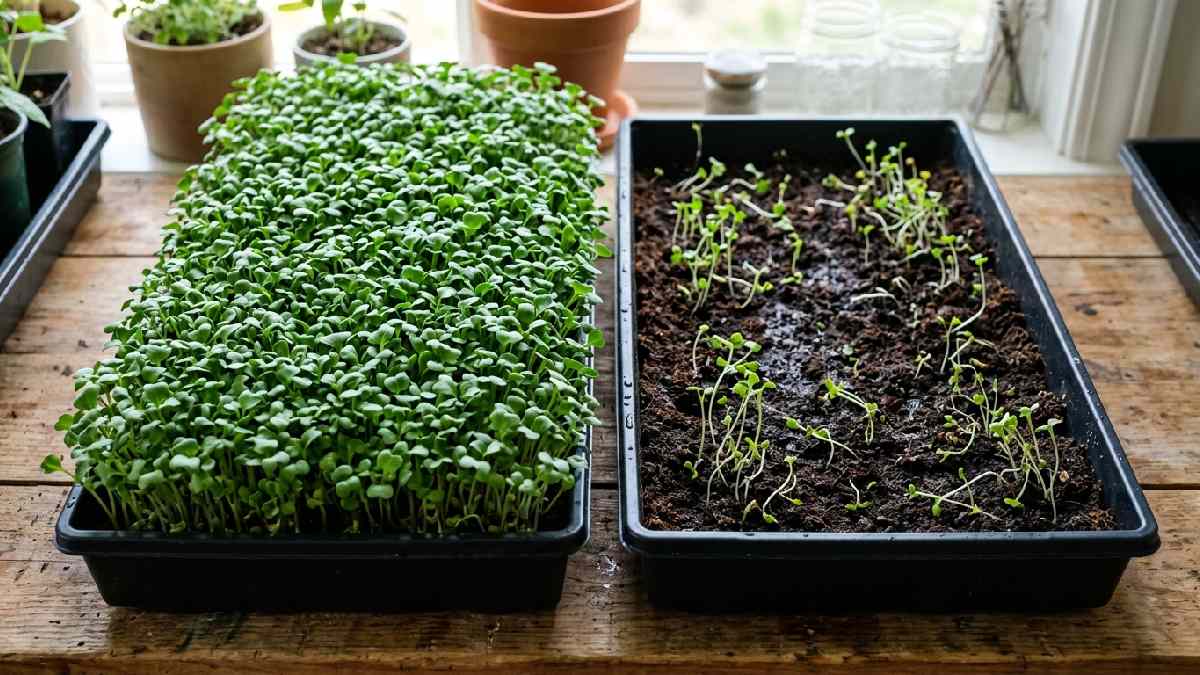
Bad seeds sprout slowly, and some barely sprout at all. This leaves your tray looking patchy and weak. Good seeds sprout fast and evenly. This gives you a full, healthy tray almost every time.
Since microgreens grow so fast, seed quality shows up almost right away. That’s why picking good seeds matters more here than in normal gardening.
What to Look for When You Buy Seeds
Not all seeds work well for microgreens. Some are made mainly for outdoor gardens. Here is what to check before you buy.
Look for untreated seeds. Some seeds come coated with chemicals meant for outdoor planting. That’s not ideal for food you eat just days after it sprouts.
Check the germination rate. Good sellers often list this number. Look for a rate above 85 to 90 percent.
Check the pack date. Seeds lose their sprouting power over time. Try to find a fresh pack date.
Look for seeds made for sprouting. Some brands clearly label their seeds for microgreens. This is a good sign of quality.
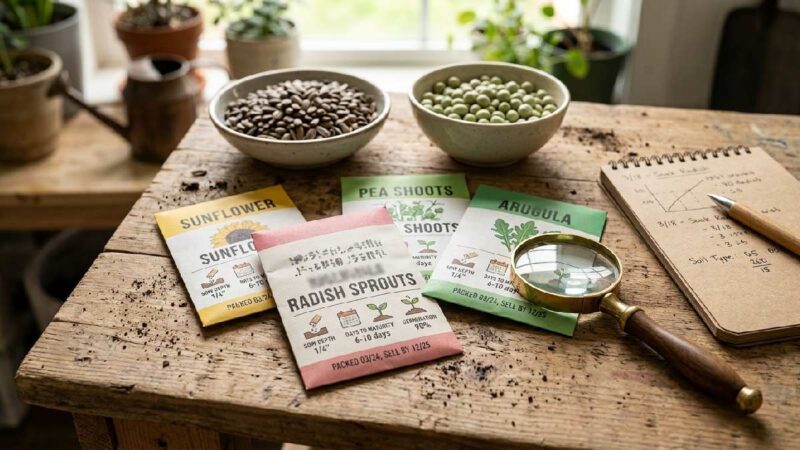
Think about non-GMO seeds. This isn’t always needed, but many home growers still like this choice.
Buy from trusted Australian sellers. Local seeds travel less distance. This often means they stay fresher for longer.
Keep these six points in mind, and you’ll avoid wasting money on seeds that sprout poorly.
The 10 Best Microgreen Seeds to Grow
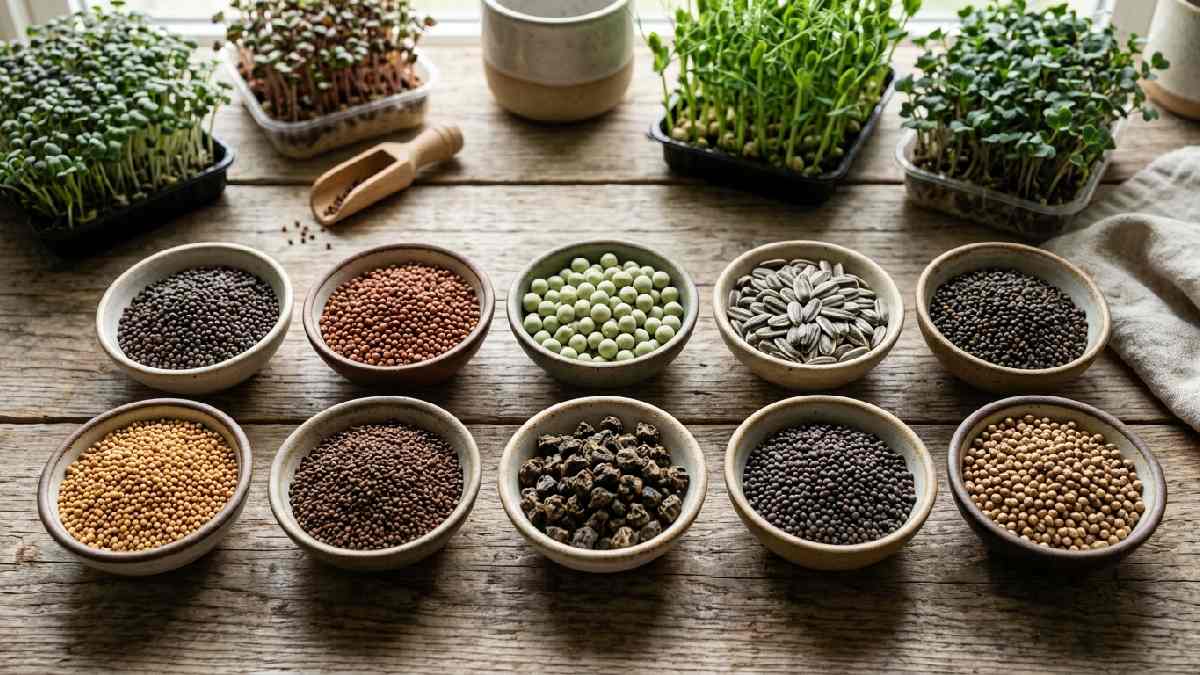
Now let’s look at the main list. These ten types are popular with Australian growers. They’re easy to find and simple to grow.
1. Broccoli Microgreens
Broccoli microgreens are a top pick. They have a mild taste with a small peppery kick. People also like them for their plant nutrients.
These seeds sprout fast, often within a day or two. You can usually harvest them in seven to ten days. Broccoli microgreens work well in smoothies, salads, and sandwiches. Their mild taste blends into almost any dish.
Since they’re so popular, you can find broccoli seeds at most seed shops across Australia.
2. Radish Microgreens
If you enjoy bold, spicy food, try radish microgreens. They carry a sharp, peppery bite. It’s like a stronger version of a full-grown radish.
Radish microgreens grow fast too. You can often harvest them in just five to seven days. This makes them great for beginners who want quick results. They also tend to sprout reliably, which means fewer failed trays.
3. Pea Shoots
Pea shoots have a sweet, fresh taste. Many people compare them to snap peas. Chefs and home cooks love using them raw in salads. You can also add them to a stir-fry.
Pea shoots take a bit longer to grow, around ten to fourteen days. Each tray still gives you a good amount of greens. That makes up for the longer wait.
Try soaking pea seeds for a few hours before planting. This helps them sprout faster and grow stronger.
4. Sunflower Microgreens
Sunflower microgreens bring a nice crunch and a mild, nutty flavor. They feel more filling than other microgreens. This is due to their thick stems and larger leaves.
These usually take seven to ten days to grow. Like pea seeds, sunflower seeds do better with a short soak first. This softens the shell and helps them sprout faster.
People often add sunflower microgreens to sandwiches and salads for extra crunch.
5. Kale Microgreens
Kale microgreens share the healthy reputation of full-size kale, but with a milder taste. You’ll notice a slight earthy flavor with a hint of sweetness.
They usually take seven to ten days to grow. They’re also fairly easy to manage, even for new growers. Try adding kale microgreens to smoothies or soups.
6. Mustard Microgreens
If you love strong, spicy flavors, mustard microgreens bring plenty of heat. The taste is bold, almost like wasabi. A small amount can change a whole dish.
These seeds grow fast, often ready in seven to ten days. Because the taste is strong, use small amounts. Mix them with milder greens to balance things out.
7. Arugula Microgreens
Arugula microgreens carry a peppery, nutty taste. It’s much stronger than full-size arugula leaves. Chefs love using them to top off dishes or add a fresh kick to salads.
These grow fast too, usually within seven to ten days. They’re also fairly easy for beginners. This makes arugula a solid first choice for new growers in Australia.
8. Beet Microgreens
Beet microgreens might be the prettiest type on this list. Their stems come in deep red and pink shades. The taste is earthy with a touch of sweetness, much milder than mature beetroot.
These take a bit longer to grow, around ten to twelve days. Because of their bold color, beet microgreens often make plates look more special.
9. Cabbage Microgreens
Cabbage microgreens have a mild, slightly sweet taste with a nice crunch. Use them in salads, sandwiches, or as a light topping for soup.
These usually take seven to nine days to grow. They’re fairly easy to manage, which makes them a smart pick for beginners.
10. Coriander (Cilantro) Microgreens
If you love the bold, citrus taste of coriander, growing it as a microgreen gives you that same flavor in a smaller leaf. It’s a favorite for tacos, curries, and fresh salsas.
These take longer to grow, usually around fourteen to eighteen days. They can also be a bit trickier to sprout evenly. Still, many growers say the wait is worth it.
Pick Seeds Based on Your Goals
Not every grower wants the same thing. Here’s a simple way to think about which seeds might suit you best.
Want fast results? Try radish, broccoli, or mustard. These are some of the quickest, often ready within a week.
Want bold flavor? Go with mustard, radish, or arugula. These bring strong, clear tastes to any dish.
Want mild, easy greens? Try broccoli, cabbage, or pea shoots. These blend into most meals without taking over.
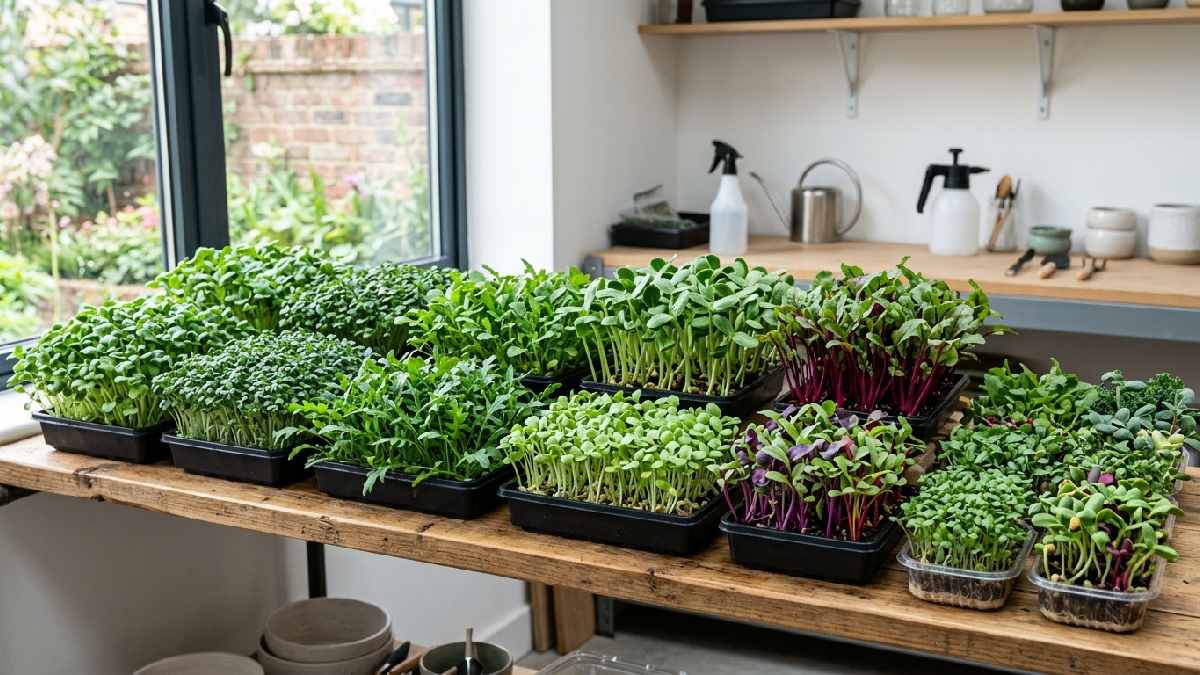
Want something that looks great? Beet microgreens bring bold color that makes any dish look special.
Growing for a small business? Try growing a mix of fast, mild, and bold types together. This appeals to more kinds of buyers, from home cooks to local restaurants.
Where to Buy Microgreen Seeds in Australia
Australia now has many sellers who focus on microgreen and sprouting seeds. Here are some tips for choosing where to buy.
Look for shops that focus on microgreens. Many small Australian businesses now sell just this type of seed. They often have fresher stock and more variety.
Check for bulk options. If you plan to grow often, buying seeds in bulk usually saves you money.
Read reviews from other buyers. Reviews from fellow Australian growers can tell you a lot about quality before you spend money.
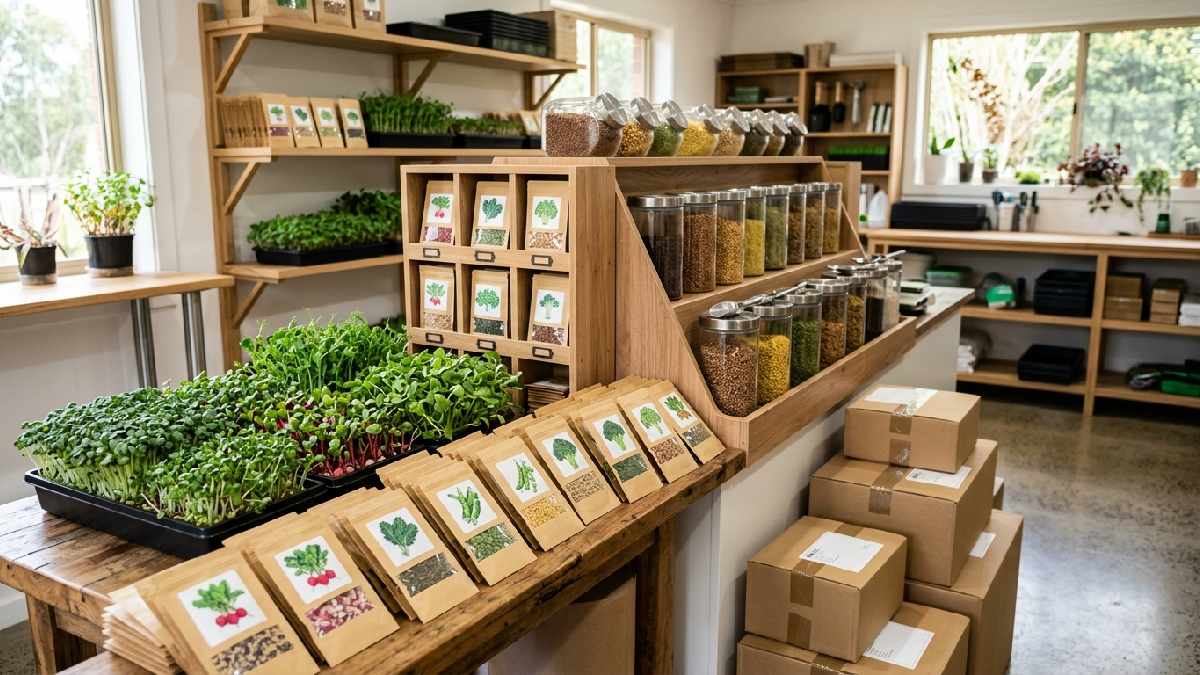
Check delivery times. Fast, reliable shipping means your seeds arrive fresh, not sitting in storage for weeks.
Ask how they store their seeds. Good sellers keep seeds cool, dry, and out of direct light. This helps preserve freshness over time.
Buying from Australian sellers often means fresher seeds for you. It also supports small local businesses.
How to Store Your Seeds the Right Way
Once you buy your seeds, storing them well keeps them fresh until you’re ready to plant.
Keep them cool and dry. A cupboard or pantry away from sunlight and damp air works well.
Use a sealed container. Moving your seeds into a jar with a tight lid protects them from moisture.
Write down the date. Labeling your seeds with the purchase date helps you use older batches first.
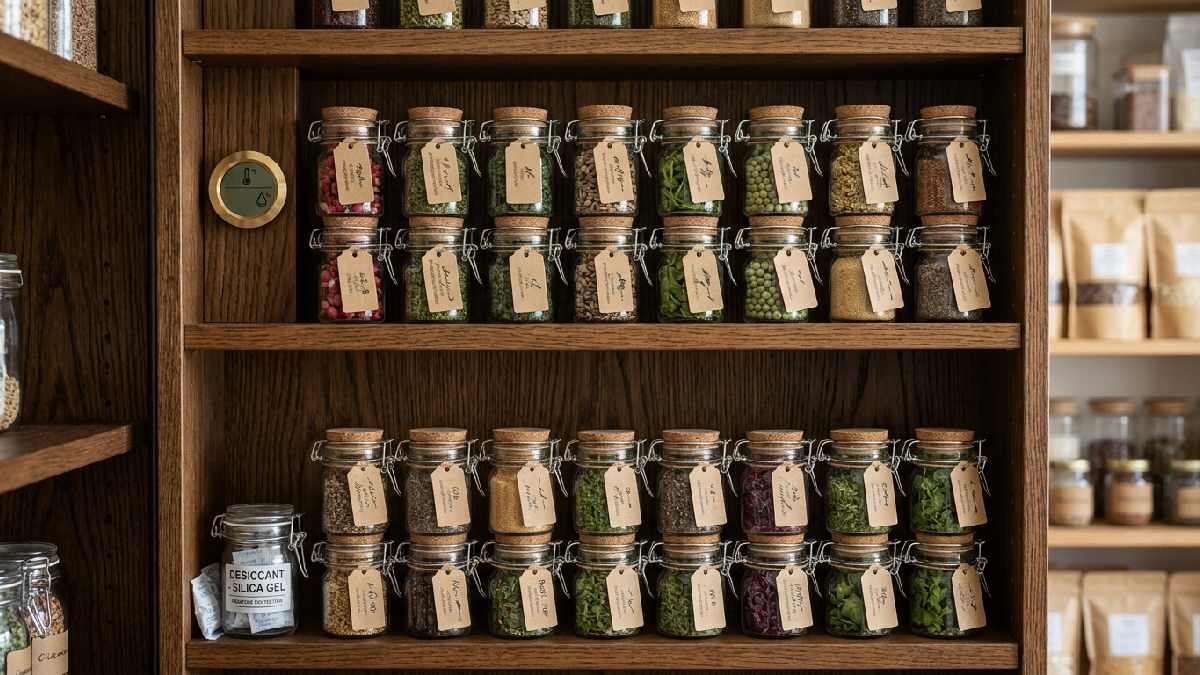
Avoid big temperature swings. Don’t store seeds somewhere with big changes in heat, like a hot garage or damp shed.
If you store your seeds well, many types can stay good for a year or longer. The germination rate does drop a bit the longer they sit.
Simple Tips for Better Sprouting
Once you’re ready to plant, a few small habits can help your seeds do their best.
Soak seeds that need it. Bigger seeds, like sunflower and pea, sprout faster after soaking for eight to twelve hours.
Use good growing soil or medium. A clean, well-draining medium, like coco coir, gives seeds the right moisture and support.
Keep moisture steady. Don’t let your growing medium dry out during the first few days after planting.
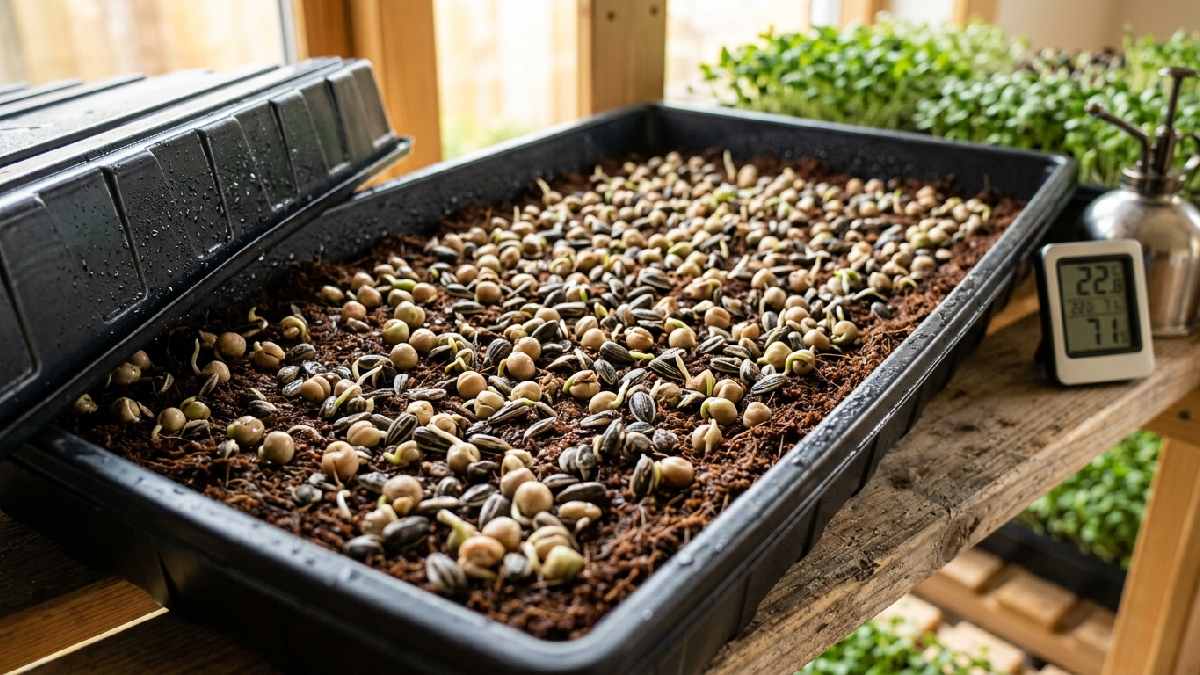
Add light weight during sprouting. A second tray on top for a few days helps seeds touch the soil better, which builds stronger roots.
Watch the temperature. Most microgreen seeds sprout best between 18 and 24 degrees Celsius. This is easy to manage indoors across most of Australia.
Follow these steps, and you’ll see faster, more even sprouting in nearly every tray.
Growing Microgreens in Different Parts of Australia
Australia has many different climates, from the tropical north to the cooler south. The good news is that since most microgreens grow indoors, your local weather matters less than you might think.
Tropical and warm areas, like Queensland and the Northern Territory, tend to be humid. You may need more airflow and a small fan to stop mold during wet months.
Milder areas, like NSW, Victoria, and South Australia, offer a good balance of temperature all year. You likely won’t need much extra heating or cooling gear.
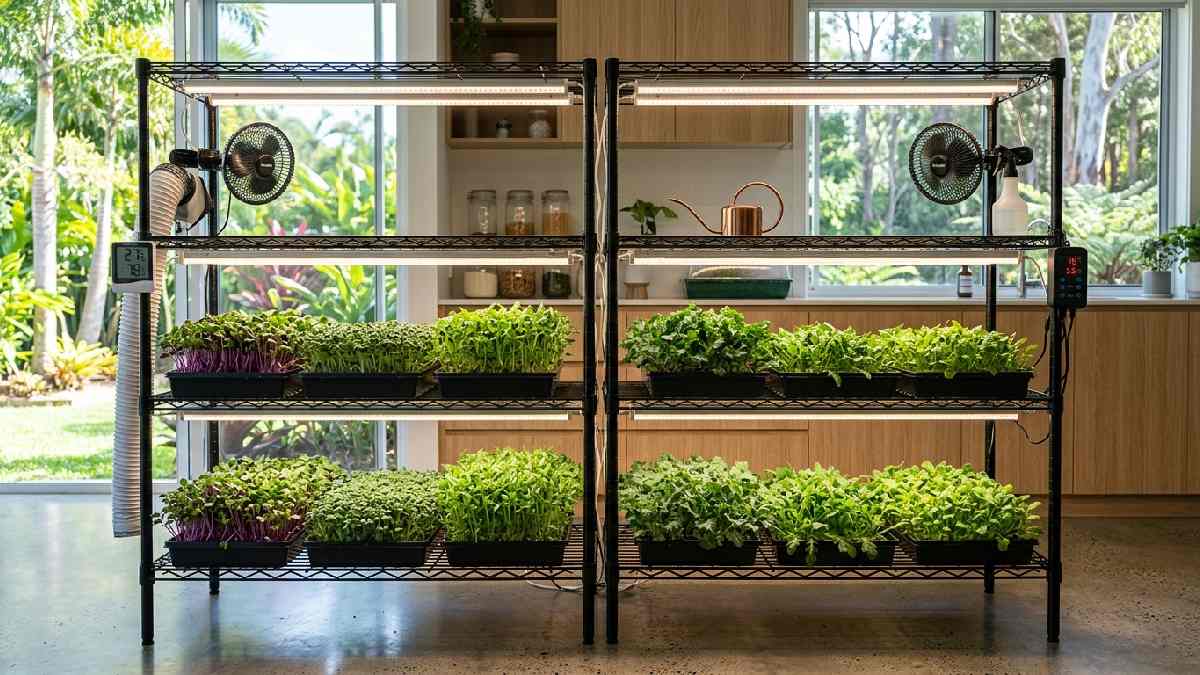
Cooler areas, like Tasmania and southern Victoria in winter, may benefit from a small heat mat. Cold weather can slow down sprouting quite a bit.
Dry inland areas often dry out growing mediums faster. Check your trays more often, and mist them as needed.
Because indoor growing gives you so much control, most people across Australia can grow a wide range of microgreens. Just adjust small things like airflow, moisture, and heat.
A Quick Word on Seed Imports and Rules
Australia has strict rules about bringing in plants and seeds from other countries. This protects local farms from pests and disease.
Buying local is easier. Seeds from Australian sellers have already passed the needed checks. This means less hassle and faster delivery.
Imported seeds may need approval. Bringing seeds in from overseas can sometimes require a permit, depending on the seed type.
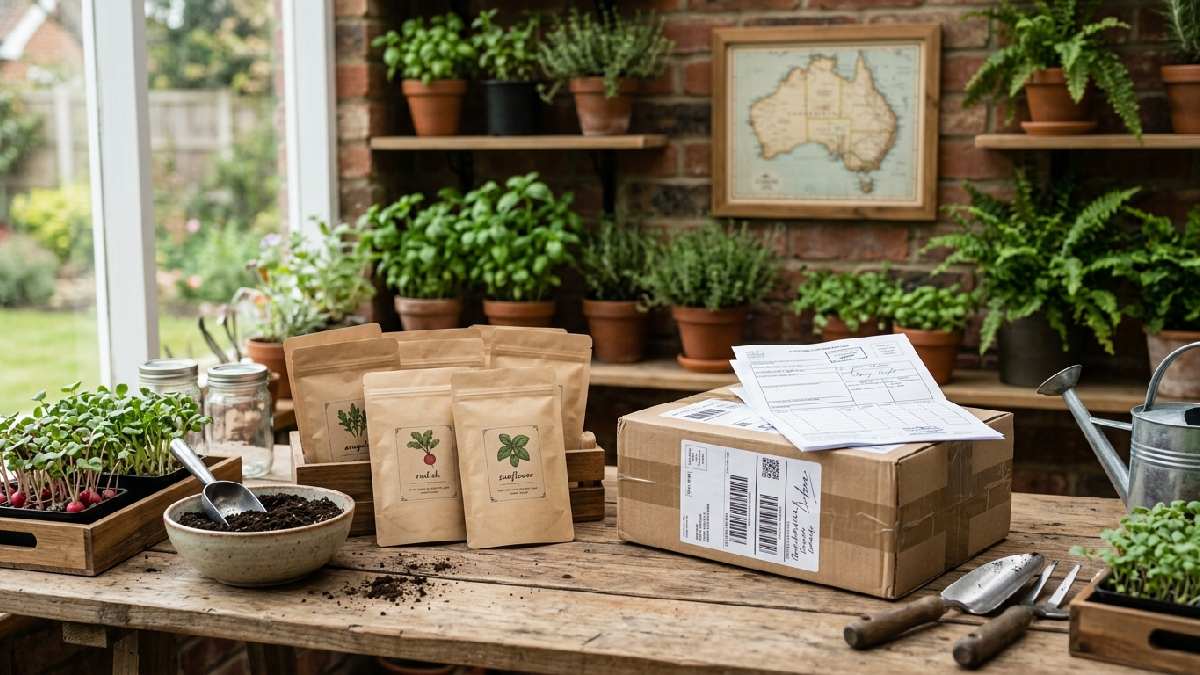
Stay away from unofficial overseas sellers. Seeds from random international sites can get stopped or destroyed at the border if they don’t meet local rules.
For most home growers, sticking with Australian sellers is the easiest path. It’s also the most reliable, and it supports local seed businesses.
Organic vs Regular Seeds
You’ll often see two choices: organic seeds and regular seeds, sometimes called conventional.
Organic seeds come from plants grown without man-made pesticides or fertilizers. Many home growers like organic seeds for extra peace of mind.
Regular seeds are often easier to find and can cost less. Good quality regular seeds, especially untreated ones, remain a safe choice for microgreens.
Price differences exist because organic seeds cost more due to farming and certification. Untreated regular seeds still offer a solid, budget-friendly option.
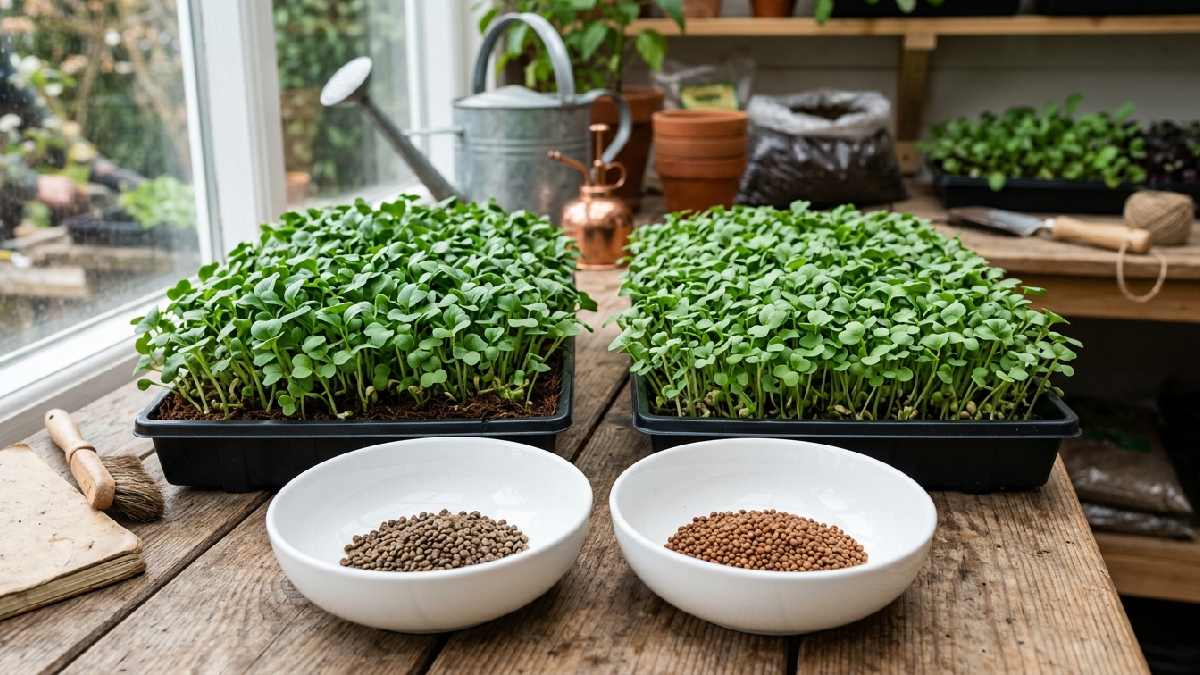
What really matters most is choosing seeds that are untreated and made for sprouting or microgreens. This matters more than the organic label itself.
In the end, the choice often comes down to your budget and personal preference, not a big safety concern either way.
Buying in Bulk or Small Packs
If you plan to grow microgreens often, it helps to think about whether bulk seeds make sense for you.
Small packs work great if you’re new to growing. You can try a new type without spending much money. They also suit growers who only plant now and then.
Bulk bags make more sense once you know which types you enjoy. Buying in bulk usually lowers the cost per gram over time.
Think about your storage space before buying in bulk. Make sure you have a sealed container in a cool, dry spot.
Test before you commit to a large order, especially with a new seller. Try a small pack first to check how well the seeds sprout.
Starting small and growing your seed orders over time is the smart approach for both new and experienced growers.
How Many Seeds Should You Plant Per Tray?
This is a common question for new growers. The answer depends mostly on the type of seed you’re using.
Small seeds, like broccoli and radish, need a light, even spread. About 10 to 15 grams works well for most standard trays.
Medium seeds, like mustard and cabbage, need a slightly heavier spread. Around 15 to 20 grams per tray is a good starting point.
Large seeds, like sunflower and pea, need more seeds to fill the tray. Try around 100 to 150 grams, since these seeds take up more space.
Avoid overcrowding your trays. Too many seeds packed together can lead to weak stems and mold, not a bigger harvest.
Avoid underplanting too. Too few seeds leave gaps in your tray, which wastes space and shrinks your final harvest.
If you’re unsure, start with the amount on the seed packet. Adjust next time based on how the tray turns out.
Understanding Seed Labels
Seed packets often carry a lot of small print. Here’s a simple guide to help you understand what you’re reading.
Germination rate tells you what percent of seeds are likely to sprout. A higher number points to better quality.
Pack date or use-by date shows how fresh the seeds are. This is worth checking, especially when buying online.
Treated or untreated refers to a chemical coating on the seed. For microgreens, untreated is almost always the better choice.
Origin or source sometimes shows where the seed came from. Local Australian seeds often mean fresher stock.
Organic certification usually appears with a clear logo on the label. If you don’t see one, the seed is likely conventional.
Batch or lot number mainly helps with tracking. This is useful if you ever need to contact the seller about an issue.
Once you understand these basic labels, choosing good seeds becomes much faster and easier.
Natural Light or Grow Lights?
A common question from beginners is whether they need special grow lights, or if a sunny window is enough.
Natural light can work well for many types of microgreens, especially during the germination and early growth stages.
Grow lights offer more control. They give steady, even light no matter the weather or time of year, which leads to more even growth.
Consider your space before deciding. A small LED grow light is a low-cost fix if your room doesn’t get much natural sun.
Watch for leggy growth. Tall, thin, and pale microgreens are a sign they aren’t getting enough light.
Either option can work well, depending on your setup. Many Australian growers start with a sunny window before adding a simple grow light later.
A Quick Look at All 10 Types
We’ve covered a lot. Here’s a simple side-by-side view to help you choose faster.
Fastest to grow: Radish, mustard, and broccoli. Usually ready in five to ten days.
Slowest to grow: Coriander and pea shoots. These take ten to eighteen days.
Mildest taste: Broccoli, cabbage, and sunflower. They mix well with most foods.
Boldest taste: Mustard, radish, and arugula. Use small amounts, or mix with milder greens.
Best for looks: Beet microgreens. Their red and pink stems really stand out.
Best for beginners: Radish and broccoli. They sprout fast and rarely fail.
Best for smoothies: Kale and broccoli. Their mild taste blends smoothly with fruit.
Best for garnish: Beet, arugula, and coriander. A little goes a long way.
Keep this list handy while planning your first few trays, whether you want fast results, bold flavor, or bright color.
Build a Simple Growing Routine
Once you find a few favorite types, it helps to build a simple routine. This way, you always have fresh greens ready.
Start with two or three types. Trying too many at once can feel like a lot for a beginner.
Plant on different days. Instead of planting everything at once, plant a new tray every few days. This keeps a steady supply coming.
Take notes as you go. Write down sprouting times, taste preferences, and any problems you noticed. This helps you improve with each batch.
Adjust as you learn. After a few rounds, you’ll likely find a favorite or two worth focusing on going forward.
A steady routine makes growing microgreens feel like an easy, fun part of your week.
Common Mistakes to Avoid
Even skilled growers slip up sometimes. Here’s what to watch for.
Buying seeds made only for full-grown plants. These are often treated, or too slow for a short microgreen cycle.
Ignoring the pack date. Old seeds can still work, but they sprout less evenly. This leads to a patchy tray.
Buying too much before testing. Try a small amount first, especially with a new type or seller.
Storing seeds the wrong way. Damp or warm spots can ruin good seeds fast, even fresh ones.
Sticking to just one type. Growing only one kind gets boring quickly. A mix keeps things fun.
Fresh Ideas for Using Your Microgreens
Once your trays are ready to harvest, it helps to know how to use your greens beyond just a simple salad topping.
Add them to sandwiches. A layer of microgreens adds crunch and fresh flavor to any sandwich or wrap.
Blend them into smoothies. Mild greens like broccoli or kale mix well with fruit for a healthy boost.
Top your soups. A small handful of microgreens on top of a warm bowl of soup adds color and fresh taste.
Mix into scrambled eggs. Fold in a bit of pea shoots or sunflower greens right before serving for extra texture.
Garnish your main dishes. Beet or arugula microgreens make a plate look more special with very little extra work.
Add to homemade pesto. Many home cooks blend microgreens into a fresh pesto sauce for pasta or bread.
Trying new ways to use your microgreens keeps meals interesting and helps you get more value from every tray you grow.
How Fresh Should Microgreens Be When You Eat Them?
Microgreens taste best soon after they’re cut. The fresher they are, the more flavor and crunch you’ll notice in each bite.
Harvest just before eating when possible. This gives you the best taste and the most nutrients.
Store leftovers properly. Keep any extra greens in the fridge in a sealed container with a paper towel to soak up extra moisture.
Use within a few days. Most microgreens stay fresh for about five to seven days when stored well in the fridge.
Watch for wilting. If your greens start to look limp or turn brown at the edges, it’s best to use them soon or toss them out.
Eating your microgreens fresh, rather than letting them sit too long, helps you enjoy the full flavor and health benefits they offer.
A Few Extra Tips Before You Start
Before you dive in, here are a few last tips that can help make your first few trays go smoothly.
Start with just one tray. It’s easier to learn the basics with a single tray before growing several at once.
Keep a simple daily habit. Check on your trays each day at the same time. This helps you catch problems early.
Don’t be afraid of small failures. Not every tray will turn out perfect, especially at first. Each attempt teaches you something new.
Ask other growers for advice. Online groups and local gardening clubs in Australia are full of people happy to share tips and answer questions.
Enjoy the process. Growing your own food, even something as small as microgreens, can be a fun and rewarding hobby.
With a bit of patience and the right seeds, you’ll be harvesting fresh, tasty greens in no time.
Frequently Asked Questions
Are microgreen seeds different from normal vegetable seeds?
Not always. Many sellers offer seeds made just for microgreens, which often sprout better for short growing cycles.
Can I use the same seeds for microgreens and full-size veggies?
Often, yes. But seeds made just for microgreens are usually untreated and chosen for fast, even sprouting.
How much does it cost to start growing microgreens in Australia?
Seed packs are usually cheap. A small setup with trays, growing medium, and seeds can cost very little to start.
Which microgreen is easiest for beginners in Australia?
Radish and broccoli are great picks. They grow fast and sprout well almost every time.
Do I need special seeds for hydroponic microgreen growing?
Do I need special seeds for hydroponic microgreen growing?
Most standard seeds work fine for hydroponic setups too. Check with your seller if you use a special mat or system.
Conclusion
Picking the right microgreen seeds is the first big step toward a great harvest. Maybe you love the quick spice of radish. Maybe you like the mild crunch of sunflower. Or maybe you’re drawn to the bold color of beet microgreens.
Take your time, buy from trusted sellers, and store your seeds properly. Follow simple sprouting tips, and you’ll enjoy fresh, healthy, homegrown greens all year long.
So, which type will you try first?