

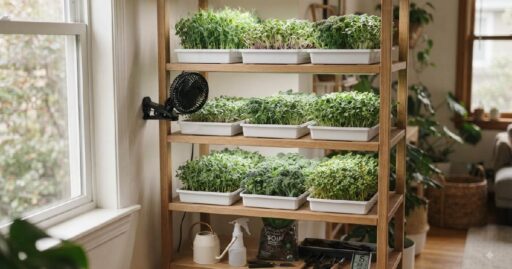

You’ve probably had this happen: you check your trays one morning, and something’s off. A patch of white fuzz in the corner. A few stems leaning over, too weak to stand up straight maybe even a smell you didn’t notice yesterday.
Most people blame the seeds or the soil mix sometimes the water. But nine times out of ten, the real culprit is something nobody thinks about: air. Just still, damp air sitting on top of the trays, doing nothing, day after day.
This is exactly where microgreen fans earn their keep. They’re not fancy; they’re not expensive. A small fan pointed the right way can fix problems that seeds and soil never caused in the first place. This article walks through what these fans actually do, where to put them, how to run them properly, and the mistakes people make even after they’ve bought one.
By the end, you’ll know enough to set up airflow correctly the first time, instead of learning it the hard way, tray by ruined tray.
What Microgreen Fans Actually Do
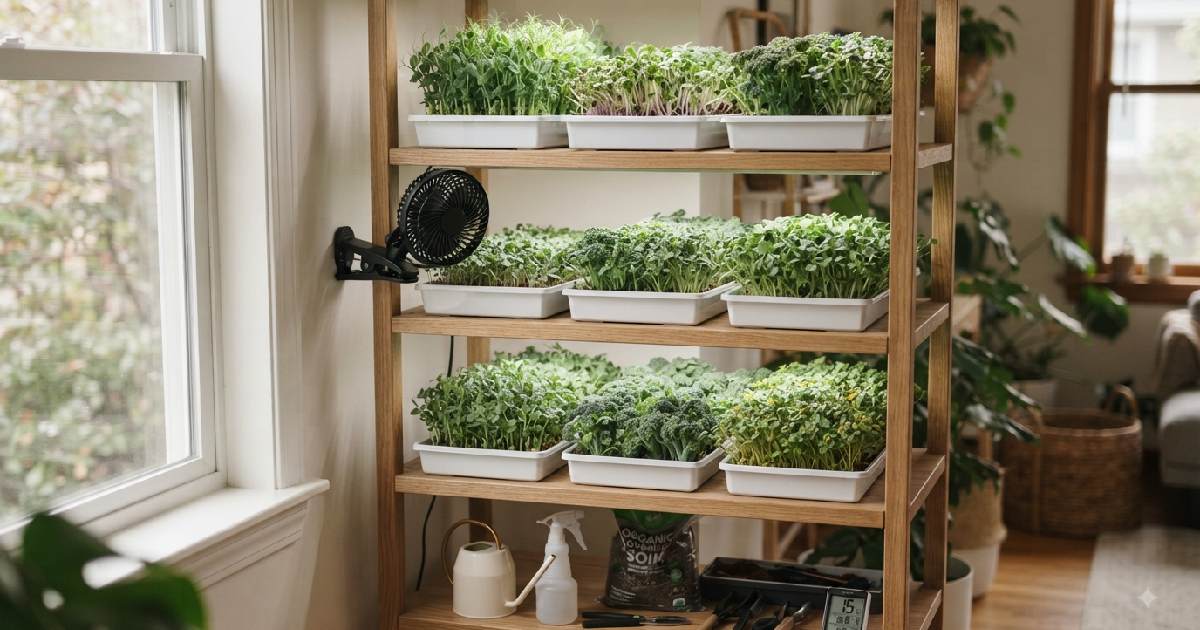
A microgreen fan is nothing complicated. Just a small fan, clip-on or desk style usually, set up near your trays to keep air moving. There’s no trick to it.
But microgreens grow in a tricky little environment. Trays sit close together. Domes trap heat. Rooms with poor ventilation turn into humid little boxes without anyone realizing it. Water pools on the surface. And still, stagnant air over wet soil? That’s basically a welcome mat for mold.
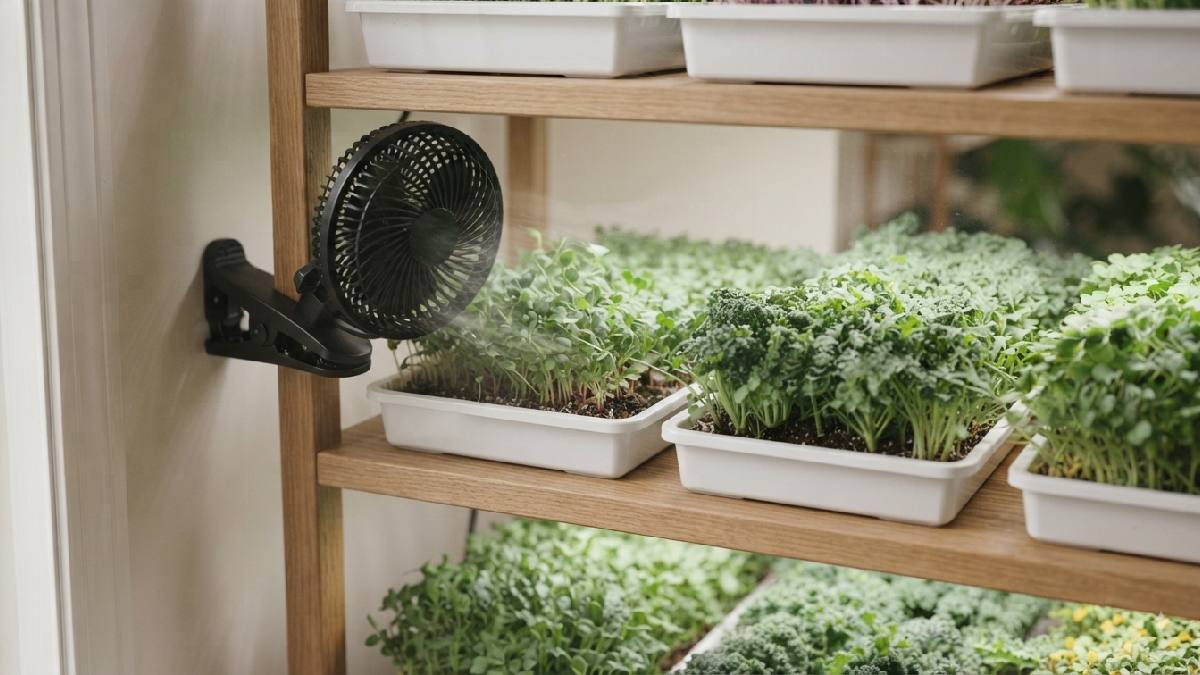
Moving air breaks that cycle. It dries the surface just enough between waterings. It keeps moisture from sitting in one spot too long. And oddly enough, it makes stems stronger, plants that sway a little tend to grow sturdier than ones that never move. Greenhouse growers have known this trick for decades. Some run fans even in freezing weather, just to keep that air circulating.
So next time your greens come out leggy, or you spot mold in every third batch, check the airflow before you blame anything else.
Why This Actually Works
You don’t need a science degree for this part. Plants breathe through tiny pores in their leaves. When the air sitting right next to a leaf goes stale, that gas exchange slows down. Growth slows with it.
Move the air, even gently, and fresh supply keeps arriving. The plant works more efficiently. Small difference on any given hour. Over ten days? It adds up to noticeably better growth.
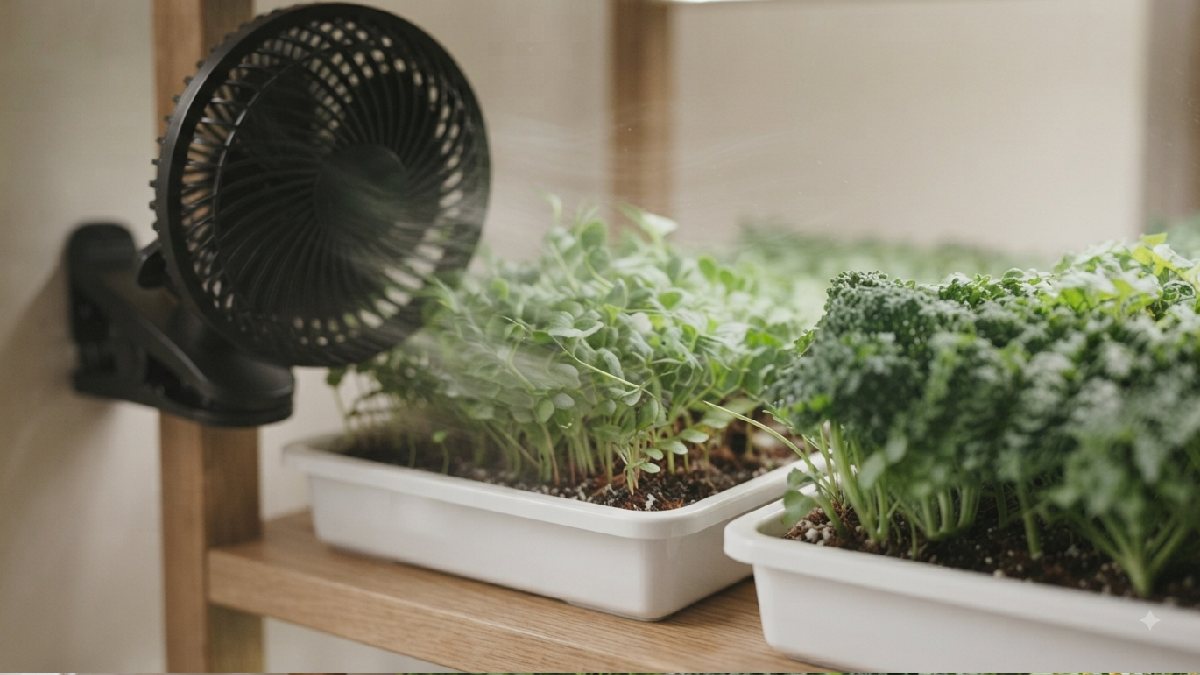
There’s a mechanical piece too. Wind, even from a small fan, makes stems build thicker cell walls. Scientists call it thigmomorphogenesis, which sounds complicated but really just means movement builds strength. Greens grown in dead-still air tend to come out tall, pale, and floppy. The ones grown near a fan usually stand straighter and hold better color.
Think about grass growing on an open field versus grass growing under a heavy tarp. One holds its shape in the wind. The other flops the moment you touch it. Microgreens work the same way, just on a much smaller scale.
The Mold Connection
Mold doesn’t need much to get started. Warm temperature, moisture, and still air are basically all it takes. Microgreen trays check every one of those boxes by default, which is exactly why growers who skip airflow tend to run into mold far more often than those who don’t.
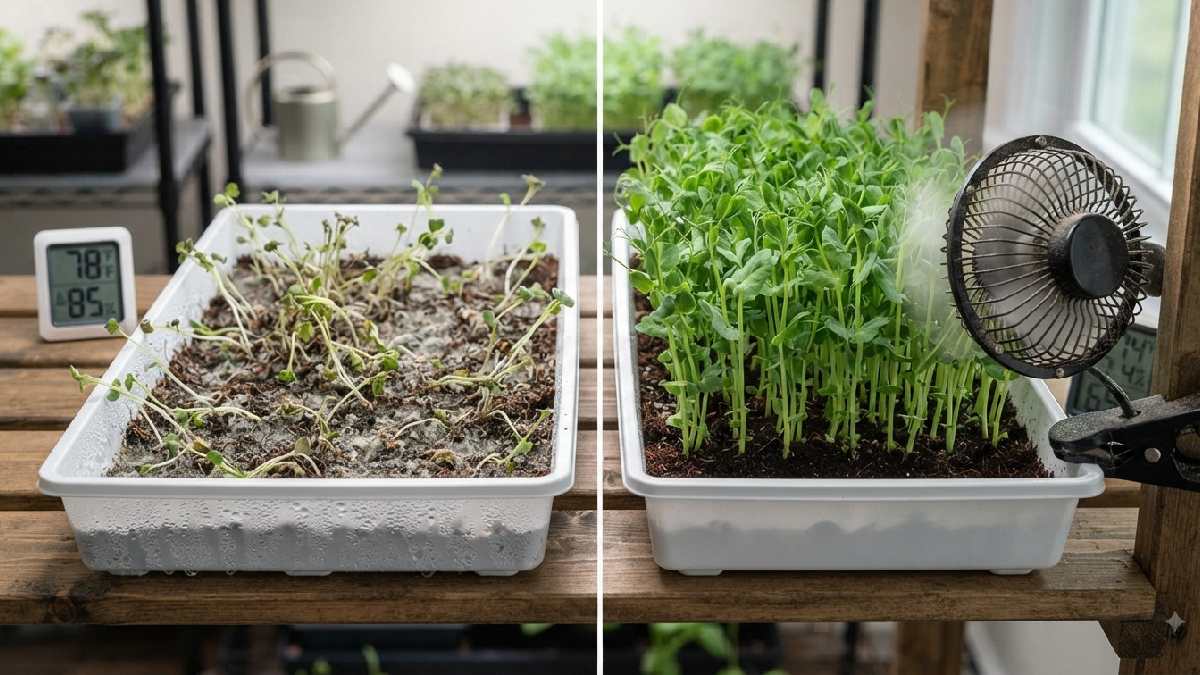
A fan doesn’t eliminate humidity, and it shouldn’t. Microgreens still need moisture to grow. What it does is stop that moisture from just sitting there, unmoving, for hours at a time. That small shift is often the difference between a clean harvest and a tray you have to toss out halfway through.
Where to Put the Fan
Here’s where a lot of people mess it up. Either they aim the fan directly at the trays like they’re trying to blow them off the shelf, or they set it up across the room where it barely reaches.
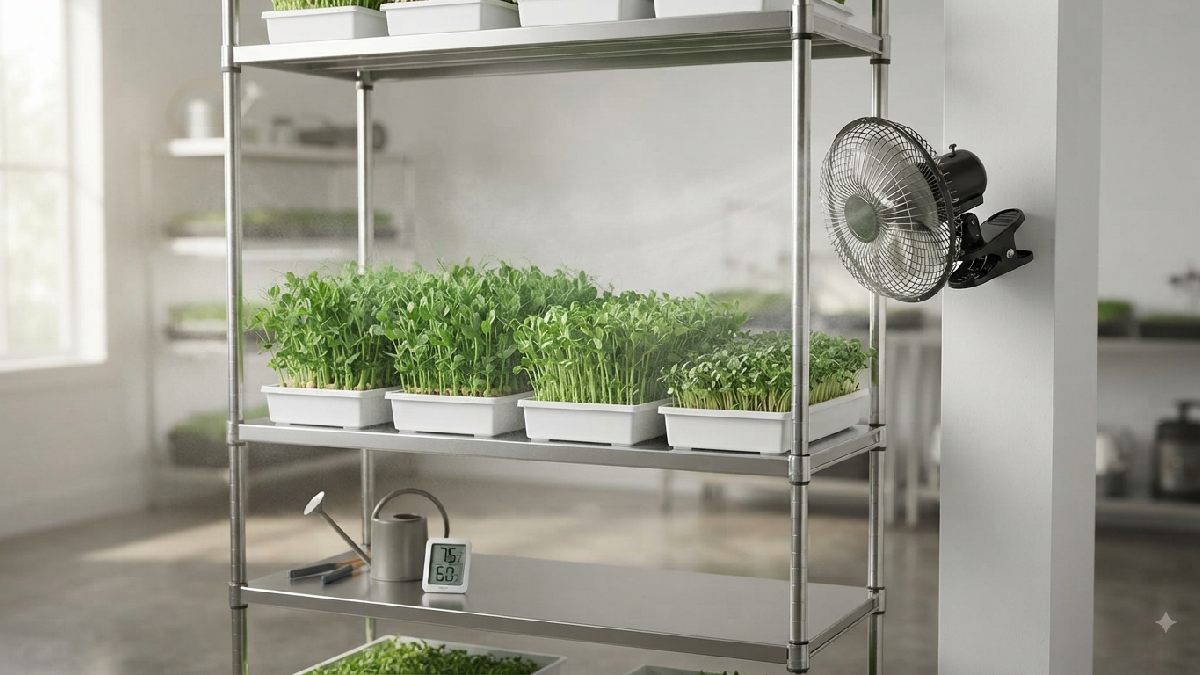
The goal isn’t to blast your microgreens. It’s to keep air gently moving around them, nothing more.
Distance and Angle
A decent rule: keep the fan three to five feet from your trays. Angle it so air passes over the top rather than hitting the greens head-on. Working in a small space, like a shelf or a tent? An oscillating fan on low beats a fixed fan on high, every time.
Some growers point their fan toward a nearby wall so the airflow bounces and spreads more evenly. Works well in tight setups, where a direct blast would either knock over trays or dry out one side faster than the rest.
If you’re not sure where to start, place the fan, let it run for a day, then check your trays closely. Uneven drying, one side crusty and one side still wet, usually means the angle needs adjusting. Small tweaks here save a lot of trouble later.
Multi-Tier Shelving Setups
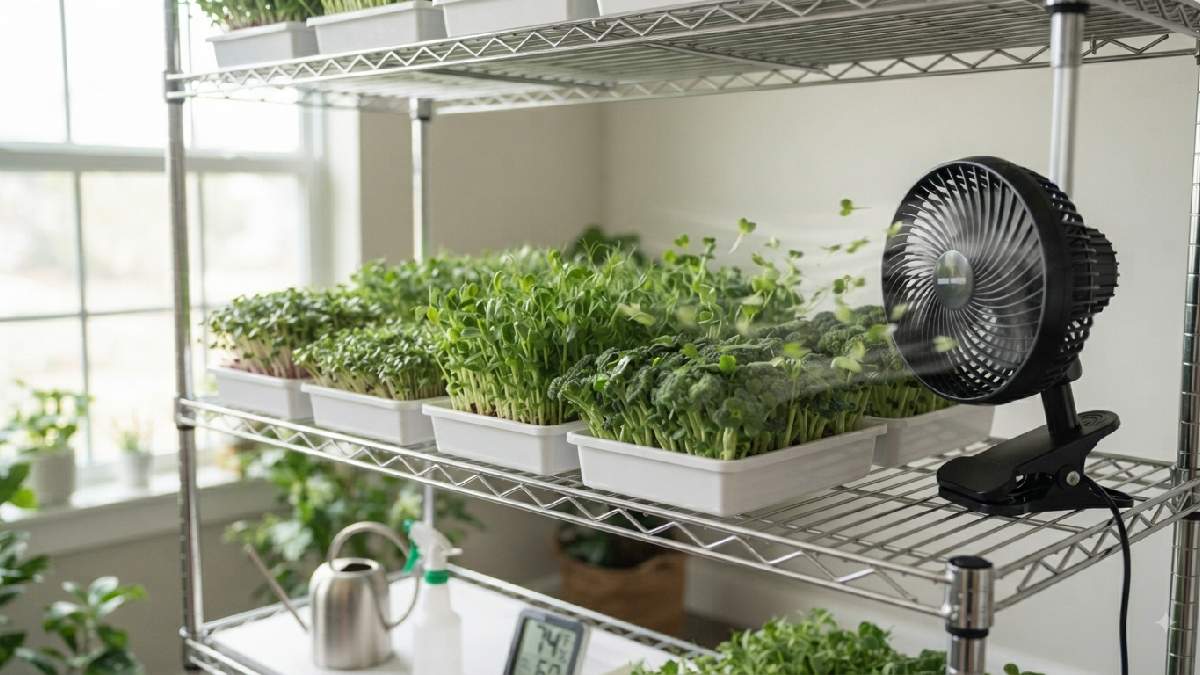
Growing on a shelving unit with several tiers? One fan usually won’t cut it. A small clip fan per shelf, or one strong oscillating fan angled to sweep across every level, tends to give more even results. Trays nearest the fan will dry faster than the ones further back, so adjust your watering once the fan’s running regularly.
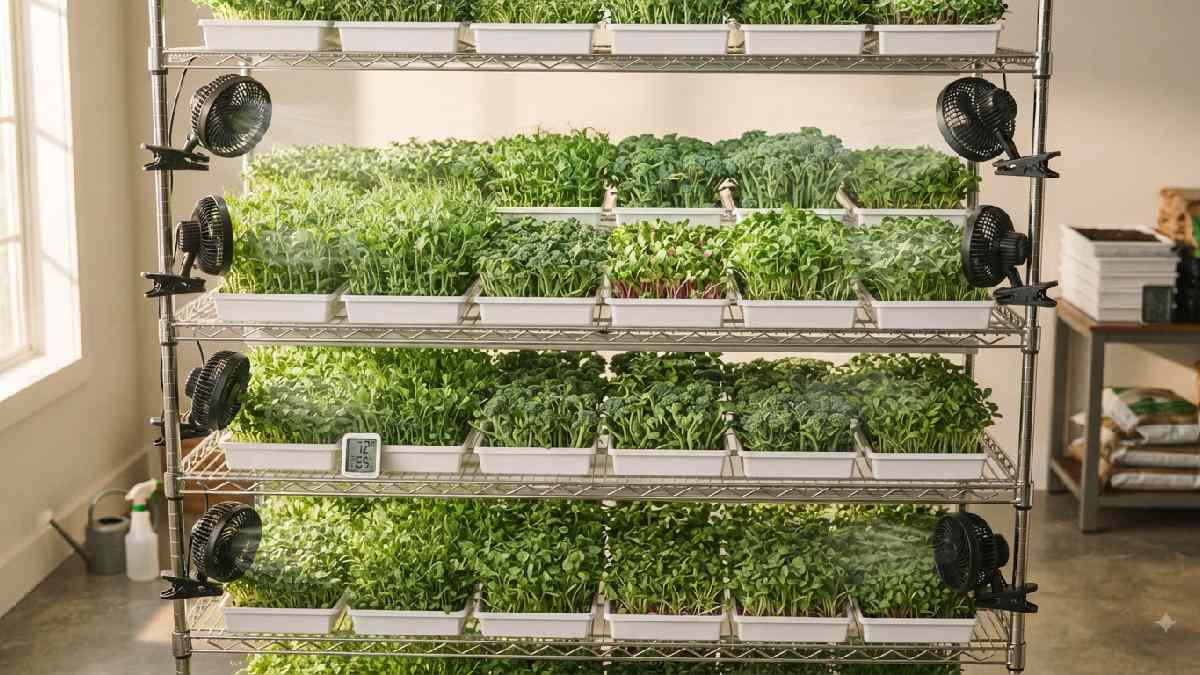
Growers with three or four shelf setups often find that a single fan at the bottom, blowing upward at a slight angle, works surprisingly well too. Warm air naturally rises, and gently pushing it upward helps carry that airflow through every level instead of leaving the top shelf stagnant.
Grow Tents and Enclosed Spaces
Enclosed grow tents come with their own challenges. Without any airflow, humidity inside a sealed tent can climb fast, sometimes faster than growers expect. A small inline fan, or even a simple clip fan pointed toward the vents, keeps that air cycling instead of building up in one corner.
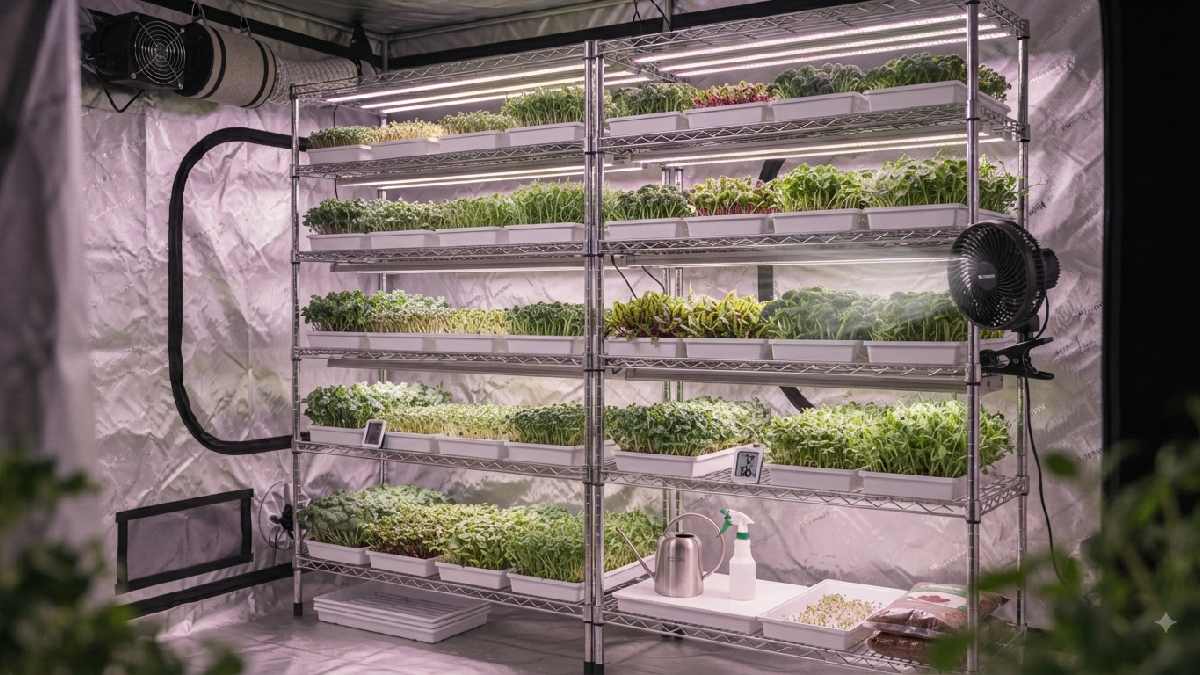
If your tent has both an intake and an exhaust vent, positioning a fan to help push air from one side to the other creates a steady flow through the whole space, rather than just stirring air around in place.
Using the Fan the Right Way
Timing Is Everything
Right after seeding, while the trays sit covered under a dome or a weighted board, skip the fan. Seeds need that trapped humidity to germinate properly. Turn the fan on too soon, and you risk drying out the surface before roots even take hold.
Once the cover comes off, usually around day two or three, that’s the signal. This is the point where airflow starts doing real work, drying the surface just enough to keep mold at bay while the greens push up toward the light.
Run It Steady, Not Full Blast
A common mistake: cranking the fan to full power the entire time. That dries the growing medium too fast, forcing more frequent watering, which can undo the very benefit you’re chasing. Low or medium, running most of the day, usually beats short bursts on high.
Some growers set a timer instead, fifteen minutes on, forty-five off, every hour. Either method works fine. Consistency matters more than intensity.
Trust Your Eyes, Not a Fixed Schedule
Every grow space behaves differently. Humidity, room temperature, tray material, they all shift the equation. Rather than sticking to a rigid routine, check your trays daily. Top layer feels lightly damp, no smell, no fuzz? Your setup is working. Feels swampy or a smell shows up? Move the fan closer, or bump the setting up a notch.
Keep a small notebook or a note on your phone if it helps. Jotting down what worked, and what didn’t, across a few grows makes it much easier to dial in the exact airflow your specific space needs, instead of guessing every single time.
Mistakes People Keep Making
Even growers who understand the basics trip over these.
Placing the fan too close. Right on top of the trays, a fan can flatten young stems and dry one side unevenly. Back it off and let the air spread on its own.
Running it during germination. Seeds need humidity to sprout. A fan running at this stage causes more harm than good, every time.
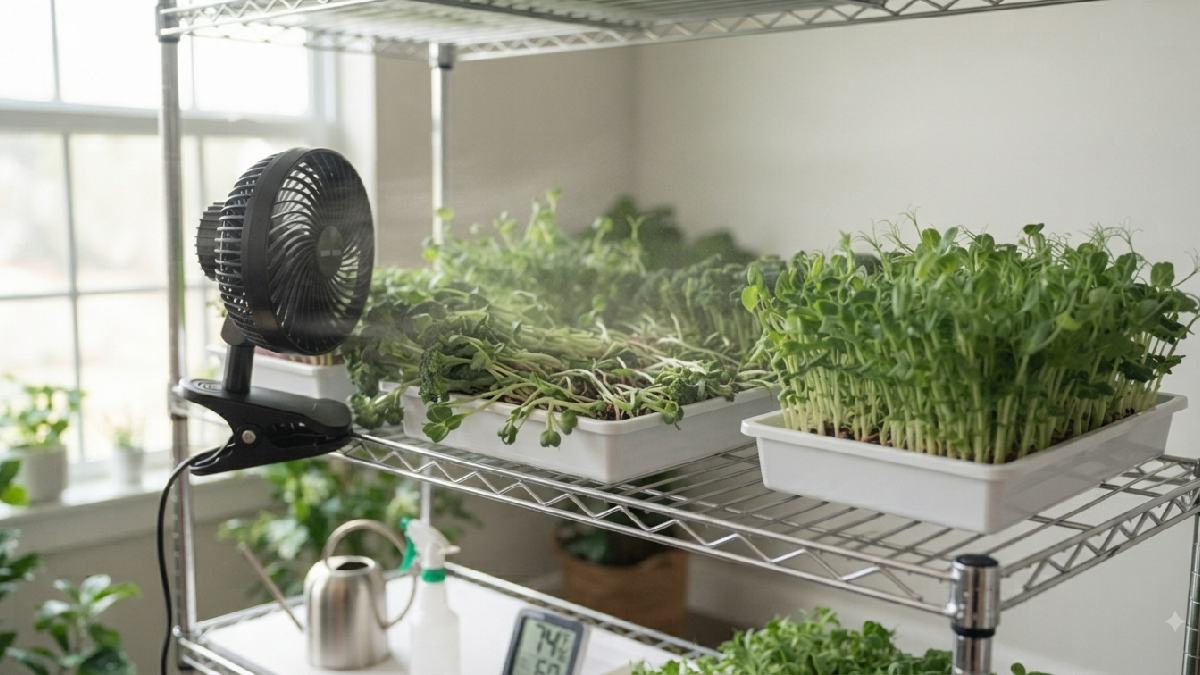
Relying on the fan alone. A fan isn’t a cure for everything. In a naturally dry room, adding constant airflow on top of that can stress your plants further. Pair it with proper watering. Don’t use it as a substitute.
Skipping fan maintenance. Dust builds up on blades over time, and in a growing space, that dust eventually lands right on your greens. A quick wipe every couple of weeks handles it.
Neglecting the corners. Larger setups often leave corners and edges with weaker airflow than the center. Rotate your trays now and then, or reposition the fan so every section gets its fair share.
Seeding too densely. Even a great fan setup can’t fix overcrowded trays. Moisture gets trapped between stems where air simply can’t reach. Thinner seeding paired with good airflow solves this far better than airflow alone ever could.
Forgetting seasonal changes. A fan setting that works fine in summer might dry out trays too fast come winter, when indoor heating already pulls moisture from the air. Revisit your fan speed and placement every few months rather than setting it once and forgetting about it.
Picking the Right Fan
You don’t need to spend much here. A basic desk or clip fan, the kind sitting in any hardware store, works fine for a home setup. Placement and consistency matter more than raw power.
Larger operations often do better with oscillating fans, or small inline duct fans built into a grow tent, for more even coverage. Look for adjustable speed settings, you’ll want it lower during germination and stronger as the greens mature.
Noise matters too, especially if your grow space shares a room with the rest of your house. Plenty of affordable fans run quiet enough to leave running all day without becoming annoying.
Durability is worth a thought as well. Grow spaces tend to stay humid, and cheap fan motors sometimes wear out faster in that kind of environment. Spending a little more on a fan built to handle continuous use often saves you from replacing it every few months.
Fan Type Comparison
Different setups call for different fans, and picking the wrong one can leave you frustrated even if everything else about your grow is right.
- Clip fans work well for single shelves or small tents, easy to angle and reposition.
- Oscillating desk fans suit medium setups, spreading air across a wider area without needing multiple units.
- Inline duct fans fit best in sealed tents, pulling air through vents rather than just stirring it in place.
- USB-powered mini fans can help in very small setups, though they usually lack the strength for anything beyond a single tray.
None of these need to be expensive or complicated. Most growers already have something similar sitting in a closet somewhere: an old desk fan, a spare clip light fan, anything that moves a gentle stream of air. Before buying something new, it’s worth checking what’s already lying around the house. A grow setup doesn’t need brand-new gear to work well; it just needs the right piece in the right spot.
A Quick Comparison: Growing With and Without a Fan
It helps to picture two identical trays, seeded the same day, watered the same way, sitting side by side. One has a fan running nearby. The other doesn’t.
By day four or five, the difference usually starts showing. The tray without airflow tends to hold onto surface moisture longer, and that moisture often turns into a thin, slightly slimy layer right where the stems meet the soil. Given a few more warm, humid hours, that layer can turn into visible mold.
The tray with a fan running nearby looks different. The surface dries a little between waterings. Stems come in a touch shorter, but noticeably thicker. Colors tend to look richer too, since the plant isn’t stretching upward as desperately in search of light and instead putting that energy into building a sturdier structure.
By harvest day, the contrast is usually obvious even to someone who’s never grown microgreens before. One tray looks clean, upright, and evenly colored. The other often looks pale, leggy, and in some spots, patchy where mold had to be cut away. The seed, water, and light were identical. Airflow was the only variable that changed.
Putting It All Together
Great microgreens don’t come from one trick. It’s a handful of small habits, done consistently. Good seed. Clean trays. The right amount of water. And yes, moving air. A fan might be the cheapest tool in your whole setup, yet it solves some of the most common headaches growers deal with: mold, weak stems, slow and uneven growth.
Keep it simple. Place a fan a few feet from your trays. Leave it off during germination. Turn it on low once the covers come off. Watch how your next few batches respond. Chances are, you’ll see sturdier stems, fewer moldy patches, and a noticeably better harvest, all from something as small as a breeze.
Growing microgreens well isn’t about chasing perfection on the first try. It’s about noticing small problems early and fixing them before they turn into wasted trays. Airflow happens to be one of the easiest problems to fix, and one of the most overlooked. Once you get it right, you’ll likely wonder why you didn’t set up a fan sooner.
Frequently Asked Questions
Do I really need a fan for growing microgreens, or is it optional?
Not strictly required, but it makes a real difference. Skip it, and you're depending entirely on your room's natural airflow, which is often too weak to stop mold or weak stems, especially in humid climates or closed-off grow spaces.
Can too much airflow hurt my microgreens?
Yes, easily. A fan aimed directly at young trays on high can dry the medium too fast, even flatten fragile stems. Keep some distance, and stick to low or medium settings.
When should the fan go on after seeding?
Wait until the humidity dome comes off, usually day two or three. Running a fan during germination can dry seeds out before they've even sprouted.
What kind of fan works best for a small home setup?
A basic clip-on or small desk fan does the job. Adjustable speed helps, lower during early growth, stronger once the greens mature.
How do I know if my airflow setup is actually working?
Check daily. Surface feels only lightly damp, no musty smell, no fuzzy patches? You're doing it right. Feels overly wet, or early mold shows up? Move the fan closer, or increase the speed a bit.
Conclusion
Great microgreens don’t come from one single trick. It’s a handful of small habits, done consistently: good seed, clean trays, the right amount of water, and yes, moving air. A fan might be the cheapest tool in your whole setup, yet it solves some of the most common headaches growers deal with: mold, weak stems, slow and uneven growth.
Keep it simple, place a fan a few feet from your trays, leave it off during germination, and turn it on low once the covers come off. Watch how your next few batches respond; chances are you’ll see sturdier stems, fewer moldy patches, and a noticeably better harvest, all from something as small as a breeze.