

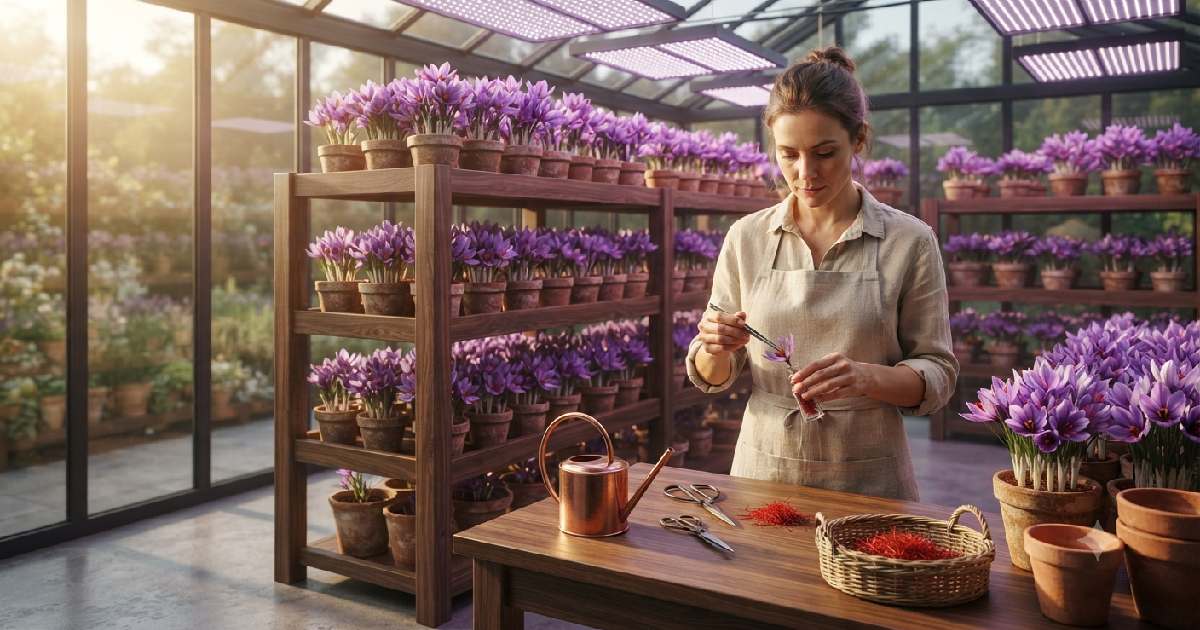

Indoor Saffron Farming: A Real Guide That Actually Works
Saffron just the word sounds expensive, doesn’t it? And it is; gram for gram, it’s the priciest spice on earth. People use it in food, in old home remedies, even in skincare these days, and its deep color and warm aroma have made it valuable for centuries in kitchens and in traditional medicine alike. Most folks assume you need acres of land in some faraway valley to grow it. You don’t. A spare room, a bit of patience, and the right corms can get you there.
Indoor saffron farming is basically you taking control. No waiting on the sky to cooperate. You decide the light, you decide the water, you decide the temperature. And when you’re the one calling the shots, healthy plants tend to follow, without the constant worry of a sudden storm or an unexpected cold snap ruining months of work.
This guide walks you through the whole thing, start to finish. Picking corms. Preparing soil. Planting them right. Watering without drowning them. Keeping pests away. And finally, picking those tiny red threads that make the whole effort worth it. If you’re completely new to growing anything indoors, don’t worry; none of these steps are complicated, and most of them just take a little consistency.
So What Is Indoor Saffron Farming, Really?
It’s growing Crocus sativus that’s the saffron plant’s real name inside, in pots or trays or a small greenhouse, instead of out in an open field. You’re shielding it from rain, frost, wind, all the stuff that can ruin an outdoor crop overnight.
Here’s something a lot of people don’t know: saffron doesn’t grow from seed. It grows from a corm, which looks a bit like a small bulb.
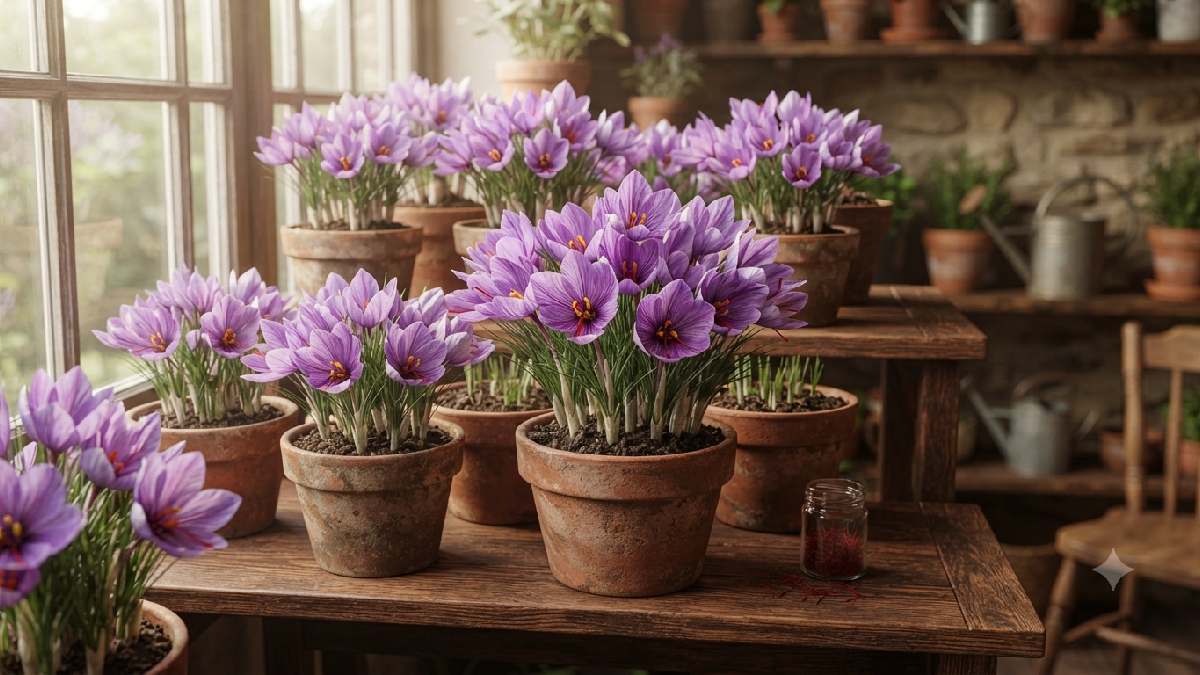
That corm sends up green leaves and purple flowers, and inside each flower sit three deep-red stigmas. Pick those, dry them, and that’s your saffron.
More growers are moving these days indoors. Makes sense really: less space needed, and you can do it pretty much anywhere, even where the outdoor climate is all wrong for it.
Why Bother Growing It Indoors
A few good reasons, honestly. Weather can’t touch your plants. You get to fine-tune everything. And plants that are cared for properly usually give you stronger corms and better flowers next season.
Space isn’t really an issue either. A sunny corner, a small balcony, even a converted closet with a grow light can work.
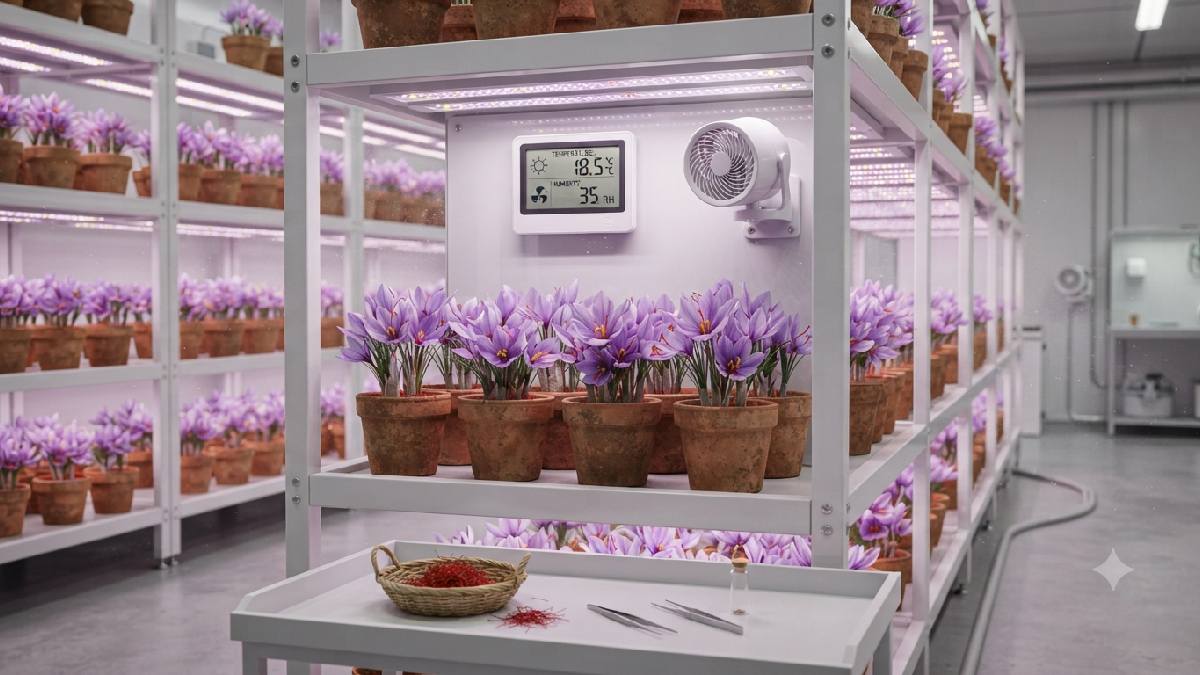
City dwellers who think farming is off the table for them, it’s not, not anymore.
There’s also less mess to deal with. Weeds barely show up indoors, and a lot of the pests that plague outdoor crops just don’t make it inside. Keep things clean and check on your plants now and then, and you’re mostly in good shape.
Quick benefits, if you’re skimming:
- Full control over temperature and light
- No weather damage
- Cleaner, better-looking saffron threads
- Works in tight spaces
- Beginner-friendly
What Kind of Climate Does Saffron Actually Want
Cool and dry that’s the short answer. Aim for daytime temps between 15°C and 21°C (about 60–70°F). Nights that dip a little cooler actually help the plant push out more flowers.
Keep humidity low damp air invites fungus, and fungus is not your friend here. Crack a window when you can, or point a small fan nearby so air keeps moving instead of sitting stale.
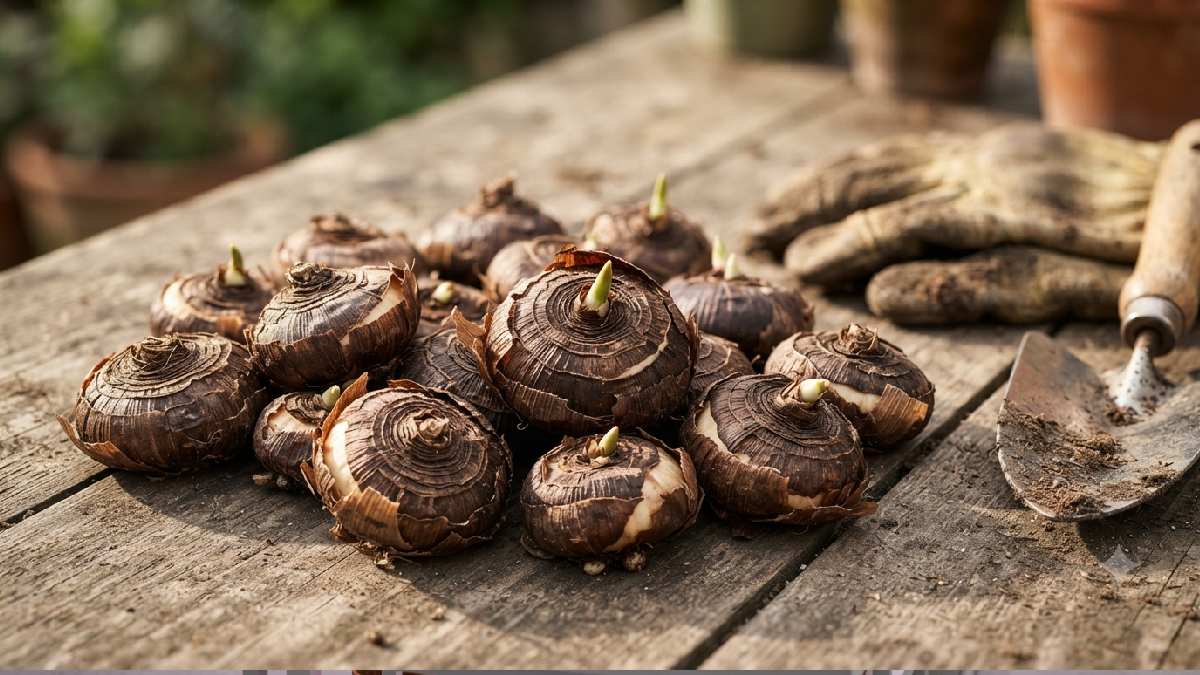
Stagnant, humid rooms are honestly where most indoor saffron problems start, so this one habit alone prevents a lot of headaches later.
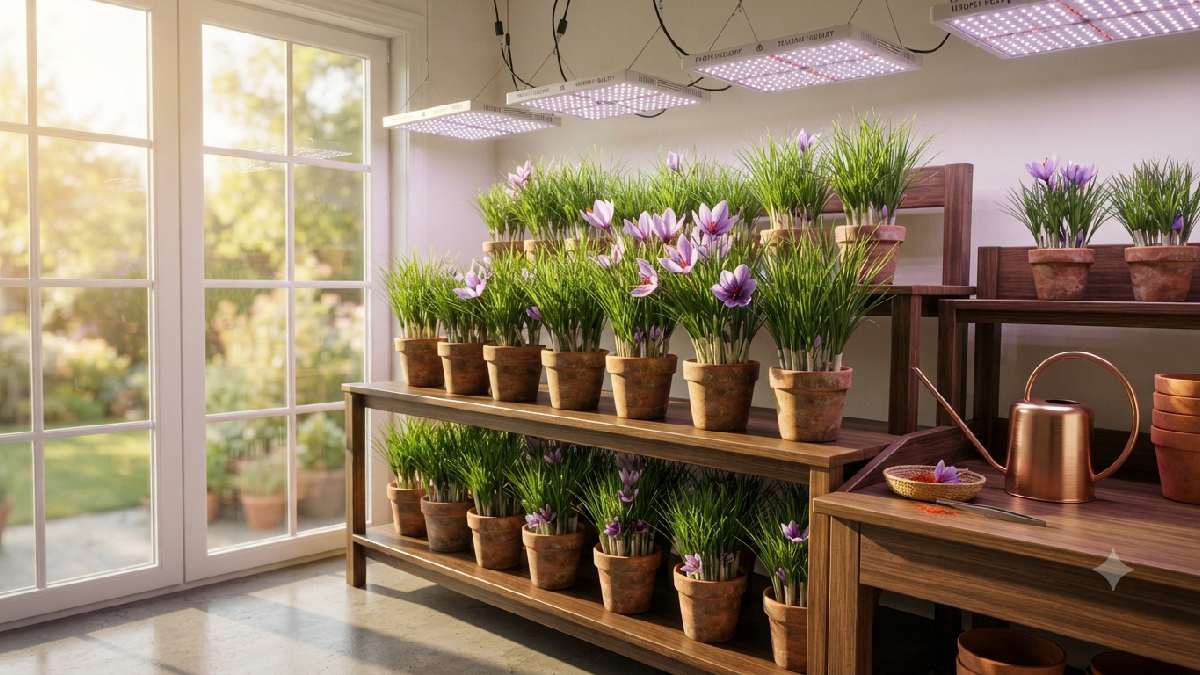
Light matters too: 6 to 8 hours of strong sunlight daily is the target. If your room doesn’t get that naturally, an LED grow light fills the gap just fine. Some growers even combine both, using a window during the day and a light for a couple extra hours in the evening, especially during shorter winter days.
Picking Corms That Won’t Let You Down
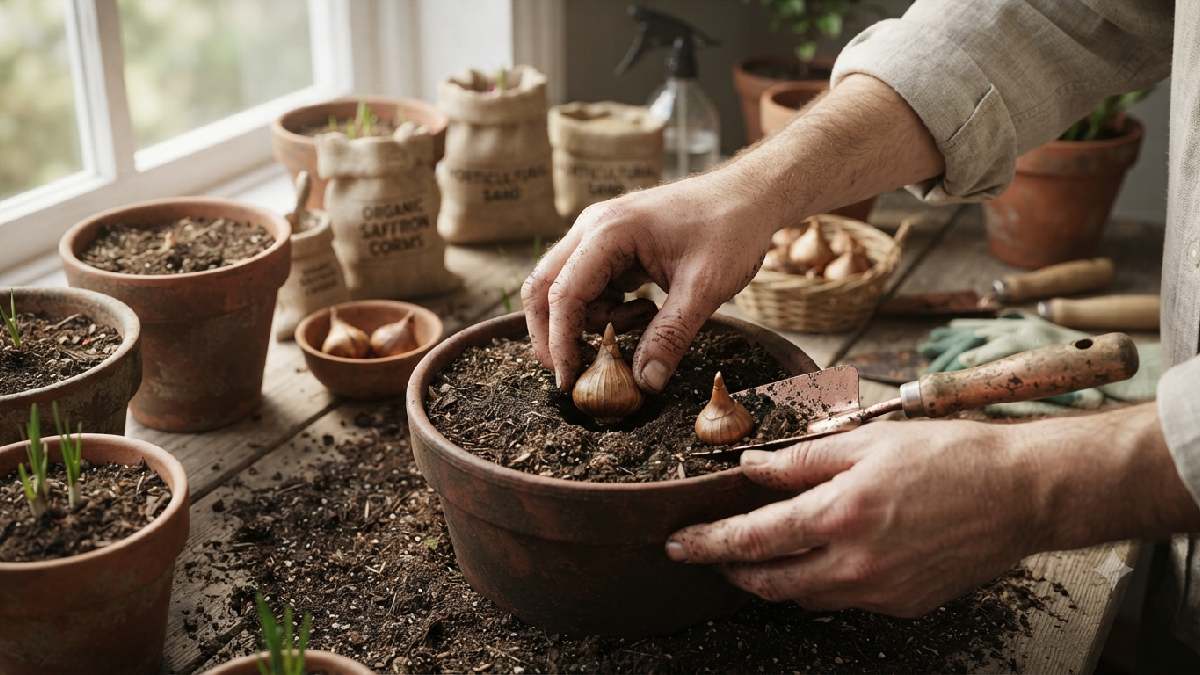
This part matters more than people realize. Bigger corms generally mean stronger plants, more flowers, and extra corms you can replant next year. It’s basically the foundation of everything else.
Go for corms that feel firm, with dry, papery skin on the outside. Skip anything soft, moldy, or cut up; those rarely turn into healthy plants no matter how well you care for them afterward. It’s tempting to grab the cheapest batch you can find, but a slightly higher price for reliable corms almost always pays off by harvest time.
And buy from someone you trust. A supplier with a decent reputation saves you a lot of frustration down the road. Ask around, check reviews, or start with a small trial order before committing to a bigger batch; it’s a small step that protects your whole season.
What You’ll Actually Need
Nothing fancy here. Most of this stuff you can find at any garden shop, and none of it costs much.
Containers with drainage holes
- Decent potting soil
- Coarse sand
- Organic compost
- A small watering can
- Gardening gloves
- Hand trowel
- LED grow light, if your room’s a bit dark
That’s the whole list, more or less.
Getting the Soil Right
Saffron hates heavy, waterlogged soil. It wants something light that drains fast, because soggy soil rots the corms before they even get going.
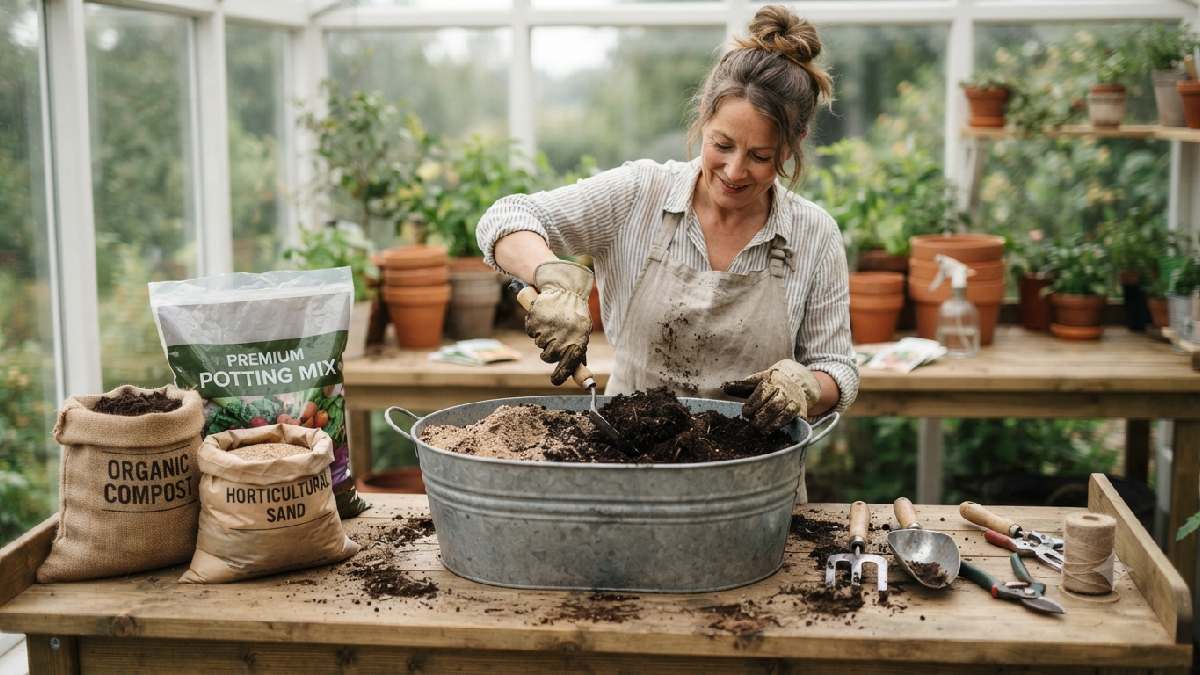
A mix that works well:
- 50% potting soil
- 30% coarse sand
- 20% compost
Blend it thoroughly before you fill your pots. It should feel loose in your hand, almost crumbly.
One quick test: pour a little water in after mixing. If it drains through quickly, you’re good to plant.
Choosing a Container
Depth matters go at least 8 to 10 inches deep, and make sure there are drainage holes at the bottom. This isn’t optional; corms sitting in trapped water will rot fast.
Space the corms 3 to 4 inches apart. Gives roots room to spread and lets air move around underground too.
Terracotta pots dry out faster than plastic, which some growers prefer. But sturdy plastic containers work just as well, as long as drainage is solid.
Planting the Corms, Step by Step
Getting this part right sets up everything that follows. Rush it, and you’ll be troubleshooting problems for months. Take your time instead.
Step 1: Fill the pot.
Add your soil mix, leaving about an inch of space near the top. Don’t pack it down; loose soil lets roots move freely and drains better too.
Step 2 Place the corms
Set them in, pointed side up, spaced properly apart.
Step 3 Cover with soil
About 3 inches of loose soil over each corm. Smooth it out gently; no need to press hard.
Step 4 Water lightly
Just enough to dampen the soil. Don’t soak it too much; water this early can damage corms before they’ve even settled in.
Once planted, move the container somewhere bright with decent airflow, and let it be for a while.
Taking Care of Things Early On
The first few weeks are quiet but important. Roots are forming underground even before you see much happening on top. Eventually, small green shoots poke through.
Check the soil every couple of days, not every day. Water only when the top layer feels dry to the touch. Overdoing it here is probably the single biggest mistake new growers make.
Keep the pots in one steady spot with good light. Moving them around too much stresses the plant right when it’s trying to settle in.
Watering Less Is Usually More
Beginners tend to assume daily watering is the safe bet. It’s actually the opposite. Saffron would rather sit in slightly dry soil than wet soil, and overwatering is behind most failed indoor crops.
Test the top inch of soil before reaching for the watering can. Dry? Add a little water still damp? Leave it another day or two simple as that.
A few watering reminders:
- Water only when soil feels dry
- Never let water sit in the drip tray
- Cut back watering during dormancy
- Always use pots with proper drainage
Getting the Light Right
Light is basically food production for the plant; leaves use it to feed the corm underground. More light, generally, means stronger corms and better flowering later.
Set pots near a bright window, aiming for 6 to 8 hours of sun. Rotate them once a week so every side gets a fair share of light.
Not enough natural sunlight? Use LED grow lights, positioned 12 to 18 inches above the plants, running for 12 to 14 hours a day.
Feeding Your Plants
Saffron isn’t a hungry plant. Decent soil mixed with compost usually covers what it needs without extra fuss.
If you do want to feed it, use a balanced fertilizer at half the recommended strength, and only during active growth periods. Overfeeding tends to push out more leaves at the cost of fewer flowers, not the trade you want. Compost is a solid, low-risk choice. It feeds slowly and improves the soil at the same time.
Temperature and Humidity, Again
Cool conditions keep saffron happy indoors. A daytime range of 15°C to 21°C works well, and slightly cooler nights help too.
High humidity is where trouble starts; fungal issues love damp air. Keep a window cracked or a fan running to move air through the space.
Keep pots away from heaters and AC units. Sudden temperature swings stress the plant more than people expect.
Pests and Problems to Watch For
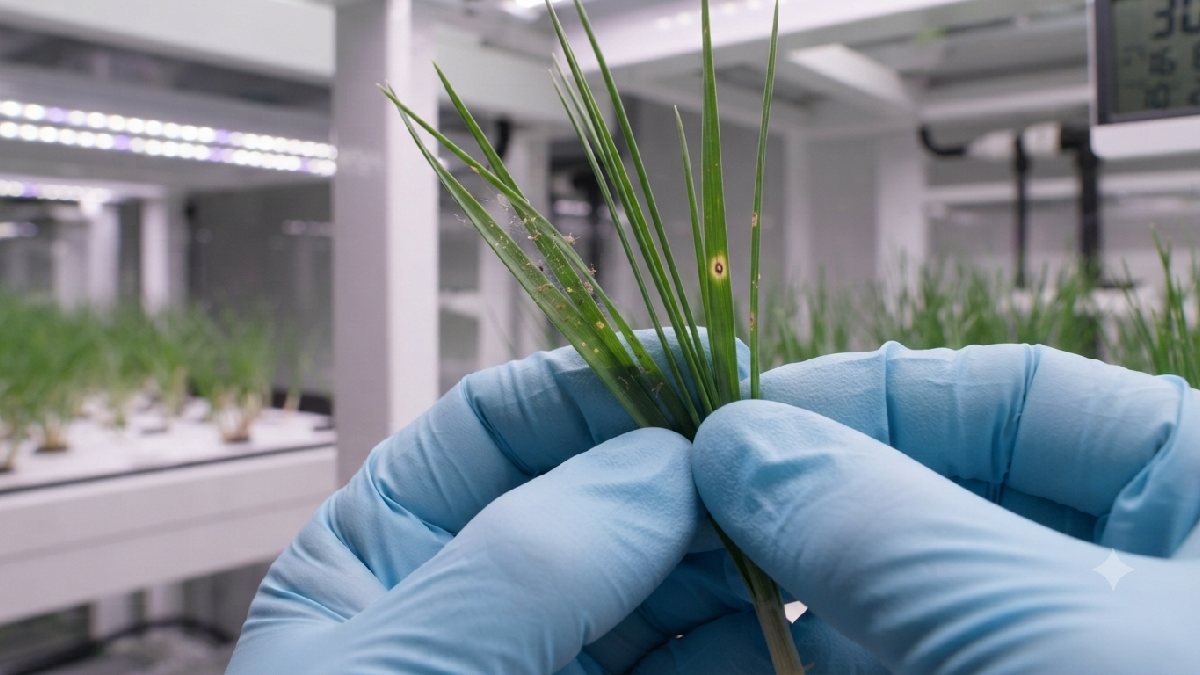
Indoor crops face fewer issues than outdoor ones, generally speaking, but that doesn’t mean zero risk. Root rot, fungal patches, spider mites, and aphids are the usual suspects.
Root rot — almost always from overwatering. Corms turn soft and stop growing. Fix: well-drained soil and water only when actually needed.
Fungal growth — shows up as white or gray patches when airflow is poor and soil stays wet too long. Cut back watering, boost ventilation.
Small insects — spider mites and aphids sometimes show up on leaves. A quick rinse with water usually handles it, or organic insecticidal soap for anything stubborn. Checking the underside of leaves once a week catches most infestations early, before they spread to the rest of the plants.
None of these problems are guaranteed to happen, honestly. Most indoor growers who stick to a simple watering routine and keep airflow decent never deal with any of this at all.
Harvest Time
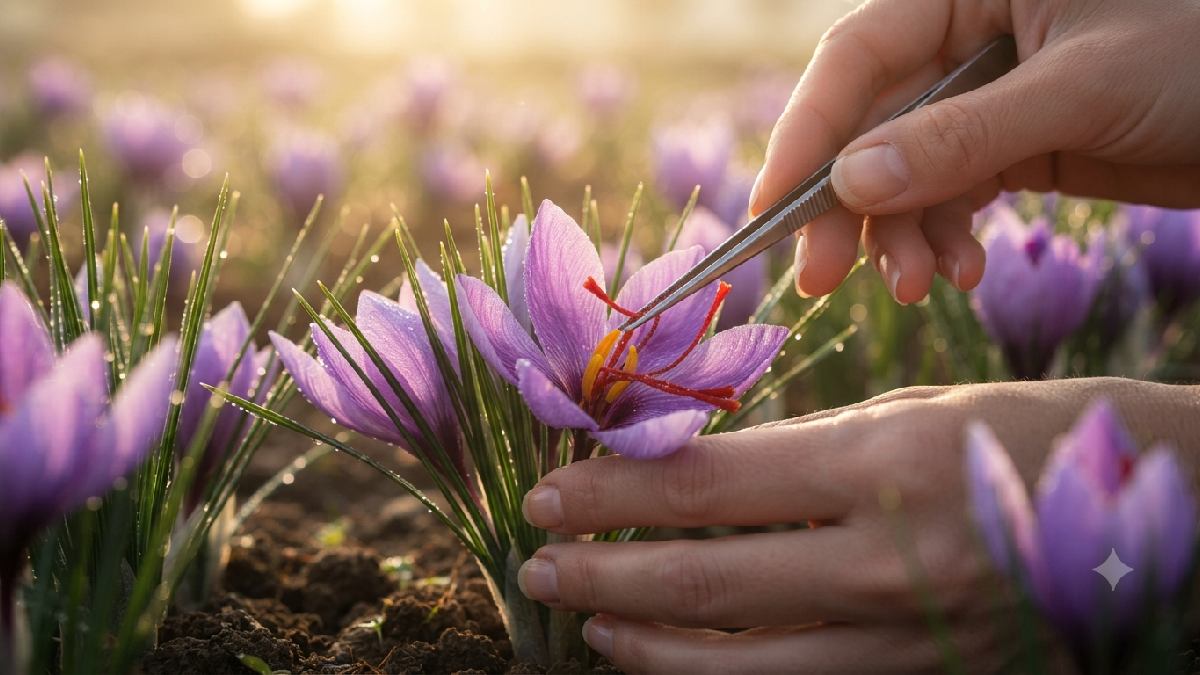
This is the payoff purple flowers bloom in autumn, and each one holds three bright red stigmas the saffron itself, once dried. Pick flowers early morning, while they’re still fresh.
Waiting till afternoon can reduce quality, so don’t put it off. Open each flower carefully, pull out the three red stigmas with clean fingers or tweezers, and drop them into a clean bowl as you go.
Drying and Storing
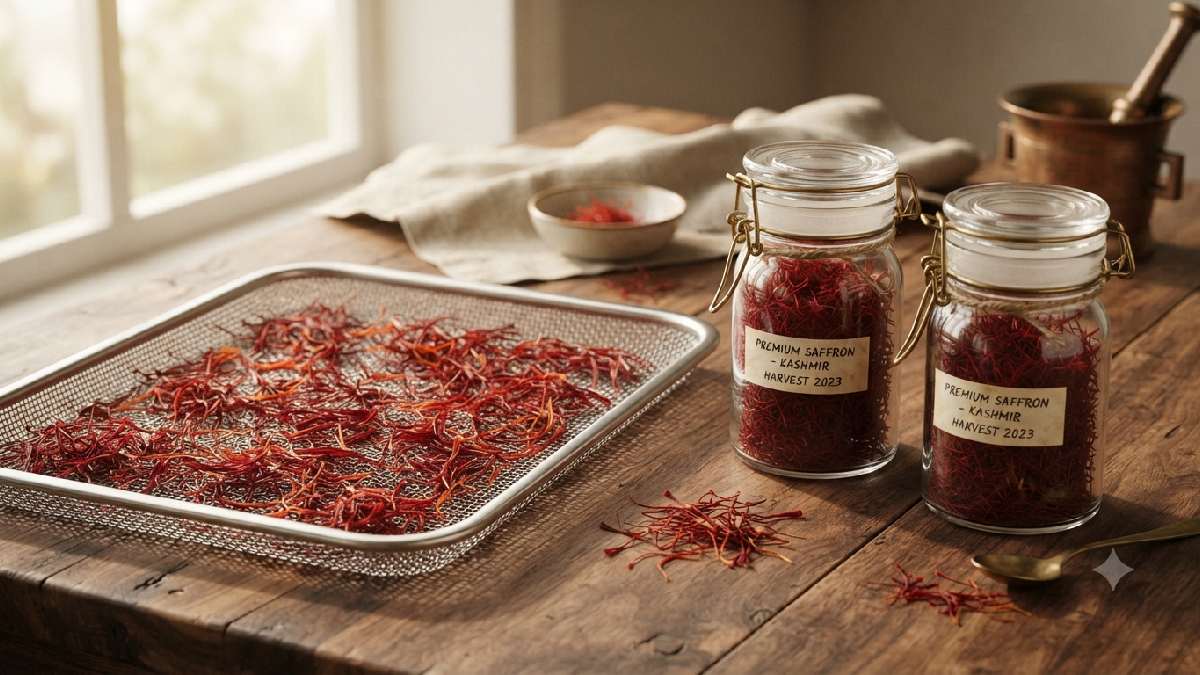
Fresh stigmas need drying before storage; this locks in the color, flavor, and aroma that make saffron worth all this effort.
Lay them out on clean paper or a fine mesh tray, somewhere warm and dry with airflow. A few days usually does it. Keep them out of direct sunlight, which fades quality fast.
Once dry, store in an airtight glass jar, somewhere cool and dark. Done right, saffron keeps its quality for a year or two.
Mistakes People Make (So You Don’t Have To)
- Watering too often
- Heavy soil that traps water
- Cheap or unhealthy corms
- Not enough light
- Corms planted too close together
Avoid these, and you’re already ahead of most first-time growers.
Cost and Profit: What to Expect
You don’t need a big budget to start. Containers, a batch of healthy corms, soil, and compost are really the whole starting cost.
Corms multiply each season on their own, which means your costs drop as your crop grows. Less buying, more replanting.
Saffron sells for a premium, so even a modest first harvest carries real value. Don’t expect big profit in year one, but with steady care, output tends to improve year after year. Some hobby growers eventually sell small batches locally or online once their corm count grows large enough, turning what started as a curiosity into a small side income.
Frequently Asked Questions
No schema found.Conclusion
Indoor saffron farming is one of those rare things that sounds harder than it actually is. You don’t need acres of land or years of farming experience just healthy corms, decent soil, the right light, and a habit of not overwatering.
Patience does most of the heavy lifting here. Pick good planting material, resist the urge to water every day, and harvest at the right moment. Small habits like these end up shaping both the quality and the size of your harvest.
Whether it’s just for your own kitchen or the start of something bigger, indoor saffron farming is worth trying. Start small, learn as you go, and enjoy watching one of the world’s most valuable spices grow right there in your home. Every season teaches you something new, and by your second or third harvest, you’ll likely find the whole process feels a lot more natural than it did at the start.