

I’ll be honest, I ignored carrot microgreens for years. Broccoli, radish, sunflower- those were my go-to trays, the ones everyone online talks about. Carrot greens just never came up. Then a friend handed me a small bag of leftover carrot seeds, said “just try it,” and I had nothing better to do that week. Two weeks later I was eating the best thing that had come off my counter in months.
They taste like carrots. Not exactly, but close enough that your brain does a double-take. Sweet, a little earthy, and there’s this fresh green smell that hits you before you even take a bite. Nothing fancy about growing them either. No backyard needed. No greenhouse. Just a tray, some seeds, and a window that gets decent light.
So here’s how it actually works, what tends to go wrong, and what to do with them once they’re ready.
What Are Carrot Microgreens, Exactly?
Not baby carrots, despite what the name might suggest. What you’re growing is the young shoot of the carrot plant, harvested about two to three weeks after the seed sprouts. At that stage there’s no orange root sitting under the soil. It’s stem and leaf, that’s it, nothing more.
They’re slow slower than pretty much every other microgreen you can grow. Radish shows up in five days. Carrot greens want two, sometimes three weeks, and if your house runs on the cooler side, even longer. Patience matters here more than with other crops. But somehow that wait makes the eventual harvest feel like more of an event.
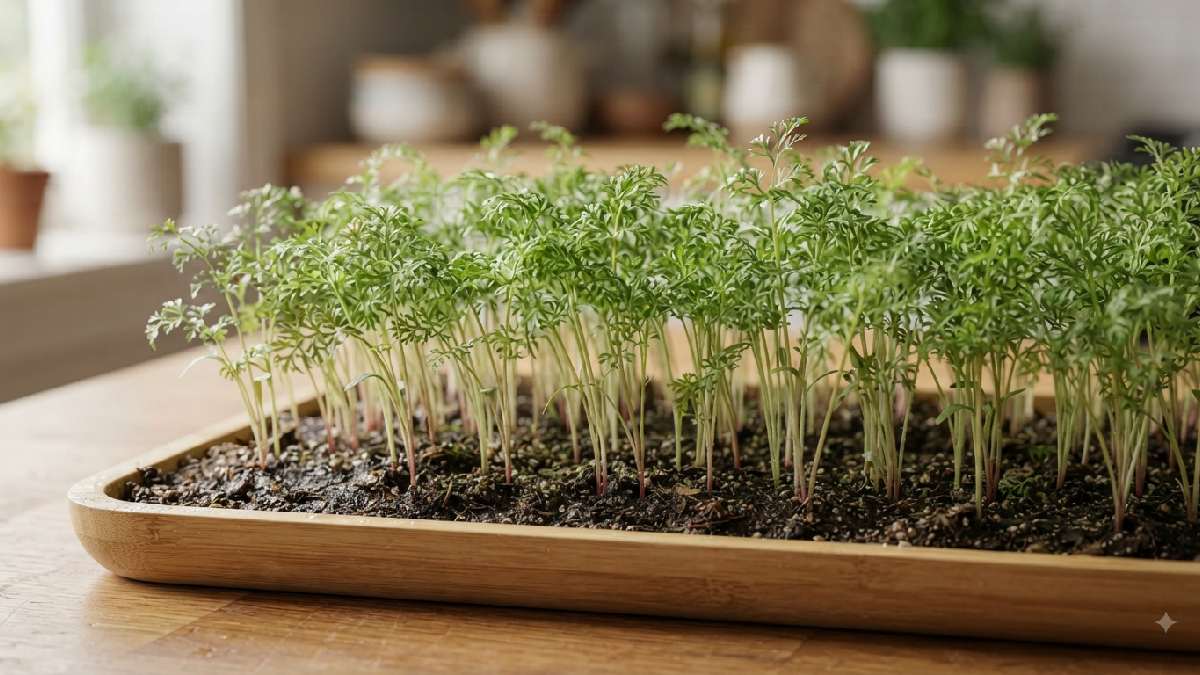
Flavor-wise, they’re kind of the opposite of what you’d expect from a microgreen. Radish and arugula bite back with pepper. Carrot greens don’t do that at all. Mild, sweet, faintly grassy, with that carrot smell tucked underneath. Throw a few on top of soup and the whole bowl changes.
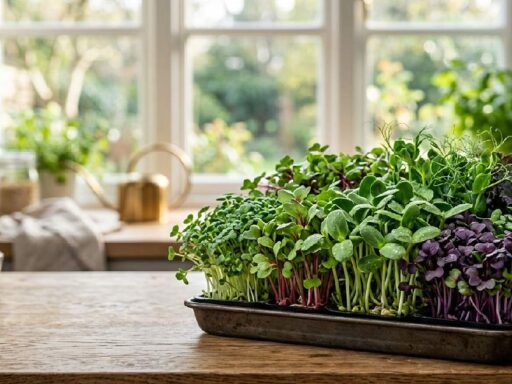
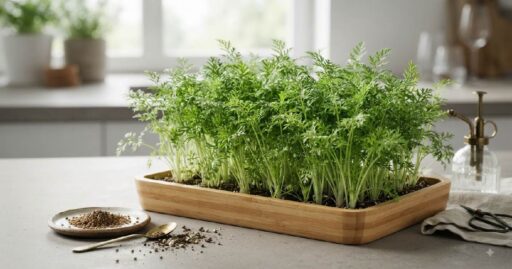
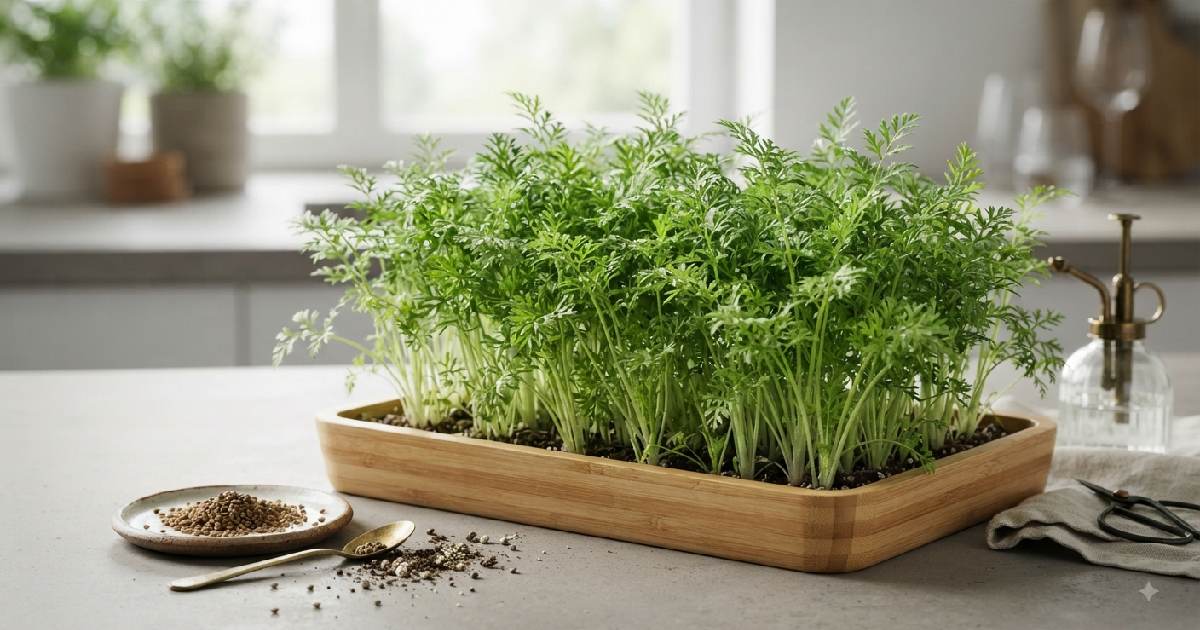
They look good too, feathery little stems with curled leaves, almost fern-like if you look closely. A tray of these sitting on a counter reads more like a houseplant than a vegetable, honestly.
Why Even Bother Growing Them?
Carrots cost about three dollars a bag at the store. So why go through the trouble of growing this tiny green version at home instead?
Nutrition’s the easy answer people reach for. Microgreens generally carry more vitamins per bite than the grown-up version of the same plant, and carrot greens follow that pattern. Vitamin A, vitamin K, folate, all packed into a small handful.
Cost matters too, though maybe not in the way you’d think; seeds are cheap. A single packet can fill several trays over time, which ends up costing way less than buying pre-packed microgreens at a store for six or eight dollars a box. Once your tray and light are set up, the ongoing cost is basically nothing. You’re reusing the setup, just swapping seeds each round.
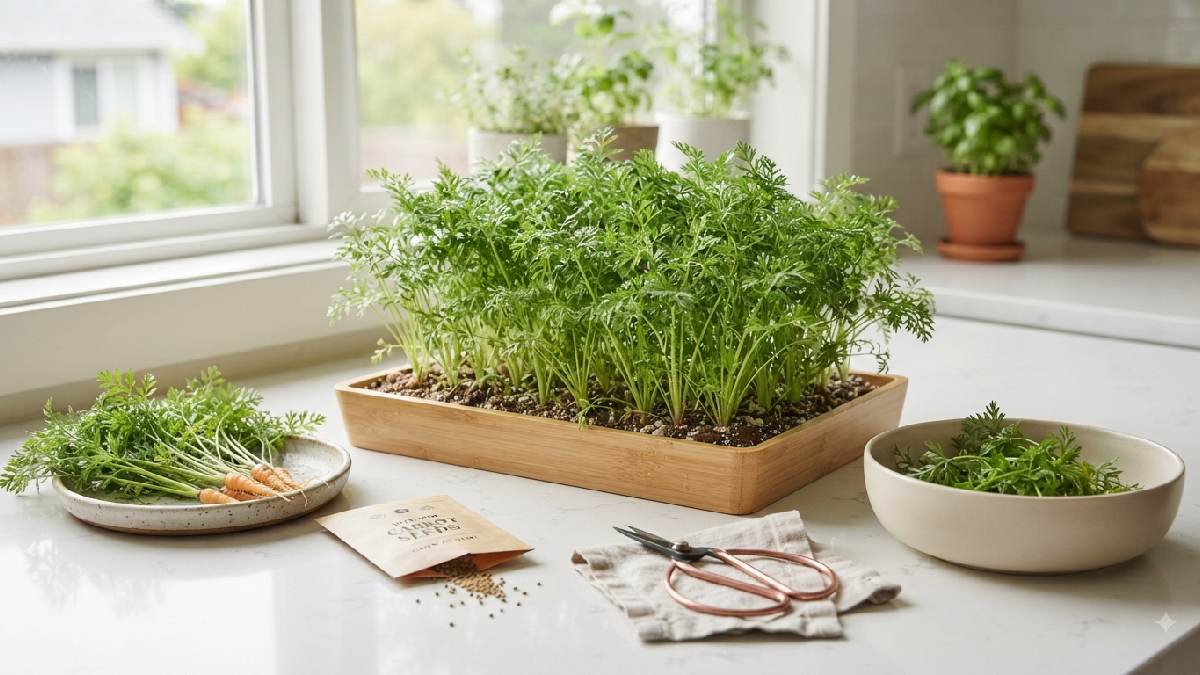
Freshness plays into it as well. Store-bought greens travel, they sit in coolers, get handled a bunch before landing in your fridge. A tray on your kitchen counter goes from soil to plate in under a minute, and that changes how it tastes. Cut greens lose flavor fast.
But if I’m being real, none of that is actually why I keep growing them. It’s the small daily habit of checking the tray. Watching a few green flecks slowly turn into an actual little forest over two weeks. There’s something quietly satisfying about it that’s hard to explain unless you’ve done it yourself.
You don’t need to be a “plant person” for any of this either. If you’ve kept a basil plant alive on a windowsill, you already have what it takes. Seeds, soil, a tray, water, some light. That’s really the whole list, nothing more hiding behind it.
Best Conditions for Growing Carrot Microgreens
They’re not fussy, but they do have a few preferences worth knowing. Room temperature, somewhere around 65 to 75 degrees Fahrenheit, tends to work best. Go too cold and germination drags out even further than it already does. Too warm, and mold has an easier time getting a foothold before the seeds even sprout.
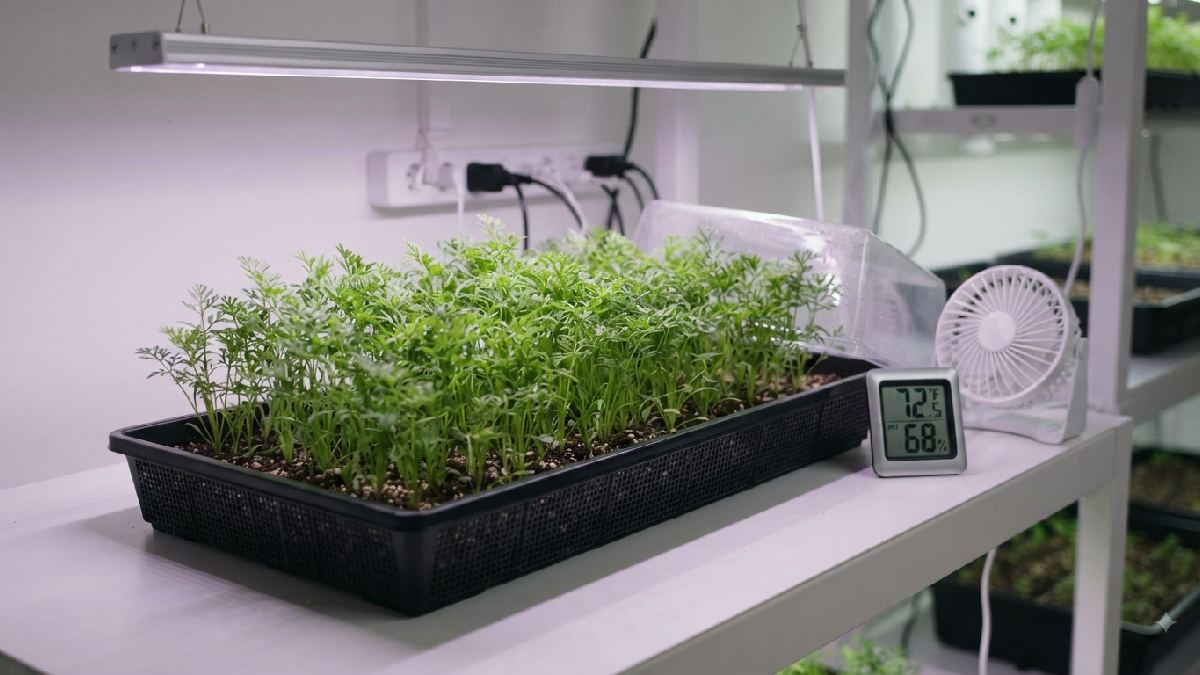
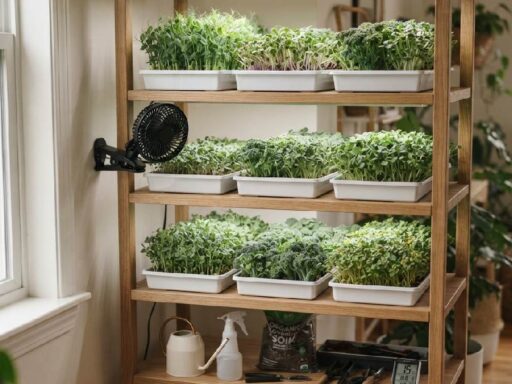
Humidity matters more than people expect going in. During the dark germination stretch, you want things fairly humid, which is exactly why the plastic cover or dome helps so much early on. Once the greens are up and under light, you can back off a little. A bit of airflow, even just a small fan running nearby, keeps mold from creeping in during this later stage.
Light intensity isn’t something to stress over. A basic LED grow light does the job fine. If you’re relying on a window instead, south-facing ones tend to give the steadiest light throughout the day, at least where I live.
What You’ll Need Before You Start
Get all this together before you plant anything; it just makes the whole process smoother.
Carrot seeds, ideally ones labeled for microgreens, though regular untreated garden-store seeds work fine too. A shallow growing tray with drainage holes; the standard 10×20-inch size covers most kitchens. Potting soil as your growing medium, since it holds moisture better than coco coir or hemp mats, and carrot seeds seem to appreciate that steadier moisture.
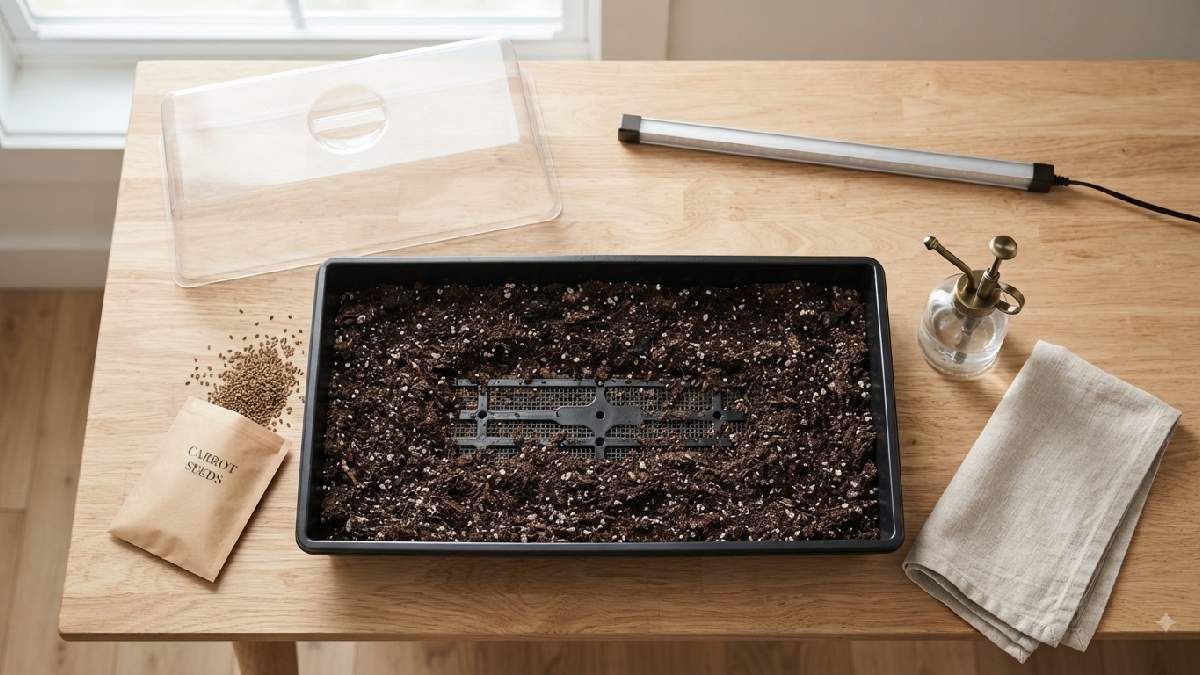
A spray bottle for gentle watering. Some kind of light source, whether that’s a bright window or a small LED grow light. And a humidity dome or a sheet of plastic wrap to keep moisture in during germination. None of it costs much. You could probably put this whole setup together for under twenty dollars, maybe less if you’ve already got a spray bottle sitting around somewhere.
How to Grow Carrot Microgreens, Step by Step
Step 1: Soak the Seeds First
Carrot seeds have a tough little coat on them. Soaking overnight softens it up and shaves a day or two off your germination time. Drop the seeds in a bowl of room-temperature water, let them sit eight to twelve hours.
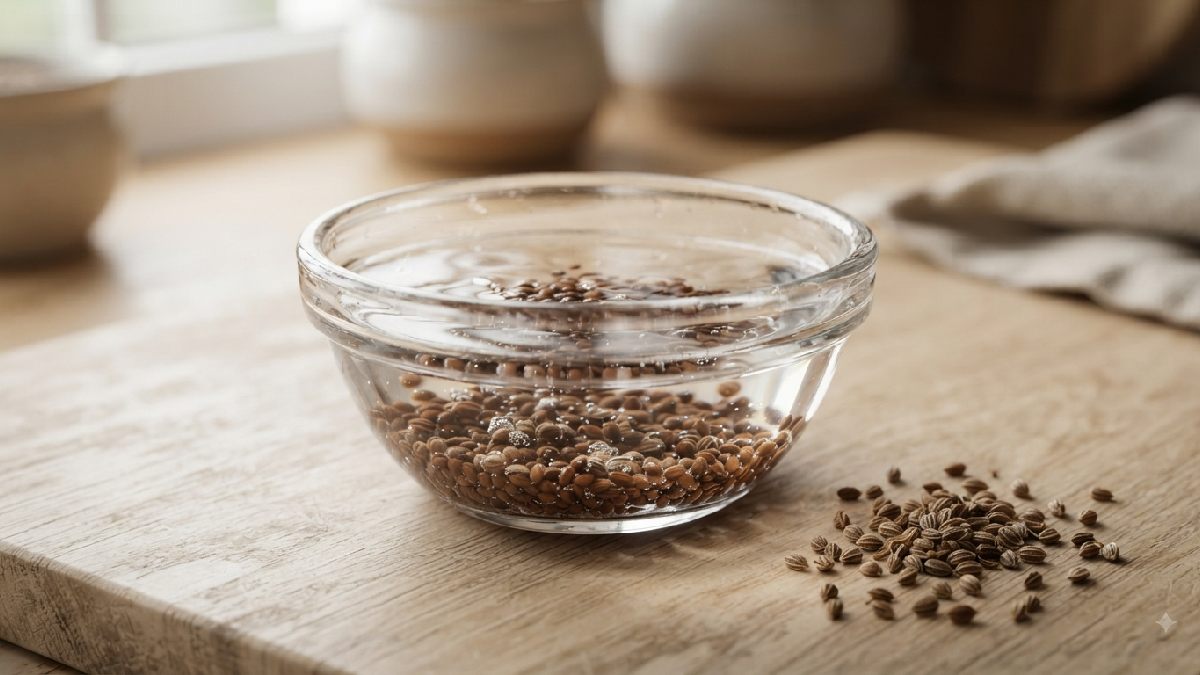
Doing this right before bed works out perfectly, since you wake up with them ready to go.
Step 2: Set Up the Tray
Fill your tray with about an inch of moist soil. Press it down gently, flat but not packed too hard, carrot roots need a little breathing room even at this tiny stage.
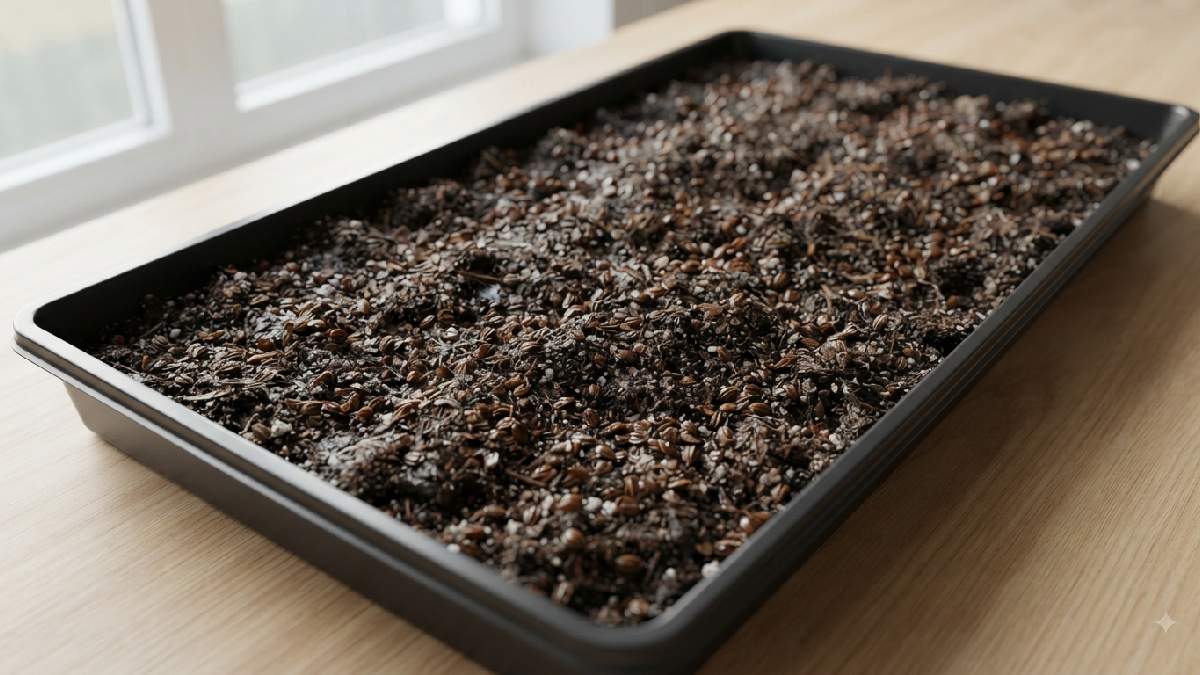
Drain your soaked seeds and scatter them across the surface, close together but not stacked. Kind of like salting food, spread it evenly, skip the clumps.
Step 3: Cover It and Walk Away
Mist the seeds lightly, then cover the tray with your humidity dome or plastic wrap. Set it somewhere dark and warm for four to five days.
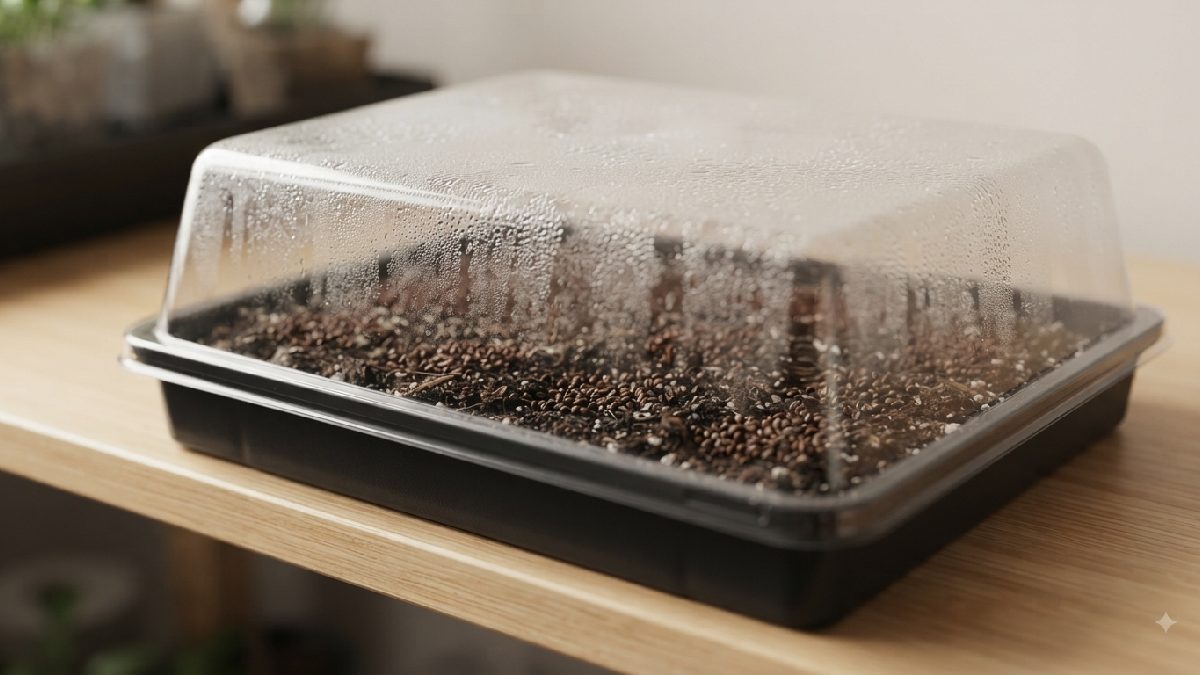
This darkness does more work than people give it credit for; it pushes the seedlings to stretch upward, hunting for light, which builds longer, sturdier stems once they’re uncovered. Check daily, mist if the soil looks dry, but don’t drown it. Soggy soil causes more headaches than dry soil ever does.
Step 4: Bring In the Light
Around day five, tiny green shoots start pushing through the soil. That’s your signal. Pull off the cover, move the tray somewhere bright, a sunny window works, or a grow light set 6 to 12 inches above the tray running 12 to 16 hours a day.
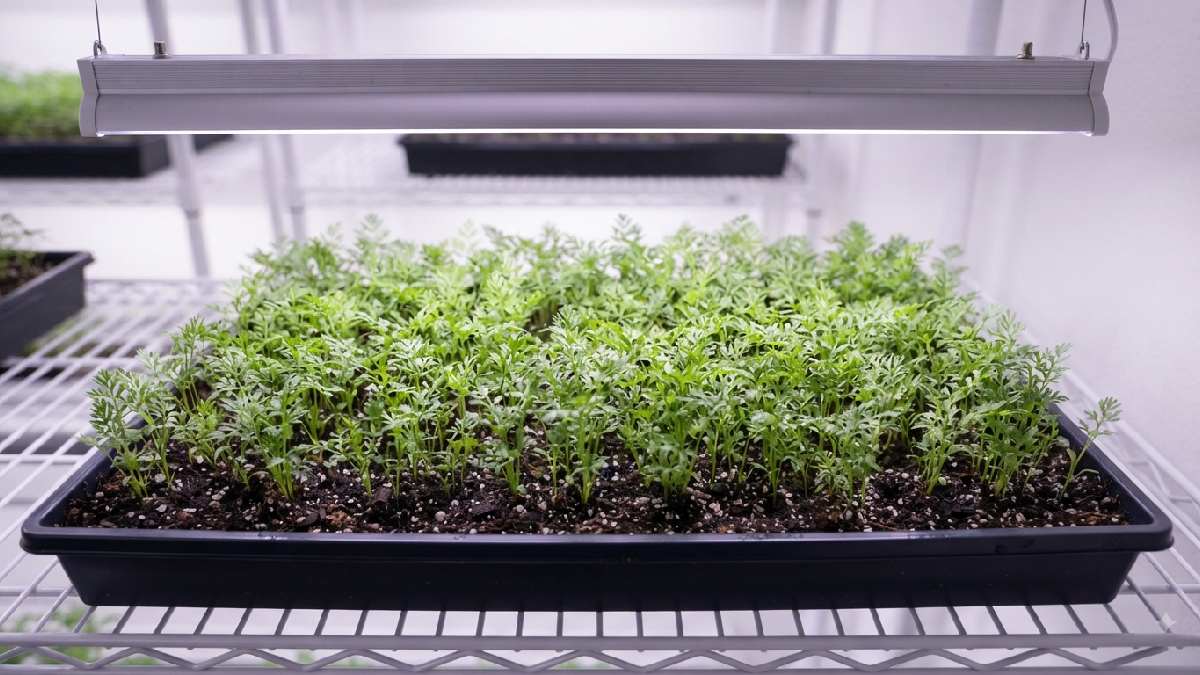
This stretch tests your patience more than any other microgreen I’ve grown, honestly. Growth crawls compared to radish or sunflower. That’s normal. It’s supposed to be slow.
Step 5: Water Like You Mean It, Just Not Too Much
Keep misting, aimed at the soil rather than the leaves. Wet leaves left sitting for hours invite mold, and carrot greens seem more prone to it than most other microgreens.
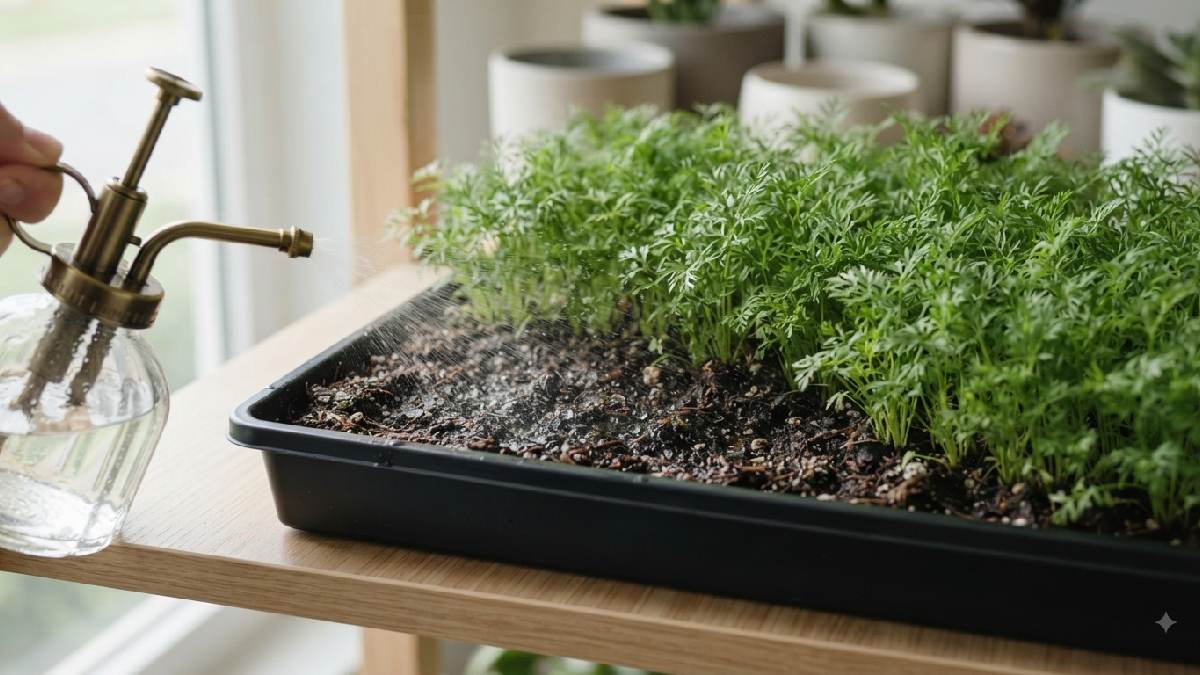
Morning watering beats evening watering here, since the extra daylight hours help things dry out before night falls.
Step 6: Harvest Time
Two to three weeks in, once your greens hit about 3 to 4 inches tall, they’re ready.
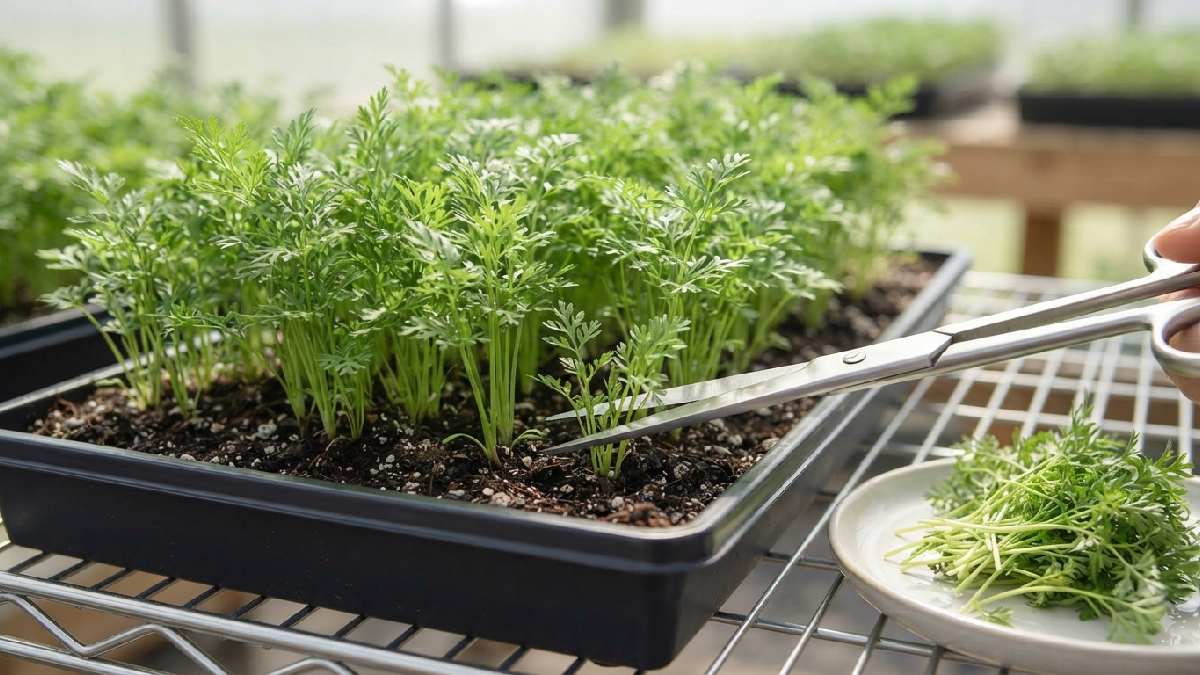
Snip the stems just above the soil line using clean scissors. Rinse gently, pat dry, done. That’s genuinely the whole process.
Mistakes People Keep Making
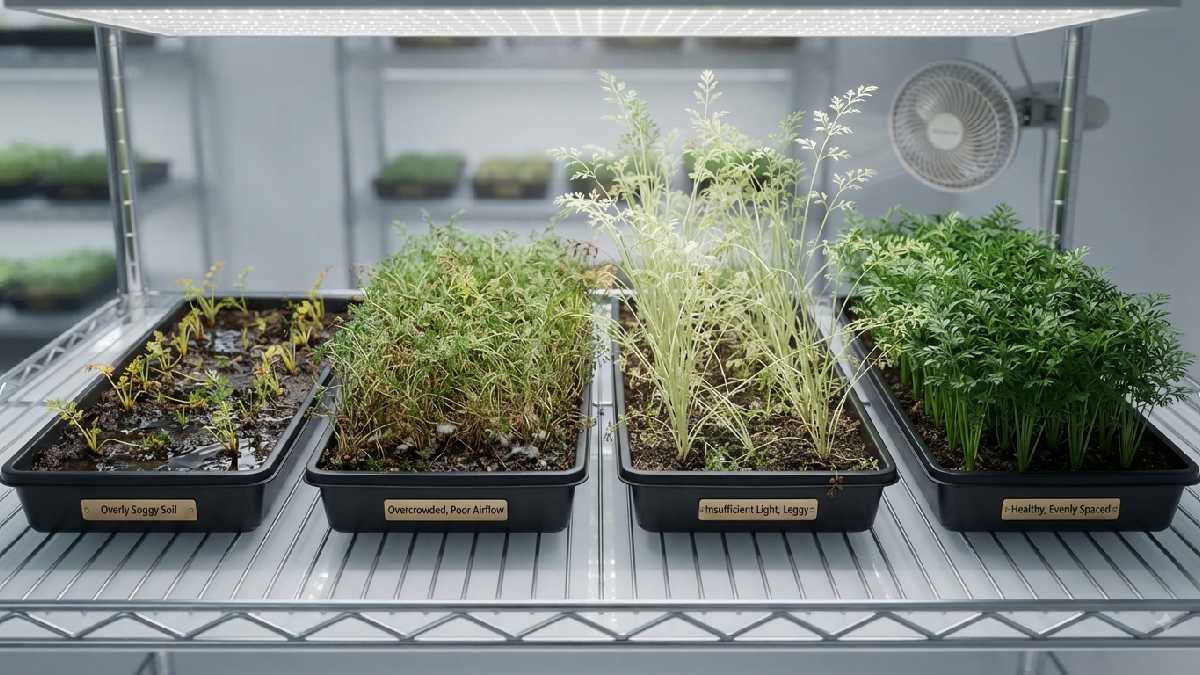
Overwatering tops the list, it kills more trays than anything else. Soggy soil invites mold before the seeds even get a fair shot at sprouting. You want damp, like a wrung-out sponge, never pooling water sitting on top.
Skipping or rushing the dark stage is another big one. That blackout period builds strong stems, skip it and you end up with weak, floppy sprouts that can’t hold themselves up.
Sowing too thick chokes off airflow and invites mold. Too thin and your harvest ends up patchy and sparse looking. Aim for one even layer, nothing piled up.
A lot of beginners also just give up too early. Because carrot greens grow slower than the popular varieties, people panic around day eight or nine, assume something went wrong, and toss the whole tray. It didn’t fail. Two to three weeks is completely normal for this particular crop.
Skipping the soak won’t ruin your crop outright, but it slows germination down and lowers your success rate overall. Takes maybe five minutes, worth doing every time.
Ignoring airflow trips people up too. A stuffy, still room speeds up mold growth more than most people realize. A small fan running on low nearby, not blasting directly on the tray, keeps air moving and helps the soil dry evenly between waterings.
Troubleshooting: When Things Look Off
White fuzzy patches on the soil could mean mold, or they could just be root hairs, which confuses a lot of beginners. Root hairs look fuzzy too, but they’re totally normal and usually show up right on the seed itself. Mold tends to spread across the soil surface instead, and it often smells musty. Not sure which one you’re looking at? Cut back on watering, boost airflow for a day or two, then check again.
Yellow or pale stems usually point to a light issue. If the tray sat in darkness too long, or the light isn’t close enough once it’s uncovered, the stems won’t green up the way they should. Move it closer to the light and give it a few more days.
Leggy, weak stems that flop over almost always trace back to a shortened dark stage. Not much to do once it’s already happened, but next round, stick to the full four or five days before bringing in light.
Uneven growth across the tray usually comes down to uneven seed spacing, or a tray that isn’t sitting quite level. Rotate it occasionally if one side seems to be catching more light than the other.
Slow or spotty germination sometimes just comes down to seed age. Carrot seeds don’t stay viable forever, and older packets sprout less reliably. If a big chunk of the tray never came up, it might just be time for fresh seeds.
What to Actually Do With Carrot Microgreens
Once you’ve got a tray of fresh greens sitting on the counter, the fun part starts. They’re great raw, tossed into a salad with spinach or arugula for a sweeter contrast against the bitter stuff. They work well as a soup topping too, especially carrot or pumpkin soup, since the flavors echo each other in a nice way. Layer them into a sandwich in place of lettuce. Blend a small handful into a smoothie if you’re feeling adventurous, the flavor’s mild enough that it won’t take over.

Try them on eggs, scrambled or fried, added right before serving. Or scattered over avocado toast with a squeeze of lemon on top. Some people use them purely as a garnish for dinner parties, since they look far more impressive than the five minutes of effort they actually took to grow.
Heat isn’t their friend though. Add them at the very end, after the pan’s already off the stove. Cook them and you lose both texture and flavor almost instantly.
Storing What You Don’t Eat Right Away
Got extra? Store leftover greens in an airtight container lined with a paper towel, kept in the fridge. They’ll hold up for about a week that way. Skip washing them until right before you’re ready to eat, extra moisture speeds up spoilage more than anything else does. If the stems start wilting after a few days, a quick dunk in cold water for a minute or two usually perks them right back up.
Frequently Asked Questions
How long do carrot microgreens take to grow?
Usually two to three weeks from seed to harvest, longer than most other microgreens, so don't expect quick results here.
Do carrot microgreens actually taste like carrots?
Yes, though milder and sweeter, with a faint earthy smell that reminds you of the root vegetable itself.
Can I regrow carrot microgreens after cutting them?
No, once a tray's been cut it won't grow back. You'll need to start a fresh batch for the next round.
Why are my carrot microgreens growing so slowly?
That's normal, not a problem. Carrot seeds sprout and grow slower than most microgreens, give the process extra time before assuming something's wrong.
Can I grow carrot microgreens without soil?
You can, using a hemp or coco coir mat instead. Soil tends to give slightly thicker, better results for this particular crop though, since carrot seeds seem to like the steadier moisture soil holds onto.
Final Thoughts
Carrot microgreens aren’t fast, and they’re not flashy either. But there’s something genuinely satisfying about pulling a tray of sweet, carrot-flavored greens off your own counter, start to finish, no store trip involved. Cheap to start, simple to maintain, and forgiving enough once you’ve got the watering and lighting figured out.
Start with one tray. Sit through the slow weeks. When harvest day finally shows up, you’ll get why so many homegrowers keep quietly coming back to this odd little crop, year after year.