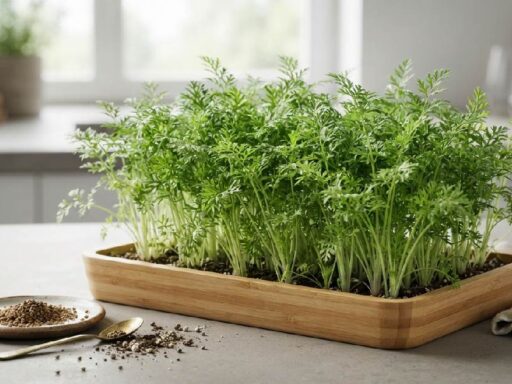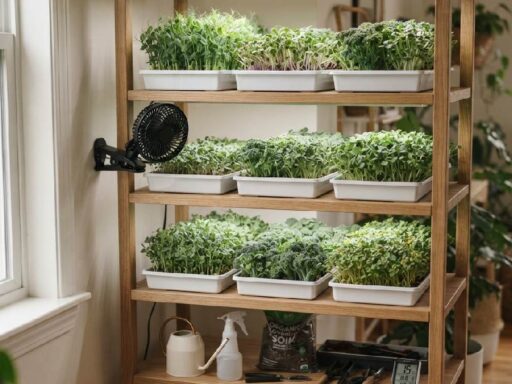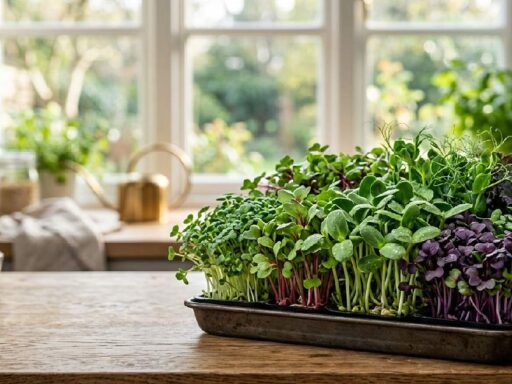

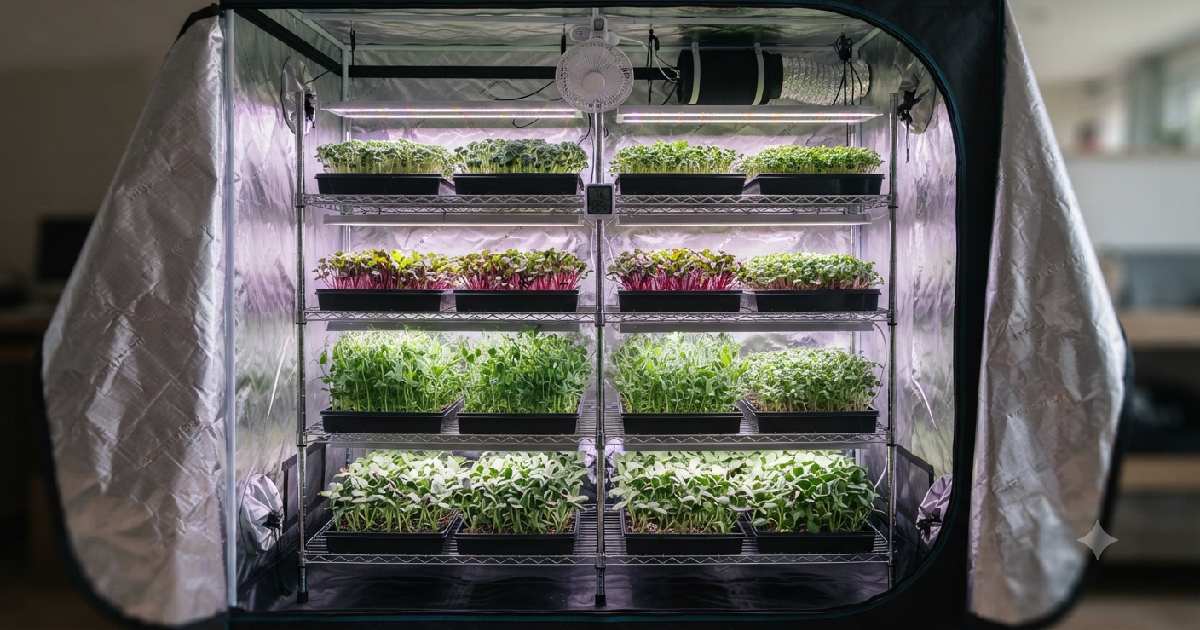

My first try at growing microgreens was a mess. I put a tray on my kitchen counter, right by the window. Easy, right? Not really. In four days, the little sprouts were leaning hard toward the glass. Thin and pale; some just fell over and died. Turns out microgreens don’t care how good your plan sounds. They care about light, air, and water; get those wrong, and the whole tray suffers.
A microgreen grow tent fixes most of this. It’s a small closed space where you control the light, the air, and the moisture. No more hoping your window does the job. Once you know what goes into a good setup, it’s not hard to build. It just takes a little planning, and maybe a few small mistakes along the way.
This guide will walk you through it: what kind of tent to get. How to light it, how to keep the air moving, and how to keep it running well, week after week.
Why Even Use a Tent
Please ask whether a tent is really needed. Some people grow microgreens on open shelves with a clip light that works too. But a tent solves one big problem: it keeps things steady. Microgreens grow fast, usually done in 7 to 14 days. In that short time, even small changes in heat or moisture can mess things up.
Inside a tent, none of that matters as much. The shiny walls bounce light back onto your trays instead of losing it to the room. The zipped sides block drafts. And since everything stays inside, cleanup is way easier. Water and soil stay put instead of spreading across your floor.
If you have pets, kids, or just live somewhere the temperature jumps around, a tent takes out most of the guesswork. You don’t need one. But it makes life a lot simpler.
Picking the Right Tent
Here’s something no one tells you when you start shopping. Most grow tents online are made for tall plants. Tomatoes. Peppers. Even small weed plants. Microgreens barely grow a few inches tall. So you don’t need much height. What you need is width. Room for a few trays side by side on each shelf.
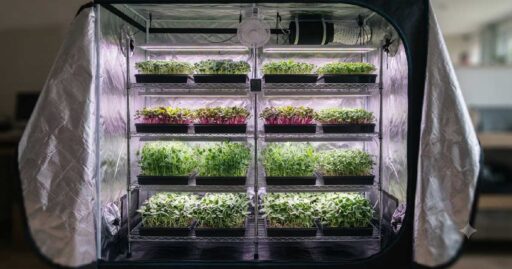
A 2×4 foot tent works well for most home growers. Look for one that’s about 4 to 5 feet tall, with shelves you can move up and down. That gives you room to stack two or three levels, and still leave space for lights above each one.
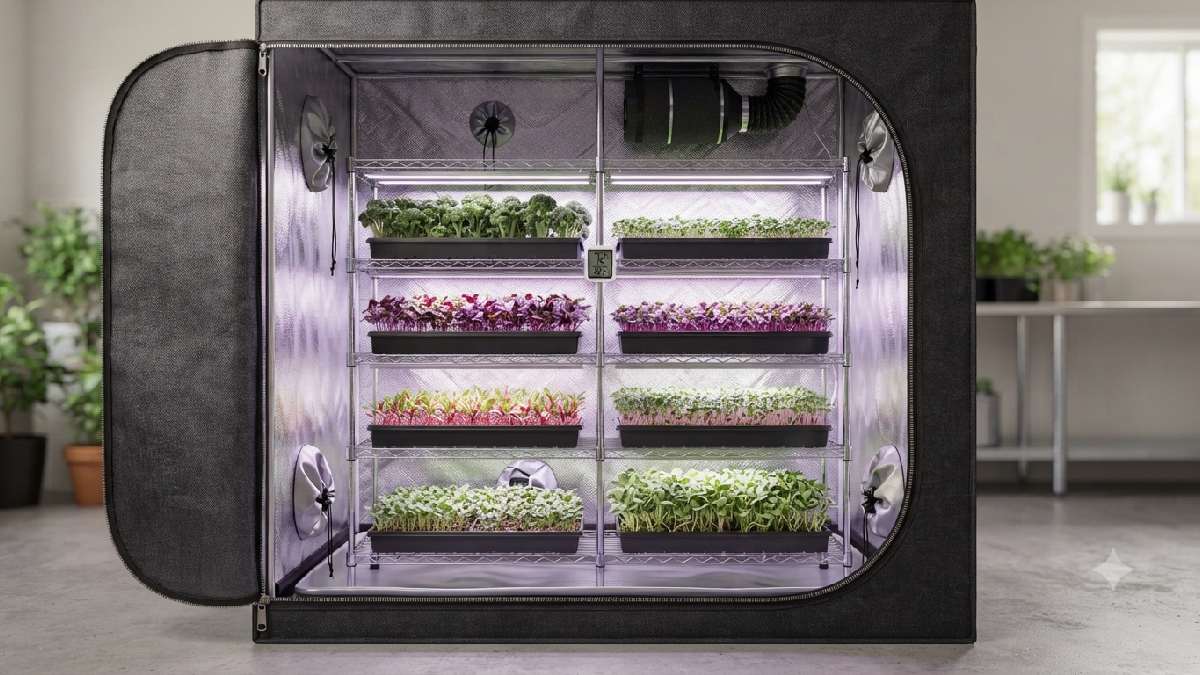
The fabric matters more than you’d think. Cheap, thin fabric lets light leak out. It also rips fast. Try to find one with thick fabric, at least 600D, and a shiny lining inside called Mylar. This bounces light back onto your plants instead of losing it to dark walls. Check the zippers too. You’ll open this tent every day, sometimes twice. A cheap zipper will break on you in a few months.
One more thing to check: the vents. You want vents low and vents high. Low ones let fresh air in. High ones let the wet, stale air out. Without this, mold shows up fast.
Getting the Light Right
Light trips up more beginners than anything else. Too little, and your greens stretch out thin, reaching for light that isn’t there. Too much heat from the wrong bulb, and you’ll burn the leaves before they’re even grown.
LED grow lights are the go-to choice now. They stay cool, so you can hang them close without frying your plants. They also use less power than old-style bulbs. Full-spectrum LEDs are best. They cover both the sprouting stage and the growing stage, so you don’t need to swap bulbs halfway through.
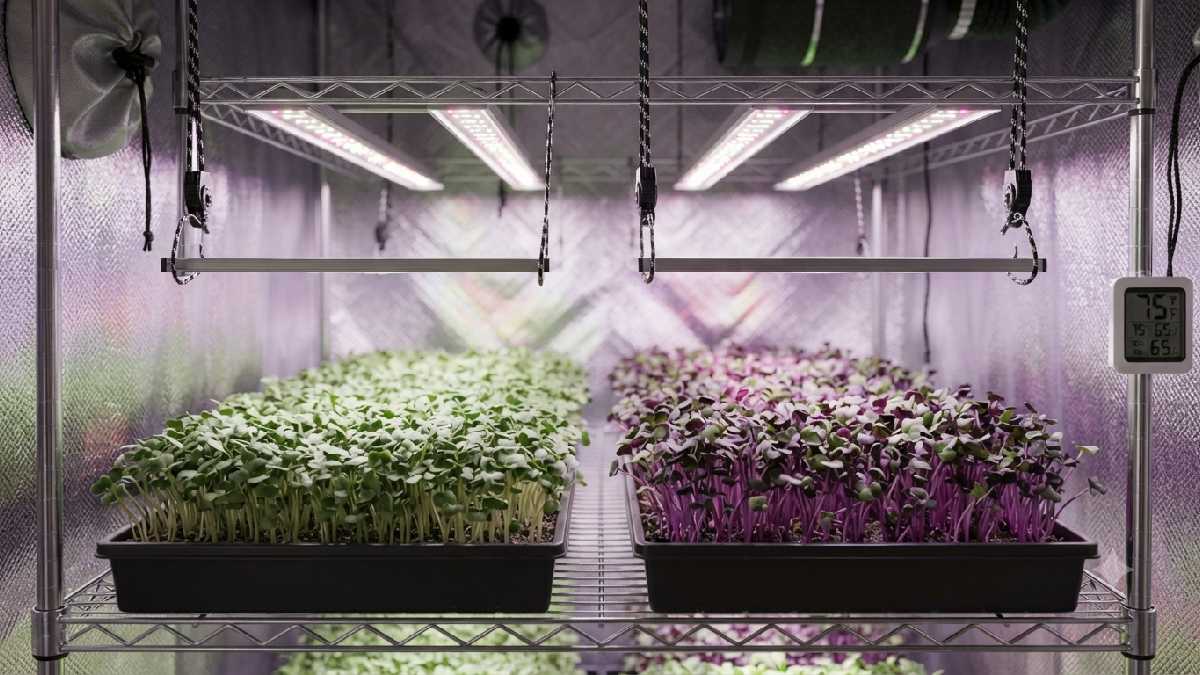
Hang your lights about 4 to 8 inches above the tray. As the greens grow taller, move the lights up a bit. You don’t want leaves touching a hot light. Most people run lights for 12 to 16 hours a day, then let the tent go dark the rest of the time. A cheap plug-in timer handles this for you. Trust me, it saves you from forgetting and leaving the lights on all night by mistake. I’ve done that more than once.
Airflow Is the Part People Forget
If one thing ruins more trays than anything else, it’s bad airflow. Microgreens grow packed close together in wet soil. That sounds a lot like the perfect setup for mold, because it kind of is.
A small fan running on low fixes most of this. Point it so the air moves gently across the trays, not straight down on the sprouts. This does two things. It keeps water from sitting on the leaves. And it makes the stems a little tougher, kind of like how wind toughens up plants outside.
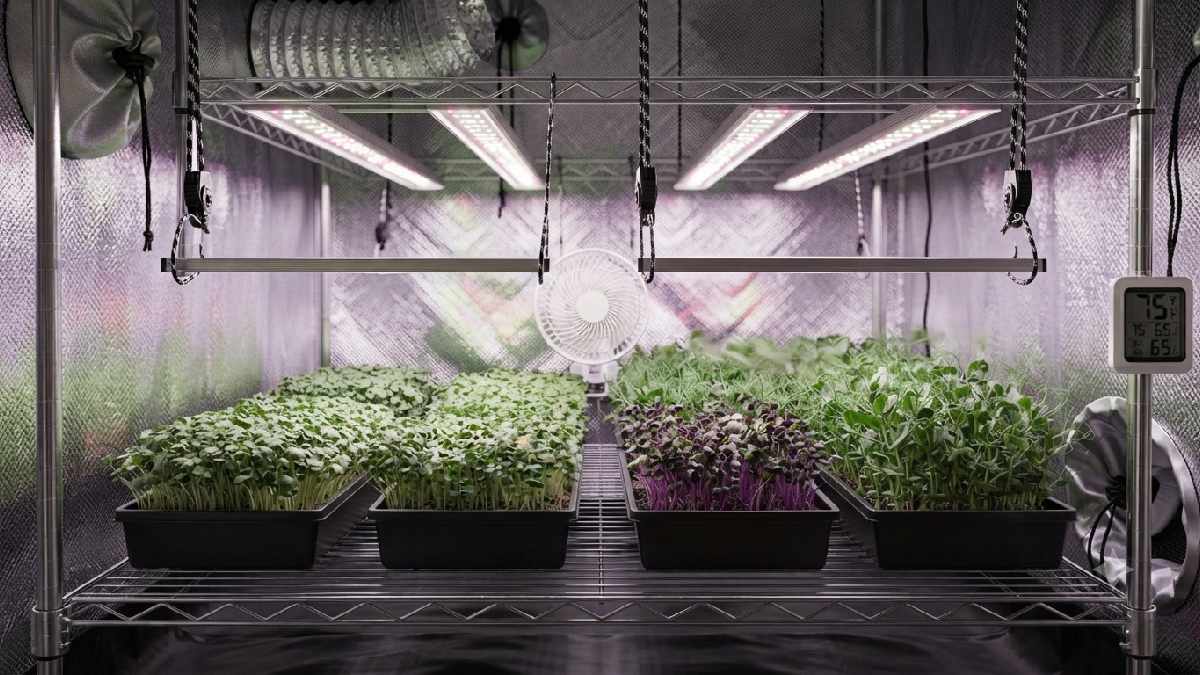
Keep your tent’s lower vents cracked open so fresh air can come in. Let the top vents push the wet air back out. This keeps a slow, steady flow of air moving, even when your fan isn’t on.
Don’t pack your trays too tight either. I know it’s tempting to fit as many as you can. But air needs room to move. Leave a few inches between each tray.
Humidity: Getting the Balance Right
This part confuses a lot of new growers. Microgreens need different levels of moisture depending on the stage they’re in. Get this wrong and your tray either won’t sprout or it turns moldy halfway through.
During the first two or three days, seeds want high moisture to sprout. Many growers cover the trays during this time. A dome, another tray, or a dark cover works. Some even add a little weight on top to press the seeds into the soil. Moisture around 70 to 80 percent during this stage isn’t unusual.
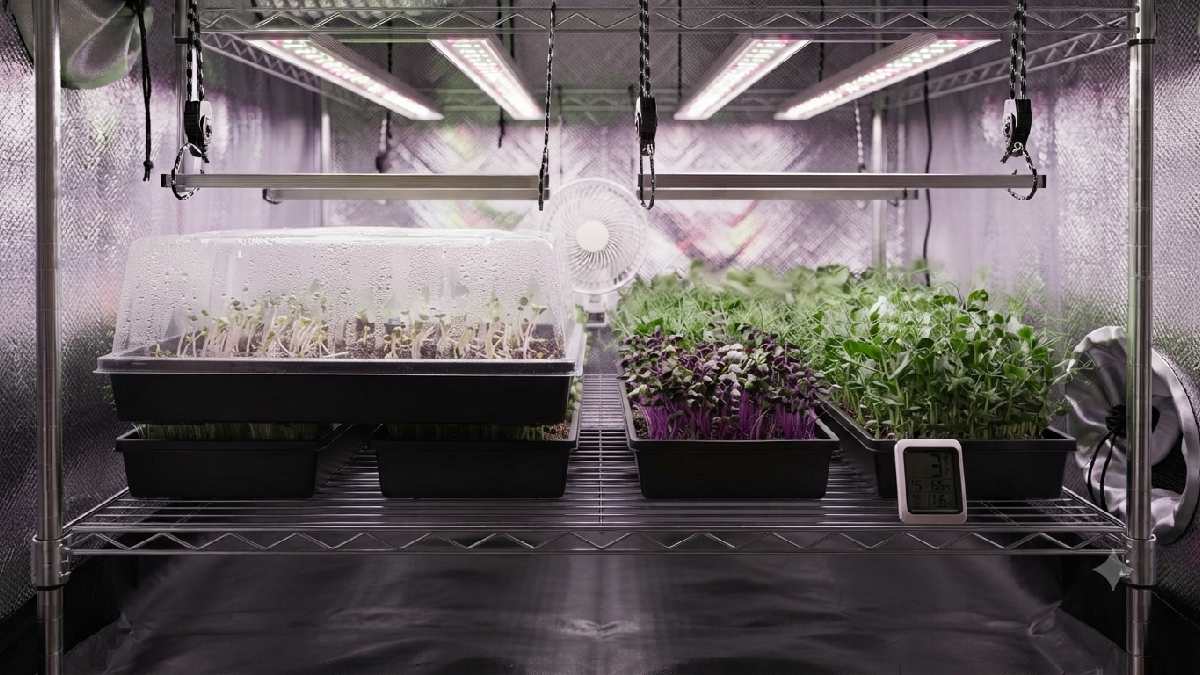
Once the seeds sprout and you take the cover off, things change. Now you want the moisture to drop, somewhere around 40 to 60 percent. High moisture at this point just invites mold. This is where your fan and vents do most of the work. If it feels too damp in there, open the vents wider, run the fan more, and maybe water less often. Watering from the bottom instead of misting from the top also helps a lot.
A cheap little tool called a hygrometer takes the guesswork out. It just tells you the temperature and moisture inside the tent. They don’t cost much, and they save you from guessing based on how the leaves look.
Keeping the Temperature Steady
Most microgreens like it between 65 and 75°F. That’s a pretty wide range, so you don’t need to stress over it too much. But a tent in a cold garage, or a hot closet packed with lights, can drift outside that range without you even noticing.
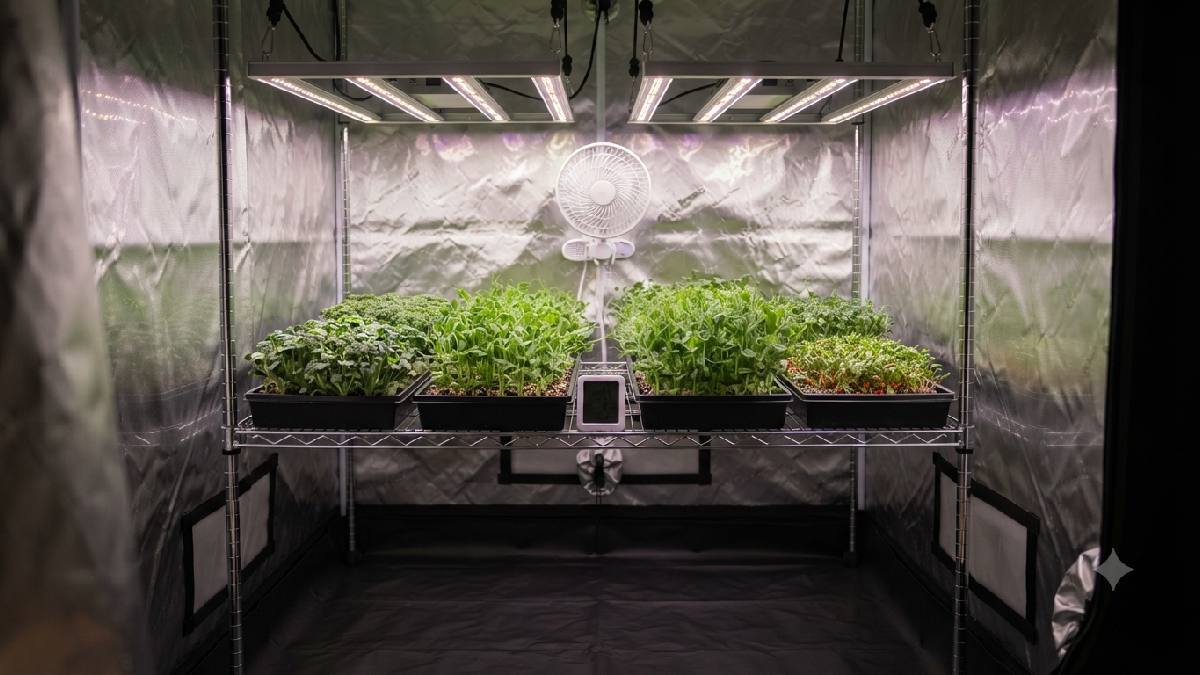
Keep your tent away from heater vents, drafty windows, or spots where the temperature swings a lot during the day. If your space runs cold, a seedling heat mat placed under the trays can help. Just don’t put it directly under the seeds; put it under the tray itself. If your lights are making the tent too warm, it’s usually better to raise them a bit, or improve the airflow instead of turning the lights down.
Choosing What to Grow In
The tent handles the climate. But what you plant in it still matters. Coco coir is popular because it’s light, holds water evenly, and drains well. That matters a lot in a closed, damp space where soggy trays turn into a mold problem fast. Soil-based mixes work too, and often give strong results, though they hold water longer. You’ll need to lean on your fan a bit more if you go this route. Grow mats or hemp pads are another choice, especially if you want something quick and easy to clean between batches.
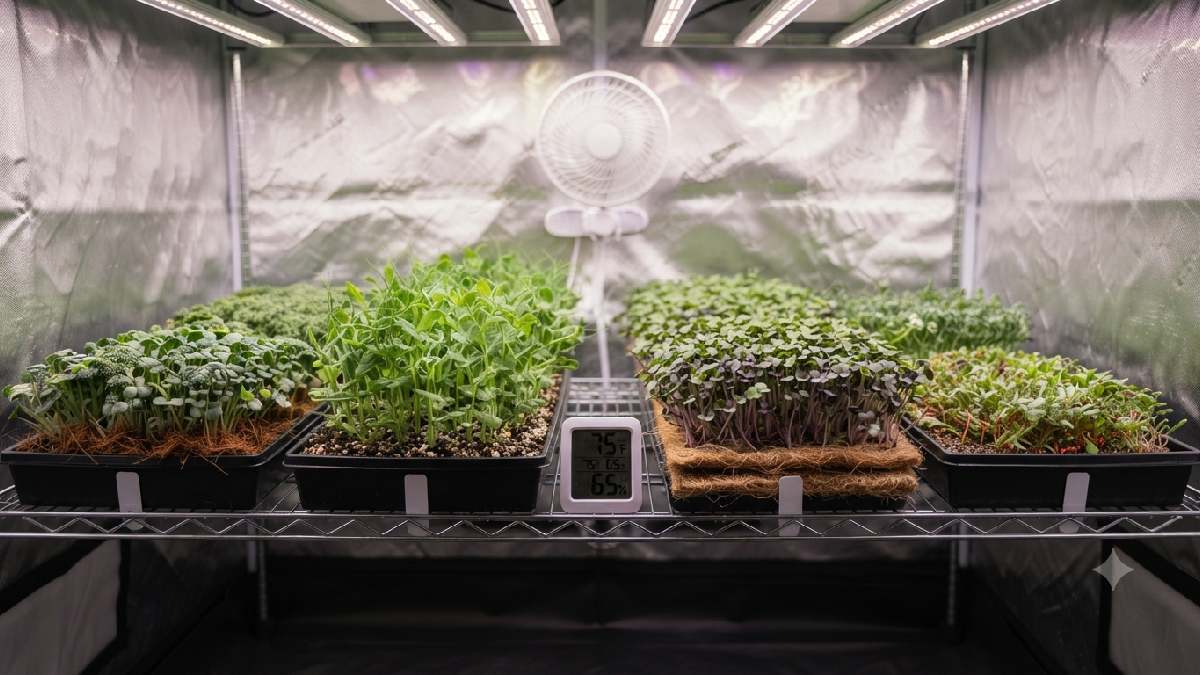
Whatever you use, keep the layer thin. Half an inch to an inch is plenty. Microgreen roots stay shallow the whole time they’re growing. A thick layer just holds extra water it doesn’t need, which works against everything your fan is trying to do.
Watering Without Overdoing It
Since a tent has less airflow than an open room, your watering needs a small change. Bottom watering usually works better here. Set the trays in a shallow pan of water for a few minutes, then drain them. This keeps water off the leaves completely. That matters more in a tent, since any water sitting on the leaves has nowhere to dry off quickly inside a zipped-up space.
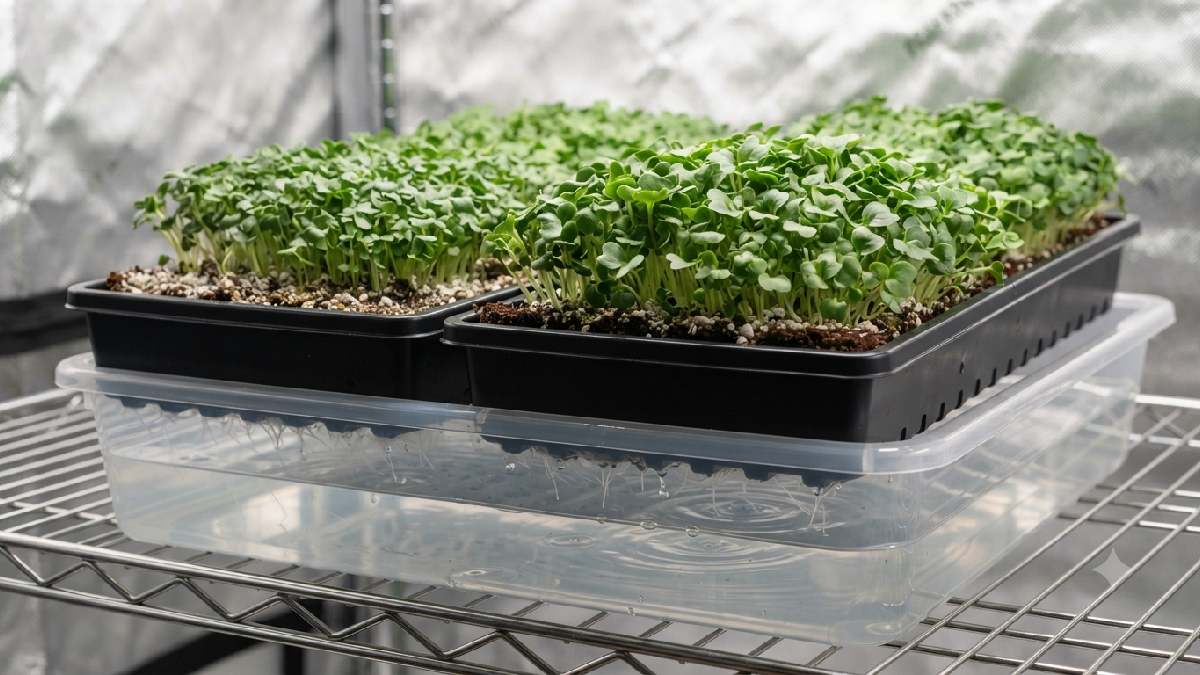
Misting from the top isn’t off limits; just keep it light, and do it early in the day. That gives the fan time to dry things out before night hits. Check your trays daily. Water only when the top looks dry. And don’t let trays sit in standing water for hours. A little water often beats one big soak, both for stopping mold and for growing even, upright greens.
Picking Seeds for a Tent
Not every seed grows the same way inside a tent, though most do fine once your setup is dialed in. Fast growers like radish, broccoli, and pea shoots are good for beginners. They sprout quick and don’t mind small changes in moisture while you’re still figuring out your fan and light settings. Slower, fussier types like basil or cilantro do better once your tent is already steady, since they need more even moisture and light over their longer growing time.
If this is your first tent, start with one or two easy seeds before trying anything harder. It gives you a chance to see how your setup handles moisture and heat before throwing in something more sensitive.
Setting It All Up: Step by Step
1. Set the tent frame somewhere flat, away from direct sun, close to a plug.
2. Add shelves at heights that leave room for trays plus your lights above.
3. Hang LED lights over each shelf on ropes you can adjust, so you can raise them as plants grow.
4. Add a small fan inside, pointed to move air across the trays, not straight down.
5. Put a hygrometer at tray height. Readings from the top of the tent won’t tell you what’s really happening near the seeds.
6. Line the floor with something waterproof to catch drips.
7. Set your light timer for 12 to 16 hours a day.
8. Run the tent empty for a day first. Check that the heat and moisture settle where you want before adding any seeds.
Shelf Setup Inside the Tent
How you set up your shelves matters more than most people think at first. It’s not just about fitting trays wherever there’s room. Each shelf needs space for the tray, plus room above for lights to hang without sitting right on the growing tips.
Wire shelves work better than solid ones for one simple reason. Air can pass through from one level to the next instead of getting stuck between shelves. If your tent only has solid shelves, that’s fine too; just make sure your fan pushes air across each level instead of relying on it to rise on its own.
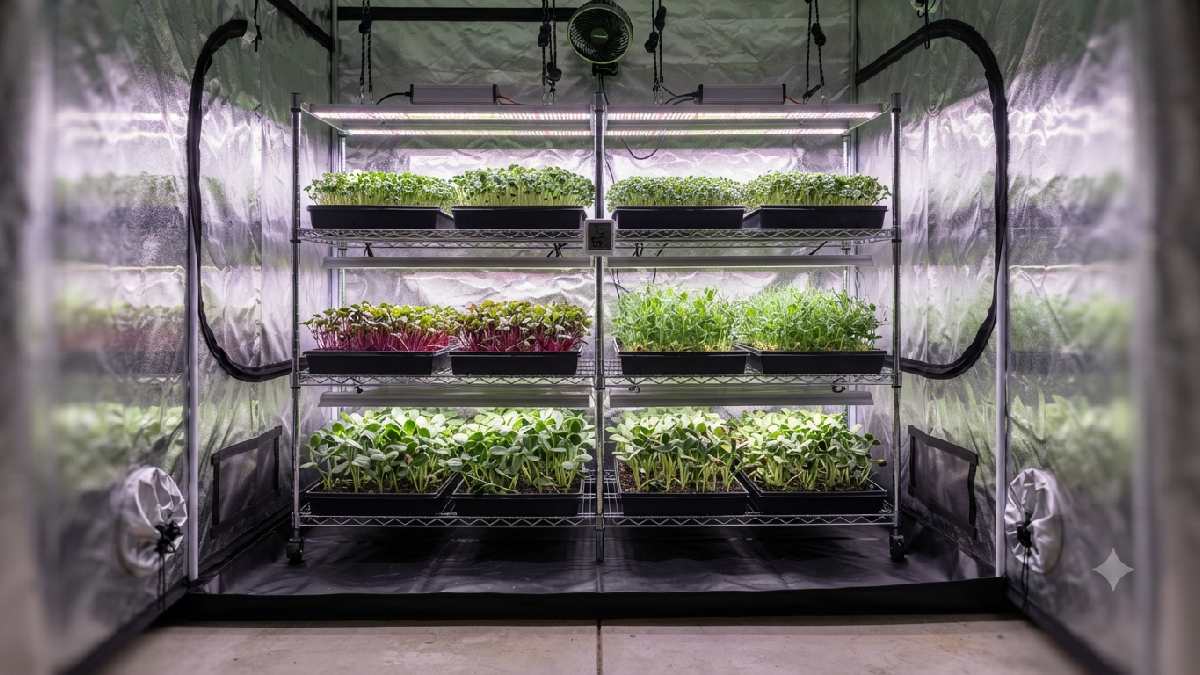
Keep taller plants on the top shelf, near where fresh air comes in. Keep shorter or slower sprouting trays lower down, where moisture tends to sit a little higher during those first few days. It’s a small thing, but it saves you from moving trays around once they’re already growing.
Leave yourself some room to reach in too. A tent packed so tight you can’t check your trays easily just ends up being ignored, and a tent you don’t check every day is one where small problems turn into big ones before you notice.
Mistakes to Watch Out For
A few habits can wreck even a good tent setup. Overwatering is probably the biggest one. Soggy soil brings mold faster than slightly dry soil brings wilting. Skipping the fan is another mistake still air inside a closed tent is basically asking for trouble.
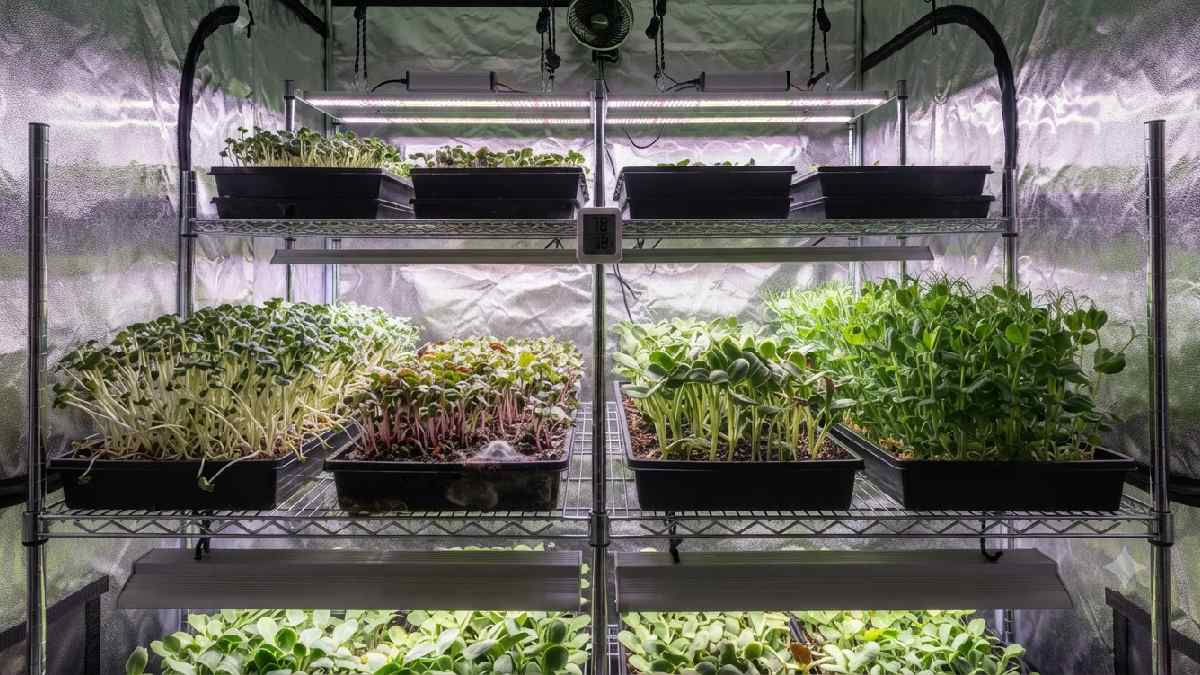
Leaving the humidity dome on too long after sprouting is common too. The cover needs to come off as soon as you see sprouts. And hanging lights too close, too soon, can burn young seedlings before they’ve had a chance to toughen up.
Keeping It Going Long-Term
Once your tent is running well, upkeep doesn’t take much. Wipe down the shiny lining and floor liner between grows so mold spores don’t carry over into your next batch. Clean the fan blades now and then, since dust quietly slows down airflow without you noticing. Wash or swap out trays between uses instead of reusing dirty ones. And check your lights every few months. Bulbs dim slowly over time, and what worked six months ago might need a small tweak now.
What It Costs to Get Started
People often think a good microgreen grow tent costs a lot. It doesn’t have to. A basic tent, one or two light bars, a small fan, and a cheap hygrometer can be put together without spending too much, especially compared to buying store-bought microgreens week after week.
The highest costs are the tent and the lights, and you only pay for those once. Everything after that- trays, growing medium, seeds- is pretty cheap and gets cheaper the more you grow, since you’re using the same tent and lights over and over. Seeds are especially cheap when bought in bulk. A single pound of seed often makes way more trays than a beginner expects.
If money is tight at first, start small. One light bar, a smaller tent. Add more shelves and lights later once you know the setup works for your space.
Signs Something Needs Fixing
Even a good tent can drift out of balance sometimes. If your sprouts are leaning or growing thin, that’s usually a light problem. The light might be too far away, or not running long enough each day. If you see white fuzzy stuff on the soil, that’s almost always a moisture or airflow issue, not bad seeds, so check your fan before blaming the seeds. Slow or uneven sprouting usually points back to uneven moisture during the early covered stage.
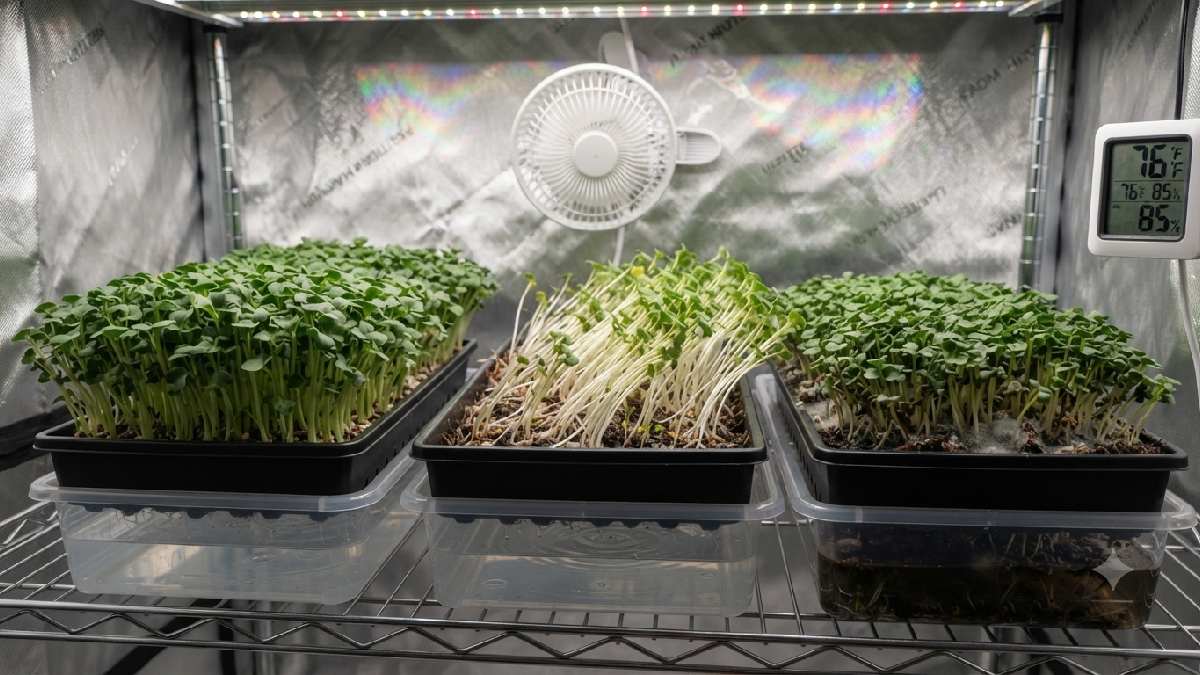
None of these problems mean you need a new tent. Most of the time it’s a small fix. Raise the light an inch. Run the fan longer. Adjust how long the cover stays on.
Frequently Asked Questions
Do I really need a tent, or can I just use a shelf?
An open shelf can work. But you'll lose the steady light and moisture a tent gives you. If your room has drafts, pets, or changing heat, a tent makes a big difference.
How many trays fit in a small tent?
A 2x4 foot tent with three or four shelves usually holds 6 to 12 standard trays. It depends on how you space your shelves.
Can I use a regular grow tent made for bigger plants?
Yes, you can just make sure you can adjust the shelf height and light height to fit microgreens. Also check that the vents still line up with where your shelves end up.
How long does it take to see results?
Most microgreens are ready in 7 to 14 days. Some grow faster, like radish. Others take a bit longer.
Why is my tent getting moldy even with a fan running?
Check your humidity first if it's still too high after sprouting, crack the vents open wider. Also make sure you're not overwatering.
Conclusion
A good microgreen grow tent really comes down to four things working together. Light that’s strong but not burning. Air that keeps moisture from sitting still. Humidity that shifts the right way between sprouting and growing. And a temperature that stays steady. Get those right, and the tent basically takes care of itself after that first week.
Once you’ve got one tent working, growing more is easy. Just add shelves, lights, and trays inside that same space you already built. No need to start over from scratch.