


Microgreen Growing Racks Are the Best Way to Grow Fresh Greens at Home
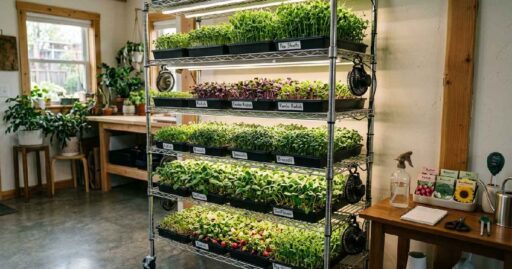
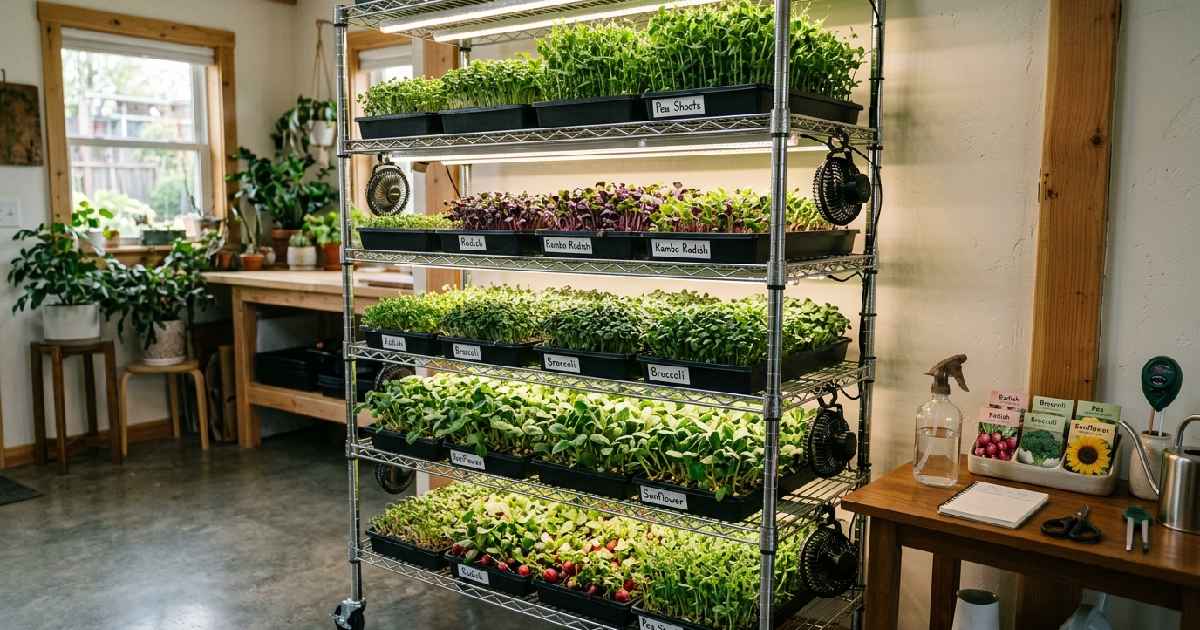
Microgreen Growing Racks are the smartest solution for anyone who wants to grow fresh greens indoors. They let you grow multiple trays at once without taking up much floor space at all. A basic metal rack can hold four standard 10×20 trays per shelf very easily.
Most microgreens are ready to harvest in just 7 to 14 days on a proper rack setup. Whether you have a small apartment or a spare room, a rack system works perfectly for you. This guide covers everything from choosing the right rack to harvesting your very first fresh crop.
Why Microgreen Growing Racks Are Worth It for Home Growers
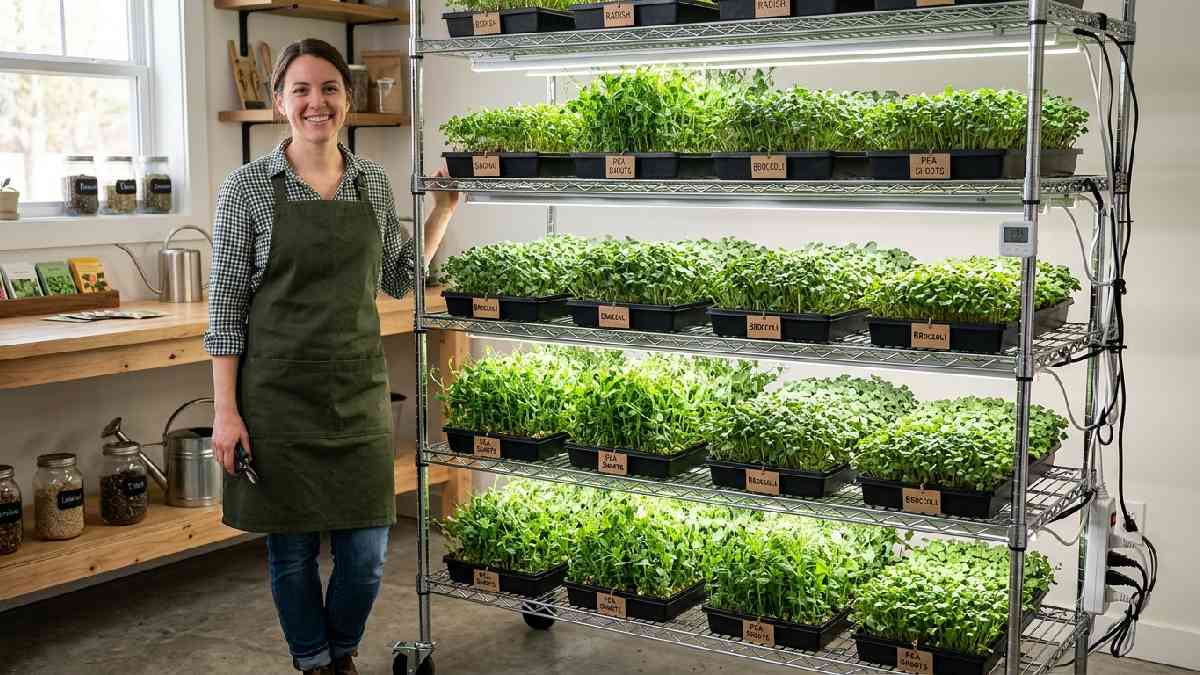
Microgreen Growing Racks help you organize your grow space and maximize every inch of available room. Without a rack multiple trays spread across tables and windowsills create mess and confusion always. A good rack keeps all your trays in one place and makes harvesting much faster and easier.
You can grow different microgreen varieties at the same time on separate shelves without any problem. Racks also make it very simple to attach grow lights directly under each shelf level. Even a basic wire rack from a hardware store works well for most home growers just starting out.
Key Benefits of Using a Growing Rack
A growing rack keeps your growing area clean, organized, and very easy to manage every day. Multiple trays fit on one rack so you can grow more greens without needing extra floor space. Adjustable shelves let you customize height for different tray sizes and grow light positions easily.
Grow lights mounted under each shelf provide consistent and even light to every single tray below. A rack with wheels lets you move your entire growing setup whenever you need to clean underneath. Organization and efficiency are the two biggest reasons every home grower needs a solid rack system.
How Much Space Do You Actually Need
You do not need a large room to set up effective Microgreen Growing Racks at home today. A standard 48 inch wide by 24 inch deep rack fits comfortably in most small rooms and kitchens. A 6 shelf rack standing 72 inches tall can hold up to 24 standard 10×20 trays total easily.
That means you can produce 30 to 50 pounds of fresh microgreens every single month consistently. Even a smaller 3 shelf rack fits perfectly in a closet or corner and works great for beginners. Start with whatever space you have and expand your rack system as your growing confidence grows.
Are Microgreen Growing Racks Good for Beginners
Microgreen Growing Racks are one of the most beginner friendly setups you can possibly start with. You do not need any special skills or experience to set up a basic wire shelving rack at home. Most racks come with simple instructions and take less than 30 minutes to fully assemble completely.
Starting with a small 3 shelf rack lets you learn the basics without feeling overwhelmed at all. Once you feel confident you can easily add more shelves or a second rack to scale up production. Beginners who use racks from the start develop better growing habits and get much cleaner results.
Best Types of Microgreen Growing Racks to Choose From
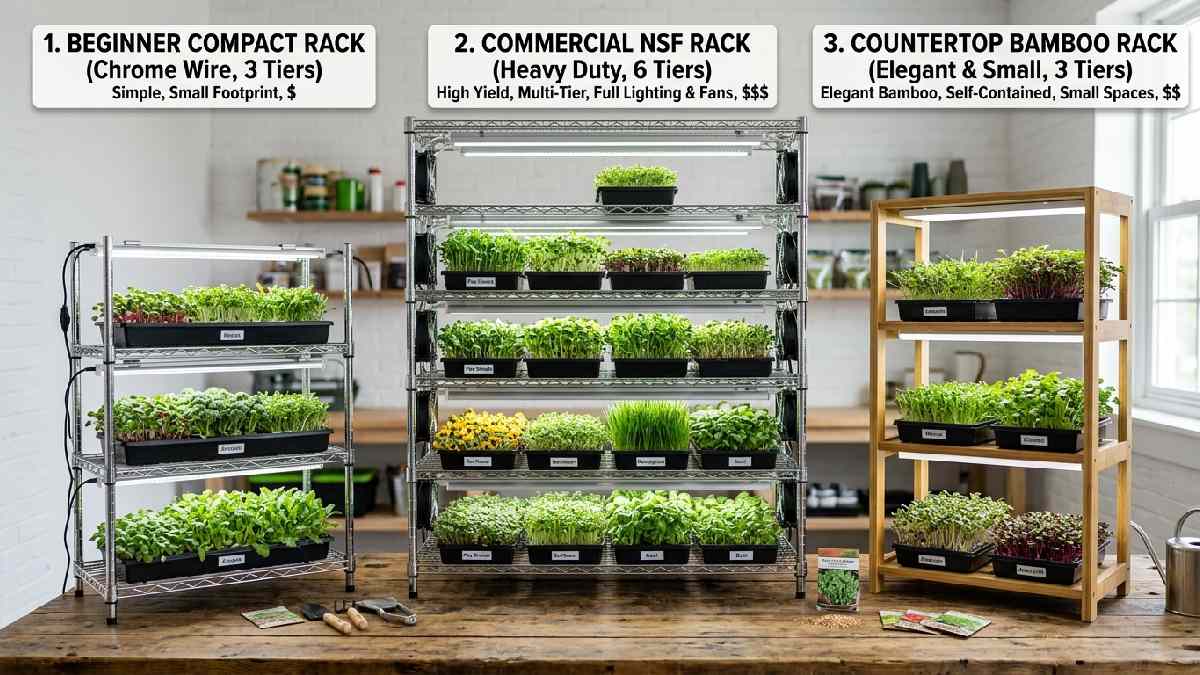
Not all Microgreen Growing Racks are the same and choosing the right type matters for your success. The three main types are wire metal racks, plastic shelving racks, and automated grow rack systems. Each type has different strengths depending on your budget, available space, and growing goals always.
Wire metal racks are the most popular choice because they are strong, affordable, and easy to find. Plastic racks are lightweight and easy to clean but may not hold very heavy wet trays well. Automated racks are advanced systems perfect for serious growers who want to scale up their production.
Wire Metal Racks for Microgreens
Wire metal racks are the most recommended type for home growers of microgreens everywhere today. They are strong enough to hold multiple heavy trays filled with wet soil or coco coir always. Wire shelving allows excellent airflow around trays which helps prevent mold and plant disease.
NSF certified wire racks are food safe and built to handle wet and humid growing environments well. A Seville Classics 5 tier wire rack at around 229 dollars is a popular and very reliable choice. Always look for racks with adjustable shelf heights so you can customize your light positions easily.
Plastic Shelving Racks for Beginners
Plastic shelving racks are a budget friendly starting point for new growers setting up their first system. They are very lightweight and easy to move around your home whenever you need to reorganize things. Most plastic racks are simple to wipe clean between growing cycles which saves a lot of time.
They work well for small scale growing with just a few trays of microgreens at a time always. The main downside is that plastic racks may bend or warp under very heavy or wet trays over time. Choose a plastic rack only if you plan to keep your setup small and very simple for now.
Automated Microgreen Rack Systems
Automated rack systems are designed for growers who want to produce microgreens at a much larger scale. These systems come pre assembled with built in timers, irrigation, and flood tray watering systems included. Companies like Bootstrap Farmer offer automated racks that water your trays completely on their own.
You simply fill the reservoir with water and set the timer then let the system handle everything. All racks in automated systems come on wheels so moving them for maintenance is very easy always. These systems are a bigger investment but save enormous amounts of time and growing effort every day.
Setting Up Your Microgreen Growing Rack Step by Step
Setting up your Microgreen Growing Rack correctly from the start saves you a lot of trouble later. A proper setup ensures your microgreens get the right amount of light, airflow, and water consistently. The basic setup involves assembling the rack then adding lights, fans, trays, and growing medium carefully.
Standard 10×20 inch trays are the most popular choice and fit most rack shelves perfectly always. You will also need good quality seeds, a growing medium like soil or coco coir, and a timer. Following each step carefully gives your microgreens the best possible start from the very first day.
Choosing the Right Trays and Growing Medium
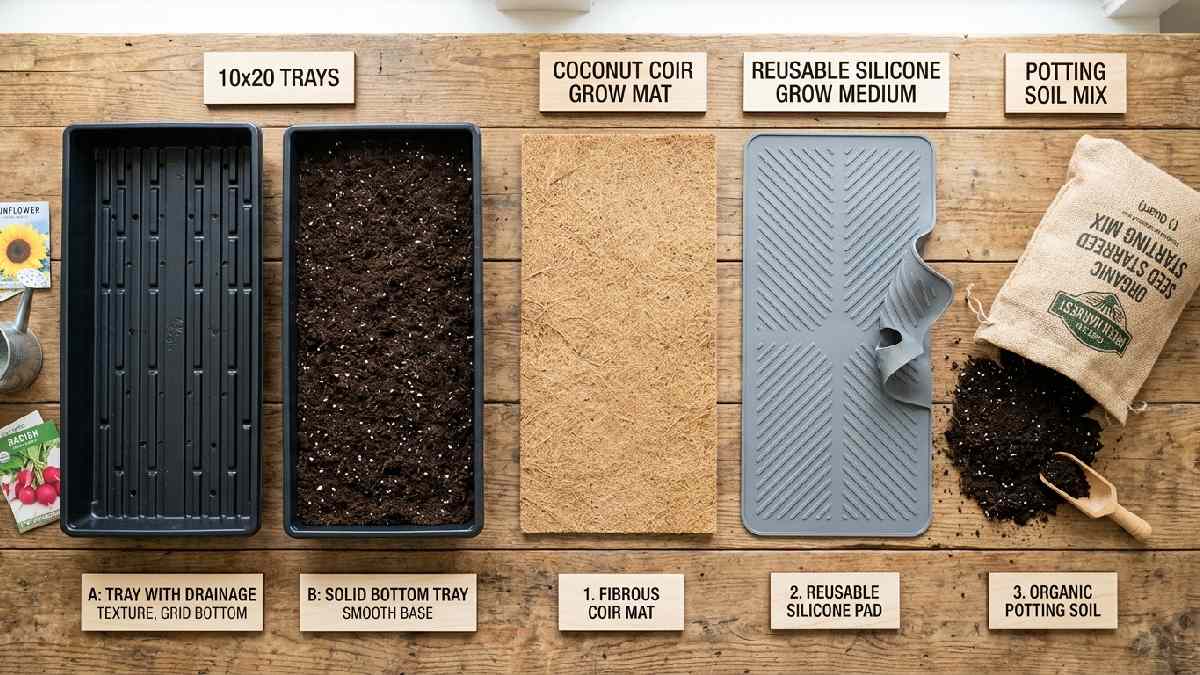
Standard 10×20 inch trays are the best choice for any Microgreen Growing Rack setup at home. You can use trays with drainage holes for bottom watering or solid trays for top watering method. Potting soil, coco coir, and grow mats are all popular and effective growing medium options today.
Coco coir is very clean, lightweight, and easy to use making it great for indoor rack setups. Grow mats made from burlap or BioStrate are reusable and produce very clean microgreen roots always. Always sanitize your trays between growing cycles with warm soapy water to prevent any mold buildup.
Setting Up Grow Lights on Your Rack
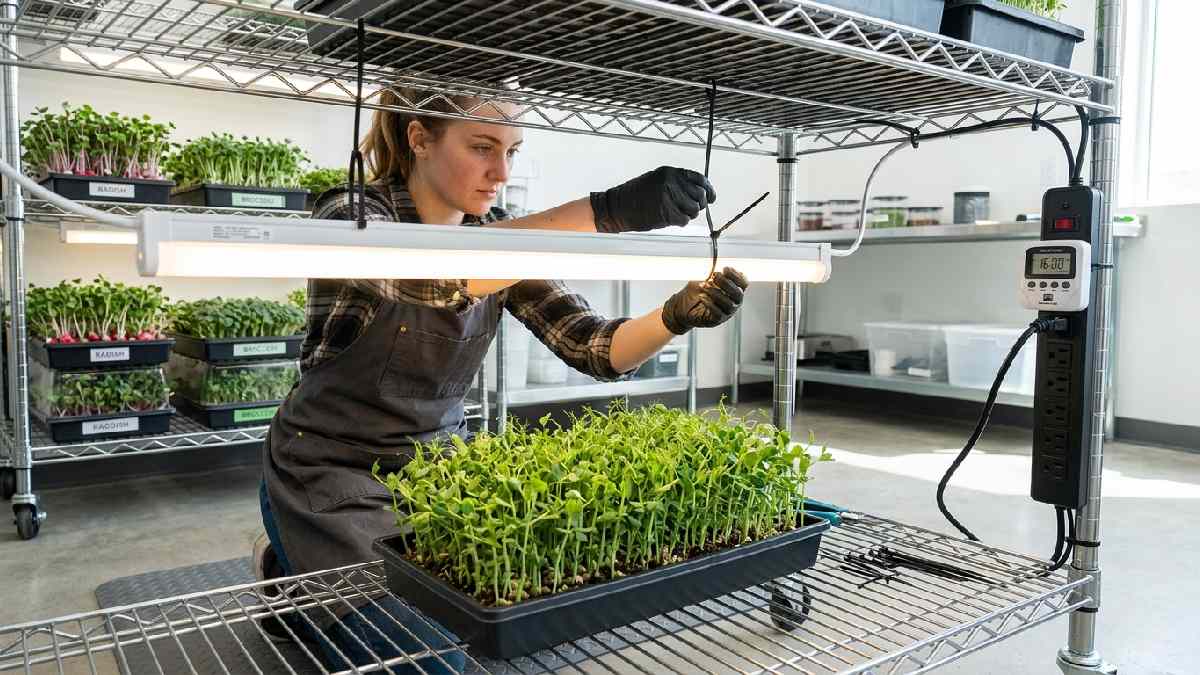
Grow lights are one of the most important parts of any successful Microgreen Growing Rack system today. Mount LED grow lights to the underside of each shelf so light shines directly down onto your trays. Position lights 8 to 12 inches above your growing trays for the best light coverage and intensity.
T5 LED lights at 20 watts each are the most beginner friendly option for microgreen rack lighting. For a standard 6 shelf rack you will need approximately 18 LED grow lights in total always. Set your timer for 17 hours of light on and 7 hours off for healthy microgreen growth daily.
Adding Fans for Airflow and Mold Prevention
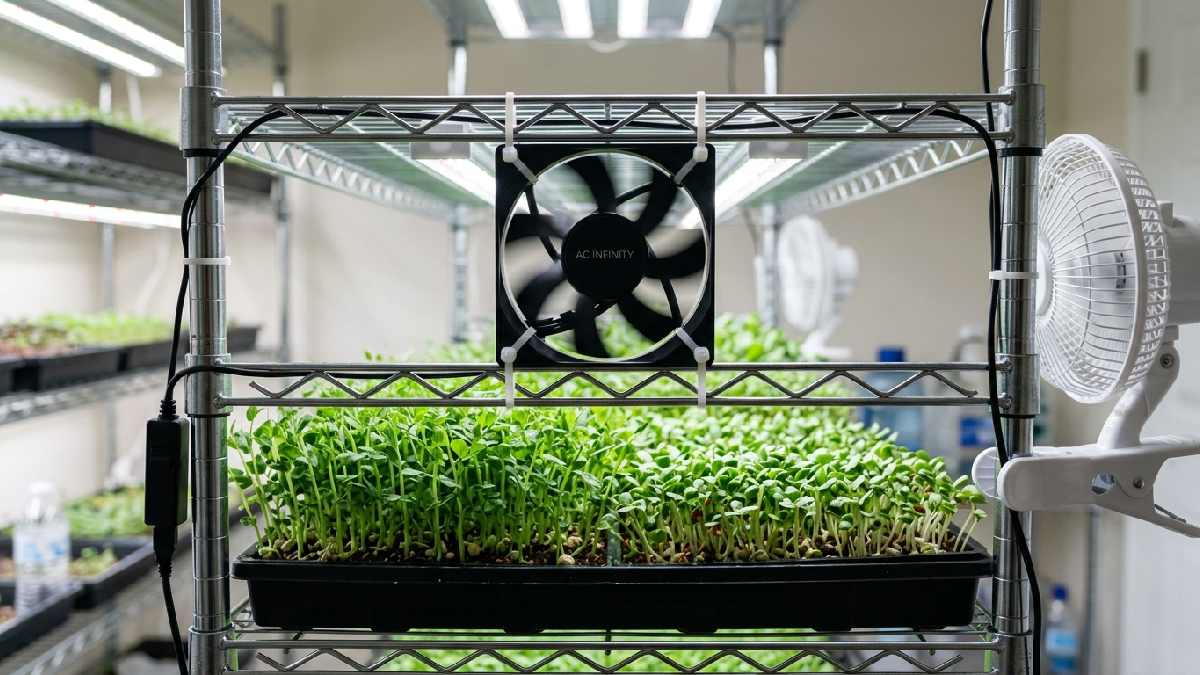
Small fans are an essential but often overlooked part of any good rack growing setup at home. Good airflow prevents mold, strengthens plant stems, and keeps humidity at healthy levels consistently. Place one small fan per shelf pointing gently across your trays for consistent air circulation always.
AC Infinity 120mm fans are reliable and affordable costing around 27 dollars per 2 pack always. Avoid pointing fans directly at seedlings during the first few days of the germination stage. Once microgreens reach the light stage increase airflow slightly to encourage strong and healthy stem growth.
Best Microgreens to Grow on Your Rack at Home
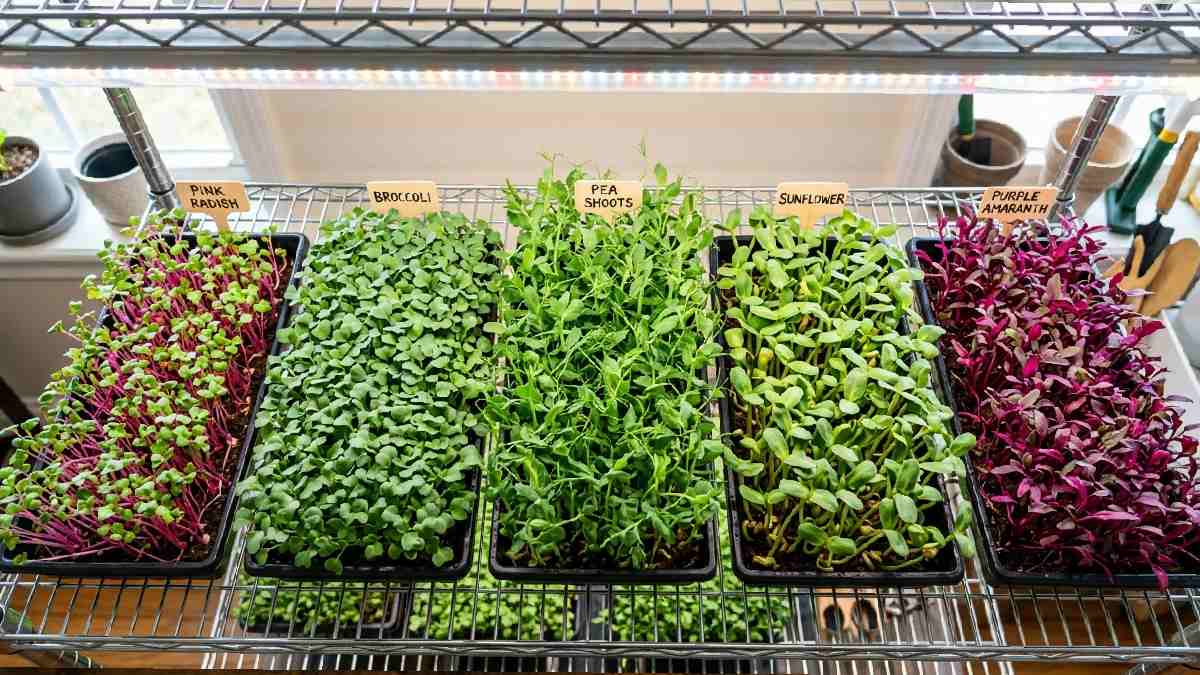
Some microgreen varieties grow much better than others when using Microgreen Growing Racks indoors. The best varieties are ones that germinate quickly and grow to harvest in under 14 days consistently. Radish, sunflower, pea shoots, broccoli, and wheatgrass are the top choices for all beginners.
Radish microgreens are ready to harvest in just 5 to 7 days making them the fastest option. Sunflower microgreens are thick, crunchy, and very satisfying to grow on a multi shelf rack system. Growing a mix of different varieties across your rack shelves gives you a constant fresh harvest rotation.
Fast Growing Varieties for Beginners
Radish microgreens are the fastest and easiest variety to grow on any rack setup at home today. They germinate in just 2 to 3 days and are ready to harvest in only 5 to 7 days total. Broccoli microgreens are another excellent beginner choice and are packed with nutrition and great flavor.
Pea shoots grow tall and lush making them one of the most rewarding varieties to harvest always. Mustard microgreens add a spicy kick and grow very reliably on racks with consistent good light. Starting with these fast varieties builds your confidence before moving on to slower growing crops later.
Staggering Your Harvest Schedule on the Rack
Staggering your planting schedule is the smartest way to use your full rack system effectively. Plant a new tray every 2 to 3 days on different shelves to create a continuous harvest cycle. This means you will always have fresh microgreens ready to harvest at least twice every single week.
Label each tray with the planting date and variety so you never lose track of your schedule. Radish and broccoli can share shelves while slower varieties like sunflower get their own dedicated shelf. A consistent staggered schedule is the key to getting the absolute most out of your rack system.
Common Microgreen Growing Rack Mistakes to Avoid
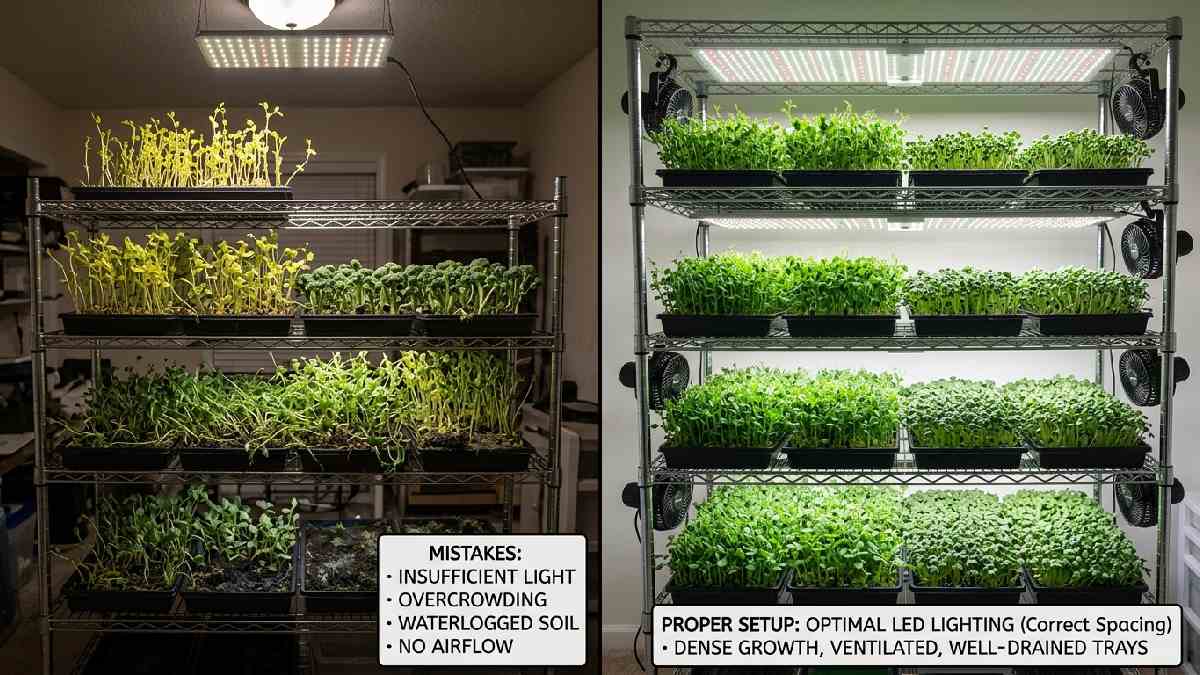
Even a great rack setup can fail completely if you make these very common beginner mistakes always. The most frequent problems are wrong light height, poor airflow, overwatering, and using dirty trays. Lights placed too high or too low cause leggy weak growth or leaf burn on young microgreens.
Lack of airflow is the number one cause of mold problems in all indoor rack growing setups. Overwatering is very common and leads to soggy soil, root rot, and failed germination very quickly. Avoiding these mistakes from the very start keeps your microgreens healthy and your harvests very consistent.
Fixing Light and Airflow Problems
Keep your grow lights exactly 8 to 12 inches above your trays on your growing rack always. If microgreens grow tall and thin they arstretching toward light that is placed too far away. Lower your lights slightly and check that all shelves receive very even coverage from edge to edge.
Run your fans continuously during the light period but reduce airflow during early germination stage. Never let moisture sit stagnant around your trays as this creates perfect conditions for mold growth. Checking your lights and fans daily takes less than 5 minutes and prevents most very common problems.
Watering Correctly on a Growing Rack
Bottom watering is the best and most effective watering method for any rack setup at home. Pour water into the bottom solid tray and let the growing medium absorb moisture from directly below. This keeps the surface of your soil or coco coir dry which prevents mold from forming on top.
Water every 1 to 2 days depending on how quickly your growing medium dries out between waterings. Never let trays sit in standing water for more than a few hours as roots will rot very quickly. Learning to read soil moisture by touch is the best skill any microgreen rack grower can develop.
FAQ
What is the best rack size for a beginner?
A 3- to 4-shelf wire rack holding 12 to 16 standard 10x20 trays is perfect for most beginners starting.
Do I need grow lights on my microgreen rack?
Yes, grow lights give very consistent results, especially in rooms without strong natural sunlight year round always.
How many trays fit on a standard microgreen rack?
A 6-shelf rack holds about 24 standard 10x20 trays, with four trays fitting comfortably on each shelf level.
How long do microgreens take to grow on a rack?
Most microgreens are ready to harvest in 7 to 14 days, depending on the variety and growing conditions used.
Can I use a regular shelf as a microgreen growing rack?
Yes, a basic wire shelving unit from any hardware store works very well for growing microgreens at home.
How do I prevent mold on my microgreen rack?
Use small fans for airflow, bottom-water your trays, and sanitize all trays between every single growing cycle.
Conclusion
Microgreen Growing Racks are one of the best investments any home grower can make for indoor growing success. They maximize your space, keep everything organized, and make growing multiple varieties much easier always. Starting with a simple wire rack, basic grow lights, and standard 10×20 trays is all you need today.
Choose fast growing varieties like radish and broccoli for your very first rack growing experience always. Stagger your planting schedule to enjoy a constant supply of fresh greens every single week consistently. Avoid common mistakes like wrong light height, poor airflow, and overwatering from the very beginning always.
Whether you are growing for your family or thinking about selling at local markets, racks work perfectly. Microgreen Growing Racks make indoor growing more efficient, more productive, and far more enjoyable for everyone. Start your rack setup today and enjoy fresh homegrown microgreens within just two weeks of your first planting.