How to Grow Microgreens Inside — A Beginner’s Indoor Gardening Guide
Microgreens are small plants harvested early, right after the first real leaves show up. They are not sprouts and not mature vegetables either. I first noticed them in restaurants, tiny greens on big plates. Later, I realized they are actually easy to grow at home. Even indoors. Even in small rooms.
What works in their favor is speed. These greens grow fast. Some are ready in just over a week. They also carry strong nutrition for their size, more than people expect. Vitamins, minerals, all packed in something that fits on a tray. You don’t need deep gardening knowledge to make this work. Just basic care and a little patience.
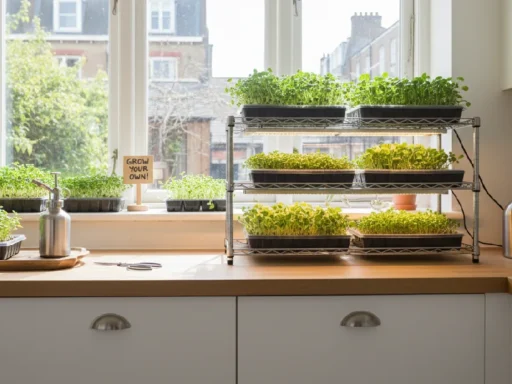
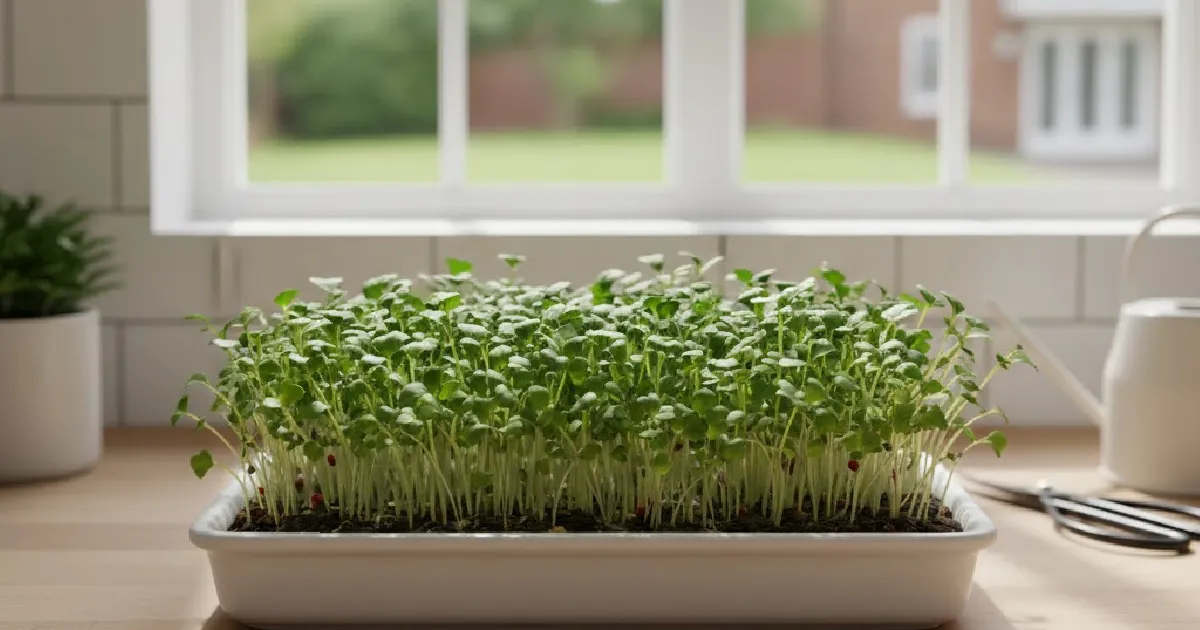
Indoor growing changes the game. No garden needed. No seasonal waiting. You can grow fresh greens all year, whether it’s summer or cold outside. A shelf, a window corner, that’s enough. Once you cut your first batch, it stops feeling like an experiment. It starts feeling normal. Like this is how fresh food should be grown.
What Are Microgreens & Why Grow Them Indoors?
Microgreens are small edible plants cut very early in their life. Not seeds. Not full vegetables. Just the stage when the first proper leaves come out. That’s it. People often confuse them with sprouts, but they are different. Microgreens grow in soil or a medium and actually behave like plants, just on a smaller timeline.
The reason people care about them is nutrition. These tiny greens hold a lot inside them. Vitamins. Antioxidants. More than you would expect from something so small. In many cases, more than mature greens. You add a handful to the food, and it already changes the meal. No heavy portions needed.
Indoor growing fits them well. They don’t ask for much space. A tray on a shelf works. Even a corner near the light is enough. You don’t need expensive tools or long experience. The setup stays simple and cheap. That makes them friendly for beginners.
Another thing is speed. Microgreens grow fast. Sometimes you’re cutting them in ten days. You plant, water, wait a little, then harvest. Indoors, this cycle feels easy. Almost routine. Fresh greens without a garden, without planning seasons.
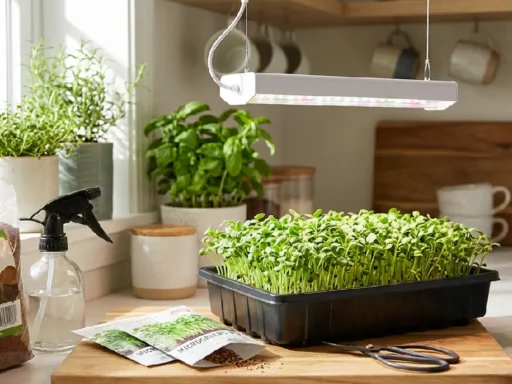
Materials Needed for Indoor Microgreens
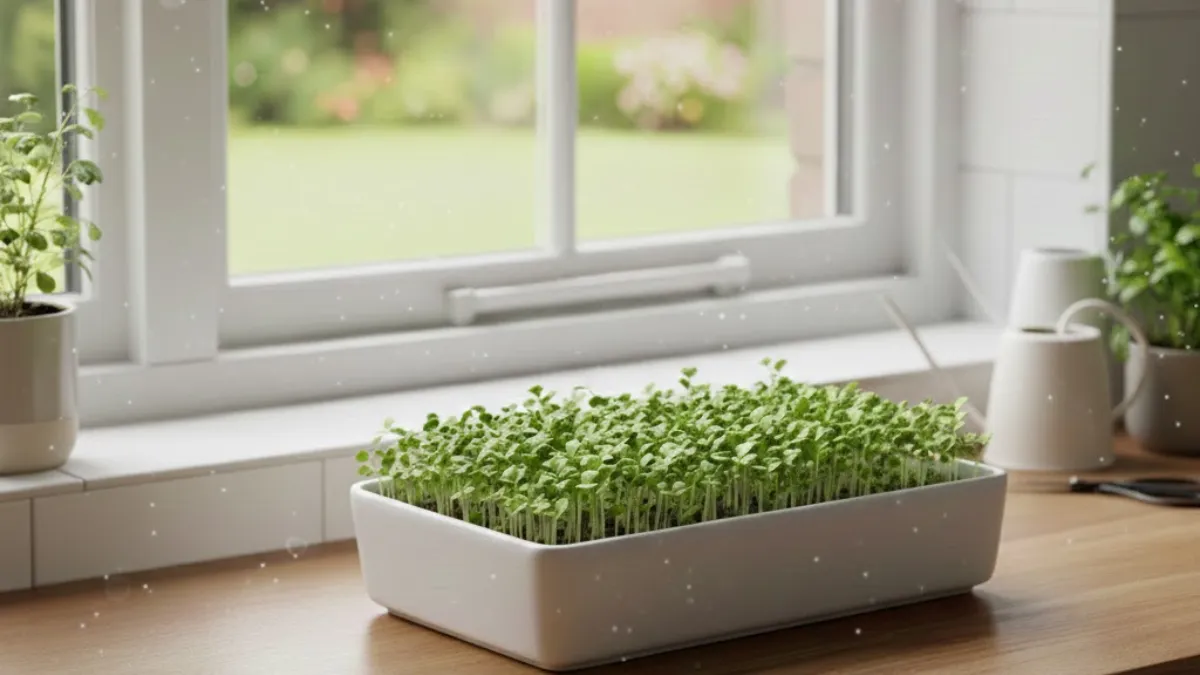
Growing microgreens indoors doesn’t need much. Really. Most people are surprised by how simple it is. No big setup. No expensive tools. Just a few basic things. First, a shallow container. Nothing fancy. Could be a plastic tray, or it could be an old food container. Drainage is nice but not mandatory. If it’s missing, just be careful with watering. That’s it.
Next, soil or any growing medium. Normal potting soil works. Heavy soil? Forget it. Microgreens don’t need fertilizers. Seeds already have energy. Soil just holds them and lets roots spread.
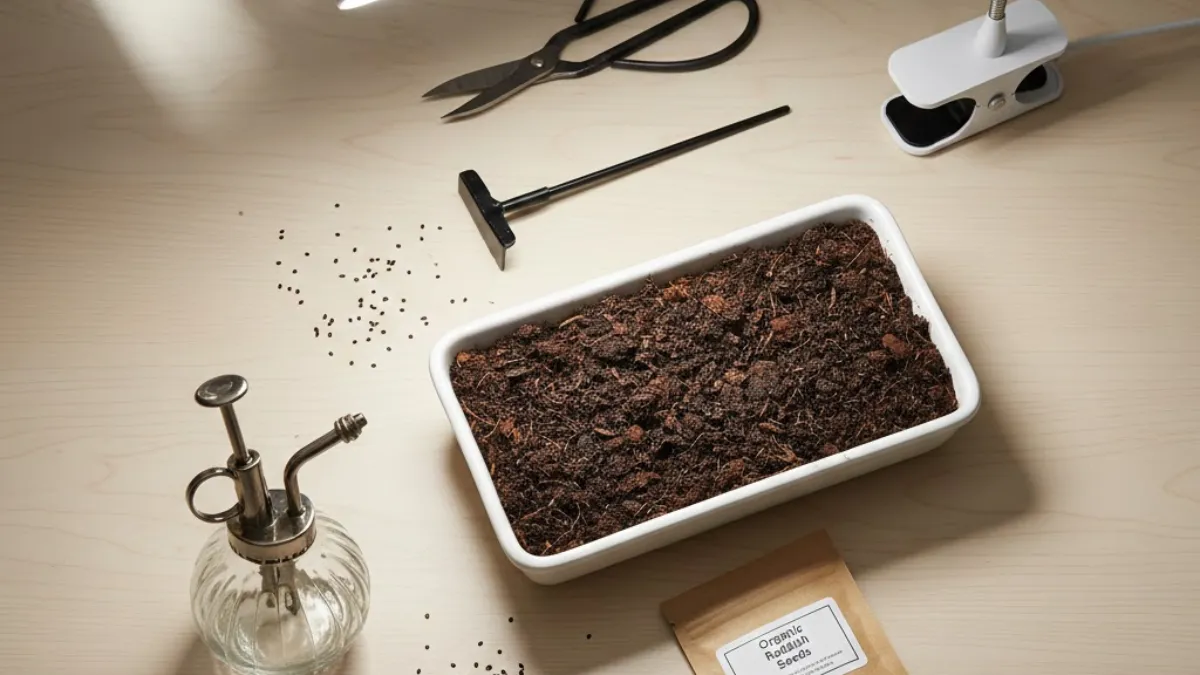
Seeds matter. Use edible, untreated seeds. Cheap ones can grow unevenly or fail. A spray bottle for watering is handy. Gently mist, don’t flood the soil.
Light is easy. A sunny window is enough. Weak light? Use a small grow light. No need for complicated setups. Keep it simple. Microgreens will grow.
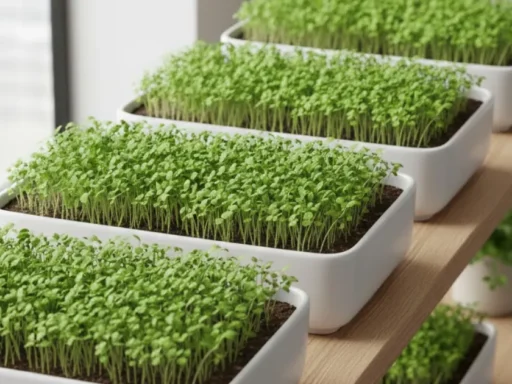
Trays & Containers
Microgreens like shallow trays. Nothing deep. Drainage is helpful but not strict. You just don’t want water sitting at the bottom. DIY works too. Old food containers, leftover plastic trays, they do the job. People often forget this, but microgreens don’t need fancy things. Just something to hold soil and let roots grow.
Growing Medium
Soil or soilless? Both work. Regular potting soil is easy. Light, airy, holds water just right.
Soilless options are great too. Coco coir, seed-starting mix, jute or hemp mats. Coco coir keeps moisture balanced. Jute and hemp mats are low-maintenance. Roots grab on easily. No fuss, no extra fertilizer.
Seeds
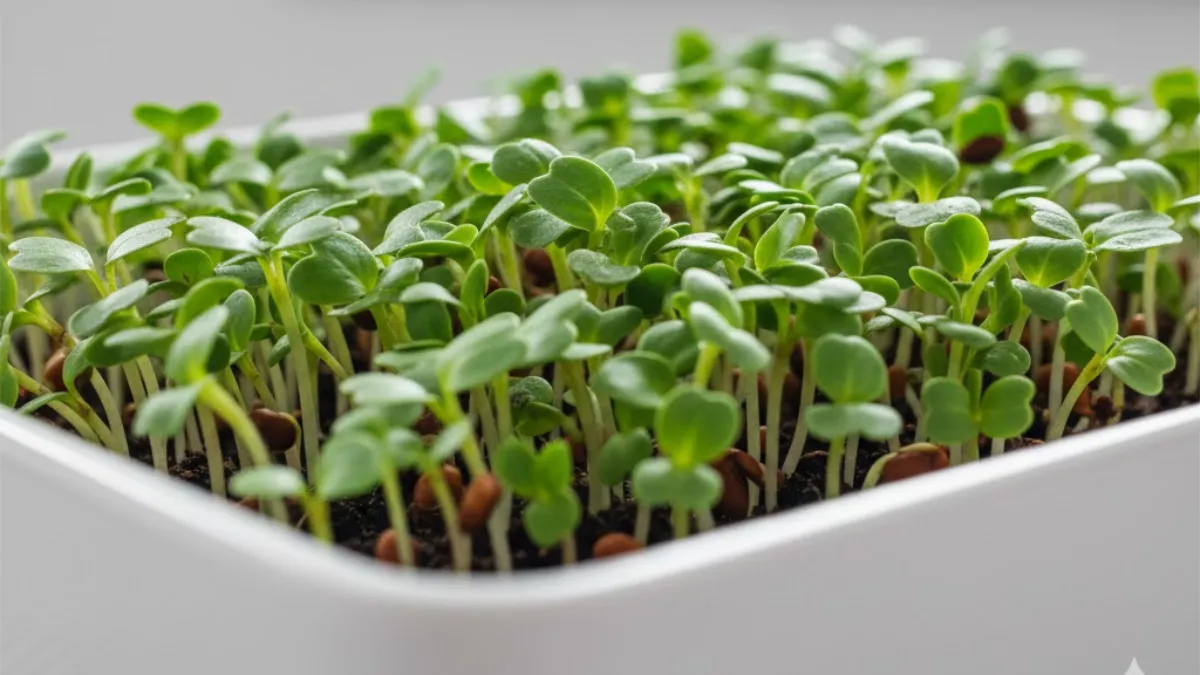
Radish, broccoli, sunflower, and peas are common microgreens that grow fast. Start with these if you’re new.
Quality matters. Untreated, edible seeds give even growth. Cheap or old seeds can fail. Space seeds evenly. Too crowded, they choke. Too sparse, wasted space. A little care here pays off big.
Light & Water Tools
Light is key. Sunny window works for many. Weak light? Simple LED grow lights help. Nothing fancy is needed.
Water gently. Spray bottles are perfect. Mist soil lightly. Don’t flood. Microgreens are tiny, delicate roots that don’t like heavy water.
How to Grow Microgreens Inside (Step-by-Step)
Growing microgreens indoors is easy. You don’t need a garden. Or fancy gadgets. Just a tray, some seeds, a little light, and water. That’s it. It starts simple. Fill a shallow tray with soil or coco coir. Scatter seeds loosely. Don’t cram them. Mist gently. That’s all. Tiny sprouts appear soon. Watching them grow is oddly satisfying.
Indoor growing is forgiving. No weather problems. No bugs. Even small mistakes don’t ruin everything. You can experiment. Radish, broccoli, peas, and sunflowers each grow differently. All pack nutrients. Light matters, but don’t stress. A sunny window works. Low light? A small LED light is enough. Microgreens adapt.
Harvesting is quick. Usually, a week or two. Cut above the soil. Rinse if needed. Eat fresh. Or store briefly. Tiny greens, huge impact on meals. It’s short, simple, and rewarding. Indoor microgreens fit anywhere. Even small apartments. No long-term work. Just plant, water, watch, and harvest. Done.
Step 1—Prepare the Tray
Grab a clean tray. Any shallow one works. Fill it with soil or coco coir.
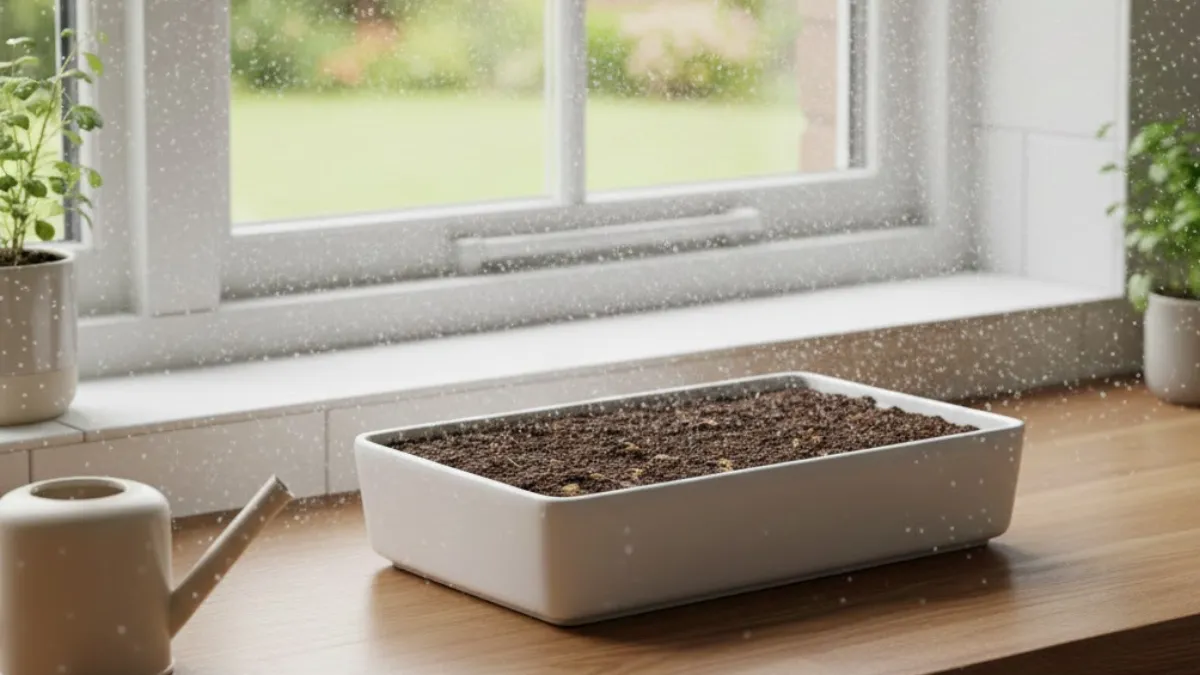
Level it, but don’t pack it. Just enough for roots to grab. Mist lightly. Moist, not soggy. Done.
Step 2—Sow Seeds Evenly
Sprinkle seeds carefully. Avoid crowding. Too many seeds; they fight for space.
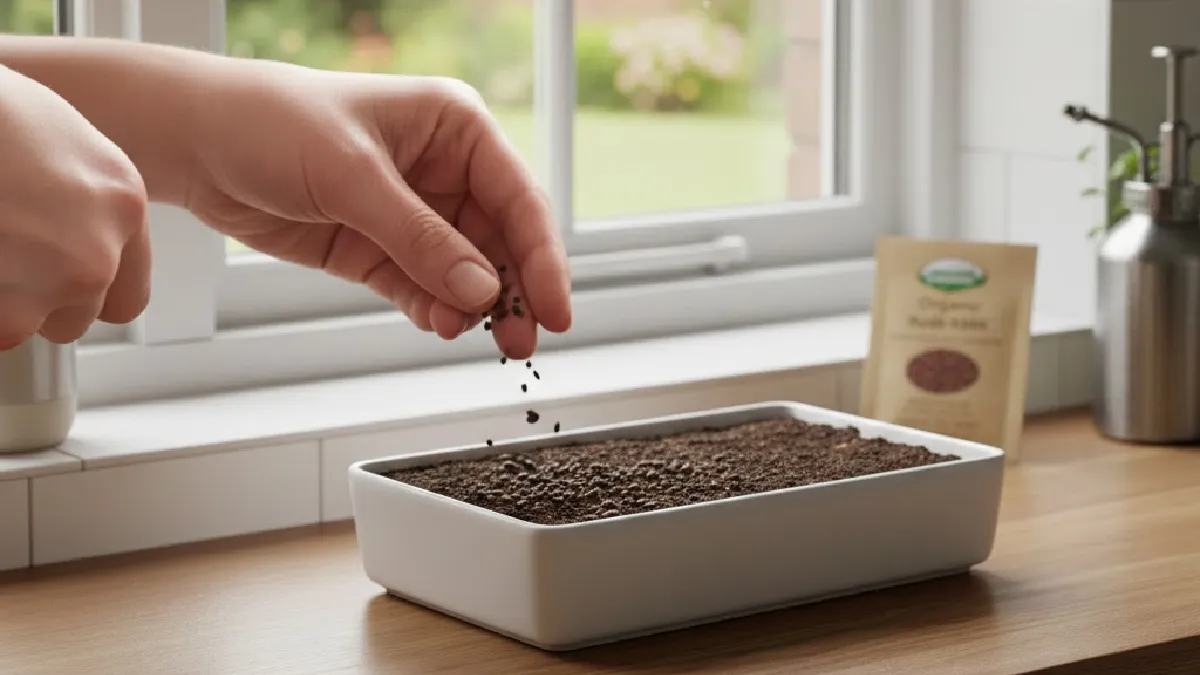
Press gently so they touch the soil. Not hard, just enough to stick. Radishes, broccoli, and peas all like a little space.
Step 3—Cover & Germinate
Some seeds prefer dark at first. Cover the tray lightly. Another tray, cloth, or whatever works.
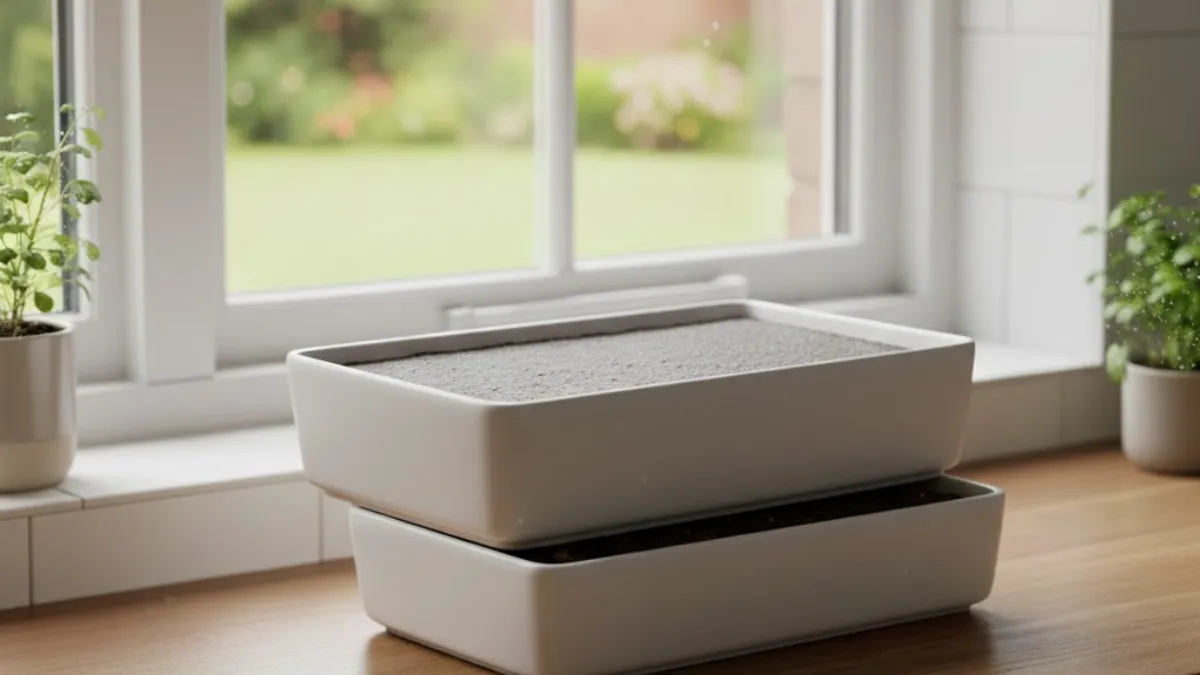
Keep covered for 2–3 days. Peek now and then. Sprouts pop up fast. Remove the cover when tiny leaves show.
Step 4—Light Exposure
Move the tray to the light. The window works. LED grow lights work too.
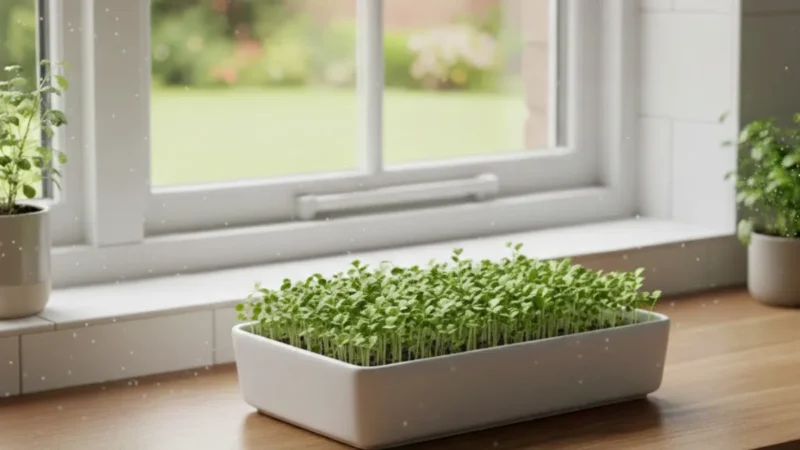
12–16 hours daily. Not exact, just enough to stay green. Keep light close, but don’t burn. Rotate the tray if needed.
Step 5—Watering & Humidity
Mist daily. Or try bottom watering. Soil is moist, not soggy.
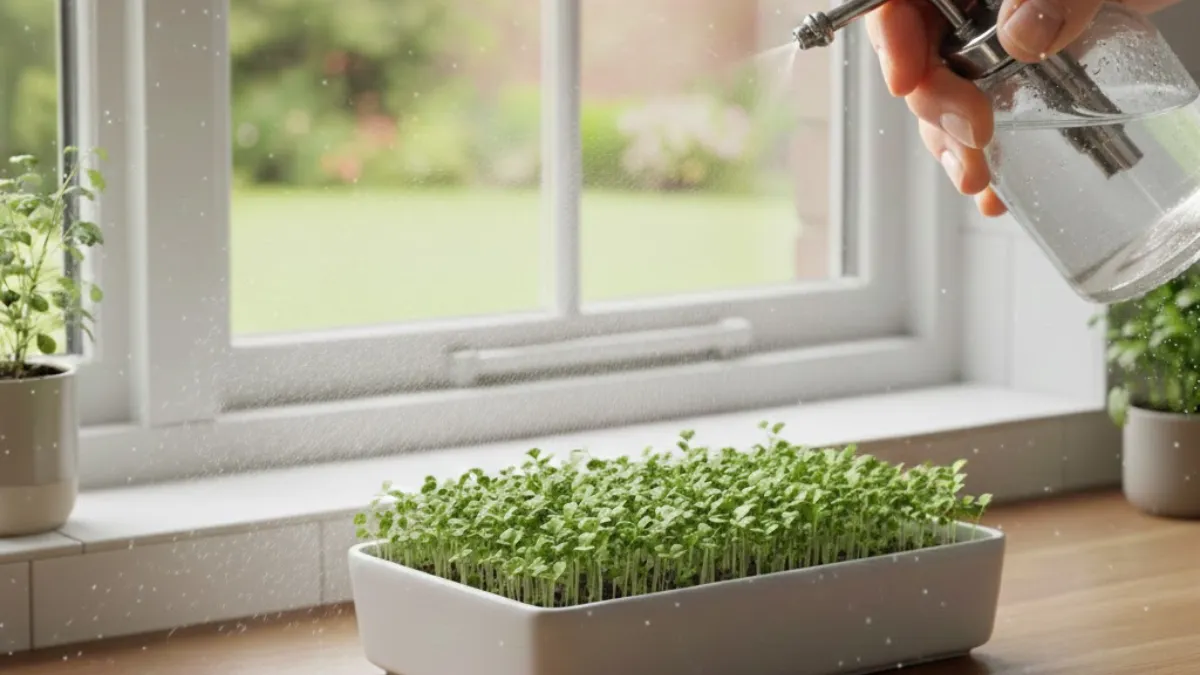
Too much water mold. Small roots hate puddles. Watch closely. Microgreens are delicate.
Step 6 — Monitor Growth
Check sprouts often. Even growth matters. Adjust the light if the stems get long.
Avoid leggy growth. Rotate trays sometimes. Tiny tweaks keep them healthy.
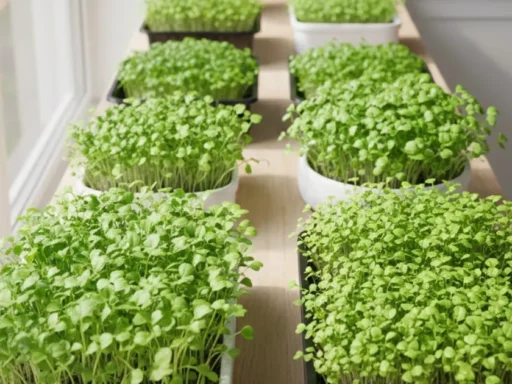
Best Indoor Microgreens to Grow
Microgreens are tiny, but each one acts differently. Some pop up fast, some taste strong, some just take over the tray quickly.
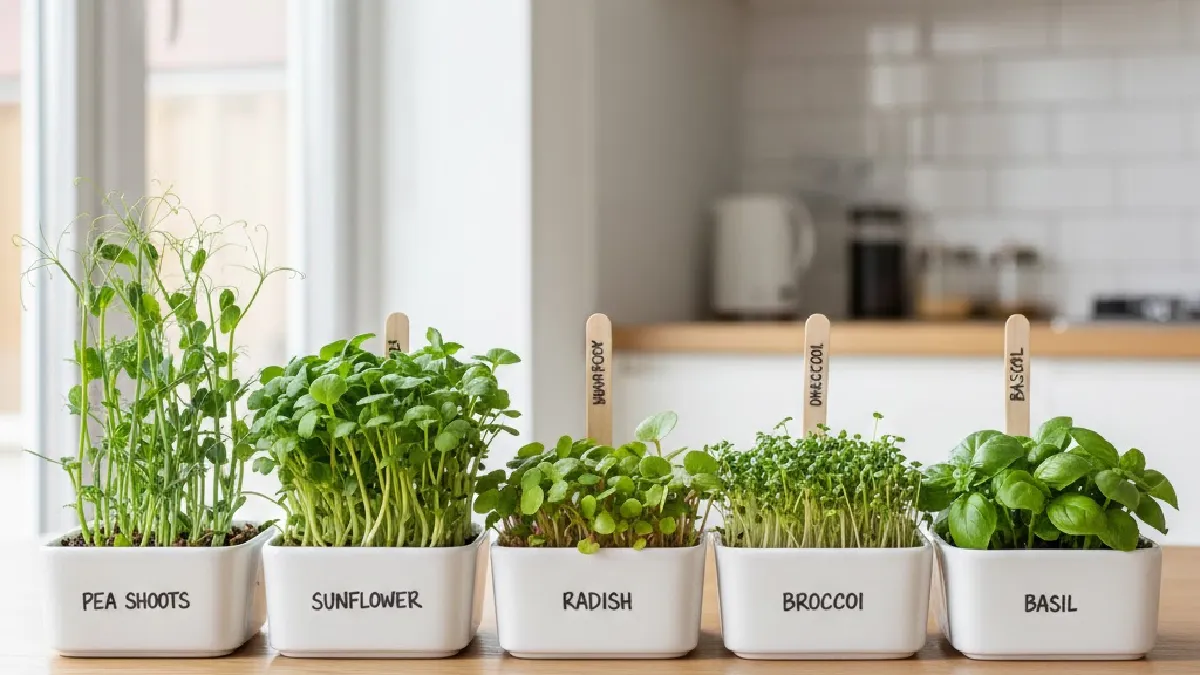
Here are a few you can grow indoors without much fuss.
Radish
It’s super quick. Usually ready in a few days. Spicy flavor. A handful makes sandwiches, salads, or wraps more exciting. Very easy, and you see results fast.
Broccoli
It is small but packed with nutrients. Vitamins and antioxidants, all in little leaves. Mild taste, works in eggs, wraps, and smoothies. Indoor growth is forgiving, even if light isn’t perfect.
Sunflower
Grows tall and thick. Tender leaves, crunchy stems. Mild flavor. High yield, so a bigger tray helps. Watching them fill the tray feels satisfying.
Pea shoots
Are soft, sweet, and quick. They fill trays nicely. Kids often enjoy them raw. You can cook lightly, too. They tolerate small mistakes with water or light.
Basil and cilantro
Smells amazing. Basil grows more slowly, but the aroma is strong. Cilantro is fresh and a bit zesty. Needs some care, but the reward is huge flavor.
Indoor microgreens are convenient. No garden, no long wait. Little effort, big reward. Try different types. Mix seeds. Tiny leaves, huge impact. Fresh, flavorful greens, anytime, right at home.
Harvesting & Storage Tips
Microgreens grow fast. But picking at the right time matters. Usually 2–3 inches tall or first proper leaves. Check daily. Even a day can change taste. Cut with scissors. Just above the soil. Don’t pull. Roots stay. The tray can be reused. Feels good to see a tray turn into fresh greens.
Storage is simple. Airtight container. Paper towels inside. Mist if needed. Don’t soak.

Keep in the fridge. Lasts about a week. Check leaves sometimes. Remove any soft or damp ones.
Small care goes a long way. Right time, gentle cut, smart storage. Keeps microgreens crisp, tasty, and nutritious. A small tray gives several servings. Tiny leaves, big flavor. Done right, they last longer. Fresh greens anytime, straight from your indoor setup.
Common Problems & Solutions
Indoor microgreens are mostly easy. But small problems happen. Good thing? Most are easy to fix if you watch them.
Mold pops up when the soil is too wet or the air doesn’t move. Don’t soak it. Mist lightly. Give trays some space. Open a window now and then. Some use a small fan. Clean trays help too. Mold hates moving air and dryness.
Leggy growth
Happens when plants stretch too much toward the light. Stems get thin and weak. Move trays closer to sunlight or LED lights. 12–16 hours a day is usually enough. Rotate trays sometimes. Leggy greens taste fine, just don’t look pretty.
Over-watering / under-watering
Is common to have too much water, soggy soil, and mold risk. Too little dry soil, slow growth. Mist lightly or try bottom watering. Keep the soil just moist. Check daily. Tiny changes matter.
Humidity
Is tricky, too much mold, too few dry sprouts. Cover trays lightly first few days. After sprouts show, remove the cover but keep air moving. The normal kitchen works fine.
Small adjustments make a big difference. Watch trays, mist when needed, and move them if they lean. Most problems vanish quickly with little care. Microgreens forgive small mistakes. Tiny leaves, delicate stems care a little, get a healthy, tasty harvest.
FAQ Indoor Microgreens
How long do indoor microgreens take to grow?
Usually a week or two. Radish pops up fast. Broccoli is a bit slower. Check them daily. Even one day can change how soft leaves are.
Can I grow microgreens without grow lights?
Yes. A sunny window is enough. South-facing is best. Indoors with little sun, they grow more slowly. Stems stretch sometimes. Lights help but are not necessary.
What’s the best growing medium for microgreens?
Soil, coco coir, or seed-starting mix all work. Coco coir is clean and easy. Soil gives a stronger flavour. Some use hemp or jute mats. Pick what fits your setup.
Why are my microgreens leggy indoors?
Usually low light. Plants stretch toward it. Move trays closer. Rotate them sometimes. 12–16 hours of light daily works well. Thin stems taste fine; they just look weak.
How do I prevent mold on indoor microgreens?
Mould shows up from wet soil or still air. Mist lightly. Don’t soak. Give trays space. Open a window or use a small fan. Clean trays help. Airflow is key.
Conclusion
Growing microgreens indoors is simple and fun. Tiny seeds sprout into fresh, nutrient-packed leaves in just days. You don’t need a garden or expensive tools. Light, water, and a little care are enough. Watching trays grow day by day is satisfying. Try it today. Pick seeds, mix flavors, and enjoy greens in sandwiches, salads, or smoothies. Even a small tray gives multiple servings. Tiny effort, big reward. Microgreens may be small, but they make a real difference.