How to Grow Microgreens at Home (Beginner Friendly Guide)
Growing microgreens at home can seem intimidating until you actually try it once. I had the same thought that it might turn into some technical gardening project. Turns out it doesn’t. You just need a shallow tray, decent seeds, and regular potting soil from a nearby store. Seeds don’t like being pushed deep; they grow better when they are just sitting on top with a light cover.
While planting, the way seeds are spread matters more than the tools used. If they pile up in one corner, growth becomes uneven and messy. A soft spray of water is enough to settle them, no heavy watering here. This stage feels slow because nothing seems to happen, but that’s normal. You’re mostly waiting and checking the soil with your eyes, not doing much else.
Light confuses most beginners; it confused me, too. Microgreens don’t demand expensive lights at the start. A window with decent daylight works fine in many homes. If the room stays dull, a simple LED light does the job. The main thing is not letting them sit in darkness for long; plants don’t like that silence.
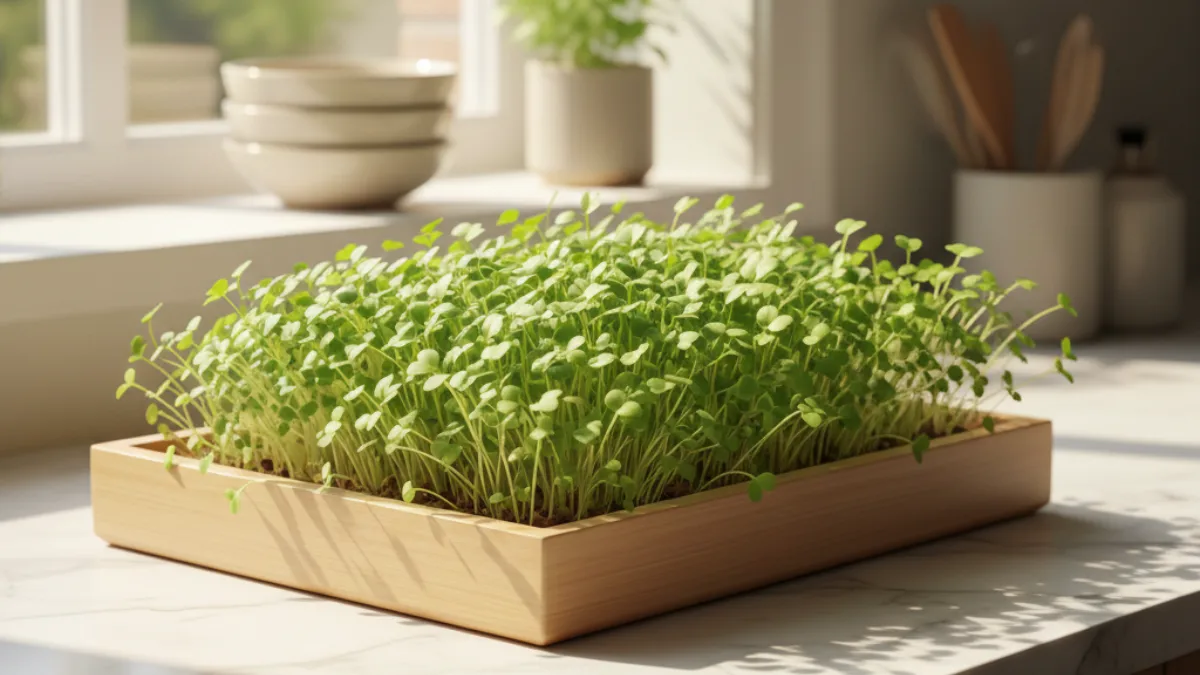
After a few days, small green shoots start showing up, and the tray suddenly looks alive. That’s the point where it stops feeling like an experiment. From here, it’s just about keeping moisture balanced and watching growth daily. No rush, no pressure. Before you realize it, you’re cutting fresh microgreens that you grew yourself, right there at home.
Introduction
Microgreens are tiny plants. But full of nutrients. I thought growing them at home would be tricky. Special trays, fancy lights sounded like a lot. But actually, you just need a small tray and some seeds. That’s all. Watching them sprout slowly is kind of fun.
People search “how to grow microgreens” because buying fresh greens is expensive. Or sometimes just annoying. Growing them at home feels different. You check the tray every day. Tiny green shoots. Little surprises. At first, I thought it would take a lot of effort. Turns out, mostly patience.
They grow in 7 to 21 days. Some seeds sprout fast. Others take longer. That short time is perfect for beginners. One day, nothing happens. The next day, green everywhere. Simple. But satisfying.
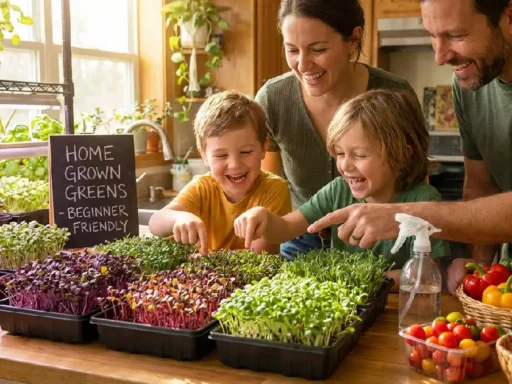
This guide will show you everything. Choosing seeds. Watering. Giving light. Harvesting. Nothing fancy. Nothing scary. Follow it, and growing microgreens at home becomes easy. Fun. Eating what you grew yourself, that feeling is amazing.
What Are Microgreens?
Microgreens are tiny plants. Full of nutrients. I thought growing them at home would be tricky. Special trays and lights sounded complicated. But really, you just need a small tray and some seeds. That’s it. Watching them sprout slowly is kind of fun.
People search “how to grow microgreens” because buying fresh greens from the store can be expensive. Or sometimes annoying. Growing them at home feels different. You check the tray every day. Tiny green shoots appear. Little surprises. At first, I thought it would take a lot of work. Turns out, it’s mostly patience.
They grow in about 7 to 21 days. Some seeds sprout fast. Others take longer. That short time is perfect for beginners. One day, nothing seems to happen. The next day, tiny green leaves cover the tray. Simple. But exciting.
People love microgreens for taste and nutrition. Flavors stronger than mature vegetables. Some sweet, some peppery, some herb-like. Nutritionally, they have more vitamins and antioxidants than full-grown leaves. Tiny plants. Big punch.
Why Grow Microgreens at Home?
Microgreens are really tiny plants. But they are full of nutrients. I realized they sometimes have more vitamins than big vegetables. Growing them at home means you always have fresh greens ready. No rushing to the market. Just pick, wash, eat.
Having fresh greens at home feels different. No worrying if the ones in the store are old or covered in pesticides. You can harvest whenever you want. It feels nice eating something you grew yourself. Tiny, clean leaves straight from your tray.
They are cheaper too. A small tray of seeds costs way less than buying fresh greens every week. And space is not a problem. Even a kitchen counter or a small flat surface works. Tiny effort, big result.
Indoor growing is possible. No garden needed. Just a tray, a bit of light, and water. Watching them slowly pop up is really satisfying. Fresh, clean greens ready at home. Small plants. Big happiness.
Why Grow Microgreens at Home?
Microgreens are tiny, but full of nutrients. People like them because they feel fresh and healthy. Growing them at home is different. You watch them sprout slowly. You know exactly what you’re eating.
Fresh greens at home make life easier. No need to go to the market again and again. When you need some, just cut a little from the tray. They are fresh right then. Not old, not stored. This becomes a simple habit over time.
Buying microgreens from the market can be costly. At home, one small packet of seeds lasts longer. You get multiple harvests. They also need very little space, so even a kitchen counter works.
Indoor growing is easy. Flat tray, some light, a little water. That’s it. No garden needed. Watching tiny leaves grow quietly in your home feels satisfying. Fresh, clean, home-grown greens all the time.
Growing microgreens isn’t complicated. You just need a tray or container. I used an old plastic box once. It wasn’t fancy, but the seeds grew fine. Shallow containers help roots breathe. No need to buy expensive ones.
Next, the growing medium. Soil works okay. Coco peat mats are sometimes better. I tried normal garden soil before. Some seeds didn’t grow much. So it really matters what you pick. Roots love the right base.
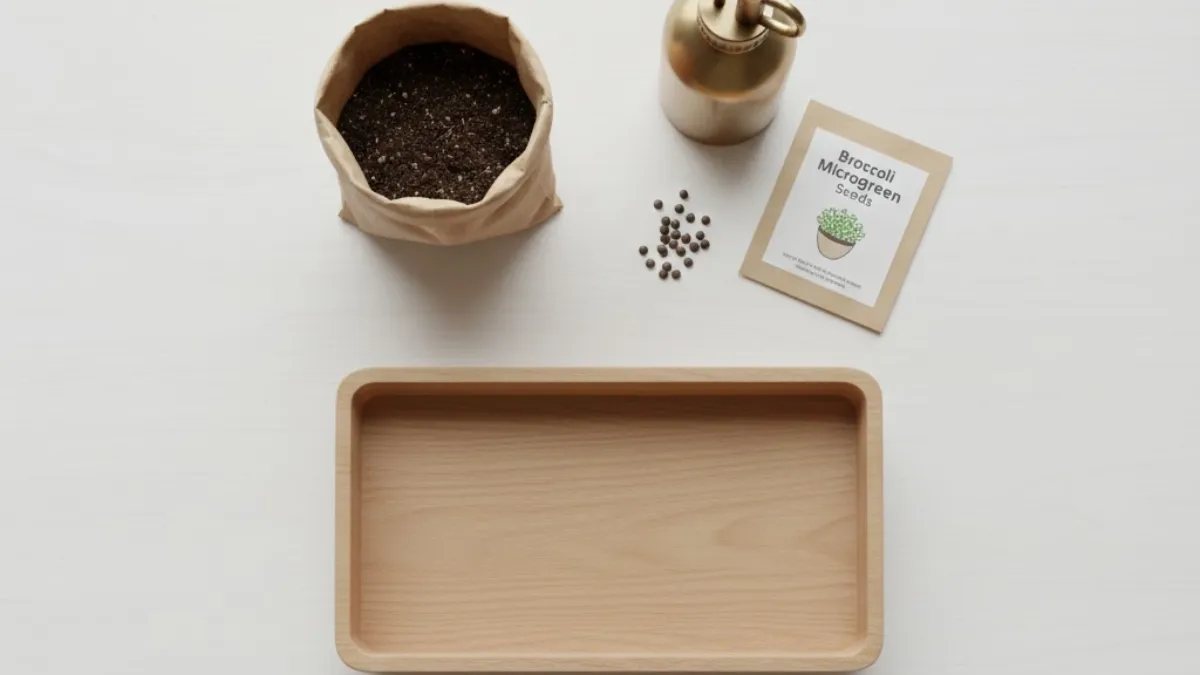
Seeds are the real start. Microgreen seeds like radish, broccoli, pea, and sunflower sprout fast. I remember planting radish first. Tiny green shoots came up in a few days. Watching them grow feels alive.
Don’t forget water and light. The spray bottle is easy. You don’t overwater. Light can be the sun or a small grow lamp. My tray sat on a sunny windowsill. In days, it looked like a tiny jungle. Once these things are ready, you can start growing at home.
Best Microgreen Seeds for Beginners
Radish is perfect for beginners. It grows very fast, usually ready in 5–7 days. The taste is slightly spicy and fresh. Very easy to grow. I planted radish once in a small tray, and they popped up quickly. Tiny green leaves looked alive.
Broccoli microgreens take a bit longer. About 7–10 days to harvest.
Taste is mild and earthy. Difficulty level is low; just make sure they get enough light. Watching little leaves open is fun. They look like mini trees.
Pea shoots grow more slowly, around 10–12 days. Taste is naturally sweet. Easy for beginners, but need slightly more space. I tried peas in a narrow tray. Some bent, some grew straight. Still turned out good.
Sunflower sprouts are quick, 7–9 days. Crunchy with a nutty flavor. Very easy to grow. Just soak the seeds and wait. They shoot up fast.
Mustard and arugula are spicy. Grow in 7–9 days. Easy, but arugula needs careful watering. Mustard adds bold flavor to salads. I grew mustard last winter, and it turned out amazing.
How to Grow Microgreens
Growing microgreens is fun. Take a tray. Fill it with soil or coco peat. Sprinkle seeds evenly. Don’t pile them up. Tiny seeds need space. I once used an old kitchen tray. Seeds grew fine anyway.
Water lightly. I use a spray bottle. Too much water can spoil them. Soil should be damp. Some mornings, I forgot to spray. The leaves looked thirsty but survived.
Light helps them grow. Sunlight works. A small lamp works too. Microgreens bend toward light. Mine leaned sideways once. Looked funny. Still grew strong.
After a few days, tiny leaves show up. You can remove the crowded ones. They get more space. Each day they grow taller. The smell is fresh. It feels alive.
In about a week or two, they’re ready. Cut above the soil with scissors. Taste is fresh, crisp, little spicy sometimes. Feels good to eat something you grew yourself.
Prepare the Growing Tray
First, pick a tray. It can be shallow or a little deep. Fill it with soil or coco peat. Spread it evenly. Don’t make it too thick or too thin. I once overfilled a tray. Seeds struggled to grow.
Press the soil lightly. Not too hard, just enough to make it even. Tiny seeds need contact with soil. I used my fingers to gently press. Some spots looked bumpy. That was fine.
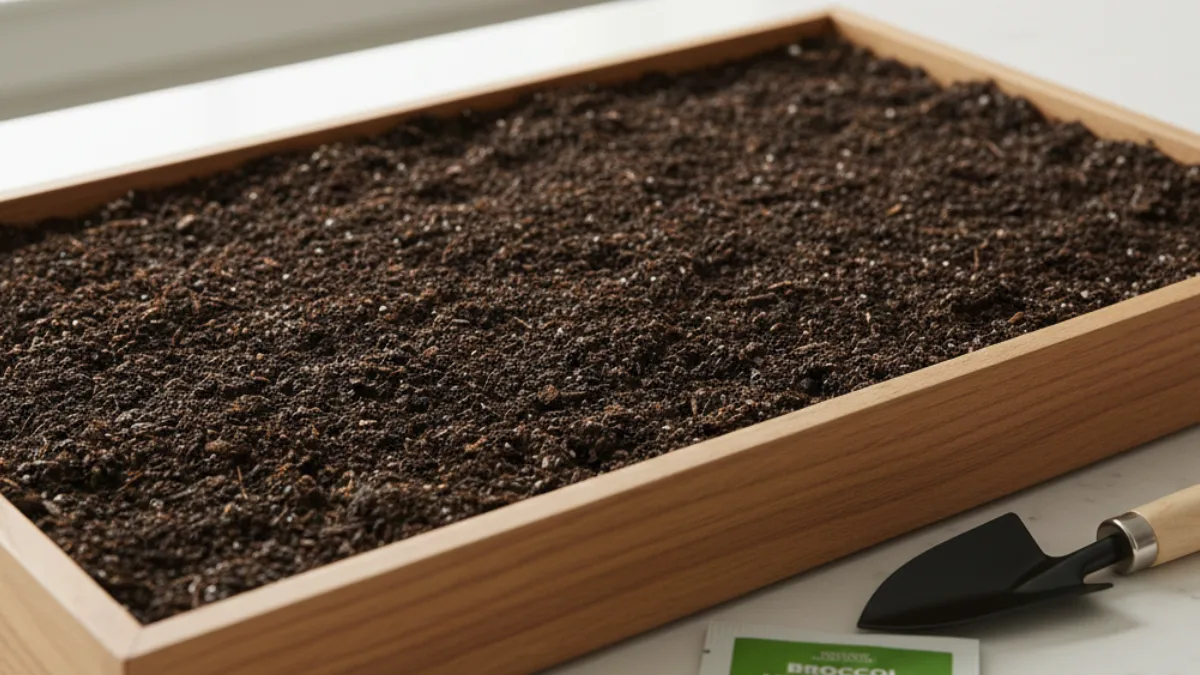
Drainage is important. If water stays at the bottom, seeds can rot. Most trays have tiny holes. If not, poke some. I used an old tray and made small holes with a fork. Worked perfectly.
Once the tray is ready, it’s time to sprinkle seeds. Even small preparation makes growth easier. Tiny details matter. It feels good to set up everything before sethe eds come alive.
Sow the Seeds
Take the seeds. Spread them on the tray. Keep them even. Don’t pile them up. Overcrowding stops sprouts from growing. I once added too many. Some didn’t make it.
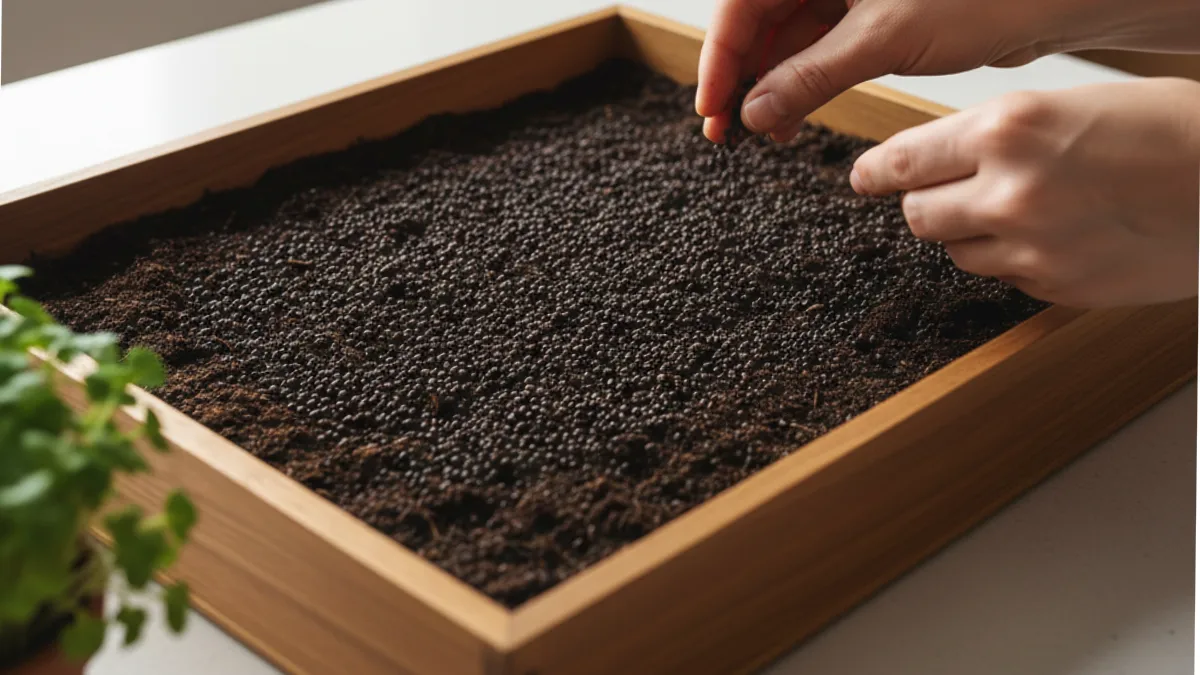
Some seeds need a thin soil cover. Others stay on top. Radish and mustard like to stay exposed. Broccoli or peas prefer a light cover. I covered broccoli lightly once. They sprouted strong.
Check every spot. Seeds should have space. Tiny seeds need room to breathe. It feels good seeing them ready for water. Little care now saves trouble later.
Watering & Germination
Spray the seeds gently. Use a small bottle. Soil should stay moist. Not wet. Too much water kills seeds. I once sprayed too much. Some tiny sprouts didn’t survive.
Cover the tray if needed. Some seeds, like broccoli or pea do better. Radish and mustard don’t need it. I covered broccoli lightly once. A few days later, tiny green leaves appeared.

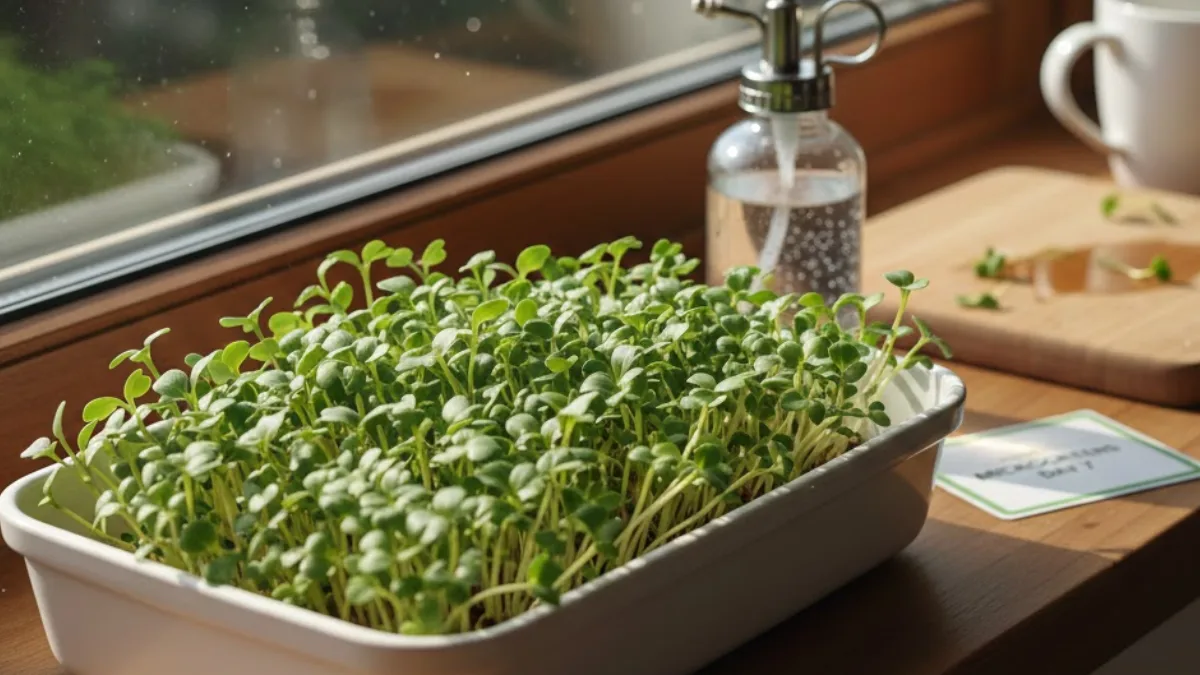
Check the soil every day. Touch it. Should feel soft and damp. Not dry. Not soggy. Seeds respond quickly. Watching small sprouts push through the soil feels alive.
Germination takes time. A few days are enough for most seeds. Each morning, small changes show up. Tiny leaves peek out slowly. It feels like life growing under your hands.
Light & Growth
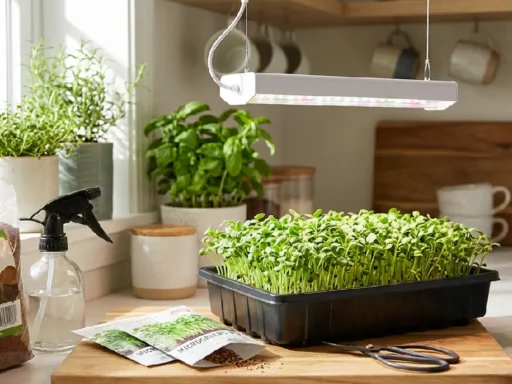
Microgreens need light to grow strong. Sunlight works fine. A small grow light works too. I once placed my tray by a sunny window. It grew well. Another tray I used a lamp for. Same result.
Keep them under light for 12–16 hours. Not more, not less. Too much light can stress leaves. Too little slows growth. I counted hours once. Some leaves looked weak. Adjusting helped.
Distance from light matters. Keep grow lights 12–18 inches above the tray. Too close, leaves burn. Too far, they stretch. I moved my lamp a few times. Tiny leaves finally looked healthy and green.
Check them daily. Rotate trays if needed. Leaves grow toward light. Watching them slowly stretch up is satisfying. Tiny green shoots feel alive under the glow.
Daily Care & Monitoring
Check your microgreens every day. Look at the leaves, soil, and tray. I do it every morning. Tiny changes happen fast.
Watch for mold. White fuzzy spots mean too much water or poor airflow. I once ignored it for a day. Some sprouts turned soft. Learned quickly.
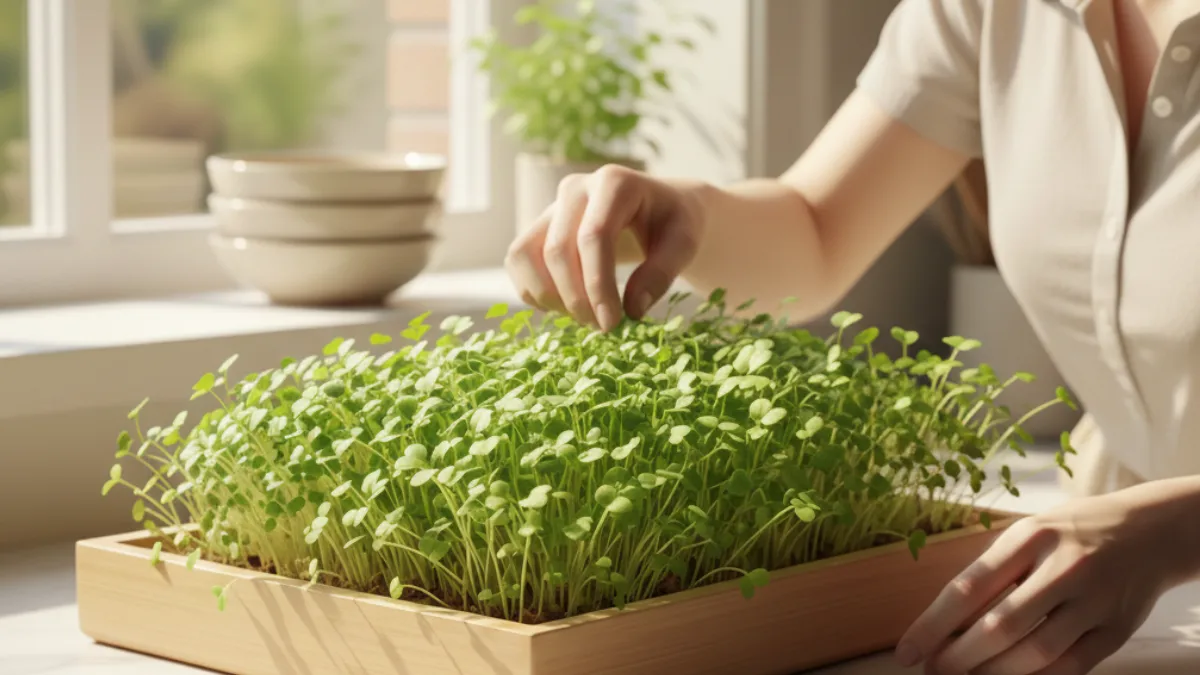
Air circulation matters. Open a window or use a small fan. It keeps sprouts healthy. My tray once sat in a corner. Air was still. A few leaves drooped. I moved it, and they bounced back.
Daily care is simple but important. Tiny attention now saves trouble later. Watching them grow little by little feels alive and satisfying.
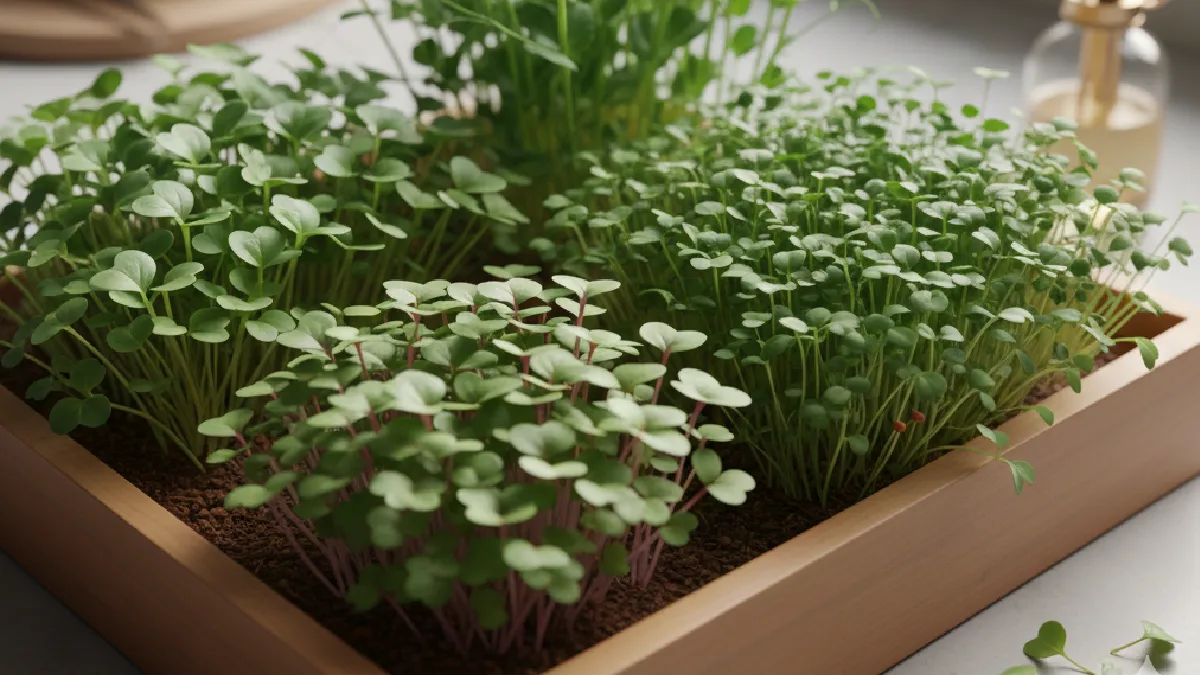
Harvesting Microgreens
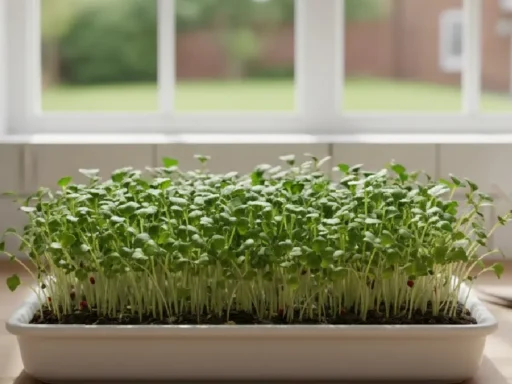
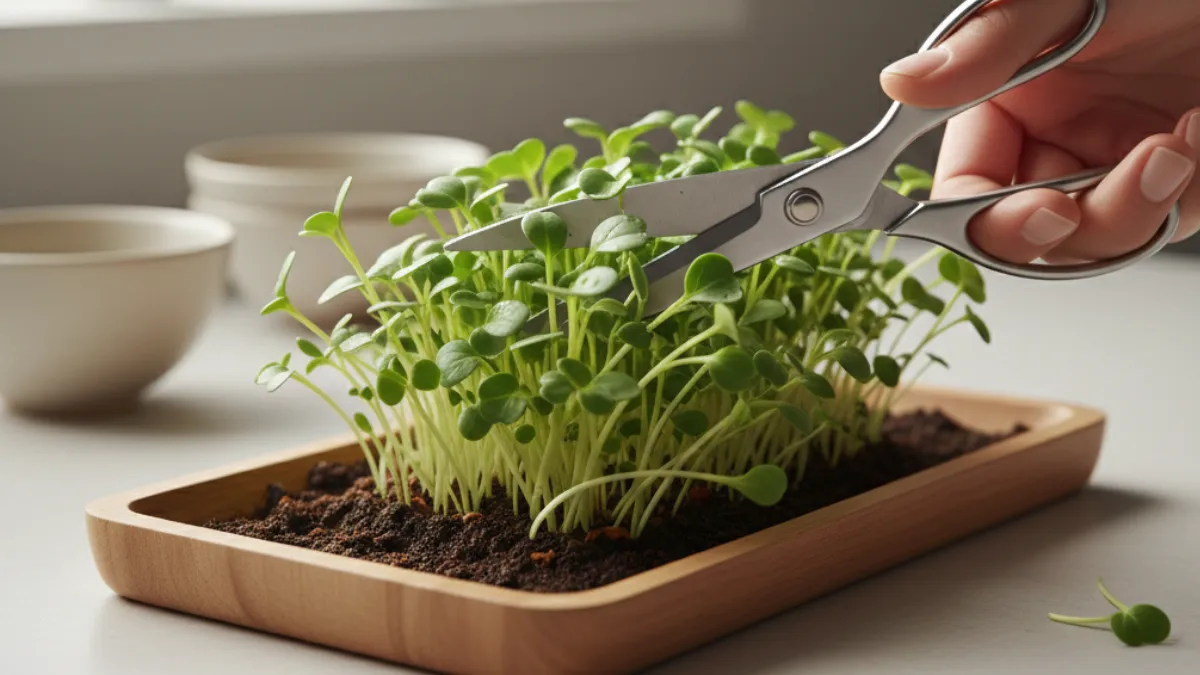
Microgreens are ready when the true leaves show up. First tiny leaves appear early, but the second set is stronger and tastier. Most are about 1 to 3 inches tall. I waited a little extra for radish once. The leaves looked fuller, taste was sharper.
Use clean scissors. Cut just above the soil. Don’t pull them. Pulling can disturb roots and soil. I trimmed each tray slowly. Seeing a tray full of fresh greens felt good.
Check every tray carefully. Some sprouts grow faster, some slower. Only harvest what’s ready. It keeps the tray neat. Others continue growing healthy.
Fresh microgreens taste crisp and green. Slightly spicy sometimes. I added them to sandwiches and salads. Tiny effort, big reward. It feels alive to eat something you grew yourself.
How Long Does It Take to Grow Microgreens?
Most microgreens don’t wait long. In normal home trays, harvest time sits between 7 and 21 days. Some seeds jump out fast. Others take their time. Same room, same light, still different speed. It happens.
Average Timeline
- Overall range: 7–21 days
- Fast trays: usually under 10 days
- Slow trays: closer to two weeks or more
Fast Growers
- Radish — 5 to 7 days
- Mustard — 6 to 8 days
- Arugula — around a week
- Sunflower — 7 to 10 days
These grow quickly. You see green early. Good for first-time growers.
Slow Grwers
- Pea — 10 to 14 days
- Broccoli — 8 to 12 days
They take longer. Flavor builds slowly. Cutting day feels better.
- Fast: 5–9 days
- Medium: 8–12 days
- Slow: 10–21 days
Every tray behaves its own way. Checking daily tells you more than the calendar.
Lighting & Watering Tips for Better Growth
Lighting and watering sound simple, but this is where most people mess things up. I did too at the start. Too much care can actually slow growth. Microgreens like balance, not flooding, and not darkness.
Overwatering mistakes happen more than people admit. Soil looks dry on top, so water goes in again. Roots stay wet underneath. Plants stop breathing properly. Leaves lose strength. Mold sometimes shows up quietly. Moist is fine. Wet is not.
Abottom watering tip that helped a lot is watering from below. Place the tray in a shallow pan. Let the soil pull water up on its own. Roots drink what they need. The top stays cleaner. Fewer fungal issues. It feels slower but works better.
Light deficiency signs are easy to spot once you know them. Stems stretch too much. Plants lean toward one side. The color looks pale instead of deep green. Growth feels weak even after days.
Yellow or leggy plants usually mean poor light, not bad seeds. Light is too far away, or hours are too few. Microgreens need close light, steady light. Around 12 to 16 hours works well. Too far, and they chase it. Too close and they stress.
Daily observation matters. Small changes fix big problems early.
Common Problems When Growing Microgreens (And Solutions)
Growing microgreens looks easy at first, but small mistakes can create big issues. Most problems show up quietly. If you notice early, trays can still be saved. I learned this after ruining a few batches myself.
Mold
Reason:
Mold usually comes from excess moisture and poor airflow. Overwatering, warm rooms, and covered trays for too long create the perfect environment for it. Sometimes seeds are packed too tightly, which traps humidity.
Solution:
Reduce watering and improve air circulation. Use a small fan nearby, not directly on trays. Bottom watering helps a lot. Remove covers once seeds sprout. If mold appears, discard the tray. It’s safer than trying to fix it.
Leggy Growth
Reason:
Leggy microgreens mean they are stretching for light. This happens when light is too weak, too far away, or on for too few hours. Plants grow tall but thin and weak.
Solution:
Move the light closer to the tray. Provide 12–16 hours of consistent light daily. Sunlight works, but grow lights give better control. Once lighting improves, new growth looks stronger.
Poor Germination
Reason:
Seeds don’t sprout evenly when they are old, low-quality, or planted incorrectly. Dry soil, uneven watering, or pressing seeds too deeply also causes issues.
Solution:
Use fresh, microgreen-specific seeds. Keep the soil evenly moist during the early days. Spread seeds evenly and don’t bury them unless the seed type needs covering. Gentle misting works best.
Bad Smell
Reason:
A sour or rotten smell means roots are sitting in wet soil for too long. Poor drainage and overwatering cut off oxygen, leading to root decay.
Solution:
Ensure trays have drainage holes. Switch to bottom watering. Let the soil slightly dry between waterings. Fresh air helps remove odors quickly.
Most microgreen problems come from water and light imbalance. Fix those two, and growth usually improves fast.
Benefits of Growing Microgreens at Home
Growing microgreens at home sounds small, but it slowly becomes a habit. A tray near the window. Water in the morning. A quick check at night. That’s it. Still, the impact feels bigger than expected.
Nutrition is the first thing people notice. These tiny greens are strong. You don’t need a lot. A little handful already adds vitamins and minerals to food. Fresh-cut greens always feel more powerful than packaged ones.
Cost saving shows up after a few rounds. Seeds last longer than you think. One packet, many trays. Market microgreens cost more, and you buy them again and again. At home, the math makes sense over time.
Fresh taste is where home growing wins easily. Store greens can feel tired. Homegrown ones don’t. Radish hits sharply. Pea feels soft and sweet. You cut them and eat them. No waiting.
No chemicals matter to many people. You know what goes in. No sprays. No strange smell. Just water, light, and seeds. Control stays with you, not the supplier.
Fun and educational come quietly. Watching growth feels calming. Kids ask questions. Adults enjoy the routine. You learn without trying to learn. Food feels more real.
It’s not about farming. It’s about small control and fresh food.
FAQs – How to Grow Microgreens
Do microgreens need sunlight?
Yes, they need light. Full harsh sun is not needed. A bright window is enough most days. If sunlight is weak, a simple grow light helps. Without light, they stretch too much and look thin.
Can I grow microgreens without soil?
Yes, soil is nota must. Many people use coco peat, grow mats, and even paper towels. Seeds only need moisture to start. Soil just gives a bitof extra food, that’s all.
How often should I water microgreens?
Small watering, once or twice a day. Spraying is better than pouring water. If the soil stays wet, problems start. If it looks dry, add a little water. Simple rule.
Are microgreens safe to eat daily?
Yes, they are safe for daily use. Just don’t eat too much at once. Wash them properly. Different types are better than eating one kind every day.
Can microgreens regrow after cutting?
Mostly no. After cutting, growth stops. Some, like pea shoots, may grow again, but weakly. Fresh seeds always give better results.
Conclusion
Microgreens are easy to grow at home. You don’t need much space or experience for this. A tray, some seeds, water, and light. That’s enough to begin. Anyone can try it without stress.
For beginners, microgreens work well because they grow fast. You see results quickly, which feels good. The taste is fresh and clean. They also fit into a healthier routine without extra effort. If you are curious, try growing one tray at home and learn as you go.