How to Grow Broccoli Microgreens at Home
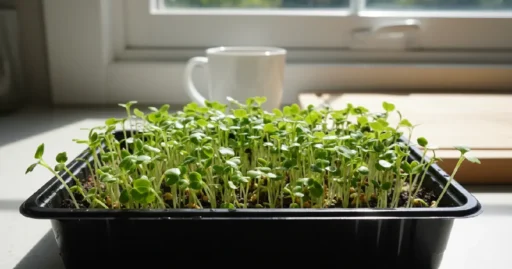
I tried growing broccoli microgreens once. Just a tray, some seeds, and a kitchen window. No garden. Nothing fancy. A week later, the tray was full of tiny green stems. Fresh. Alive. Bright. Broccoli microgreens come from the same plant as full-grown broccoli, Brassica oleracea.
The trick is timing. Harvest them after 7–10 days. First true leaves appear. Small, tender, slightly peppery. Flavor fresh and sharp. You don’t need much. A shallow tray with holes. Another tray for water. Soil or coco coir. Seeds. Spray bottle. Some light. That’s all.
Fill the tray with 1–1.5 inches of soil. Soft. Loose. Scatter seeds evenly. Press lightly. Mist gently. Too much water and mold show up fast. Cover the tray for 2–3 days. Roots settle. Sprouts push up. Keep the room temperature. Check daily. Mist if dry.
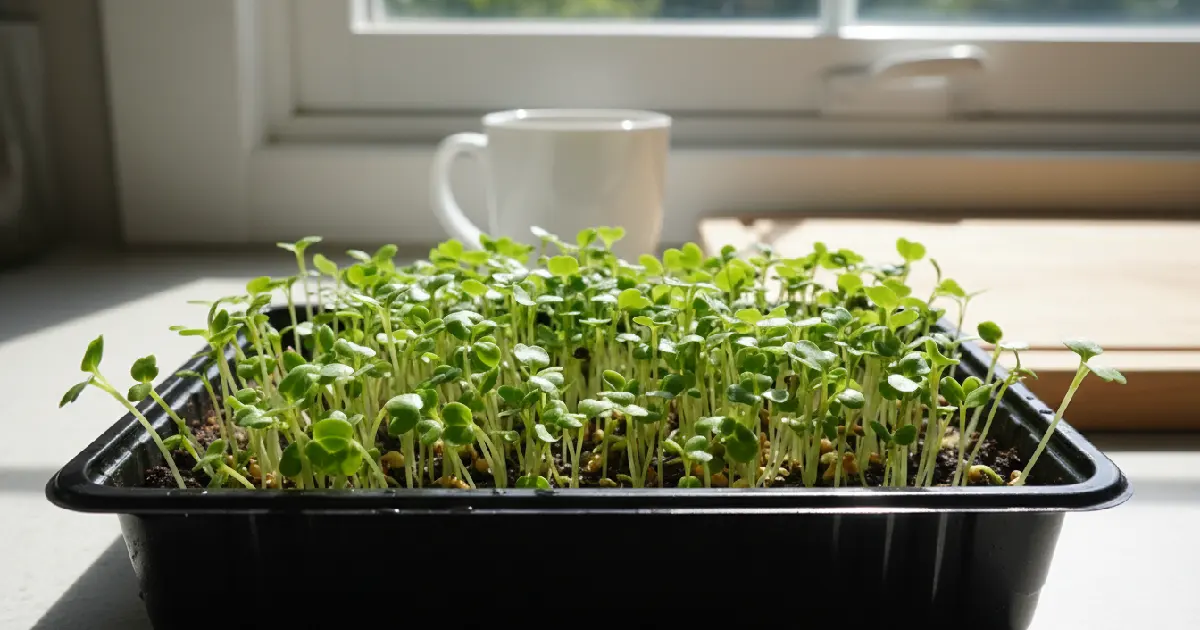
When sprouts appear, remove the cover. Move the tray under indirect sunlight or a grow light. Water from the bottom. Stems stay dry. Roots grow strong. By day 7–8, microgreens reach 2–3 inches. True leaves form. Harvest with scissors. Cut above the soil line. Rinse gently. Store in an airtight container in the fridge. Fresh for 5–7 days.
Taste? Mild, slightly spicy, fresh. Sprinkle on eggs, sandwiches, salads, or smoothies. Small tray. Big impact. Tiny kitchen garden. Growing broccoli microgreens is quick. Easy. Fun. Plant seeds today. In a week, cut fresh greens. No backyard needed. Just patience and attention.
Why Everyone Is Growing Broccoli Microgreens at Home (And Why You Should Too)
Vegetables are expensive these days. Organic ones even more. Not everyone can buy them every week. Broccoli microgreens fix that problem. Small seeds. Tiny tray. A week later, fresh greens for your meals. Crunchy. Bright. Full of nutrients.
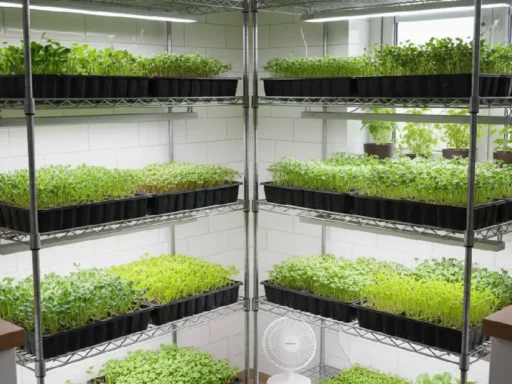
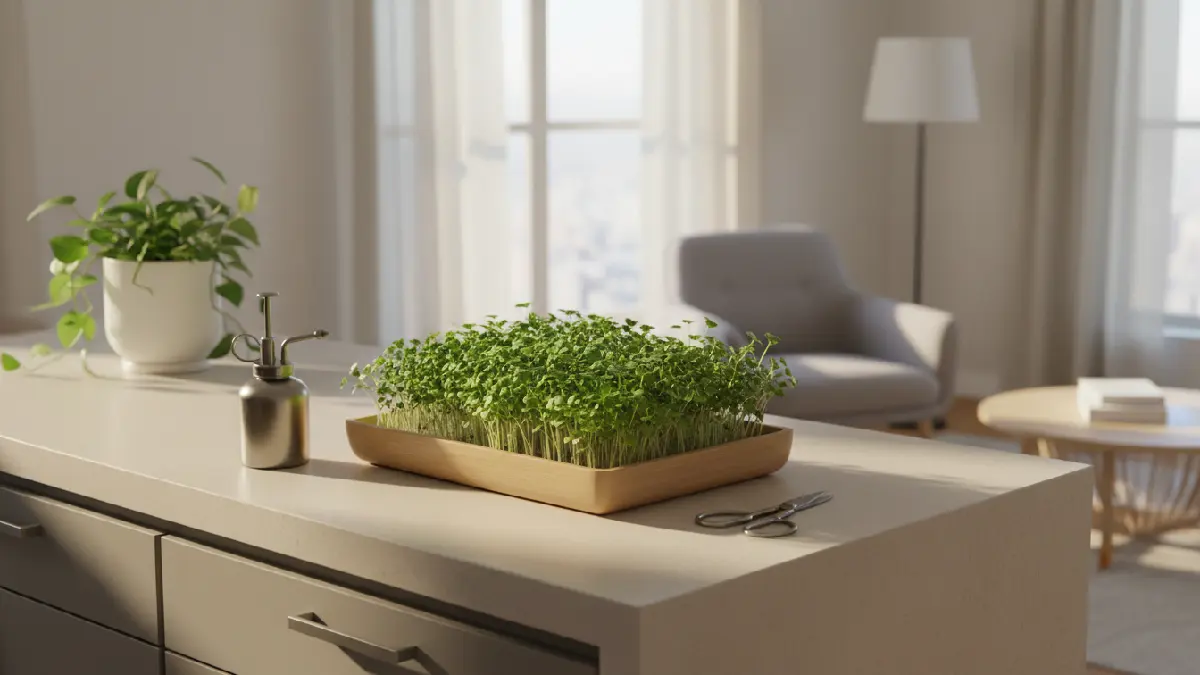
Most city homes don’t have gardens. Balconies are small. Windowsills crowded. No yard? Doesn’t matter. Microgreens grow indoors. Just a tray on your kitchen counter. Even a small apartment works. Tiny space. Big result.
They grow fast within 7 to 10 days. You plant seeds. Next week you harvest. Watching them grow feels nice. Tiny stems are pushing up. Leaves are turning green. Cut them.
Sprinkle on food. Eat. Feels good. They are healthy too. Packed with sulforaphane. A handful gives more nutrients than full-grown broccoli. Each bite is a little boost.
Anyone can grow them. No experience. No fancy tools. Seeds tray soil or coir. Water light mist, watch the harvest easily. Fun, rewarding by the end of this, you’ll know how to grow your own tray. Save money. Eat fresh. Tiny kitchen garden. Simple practical. Microgreens aren’t a trend. They’re really useful for everyone.
What Are Broccoli Microgreens?
Broccoli microgreens are tiny little plants. Same seeds as regular broccoli. The difference? Timing. You harvest them after a week or so. First true leaves show. Tiny stems. Small leaves. Full of flavor.
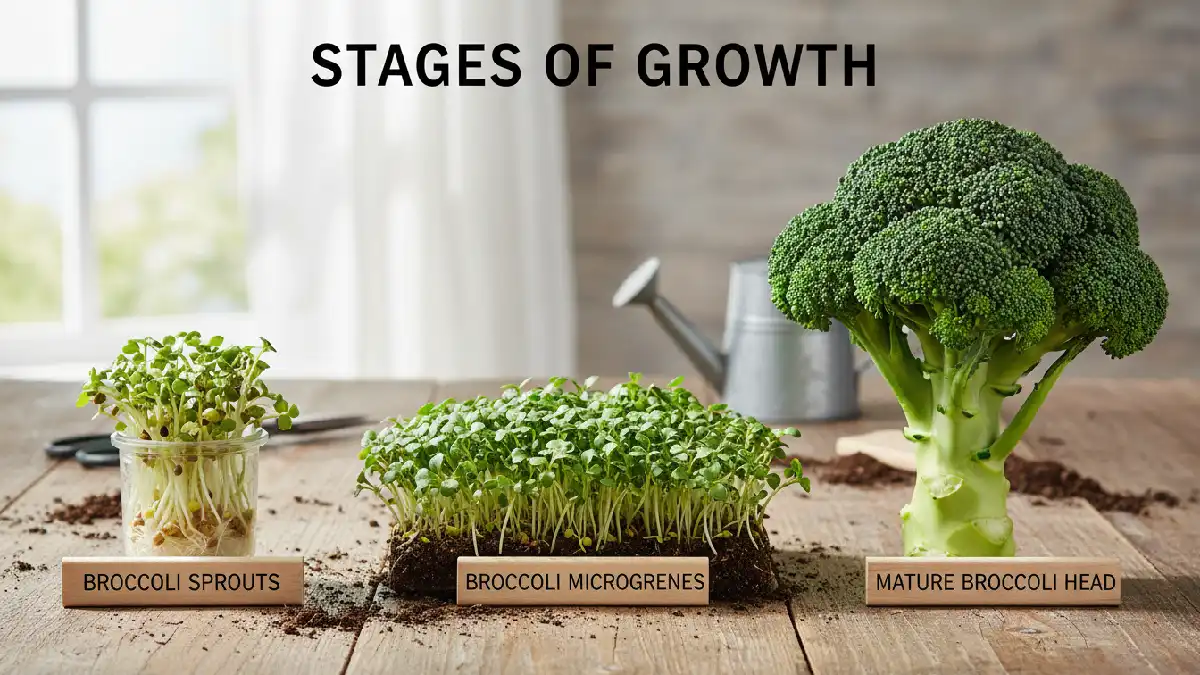
They are not sprouts. Sprouts grow for just a few days. You eat the seed and shoot together. Microgreens grow longer. They make stems and leaves. Mature broccoli? Takes months. Microgreens are in between. Small, edible, and powerful.
The taste is fresh and mild. Slightly peppery. Not bitter, not strong. Just enough to lift salads, sandwiches, or smoothies. Tiny leaves big flavor.
Nutrition is crazy good vitamins. Mineral antioxidants. Sulforaphane stands out. A small handful gives more nutrients than the same amount of mature broccoli. That’s why people love them. Small portion. Big impact.
Growing them is easy. Anyone can do it. Tray seeds, soil, or coir. Water lights a little. Watch them sprout. Cut in a week. Eat fresh, crunchy, and quick. Broccoli microgreens are fast, healthy, and tasty. Between sprouts and full-grown broccoli. Tiny leaves. Big results. Perfect for any kitchen.
Tools & Supplies You’ll Need to Get Started
Growing broccoli microgreens at home is easier than you think.
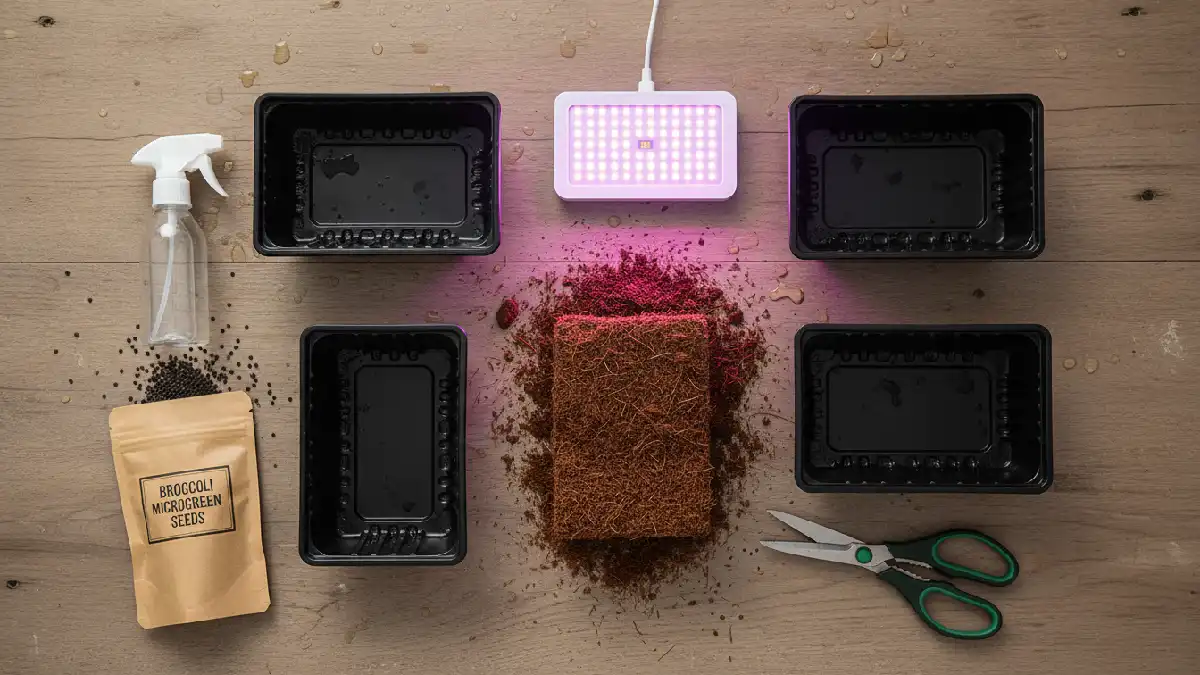
No backyard. No fancy tools. Just a few simple things. Enough to get started.
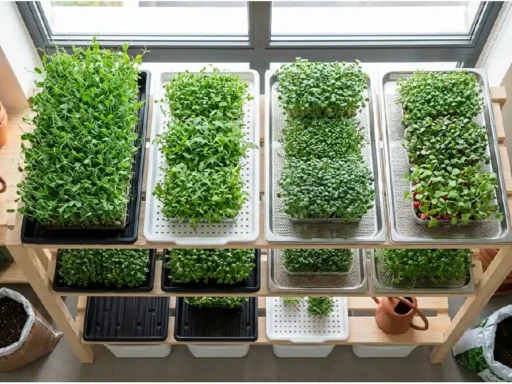
Growing Trays
You need a shallow tray with holes. It holds soil or coir. Gives seeds space. Also, a bottom tray helps catch extra water. Keeps your counter clean. That’s it.
Soil or Growing Medium
Use light soil, coco coir, or a mix for microgreens. Keep it loose. Roots need room. Don’t pack it tight. Keep soil damp, not soggy. Overwater, and mold shows up fast.
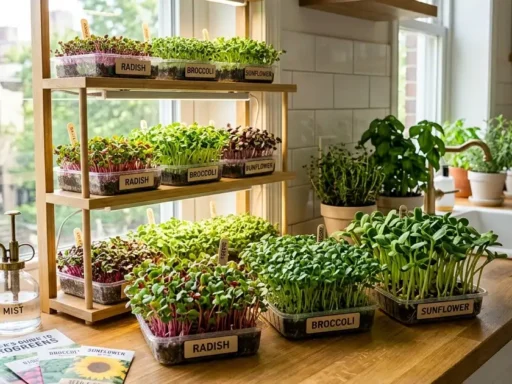
Quality Broccoli Seeds
Pick seeds meant for microgreens. They grow evenly.
Regular garden seeds sometimes work, sometimes don’t. A small packet lasts a while.
Light Source (Sunlight vs LED)
Microgreens need light. Indirect sunlight works. No sun? Use LED grow lights. 12–16 hours per day is enough. Rotate trays for even growth. Tiny leaves turn bright green.
Spray Bottle & Watering Tray
Mist seeds lightly with a spray bottle. Avoid flooding. Bottom tray lets roots drink from below. Stems stay dry. Less mold. Stronger roots. With these basics, you can grow microgreens anywhere.
A tray on a counter works. Seeds. Water. Light. In a week, tiny green stems appear. Fresh, crisp, ready to eat. Simple, fast, and rewarding.
Step-by-Step: How to Grow Broccoli Microgreens. Growing
broccoli microgreens at home is simple. No garden. No fancy tools. Just seeds, a tray, soil, and light. You’ll see tiny green shoots in a week.
Step 1: Prepare the Tray
Take a shallow tray. Fill it with 1–1.5 inches of soil or coco coir. Keep it soft and loose. Pre-moisten it lightly. Not soaked. Damp is enough. Press gently.
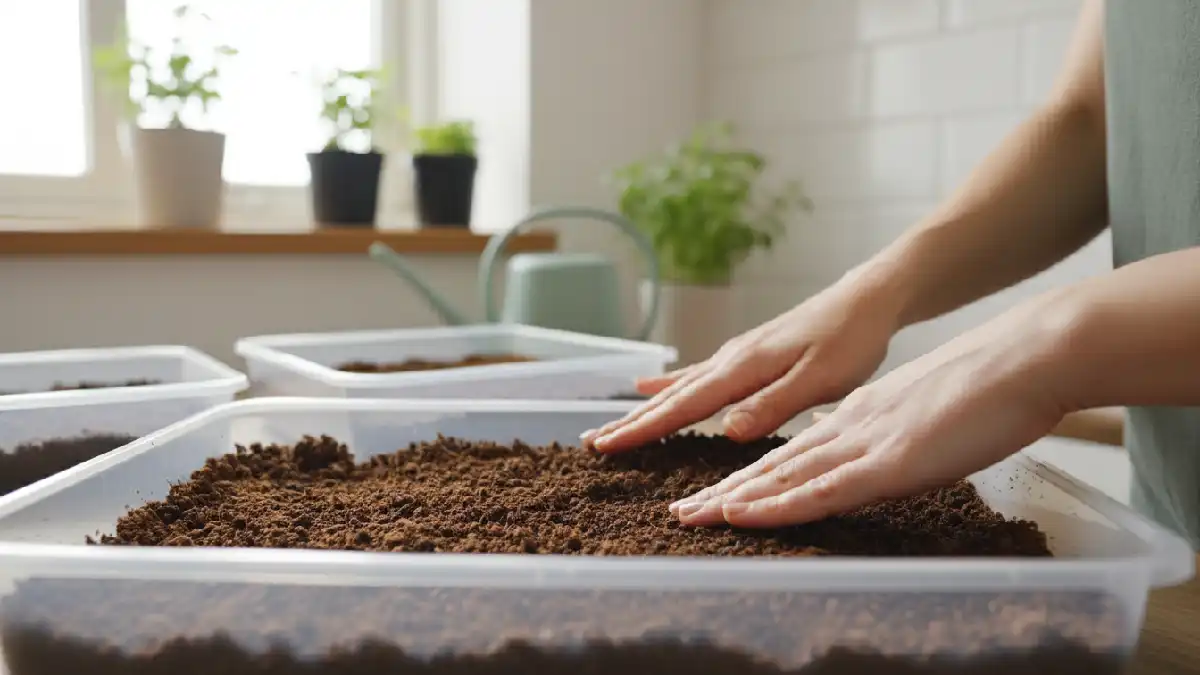
Seeds should touch soil, not sink. A good tray setup makes growth easier. Roots spread better. Sprouts stay upright. Mold risk lowers if the soil is just right.
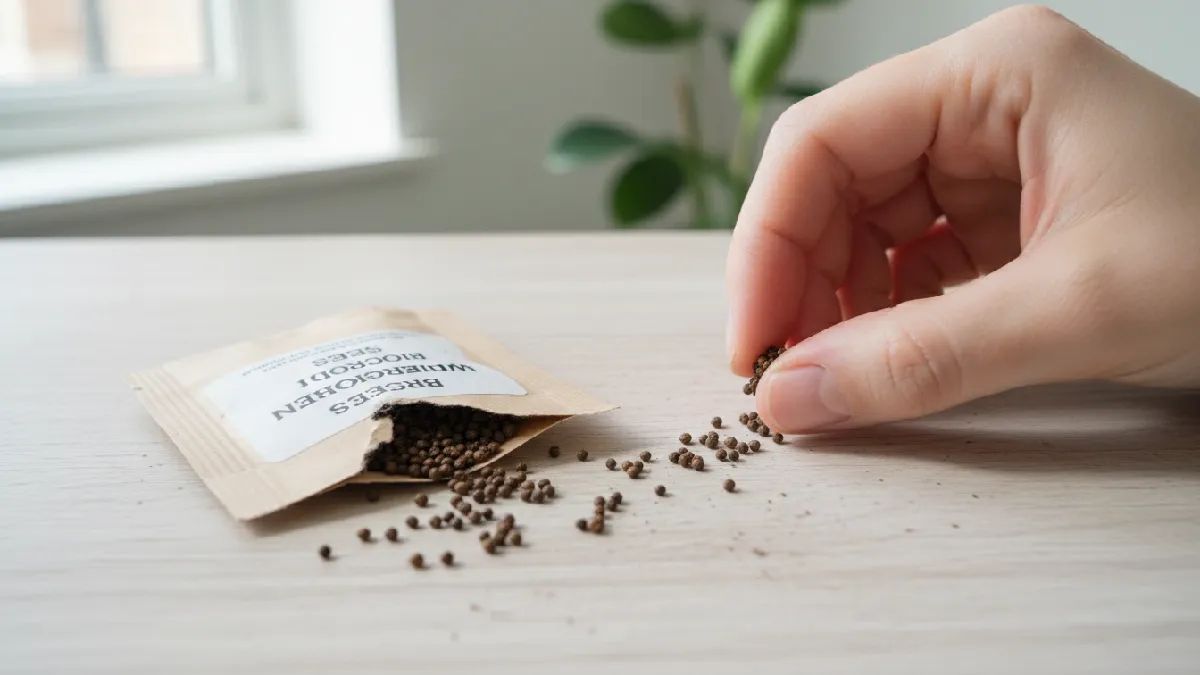
Step 2: Sow Seeds Evenly
Sprinkle seeds evenly across the surface. Don’t pile them. Overcrowding slows growth. It can cause mold, too. Small gaps between seeds help stems grow straight.
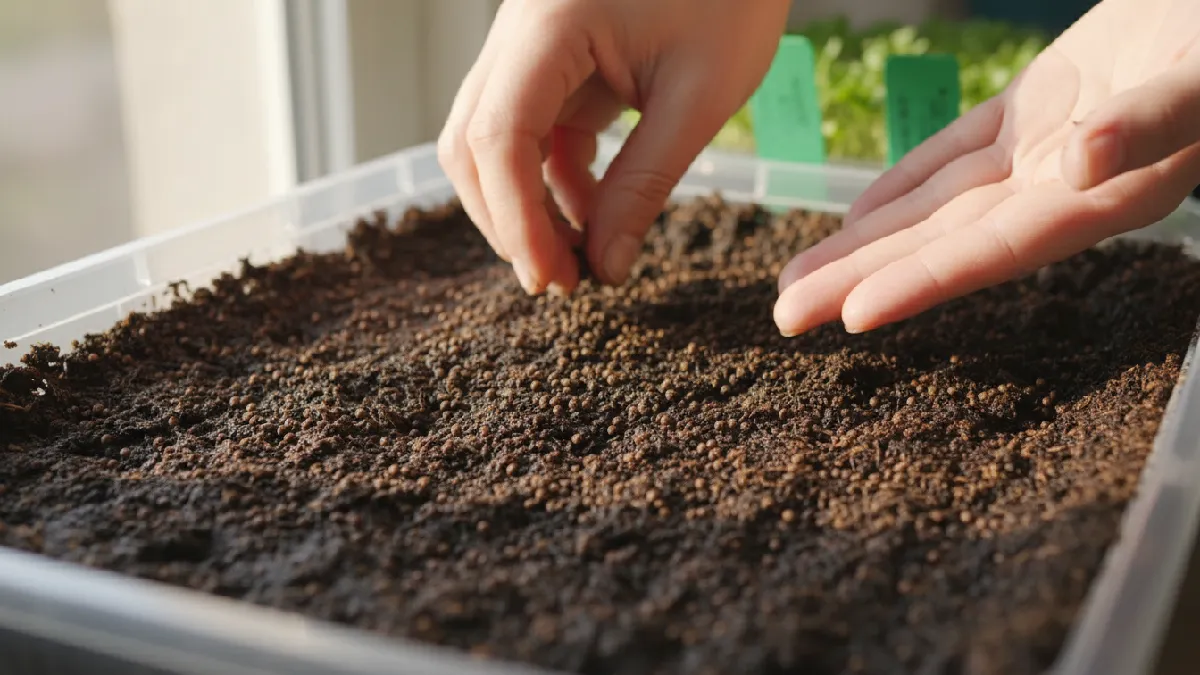
Recommended density: 10–15 grams per 10×10-inch tray. Press seeds lightly. Mist gently. Don’t wash seeds away. Even spacing promotes uniform growth.
Step 3: Blackout & Germination Phase
Cover the tray for 2–3 days. Darkness helps roots grow strong. Sprouts push upward toward light. Check daily. Soil must stay slightly damp. Avoid overwatering. Healthy sprouts look pale first. Tiny stems lift from the soil in 2–3 days. That’s a good sign.
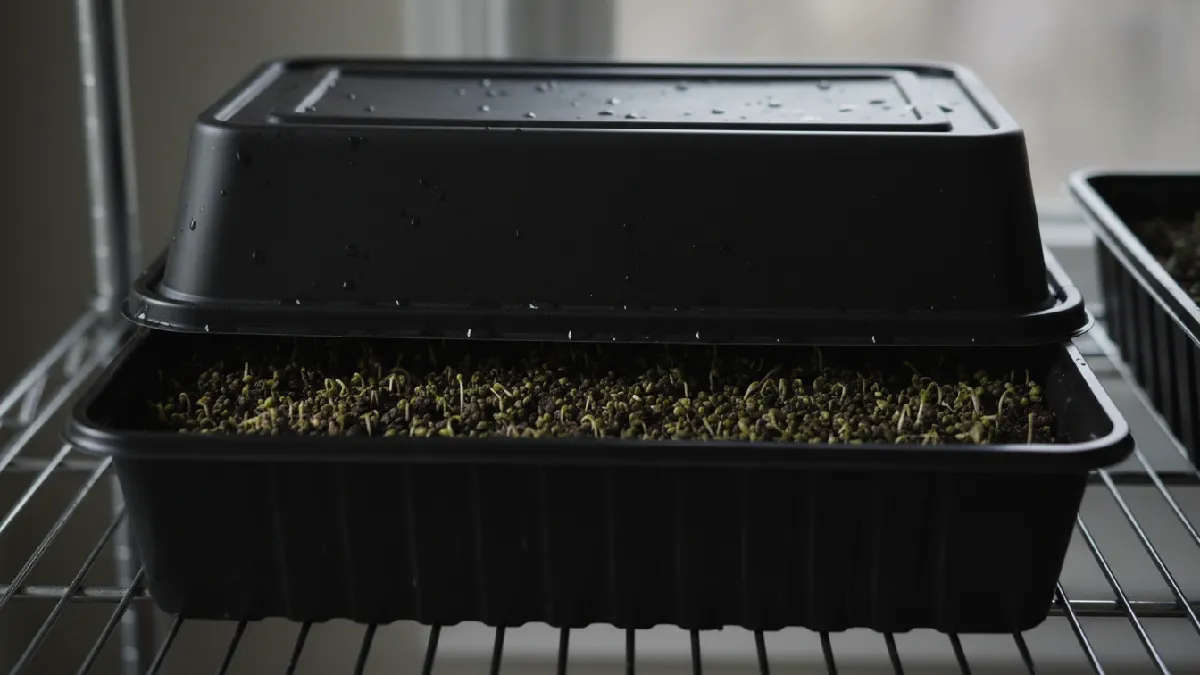
Blackout produces strong roots and straight stems. Too much light too early weak growth. Keep the temperature around room temp, 18–24°C.
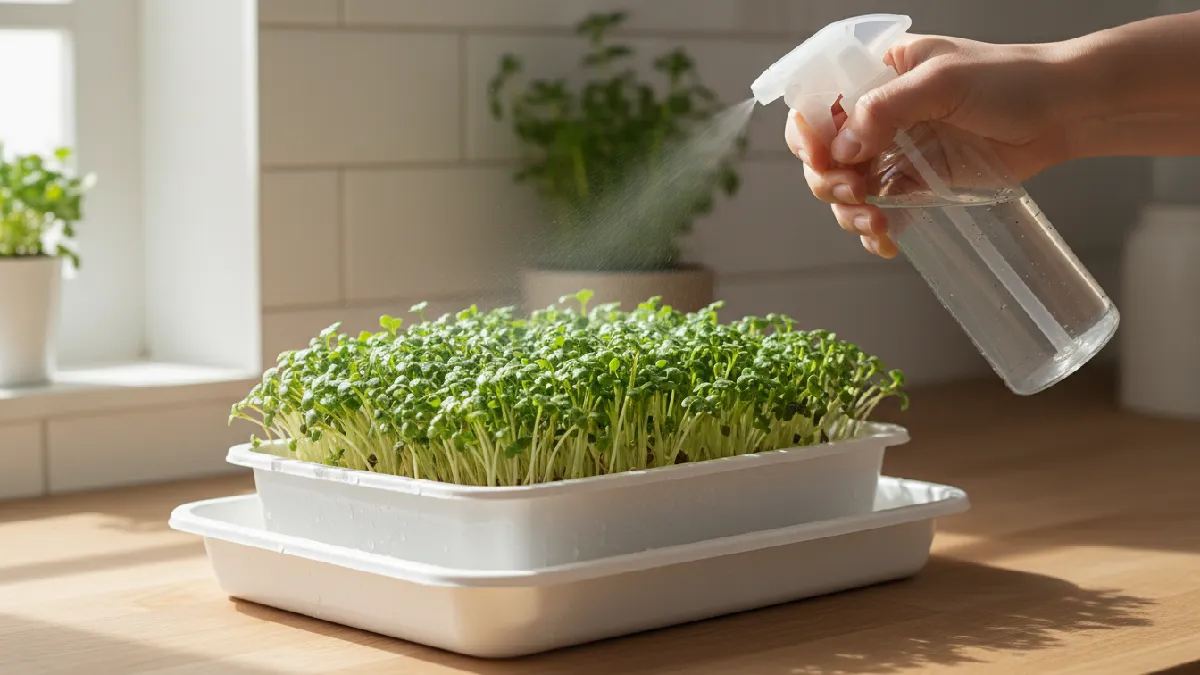
Step 4: Light & Watering Schedule
After sprouts appear, remove the cover. Place the tray under indirect sunlight or a grow light. 12–14 hours of light daily is enough. Rotate trays for even exposure. Leaves turn bright green.
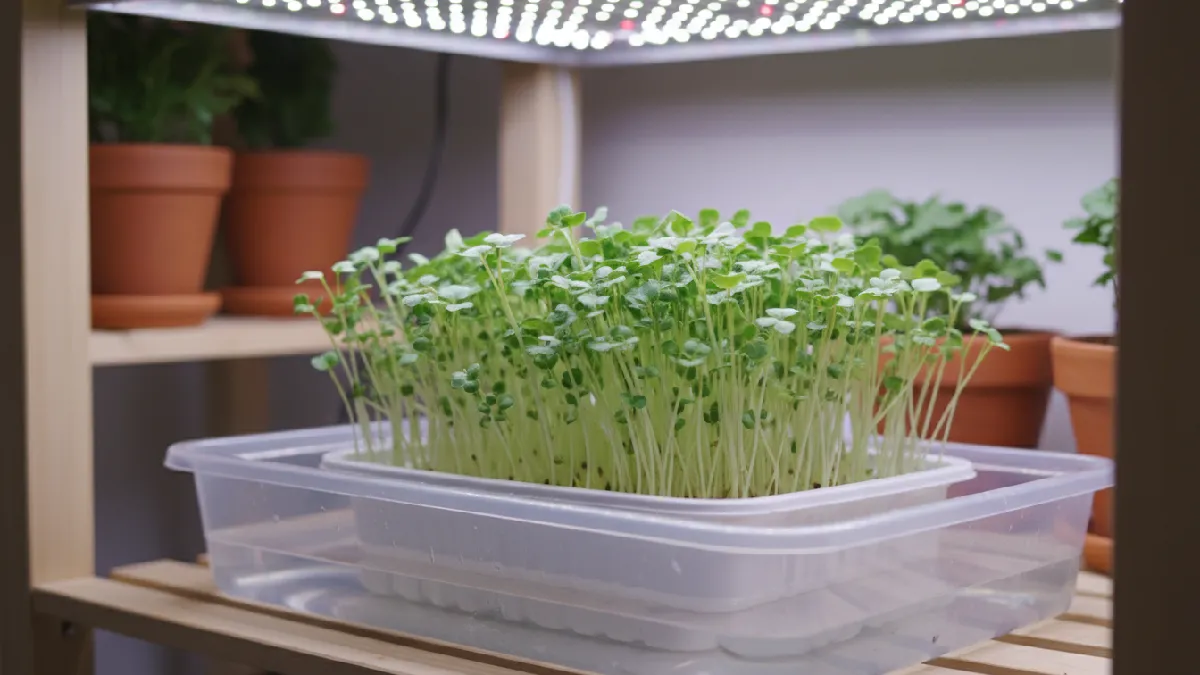
Water from the bottom. Fill the bottom tray. Roots drink naturally. Avoid pouring water from above. Wet leaves invite mold. Mist lightly if the surface dries. Airflow helps too. The small fan works.
Step 5: Harvest Time
By day 7–10, microgreens reach 2–3 inches. First true leaves appear. Use clean scissors. Cut just above the soil line. Don’t pull stems. Soil sticks and roots get damaged.
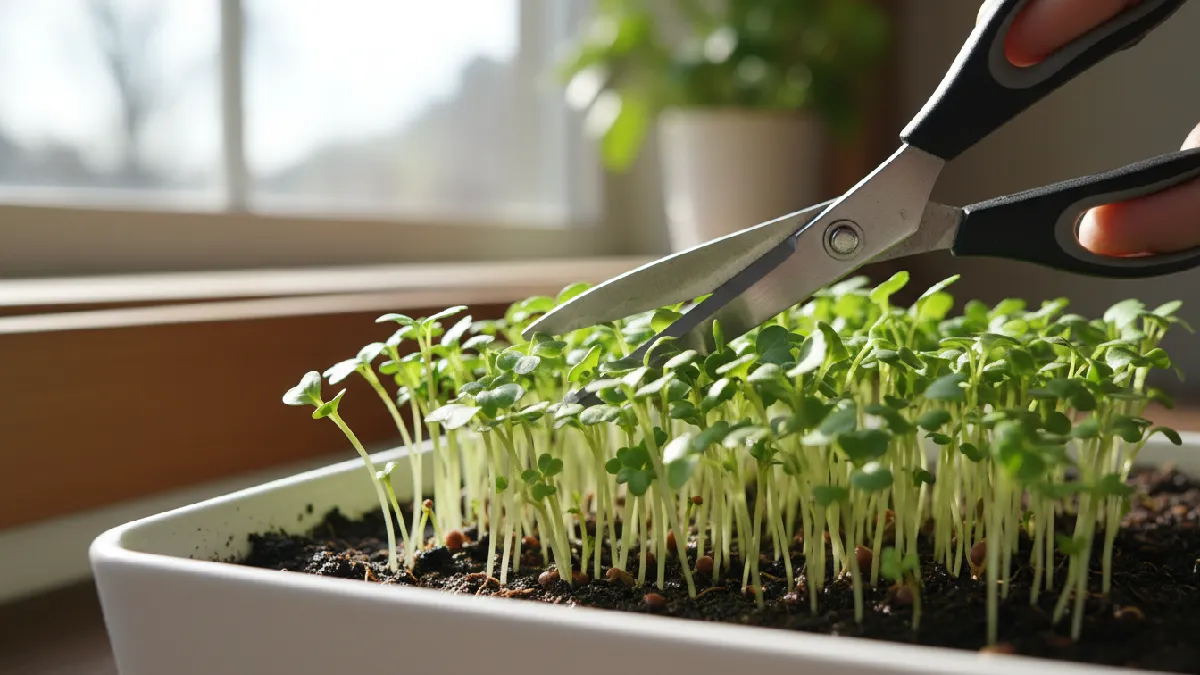
Rinse gently. Dry slightly. Store in an airtight container in the fridge. Fresh microgreens last 5–7 days. Flavor is mild, slightly peppery. Great on salads, sandwiches, soups, or smoothies.
Step 6: Tips for Consistent Growth
- Keep soil damp, not wet.
- Don’t overcrowd seeds.
- Rotate trays under light.
- Maintain room temperature.
- Use quality seeds for better germination.
Growing broccoli microgreens is fast, easy, and fun. Tiny tray. Fresh greens in a week. Save money. Eat fresh. Enjoy the little thrill of growing food indoors.
How Long Do Broccoli Microgreens Take to Grow?
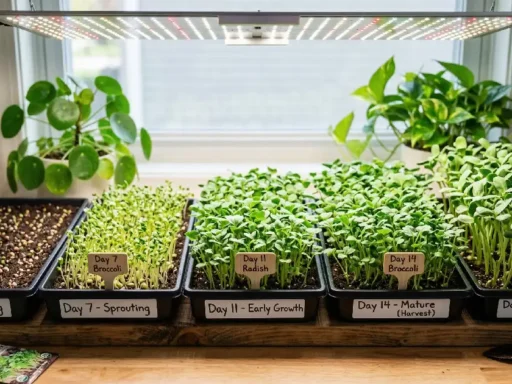
Broccoli microgreens grow fast. Really fast. From seeds to tiny green leaves in just over a week. Here’s a simple timeline to follow.
Day 1–2: Germination
After sowing seeds, cover the tray for 2–3 days. Keep soil damp. Roots start to form.
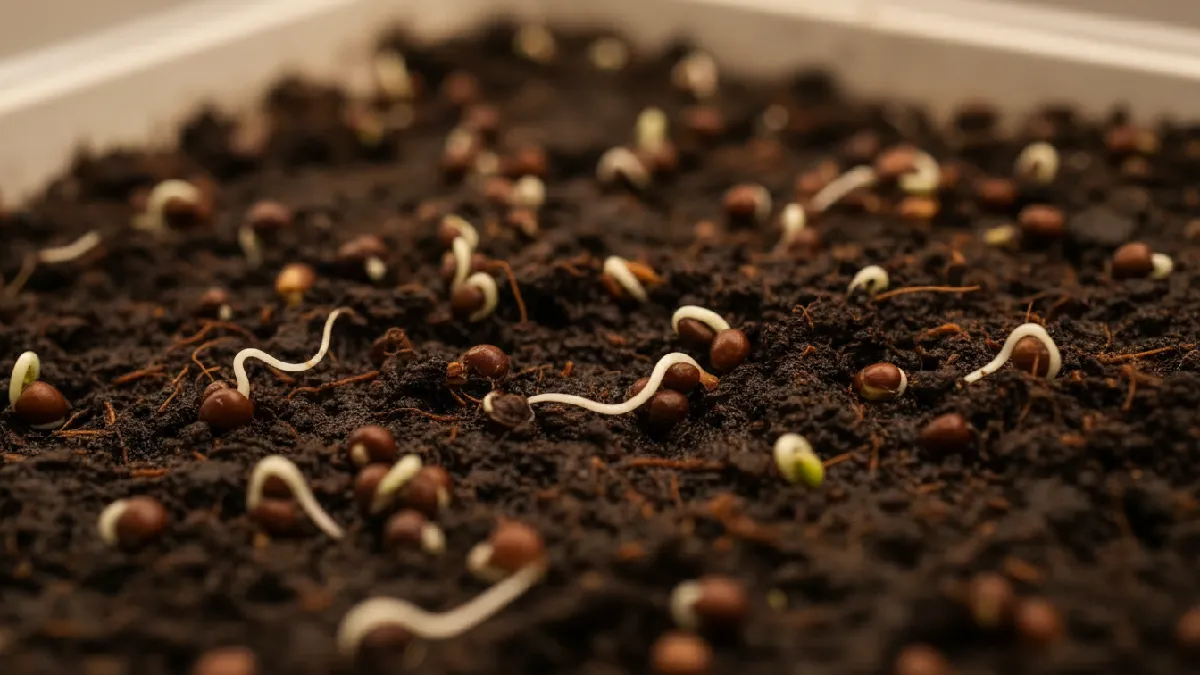
Tiny sprouts push upward. This stage is quiet but important. Strong roots mean healthy microgreens later.
Day 3–5: Sprouting
Remove the cover. Place the tray under light—sunlight or LED. Sprouts start to show leaves. Pale stems turn green.
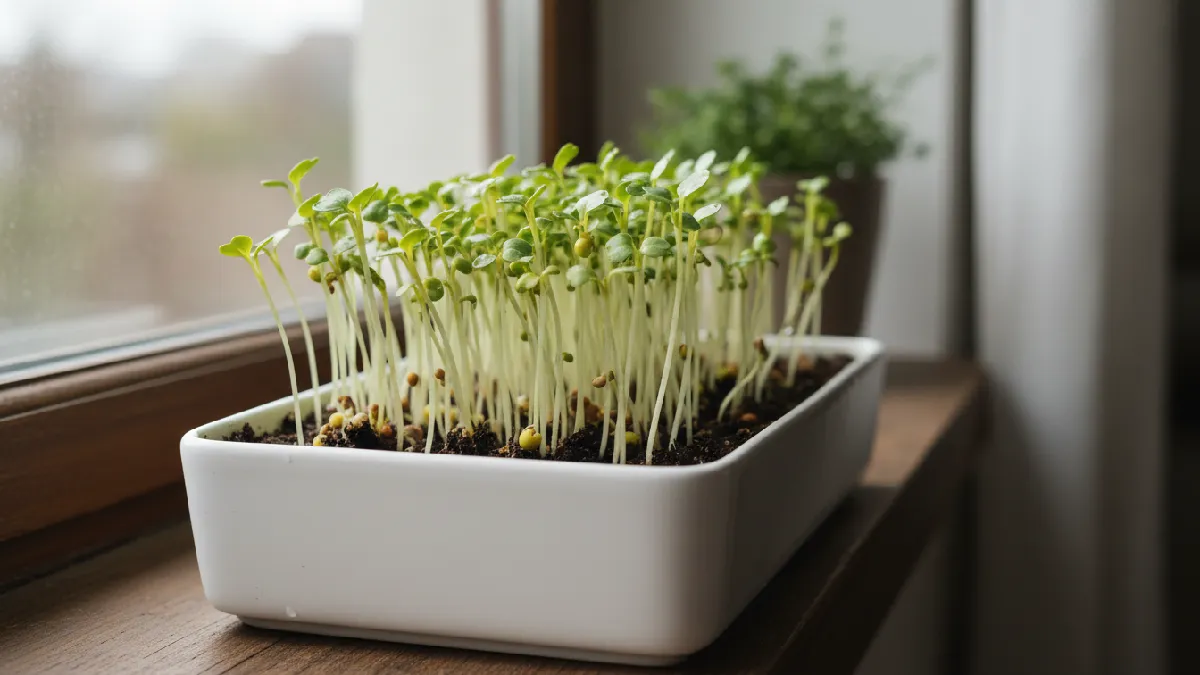
Mist if the soil feels dry. Watch them grow taller day by day. They are fragile now. Handle gently.
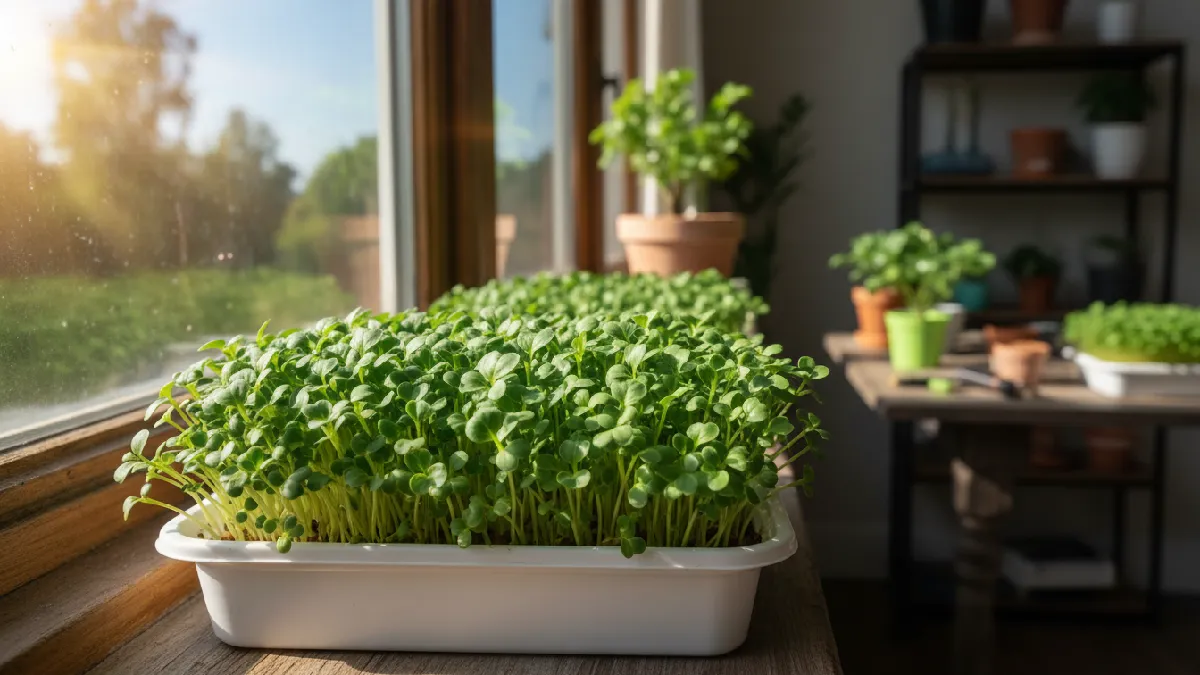
Day 7–10: Harvest
By the end of the first week, microgreens reach 2–3 inches. True leaves appear. Use scissors to cut above the soil line. Don’t pull stems; roots stay intact. Fresh, tender, crunchy greens are ready. Eat immediately or store in the fridge for a few days.
The speed is one of the best things about broccoli microgreens. From tiny seeds to edible greens in just a week.
You can plant today, harvest next week, and repeat. Perfect for anyone wanting fresh, nutritious greens quickly.
Even beginners can follow this timeline. Watch the daily changes. Small stems, tiny leaves, then bright green microgreens ready to eat. Fast, fun, and rewarding.
When & How to Harvest for Maximum Flavor
Broccoli microgreens are ready when they reach 2–3 inches. Stems are firm. Leaves are small and tender. Flavor is best at this stage. Wait too long, and they get bitter.
Use sharp scissors. Don’t pull them out. Pulling messes up roots and soil. Cut just above the soil line. Clean cuts keep stems intact. Microgreens stay neat and easy to handle. Check leaves. First true leaves should be bright green. Healthy and small. That’s your sign. Harvest carefully. Tiny hands, gentle touch
After cutting, rinse if needed. Pat dry lightly. Store in an airtight container in the fridge. Don’t pile them. Spread evenly. Moisture builds up fast. Fresh microgreens last 5–7 days. Harvest a little at a time. Enjoy them fresh on salads, sandwiches, or smoothies. The taste is crisp, mild, and slightly peppery. Tiny greens. Big impact.
For a continuous supply, stagger planting. Start a new tray every few days. You always have fresh microgreens ready. Small tray, small effort. Maximum flavor. Harvesting right, cutting carefully, and storing properly make all the difference. Tiny leaves, crisp stems, fresh flavor. Perfect for your kitchen. Quick, easy, rewarding.
Common Problems (And How to Fix Them Fast)
Things don’t always go perfectly. One day, the tray looks fine, the next day, something feels off. Maybe a bit of white fuzz. Maybe the stems look weaker than yesterday. Most of the time, it’s something simple. Too much water. Not enough light. Air is not moving around the tray. Small setup issues can show up quickly with microgreens.
The good thing is, they react fast when you fix the cause. Adjust the light. Reduce the watering. Let the soil breathe a little. You’ll often see improvement within a short time. No need to overthink it. Growing microgreens is a learning process. Watch closely, make small changes, and each batch gets better than the last.
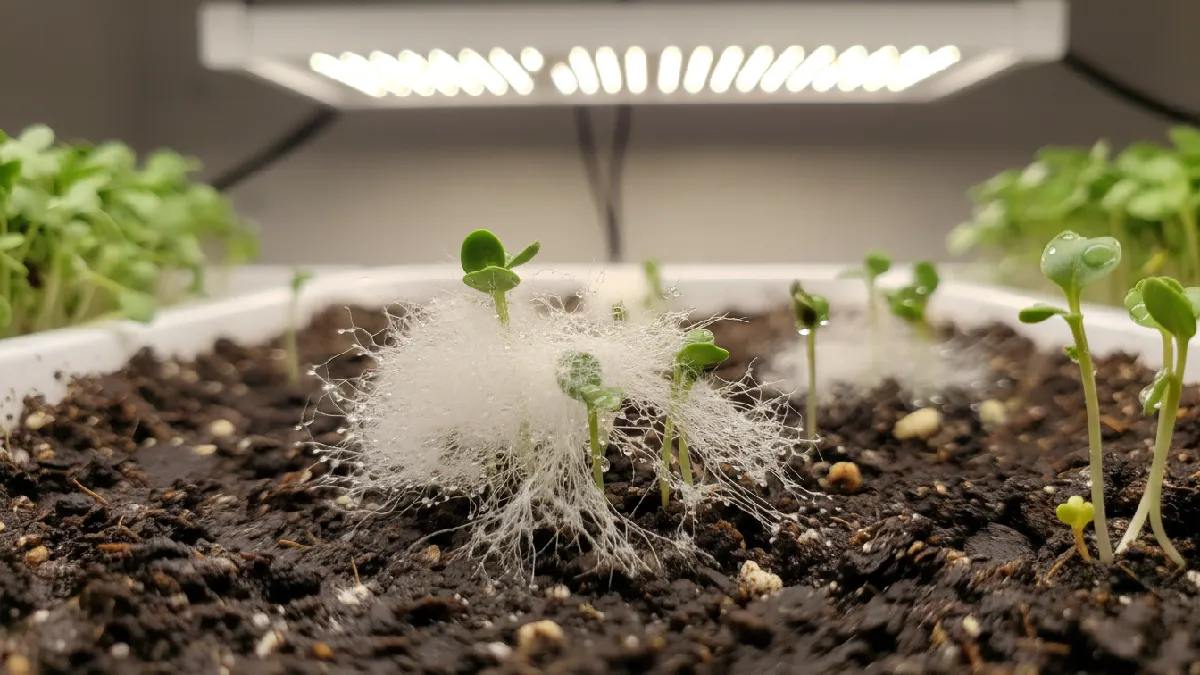
Mold
You might see white fuzz on the soil. Looks soft. Almost like cotton. That’s mold. Main reason? Too much water. No airflow. Sometimes seeds were packed too close. First thing, stop misting so much.
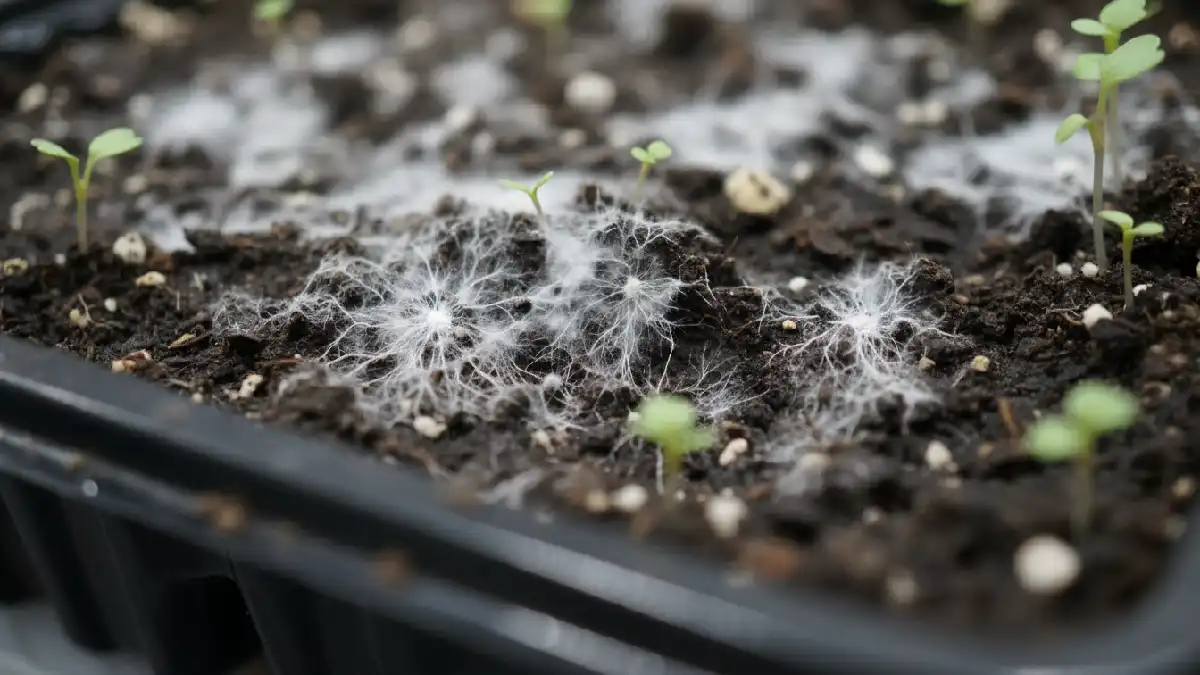
Let the surface breathe. Start watering from the bottom tray instead. Roots will pull what they need. Also, keep some air moving in the room. Even light airflow helps.
If the mold spreads a lot or smells strange, just discard the tray. It’s not worth trying to save it. Start again. It’s quicker than fighting fungus.
Leggy Growth
If stems look tall, thin, and weak, that’s a lack of light. They stretch toward whatever light they can find. Move your light closer. Not too far above the greens. Give steady light daily. Around half a day is usually fine. Strong light makes shorter, thicker stems.
Yellow Leaves
Sometimes leaves look pale or yellow at first. This often happens right after the blackout phase.
Once they get proper light, the color usually improves.
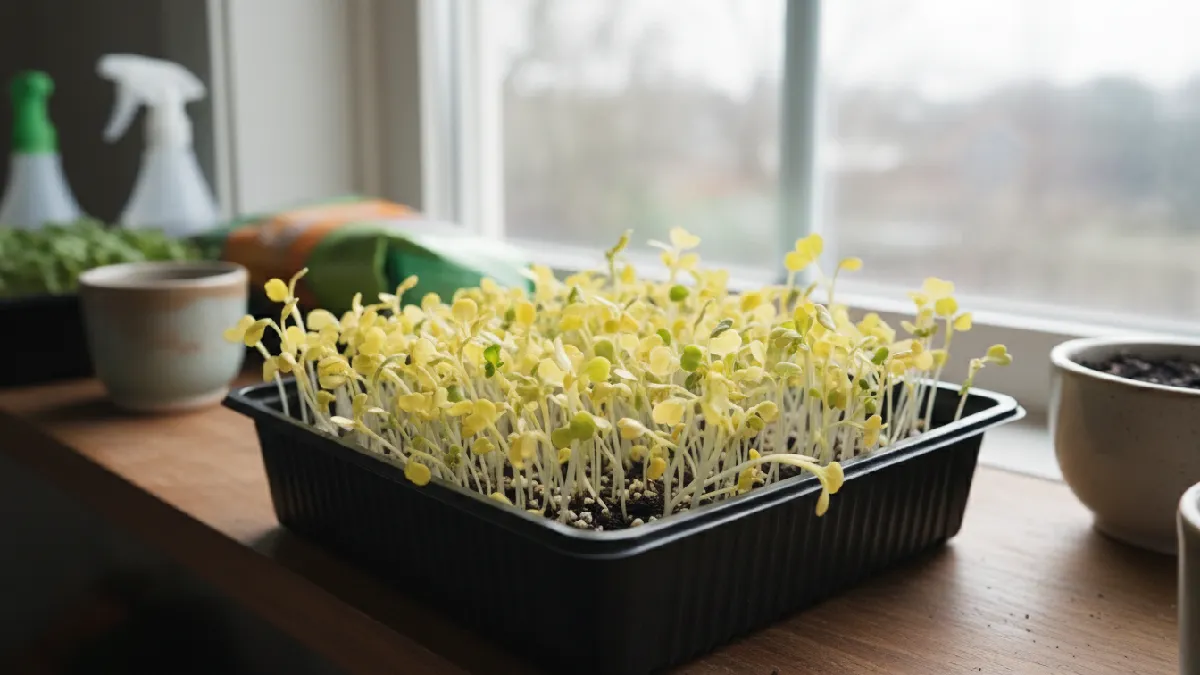
Give it a day. Maybe two. If they stay yellow, your light source might be too weak.
Slow Growth
Seeds sprouted, but growth feels slow? Check the room temperature. If it’s too cold, growth slows down. Simple as that. Keep the tray somewhere stable. Not near cold air. Not near drafts.
Overwatering
Soil always wet? That’s a problem. Roots need oxygen, too. Only keep the soil lightly moist. Not soaked. If water pools at the bottom, reduce it next time. Most issues come down to three things: water, light, and airflow. Adjust those, and growth improves. It’s mostly small corrections, not big changes.
Can You Grow Broccoli Microgreens Without Soil?
Yes, you can grow broccoli microgreens without soil. There are a few simple ways to do it, like using paper towels, coconut coir, or hydroponic mats.
Each method has its own benefits and small challenges. With just a little care and attention, you can have fresh, crunchy microgreens ready to eat in about a week.
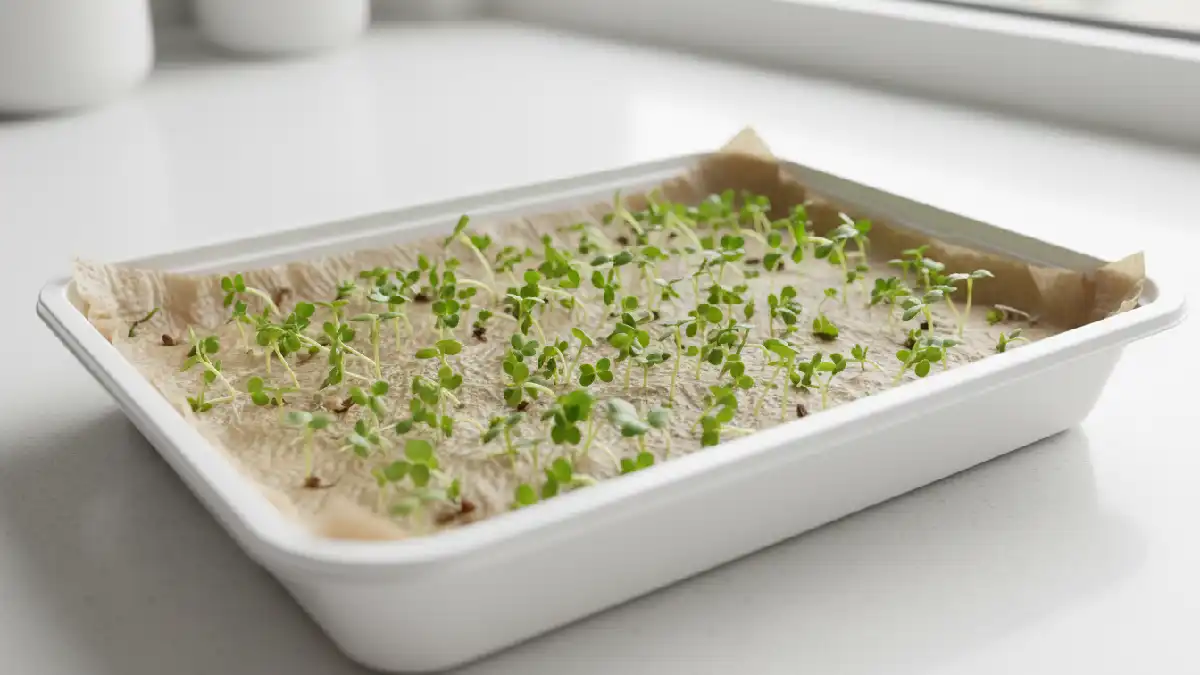
Paper Towel Method
Place seeds on a damp paper towel. Keep it wet. They sprout in 3–5 days. Super simple. No soil mess. But it dries out fast. Needs daily checking.
Coco Coir
Coco coir comes from coconut husks. Holds water well. Roots get support. Clean and light. Easy to handle. Sometimes it’s tricky to keep evenly moist.
Hydroponic Mats
Special mats let roots drink water and nutrients directly. Very clean, no soil. Easy to harvest. But you need trays and a nutrient solution. Slightly more expensive.
Pros & Cons
No soil means less mess. Quick germination. Easy cleanup. But watch the water carefully. Too much or too little, and seeds fail. Light and temperature still matter. Paper towels, coir, or hydro mats all work. Try one method. See what fits your space. Within a week, tiny green sprouts pop up. Fresh, crunchy, ready to eat.
Best Ways to Use Broccoli Microgreens in Your Meals
Broccoli microgreens are tiny but full of flavor and nutrients. They add crunch and freshness to almost any meal.

Toss them in salads, layer in sandwiches, blend in smoothies, or use as a garnish. A small handful can boost taste and nutrition easily.
Salads
Just toss them in. Don’t overthink. Mix with lettuce, spinach, whatever. Tiny leaves. Little bite. Fresh flavor. Makes any salad feel nicer.
Sandwiches
Throw some on a sandwich or wrap. Cheese, avocado, meat, whatever. Adds crunch. Slight peppery taste. Better than plain lettuce. Quick upgrade.
Smoothies
Yes, you can blend them. Apple, banana, berries. Tiny leaves barely change taste. But vitamins? Big boost. Fast and easy.
Garnish
Top soups, eggs, and pasta. Looks fancy. Tastes fresh. Adds a little texture. People notice it even if it’s small. Little trick, big effect.
Nutritional Boost
The real win? Nutrition. Microgreens are packed with vitamins and minerals. Add a handful anywhere. Raw or after cooking. Small dose, big benefit.
Tiny leaves, big impact. Meals taste better. Plates look better. Easy, fast, fresh. Do it. You’ll notice the difference.
Frequently Asked Questions
No schema found.Conclusion
Broccoli microgreens are super easy. No garden? Doesn’t matter. Just seeds, a tray, and water. That’s it. Start one today. Watch tiny green leaves pop up in a few days. It’s fun. Feels good. Super simple. Mistakes? Don’t stress. Every tray teaches something. Move seeds, check water, adjust light. Learn as you go.
Fresh greens, crunchy, tasty. Just a tray away. Small effort, big reward. Try it now. Want more ideas? Check other guides. Different microgreens, different meals. Tiny steps, big results.
Add microgreens to salads, sandwiches, smoothies, or garnish.
Your meals instantly feel fresher. It’s easy, quick, and healthy. No complicated setup needed. Just start. Enjoy the process. A little tray today can give fresh greens for a week. Start now. You’ll love it.