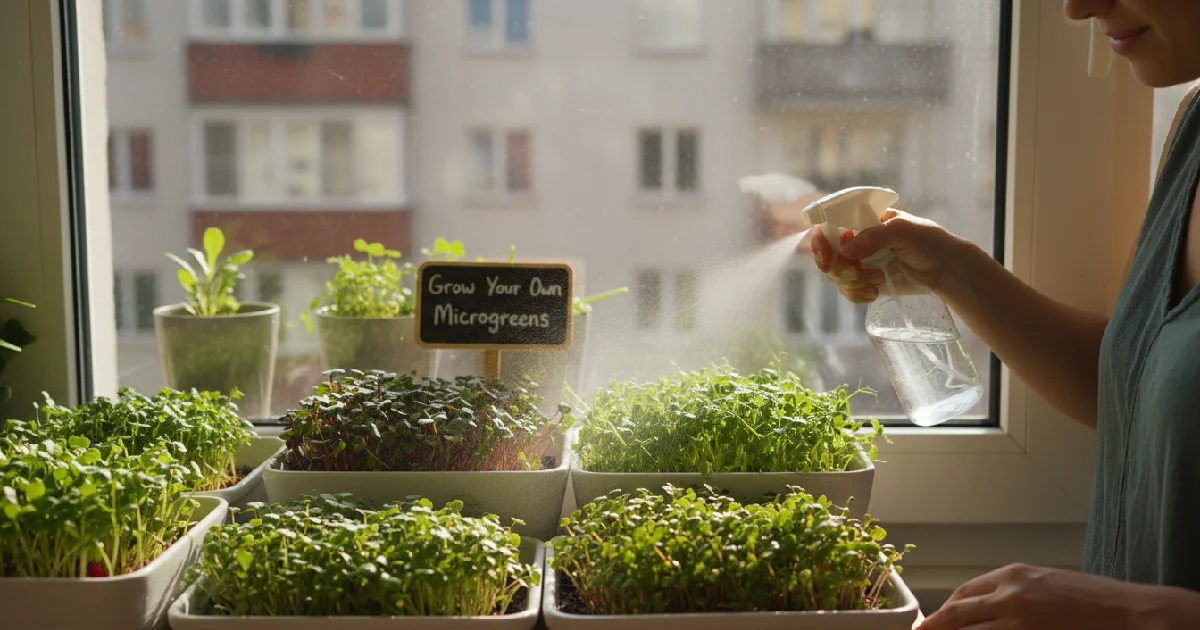
Grow Your Own Microgreens: Beginner’s Step-by-Step Guide
Microgreens tiny. Power inside leaves. Perfect indoors. Windowsill, kitchen corner, balcony, small, works anywhere. Seeds sprout fast. Soil is soft, roots grab gently. Mist lightly. Water just enough. Too much drowns roots. Too little slows shoots. Light matters. Sun works, LED works too.
Leaves stretch firm. Beginners peek at trays daily. Tiny changes excite. Shoots push green. Leaves pop bright. Flavor sharp. Nutrition-packed. Vitamins A, C, and K are stacked inside. Antioxidants wait quietly. Energy feels real. Kitchen alive with growth. Every tray tells a story.
Patience matters. Effort small, reward big. Tiny leaves, huge impact. Harvest early, eat fresh. Sprinkle salads, eggs, and pasta. Microgreens lift meals. Growth surprises daily. Watching shots pop feels fun. Beginners smile. Learning feels natural.
Introduction
Microgreens are tiny but powerful. Seeds sit in soil. You water gently. Days pass. Shoots push green. Leaves pop bright. The kitchen corner feels alive. Flavor hits sharply. Vitamins stacked inside. You peek daily. Every tray tells a story.
Beginners smile. Effort small. Reward big. Simple dishes feel exciting. Energy hits subtly. Growth surprises often. Windowsill, balcony, corner, all work. Indoor gardening easy. Tiny leaves make a huge difference. You start the tray, you finish happy.
What Are Microgreens?
Microgreens are tiny but packed. Young shoots of herbs and veggies. Leaves soft. Stems tender. Flavor hits sharply. Nutrients stacked inside. Harvest early, usually one to two weeks. Color pops. Texture crisp. Indoor growing simple. Seeds sprout quickly. Kitchen corners turn alive. Beginners peek daily. Tiny shoots push up—every tray surprises.
Effort small, reward big, energy feels real. Radish grows fast. Broccoli is a bit slower. Kale takes its time. Watching them teaches patience. Mist lightly. Roots grab medium. Light matters. Small hands notice tiny changes. Store-bought weak sometimes. Homegrown tastes alive. Simple dishes feel exciting. Tiny leaves, big effect. Every tray tells a story.
Why Microgreens Are Popular
Microgreens gained attention fast. Chefs started using them. Home growers followed. Tiny leaves look beautiful on plates. Colors bright. Flavor is sharp and intense. Nutrition is packed inside small stems. People want fresh food. Apartments are small, and gardens are rare.
Windowsills became farms. Growing feels easy. Seeds cheap. Results quick. Social media made them trend. Photos look vibrant. Health-conscious families prefer homegrown. Control stays in your hands. No chemicals, no long storage. Just harvest and eat. Taste feels alive. Beginners succeed quickly. That builds confidence.
Urban living demands simple solutions. Microgreens fit perfectly. Small trays, small effort, noticeable reward. Kitchen corners transform quietly. Watching growth brings calm. Tiny greens, great satisfaction. Popular for a reason. Simple idea, powerful impact.
Why Grow Your Own Microgreens?
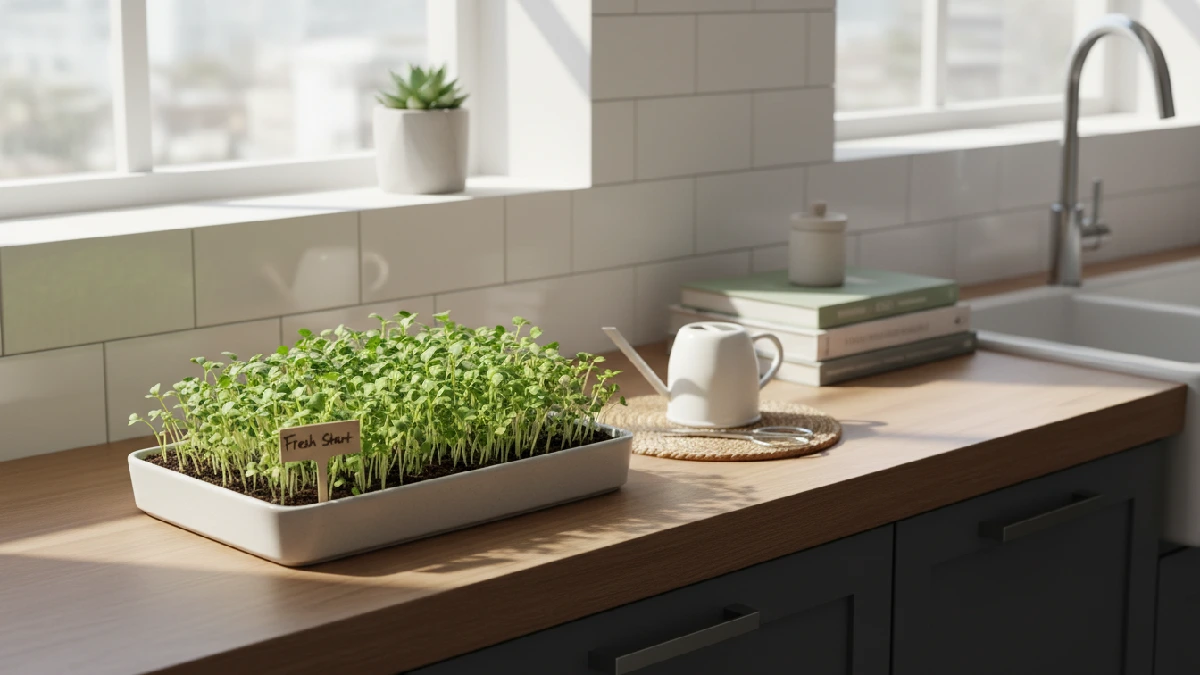
Freshness hits different when you grow your own. Tiny leaves packed with flavor. Kitchen corners suddenly feel alive—no trips to stores, no wilted greens. You harvest when you want. Leaves stay crisp, color bright. Nutrition stays strong. Cheap seeds, small trays, almost no space needed. Windowsill, balcony, or tiny kitchen corner works. Energy feels real. Beginners notice growth fast. Every tray surprises.
Indoor growing works all year, winter, summer, and rainy days. Microgreens teach patience. Care is simple. Effort small, reward big. Flavor sharp, meals brighter, healthy. Watching shoots push up feels exciting. Each tray tells a story. Small daily checks, mist lightly, rotate trays. Tiny tweaks change results. The kitchen comes alive. Tiny greens, huge impact. You start to try, finish smiling.
Nutritional & Health Benefits
Microgreens tiny. Power hiding inside leaves. Vitamins stacked tight. A, C, and K hit hard. Antioxidants wait quietly. Body notices fast. Eat a handful. Energy shifts subtly. Digestion eases a little. Skin glows faintly. Flavor pops sharp.
Homegrown tastes alive. Store-bought weak sometimes. Beginners peek at trays daily. Shoots push green. Tiny effort, big reward. Every tray tells a story. Leaves are small, affect huge. Growth surprises often.
Cost & Sustainability Advantages
Microgreens cheap. Seeds tiny, cost low. Trays reusable. Water minimal. You save money fast. Store-bought expensive. Leaves fade. Homegrown stays fresh. Space small. A windowsill, a kitchen corner is enough. No garden needed.
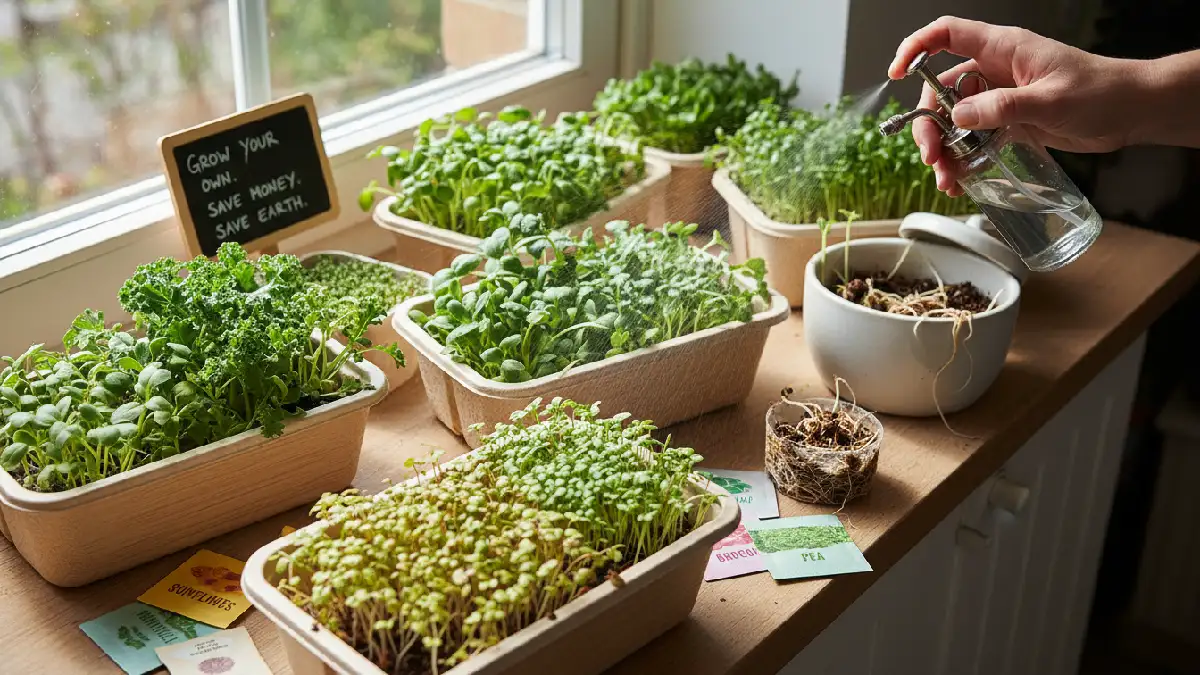
Plants react to light. Growth excites. Waste almost none. Compost leftover roots. Every tray teaches. Beginners notice savings. Energy feels real. Tiny greens, big value. Care small, reward high. Sustainability hits daily.
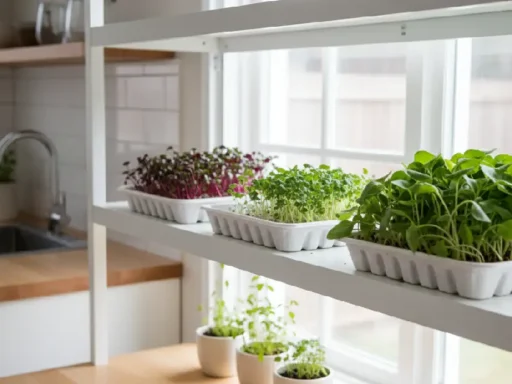
Perfect for Indoor Urban Gardening
City life is cramped. Balcony small. Windowsill crowded. Microgreens fit anywhere. No big garden needed. Just a tray. Plants grow fast. Leaves pop green. Energy feels alive. Fresh food nearby. No trips to stores. Kids notice. Neighbors ask.
Space is tiny, harvest is big. Plants react to light. Growth surprises daily. Beginners smile. Indoor greenery lifts mood. Kitchen corners turn lively. Every tray tells a story. Microgreens make urban homes green and healthy.
What You Need to Start Growing Microgreens
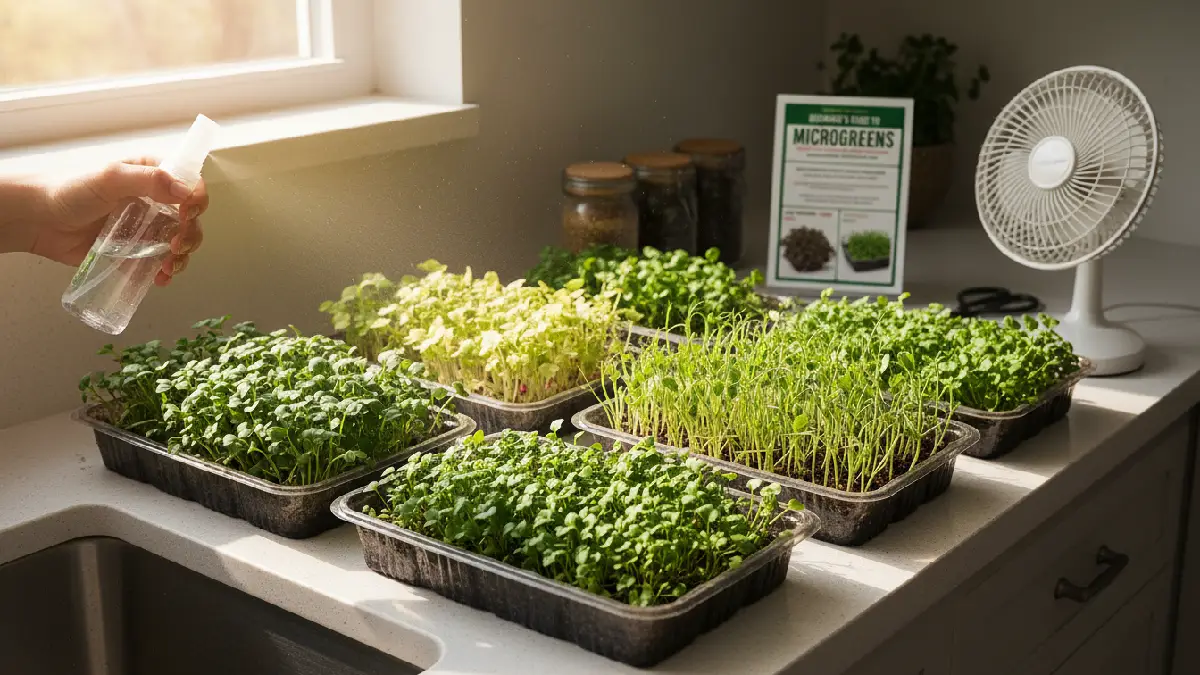
Starting looks simple at first glance. No fancy equipment required, really. A shallow tray does the job. Plastic, metal, whatever is available. Soil or cocopeat holds moisture nicely. Seeds matter more than people think. Cheap ones sometimes disappoint you. A water source nearby makes life easier. Light is important. The window works fine, and the grow light works better in darker spaces.
The spray bottle feels small but useful. Clean hands save trouble. The temperature should stay moderate. Too much heat stresses plants, cold slows them down strange. A small corner in the kitchen is enough. Counter space works perfectly. Every setup feels different. You learn while doing it. Effort stays low, reward feels unexpectedly big.
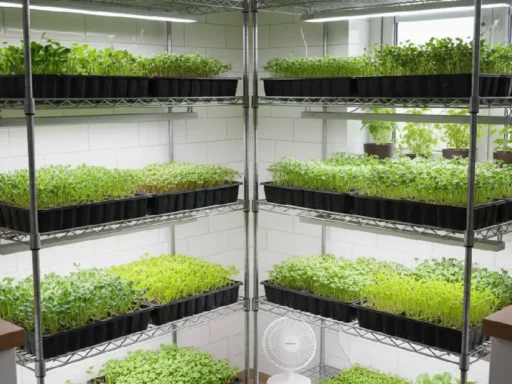
Best Containers & Trays
Shallow trays work best. Plastic, metal, anything that fits your space. Clean them first. Holes are important. Roots need air to grow strong. Seeds sit evenly. Too crowded, growth slows. Size doesn’t matter much. Windowsills work. Kitchen corners fit. Light hits plants better when trays are flat. Water drains slowly, not fast. Some trays are reusable, others are not.
Dirt left behind kills sprouts silently. Check daily. Tiny leaves push up. Beginners notice small changes fast. Mist lightly. Roots grab medium. Little tweaks make a difference. Cleanup is easy if you rinse right after harvest. Watching microgreens grow feels fun. Every tray teaches patience. Energy from tiny greens feels real. Tiny leaves, big reward. Small choices in containers change the outcome.
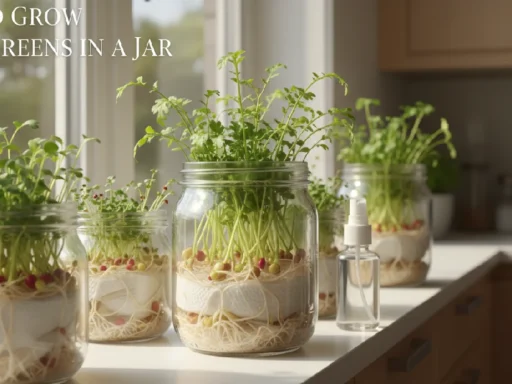
Growing Media (Soil, Coir, Hydroponics)
Soil simple, works fine. Organic potting soil grabs roots fast. Leaves push green. Coir is soft and holds water well. Seeds sit snug. Roots spread gently. Hydro mats are easy too. No soil needed. Water moves slowly. Leaves stay firm.

Tiny shoots pop fast. Beginners notice daily. Mist lightly. Too much drowns roots. Too little dries them. Every tray teaches. Energy feels alive. Growth surprises often. Microgreens are small, strong, and fun.
Seeds: Best Types for Beginners
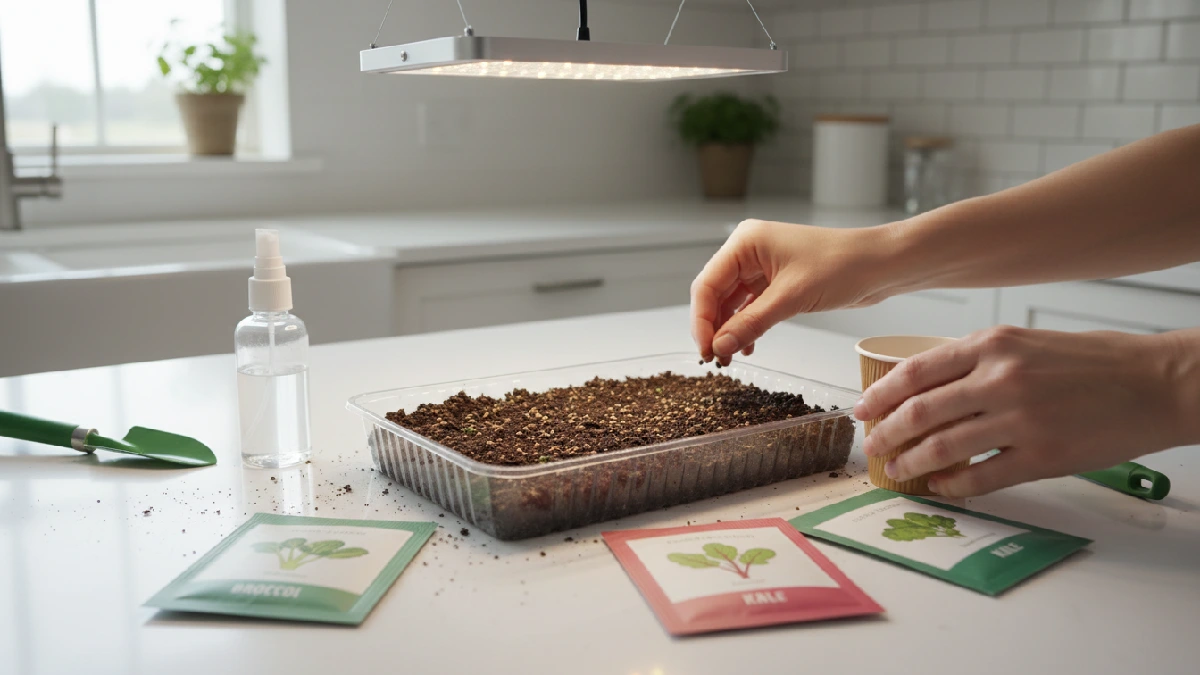
Start simple. Radish seeds fast. Broccoli easy. Sunflower fun to watch. Pea shoots pop nicely. No, GMO works best. Food-grade safer. Cheap packs fail sometimes. Tiny seeds, big results. Beginners notice leaves grow quickly.
Energy feels real. Every tray surprises. Handle gently. Spread evenly. Crowding kills growth. Mist lightly. Roots grab medium. Leaves push up fast. Microgreens teach patience. Growth excites daily.
Optional Tools (Grow Lights, Spray Bottles, Thermometer)
Microgreens grow fine with a basic setup. Extra tools make things smoother. Grow lights help when the sunlight is weak. Winter days short. Corners stay dim. Leaves stretch in low light. A small LED panel fixes that. Spray bottles keep moisture gentle.
Heavy watering damages seeds. Fine mist works better. The thermometer sounds serious, but it helps. Room too cold, slowing growth. Too much heat stresses trays. Numbers guide you. Beginner’s guess. Experienced growers measure. Not mandatory tools. Useful, yes.
Small upgrades change results quietly. Trays respond fast. Leaves stand stronger. Growth is more even. You notice the difference quickly. Setup still simple. No big investment needed. Tiny changes bring a steady harvest. Little control makes growing calmer.
Step by, a Step Growing Guide
Start simple. Trays ready. Soil or coir fluffed. Seeds tiny. Spread carefully. Roots grab fast. Mist lightly. The leaves will peel soon. Light matters. Sun or LED works. Rotate trays sometimes. Water gently. Too much kills roots.

Temperature cozy. Air moves gently. First true leaves pop. Scissors ready. Cut above the soil. Eat fresh. Store leftovers in the fridge. Every tray teaches. Growth surprises daily. Beginners feel proud. Energy from greens real. Tiny effort, big reward.
Step 1: Prepare Tray & Medium
Pick a shallow tray. Wash it clean. Old dirt kills sprouts. Soil or cocopeat works. Fluff gently. Spread it nice and even. Seeds like cozy spots. Mist lightly. Soil stays moist, not wet. Roots grab fast. Tiny leaves push up soon.
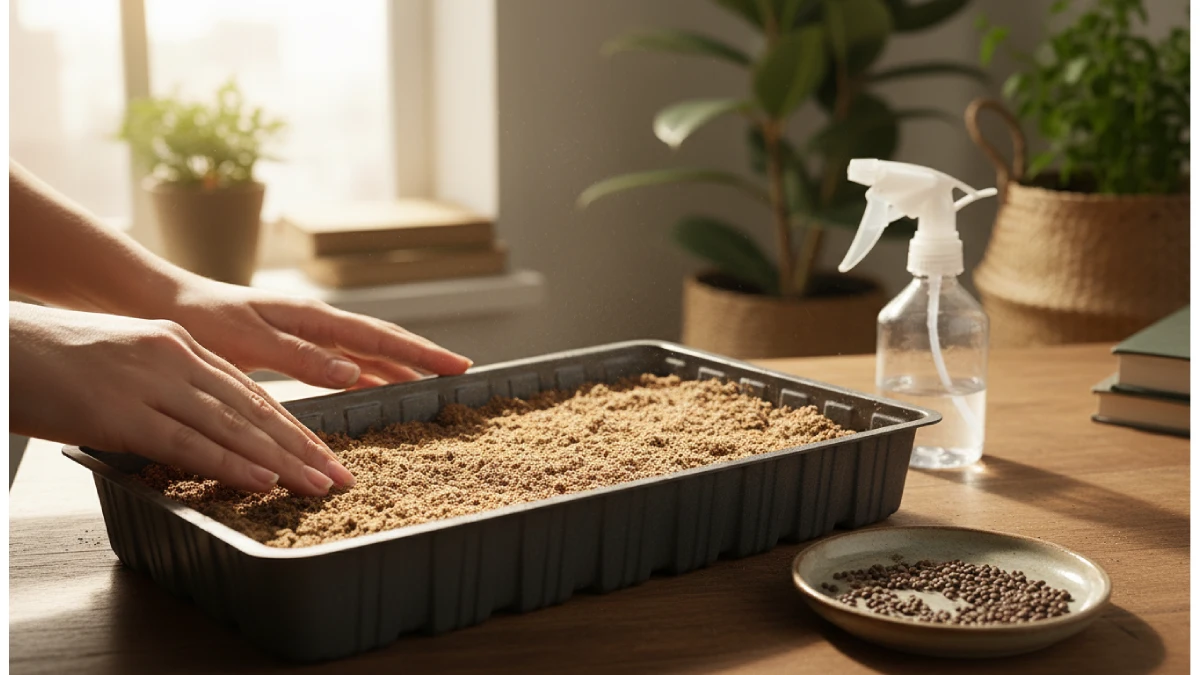
Beginners peek daily. Tray feels ready. Seeds sit snug. Energy feels real. Small tweaks matter. Every tray seems alive. Patience helps. Mist again if dry. Tiny surprises show fast. Watching growth excites.
Step 2: Plant Seeds Evenly
Take seeds. Small hands work best. Spread gently. Don’t crowd. Crowding kills growth. Each seed needs space. Roots grab soil fast. Mist lightly after sowing. Some seeds like a little cover. Others sit exposed. Tiny shoots wait under the soil.
Energy feels real as the first sprouts appear. Beginners check daily. Leaves peek up slowly. Soil stays cozy. Tiny surprises happen every tray. Care feels natural. Growth excites. Mist again if the soil dries. Watching tiny plants pop feels rewarding. Every tray teaches patience.
Step 3, Watering & Moisture Control
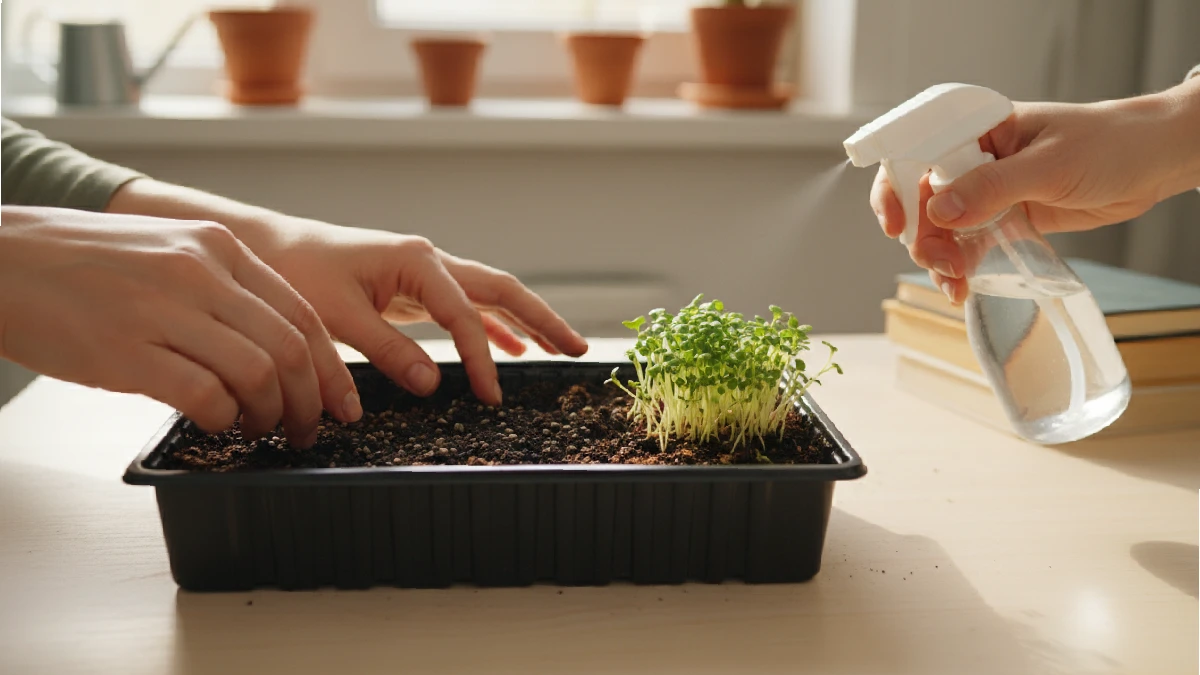
Water gently. Spray bottles work best. Mist leaves and soil lightly. Roots drink slowly. Soil stays cozy. Too much water drowns seeds. Too little dries them out. Check trays daily. Tiny shoots react fast. Beginners notice curling leaves.
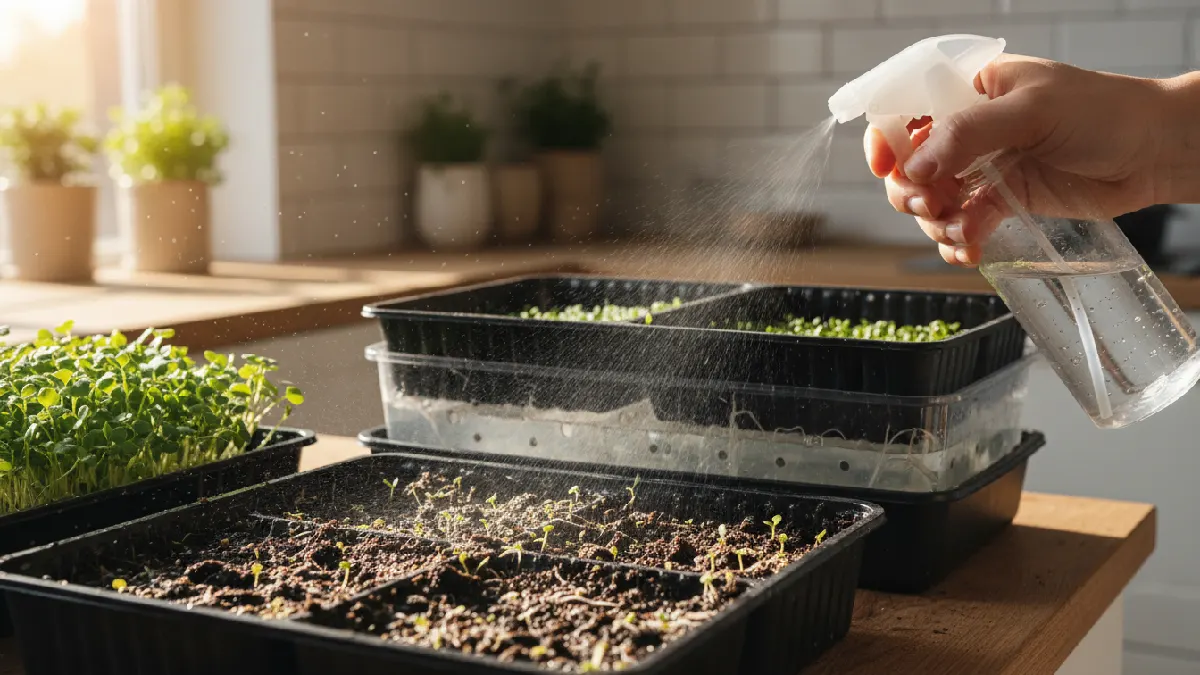
Mist again if dry. Bottom watering works too. Trays hold a small amount of water. Seeds wick moisture up. Every tray surprises. Care feels alive. Growth responds fast. Energy from tiny leaves feels real.
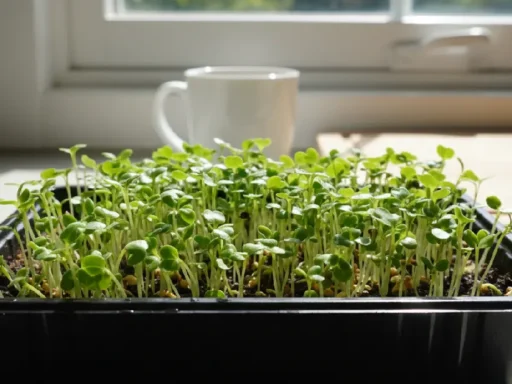
Step 4, Light Exposure
Light matters. Sun works best. Place trays near windows. Leaves stretch naturally. LED grow lights help, too. Twelve to sixteen hours daily is enough. Rotate trays sometimes. Every plant gets light. Leaves stay firm. Growth spreads evenly.
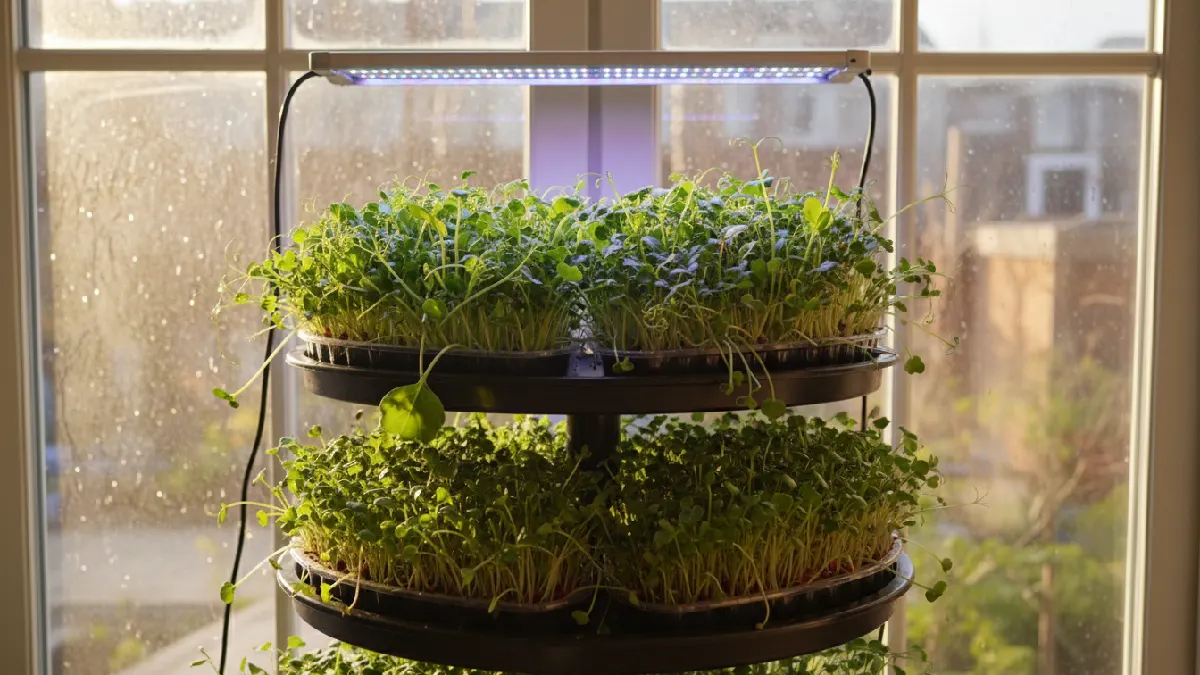
Tiny shoots react fast. Beginners notice changes. Plants feel alive. Energy from light real. Watch daily. Leaves pop bright green. Indoor gardening feels fun. Care feels rewarding. Microgreens respond quickly. Every tray surprises.
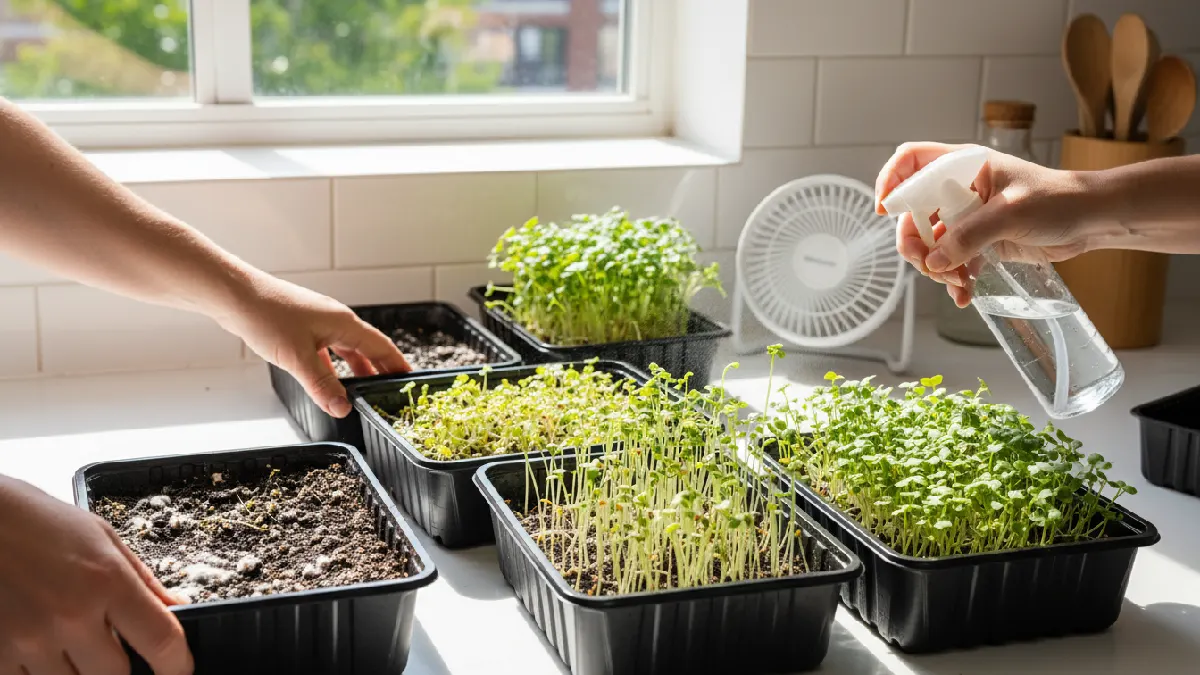
Step 5, Daily Care & Monitoring
Check trays daily, mist lightly. Soil stays moist. Roots drink slowly. Leaves respond fast. Too much water kills sprouts. Too little slows growth. Rotate trays sometimes. Watch tiny shoots pop. Energy feels real.
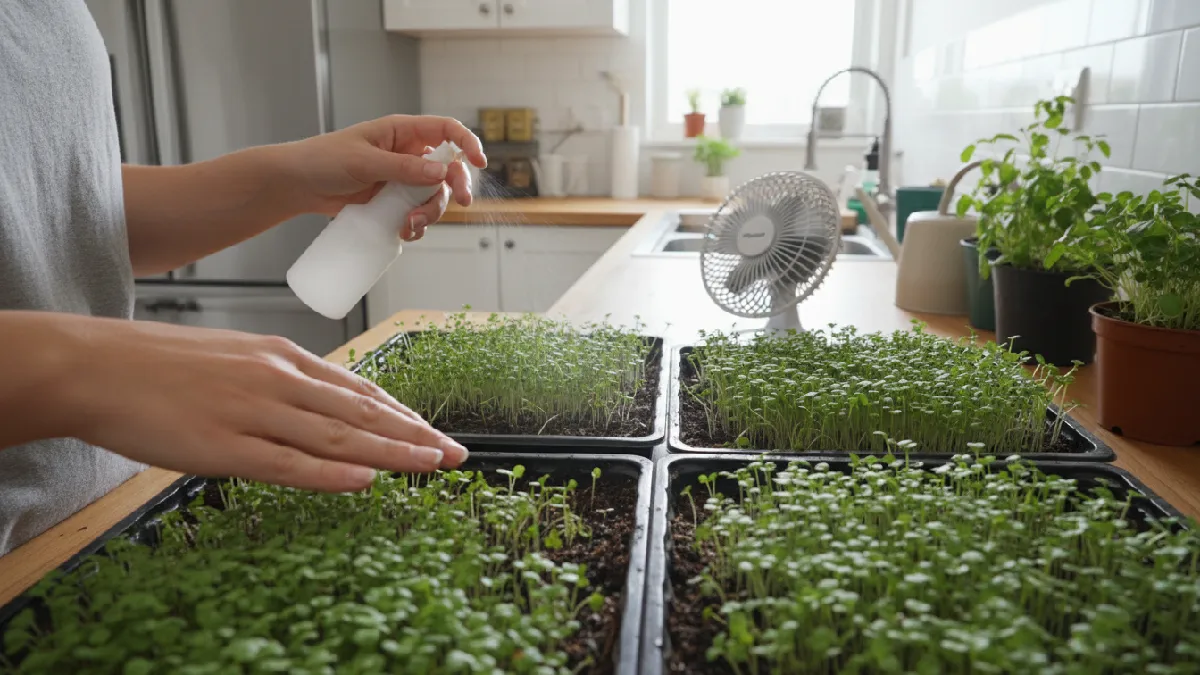
Beginners notice every change. Small tweaks matter. Fans help air move. Mold risk drops. Leaves stay firm. Microgreens react fast. Every tray teaches something. Care feels alive. Growth surprises daily. Tiny effort, big reward.
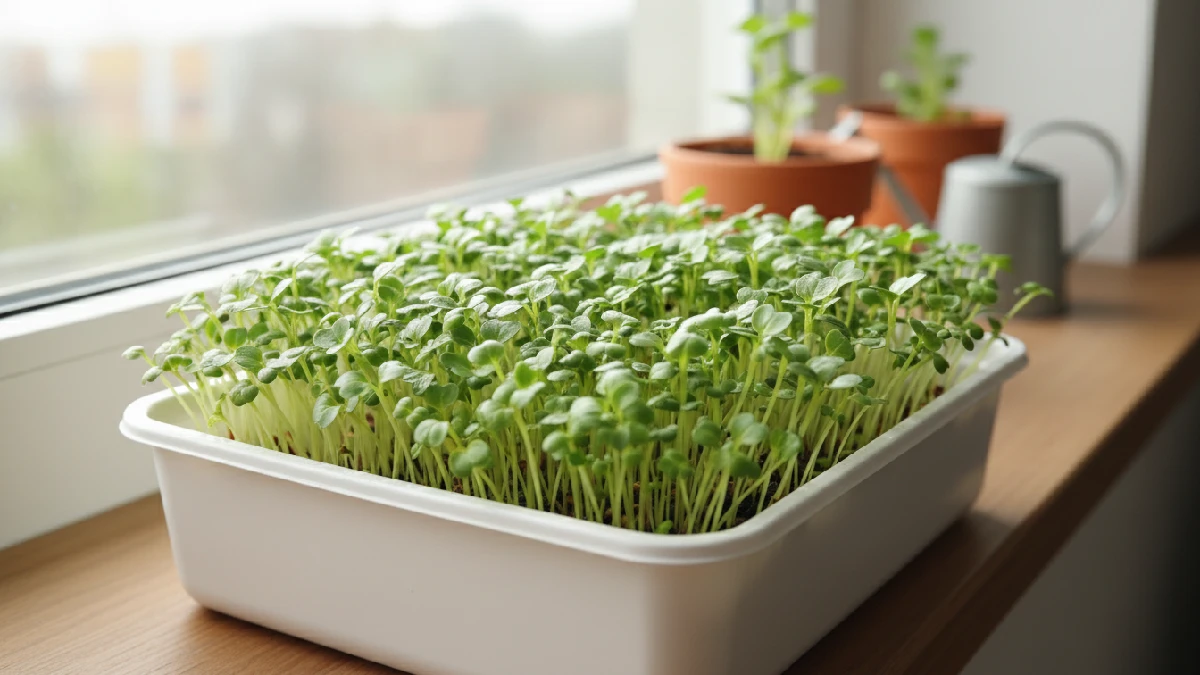
Step 6: Harvesting Tips
Microgreens are ready fast. Usually 7to 14 days. Look for true leaves. Leaves bright, stems firm. Grab scissors. Cut above the soil. Don’t pull roots. Keeps the tray clean. Harvest gently. Eat fresh for the best flavor. Some varieties regrow a bit.
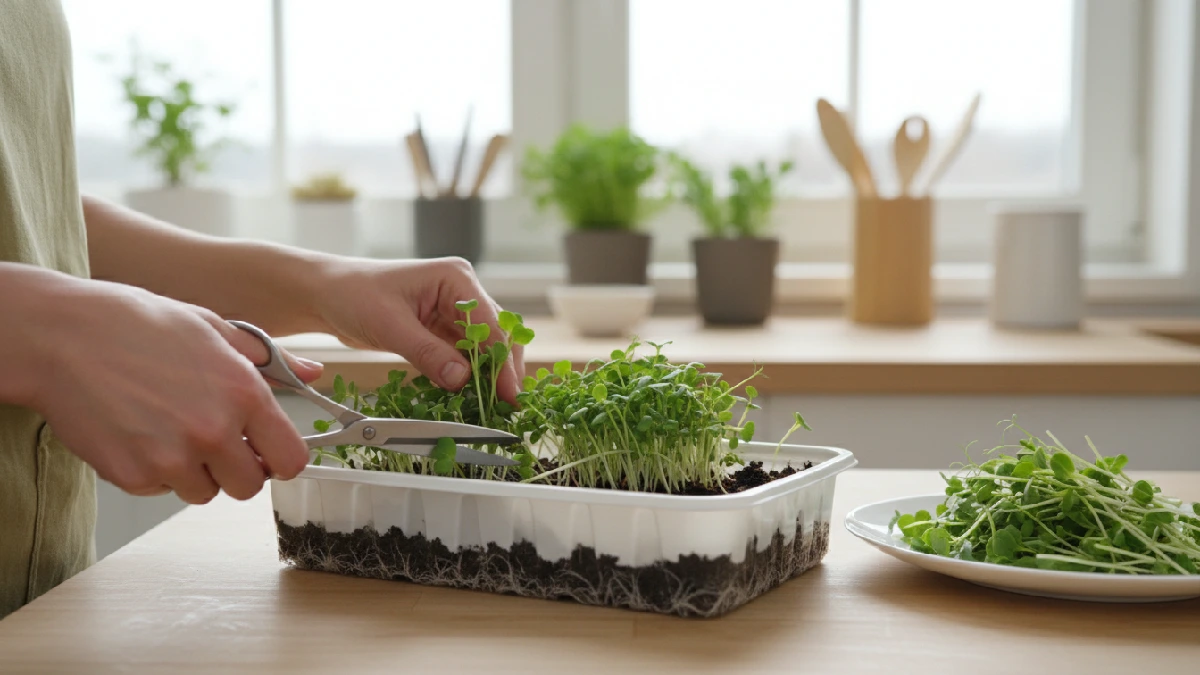
Pea shoots sometimes surprise. Radish, sunflower rarely. Beginners get excited. Tiny leaves pop fast. Energy feels real. Every tray teaches. Storage short. Use within a few days. Harvest small effort, big reward.
Microgreens Care & Troubleshooting
Microgreens need attention. Water gently. Soil or mats stay moist. Light matters. Rotate trays sometimes. Too much water drowns roots. Too little slows growth. Crowded seeds struggle. Dirty trays spread mold. Temperature too hot or too cold stops leaves. Airflow helps. Small breeze prevents problems. Beginners notice changes fast. Tiny tweaks save trays. Check daily. Mist lightly.
Roots grab medium. Leaves stretch firm. Some sprouts are leggy. Others pale. Mold pops up sometimes. Move trays closer to the light. Clean trays always. Every tray teaches patience. Energy from tiny leaves feels real. Microgreens react quickly. Care is simple. Rewards are big. Watching growth excites. Kitchen corners look alive. Effort small, impact huge.
Common Mistakes to Avoid
Overwatering kills roots fast. Leaves curl, stems look weak. Mold pops up unexpectedly. Seeds are too close to fight for space. Some die quietly. Light too low makes them stretch. Leaves pale, soft. Trays dark, growth slows. Dirty trays spread spores. Reusing old soil carelessly. Tiny shoots struggle.
Temperature wrong, plants react slowly. Air stagnant, leaves droop. Beginner’s stress. Small tweaks save trays. Move them closer to the light. Mist gently. Clean trays always. Plants bounce back. Growth feels alive. Energy shows fast. Every tray teaches patience. Watching sprouts pop excites.
How to Solve Common Problems
Problems show up sometimes. Mold appears white and fuzzy. Smell changes slightly. Stop watering heavily. Improve airflow. Clean trays properly. Leggy sprouts stretch tall. Light too far. Move trays closer. Stems thin, pale. Nutrition is weak. Seeds crowded cause stress. Spread evenly next time. Overwatering kills roots quietly. Surface looks wet, but roots suffocate. Let the medium breathe.
Yellow leaves confuse beginners. Check drainage holes. Temperature matters more than you think. Cold slows growth. Heat stresses trays. Small adjustments fix most issues. Watch daily. Touch gently. Observe patterns. Every mistake teaches something. Microgreens respond fast. Care is simple once you learn rhythm: tiny trays, big lessons. Solutions small, impact real.
How to Use Your Microgreens
Microgreens are tiny but powerful. Sprinkle on salads. Sandwiches are green. Smoothies taste fresh. Eggs, pasta, soups, anything lifts. Eat raw, nutrition hits fast. Cook lightly if you want. Leaves soft. Stems crisp. Tiny shoots surprise daily. The kitchen feels alive. Every tray tells a story. Meals brighter. Flavor sharp. Homegrown makes food exciting. Beginners notice small changes quickly. Sprinkle a handful over pizza.
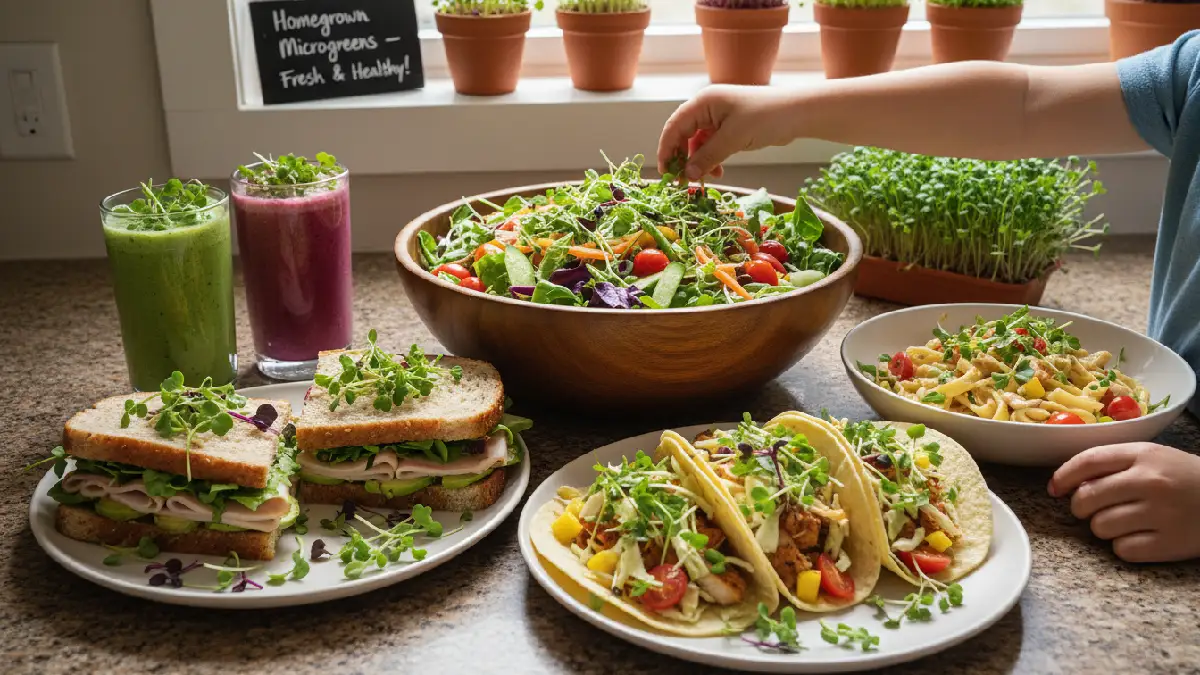
Wrap in tacos. Toss on roasted veggies. Energy feels real. Little effort, big reward. Microgreens change ordinary dishes. Simple meals suddenly vibrant. Colors pop. Taste hits strong. You learn what grows best in your space. Fresh, alive, healthy. Each bite tiny, impact huge. Watching them grow excites me. Trays tell a story. Careis simple, fun. Rewards show fast.
Culinary Ideas
Microgreens are tiny but powerful. Sprinkle on salads. Sandwiches look alive. Smoothies taste fresh. Eggs, pasta, soups, everything lifts. Toss a handful on pizza. Wrap in tacos. Flavor pops fast. Leaves soft, stems crisp.
Beginners notice color change. Energy feels real. Meals turn vibrant. Tiny effort, big reward. The kitchen smells fresh. Every tray teaches. Growth surprises daily. Homegrown greens make food exciting.
Storage & Shelf-Life Tips
Microgreens are fresh and fragile. Store in fridge. Airtight container works best. Leaves stay crisp. Mist lightly before storing. Don’t overcrowd. Check daily. Use within a few days. Too long? Flavor fades, leaves limp.
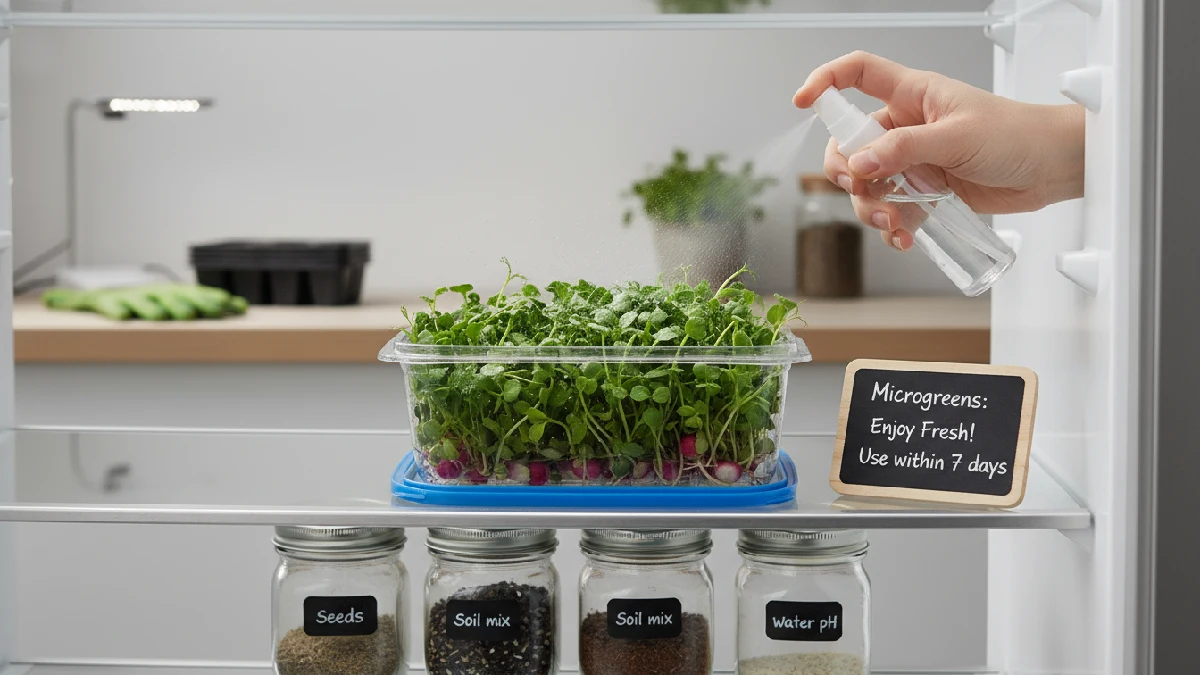
Beginners notice small changes. Tiny effort keeps the tray clean. Energy feels real. Cutting fresh just before meals is best. Every bite pops. Kitchen corners are alive. Growth surprises fast. Tiny greens, big impact.
FAQs About Growing Microgreens
What Are Microgreens?
Microgreens tiny plants. Leaves pop small. Flavor hits strong. Vitamins stacked inside. You grow them quickly. Roots grab soil. Leaves stretch toward light. Every tray feels alive. Taste fresh. Beginners notice growth fast.
How Long Do Microgreens Take to Grow?
Microgreens grow fast. Most ready in 7to 14 days. Radish sprouts quickly. Sunflower slower. Leaves are small and bright. Watching growth excites beginners. Energy feels alive.
What Do Microgreens Need to Grow Well?
Light strong. Soil or coir is soft. Water misted gently. Space is small. Air moves. Temperature cozy. Trays are checked daily. Leaves push up alive.
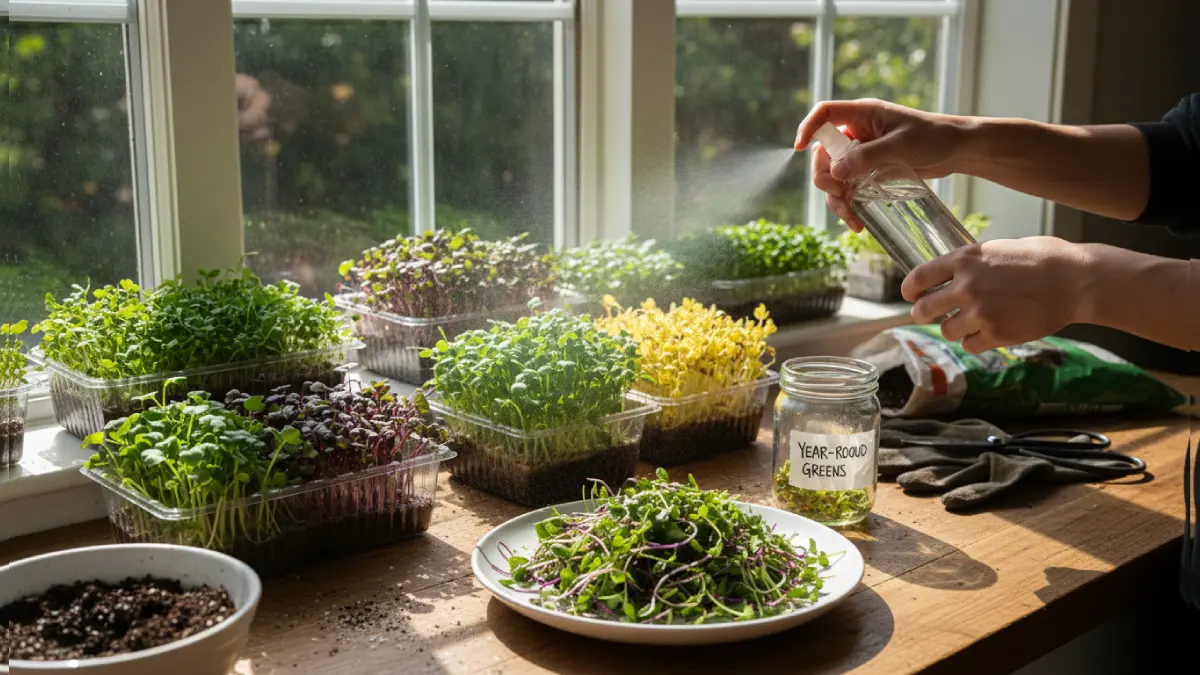
Can You Grow Microgreens Indoors Year-Round?
Yes, microgreens grow all year. Winter, summer, doesn’t matter. Indoors, trays work anywhere. LED or sunlight helps. Leaves pop green fast. Harvest comes quickly. Energy feels alive.
What Mistakes Should Beginners Avoid?
Beginners overwater often. Seeds get crowded. Light too low kills growth. Dirty trays spread mold. Tiny leaves curl. Patience matters. Watch closely. Adjust slowly. Energy from growth surprises.
Conclusion
Microgreens start tiny. Seeds rest in soil. You sprinkle water. Days pass. Tiny shoots push green. The kitchen corner looks alive. You peek every day. Leaves stretch bright. Flavor hits sharply. Vitamins stacked inside. You eat a handful. Energy feels different. Radish grows faster than a sunflower. You notice small changes. Stems firm. Leaves soft.
Harvest comes fast. Sprinkle on eggs, pasta, and salads. Taste pops. Effort small. Reward big. Balcony, windowsill, or any corner works. Trays tell a story. Beginners grin. You learn patience. Microgreens teach small care matters. Every tray surprises. Home feels alive. Growth excites. Tiny leaves, huge impact. You start tray, you finish smile.