Best Way to Grow Microgreens at Home
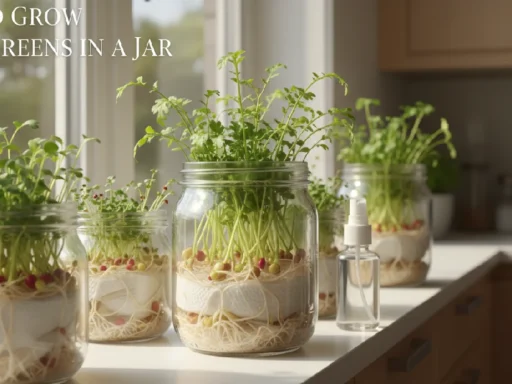
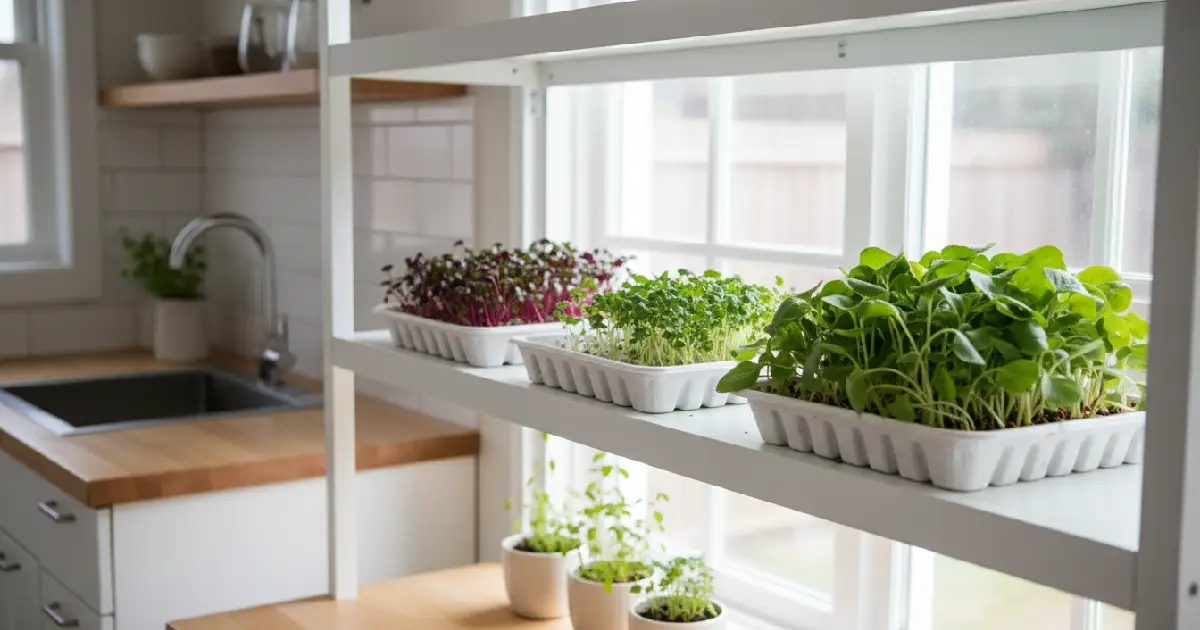
Microgreens are those tiny greens you’ve probably seen sitting on top of salads in cafés, looking fancy for no big reason. Small leaves. Thin stems. Strong taste. They’re harvested right after the first true leaves show up, not fully grown, not baby greens either. Somewhere in between. That stage is where flavor feels sharper, and nutrients tend to stay concentrated.
People grow them because they don’t test your patience. Most varieties are ready in about a week or two, which feels almost unfair compared to regular vegetables that take months. You don’t need a backyard. A shelf near a window works fine. Some growers even use a quiet corner in the kitchen, and that’s enough space to keep trays rotating.
There’s another reason they’re becoming common in homes. Control. You decide the soil, the seeds, and the water schedule. Nothing sits in trucks for days. Nothing loses texture before it reaches your plate. When you cut them, they’re actually fresh. Not “store fresh.”
This guide walks you through the best way to grow microgreens at home without turning it into a science project. You’ll learn what trays work better, how to spread seeds evenly, how much light is enough, and what small mistakes quietly ruin a crop. It’s simpler than it looks. Just needs attention.
What You’ll Need to Get Started
When I first tried growing microgreens, I assumed I needed special kits or some advanced indoor gardening setup. Turns out, that was overthinking it.
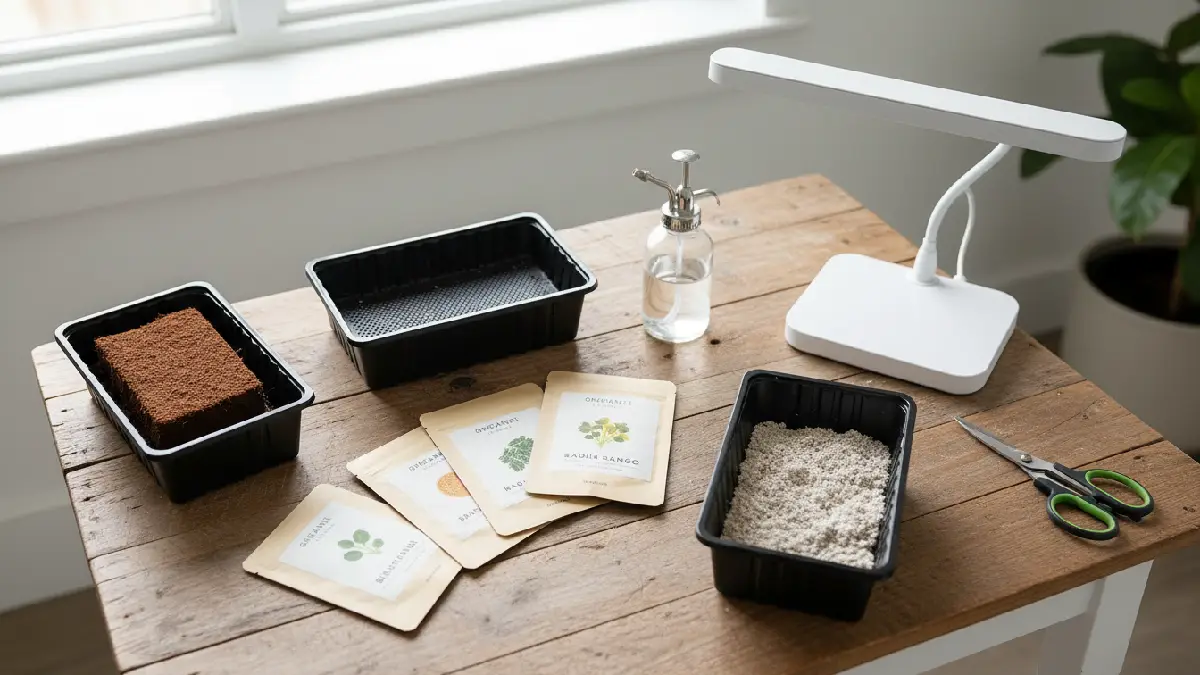
The whole process runs on a few basic tools. Nothing flashy. Just practical items that quietly do their job.
Microgreen Seeds (Organic, Untreated)
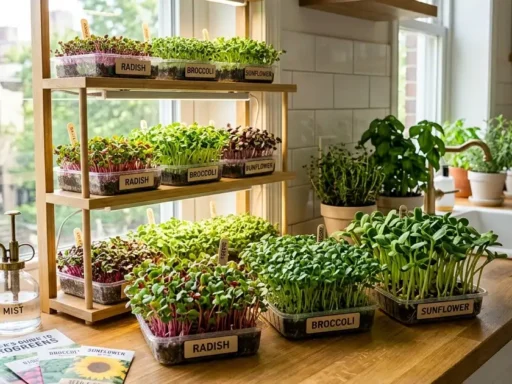
Start with seeds meant for microgreens, not random garden packets sitting around for years. Organic and untreated seeds are safer since you harvest them so early. Radish grows fast and gives a bold flavor. Broccoli stays mild. Sunflower feels thicker and more filling. Fresh seeds sprout evenly, older ones sometimes leave empty gaps in the tray, and it looks odd.
Shallow Growing Trays
Microgreens don’t build deep root systems, so shallow trays around one to two inches deep are enough. Drainage holes matter more than people think.
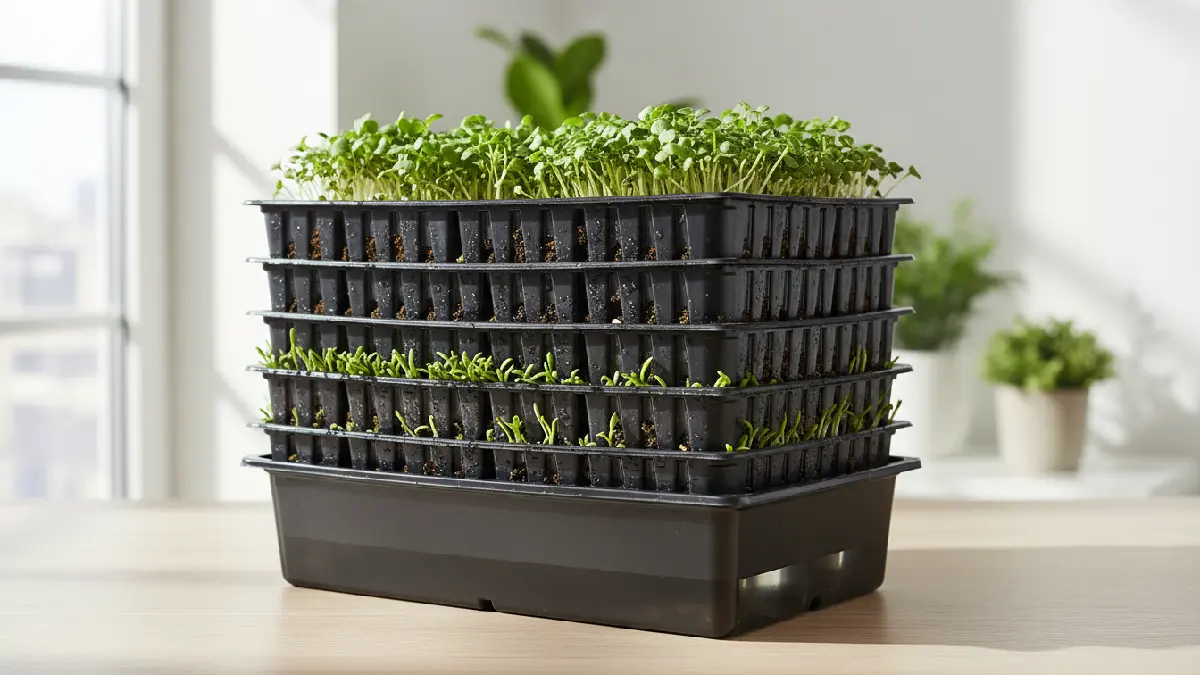
Water that sits too long creates a damp smell and weak stems. Some growers stack a tray with holes inside a solid one for bottom watering. It sounds technical, but it’s simple once you see it.
Seed-Starting Mix or Coco Coir
Use a light growing medium that doesn’t press down too hard. Seed-starting mix works well because it drains properly while holding enough moisture. Coco coir feels cleaner and stays airy. Regular garden soil tends to compact, and compact soil slows everything down in a way you notice quickly.
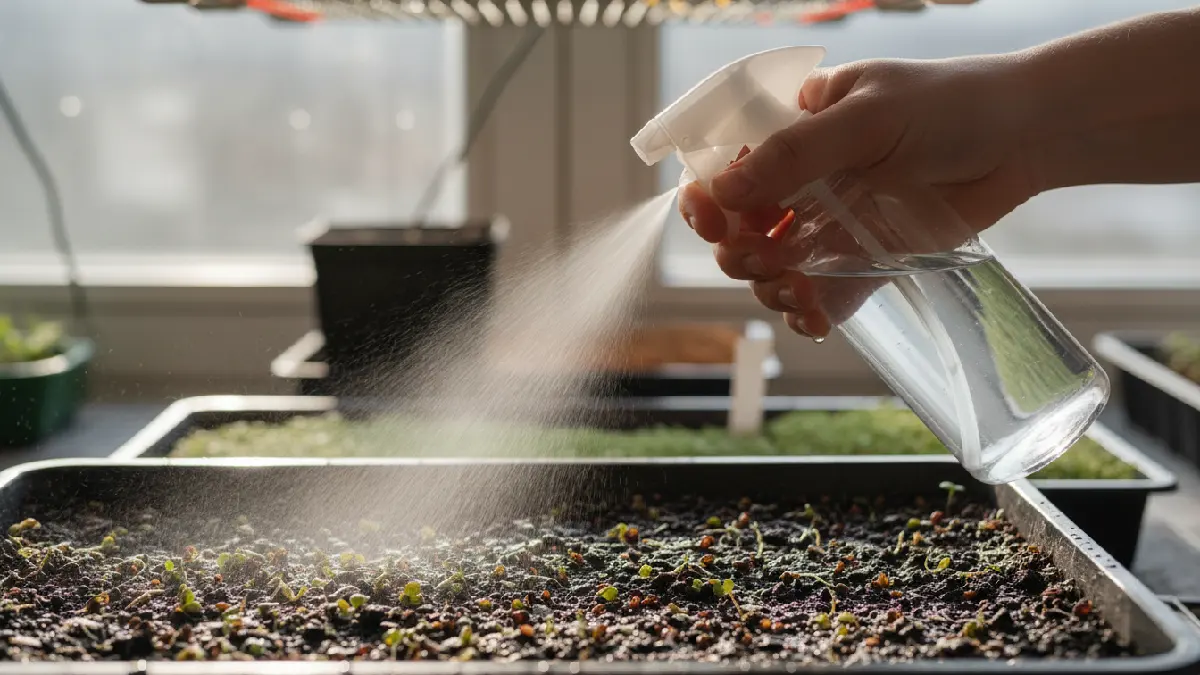
Spray Bottle or Watering Tools
In the beginning, seeds need gentle misting to stay evenly moist. A spray bottle keeps them in place instead of washing them to one side.
After they root, watering from the bottom keeps stems dry and reduces surface issues that nobody wants to deal with.
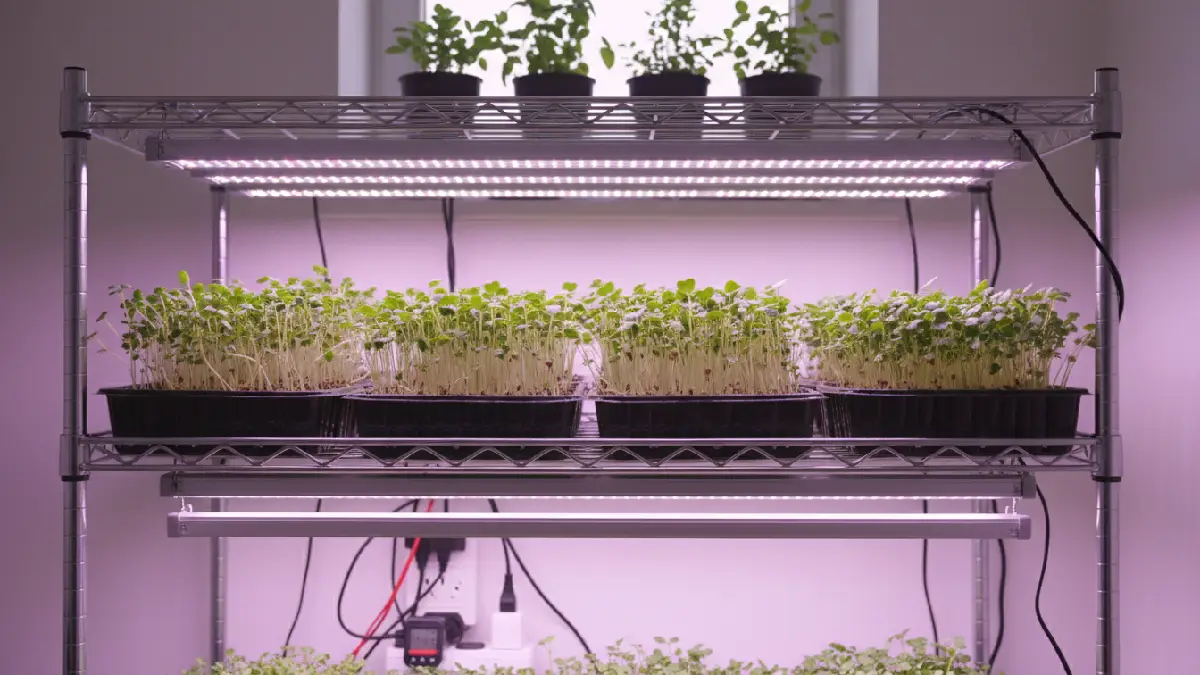
Light Source (Natural or Grow Lights)
A sunny window can support growth if the light stays consistent. Weak or shifting light makes stems stretch and lean. Basic LED grow lights create steadier results, especially indoors, where sunlight changes daily.
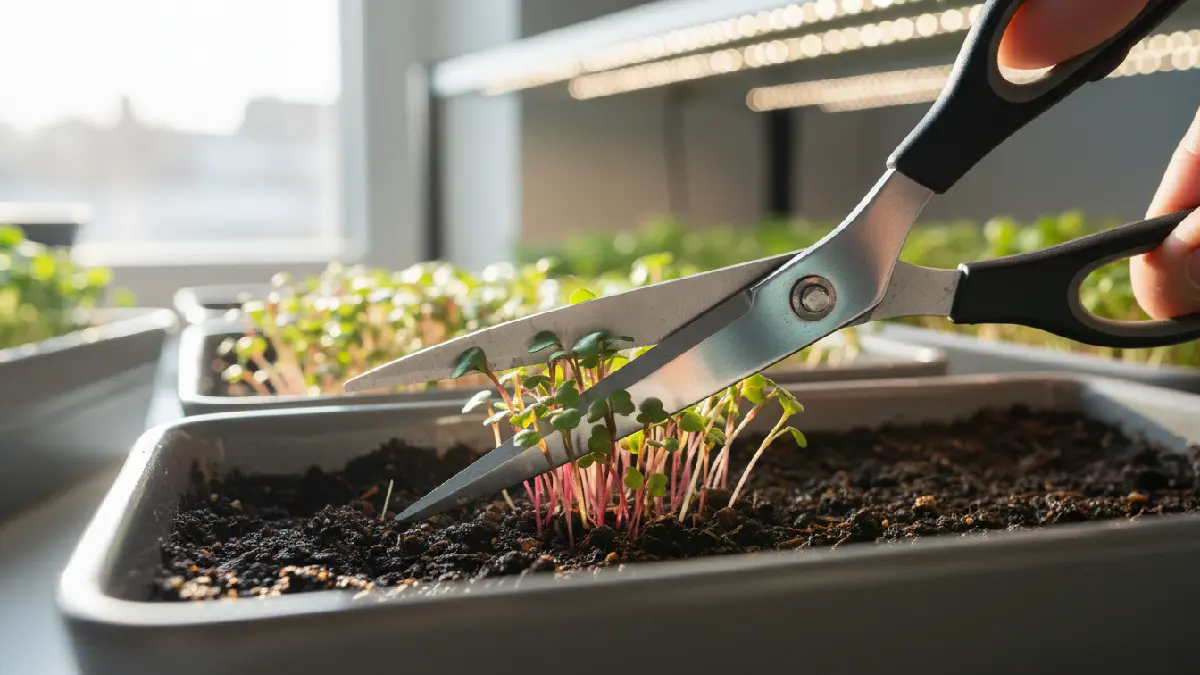
Scissors for Harvesting
You’ll need clean scissors to cut just above the soil line. It’s a small detail, but clean cuts keep the tray tidy and the harvest fresh. That’s it.
No complicated machinery. Just simple tools arranged with a bit of attention.
Step-by-Step Guide to Growing Microgreens
Growing microgreens is simple, but tiny mistakes show fast. I remember the first tray I watered carefully, but some spots stayed pale. Not because I failed. Just small signals I missed. You learn quickly once you notice them.
Prepare the Tray & Soil
Start with a shallow tray, about 1–2 inches deep. Microgreens don’t need deep roots. Drainage holes help prevent water from sitting underneath. Without holes, water can pool, and roots struggle quietly.
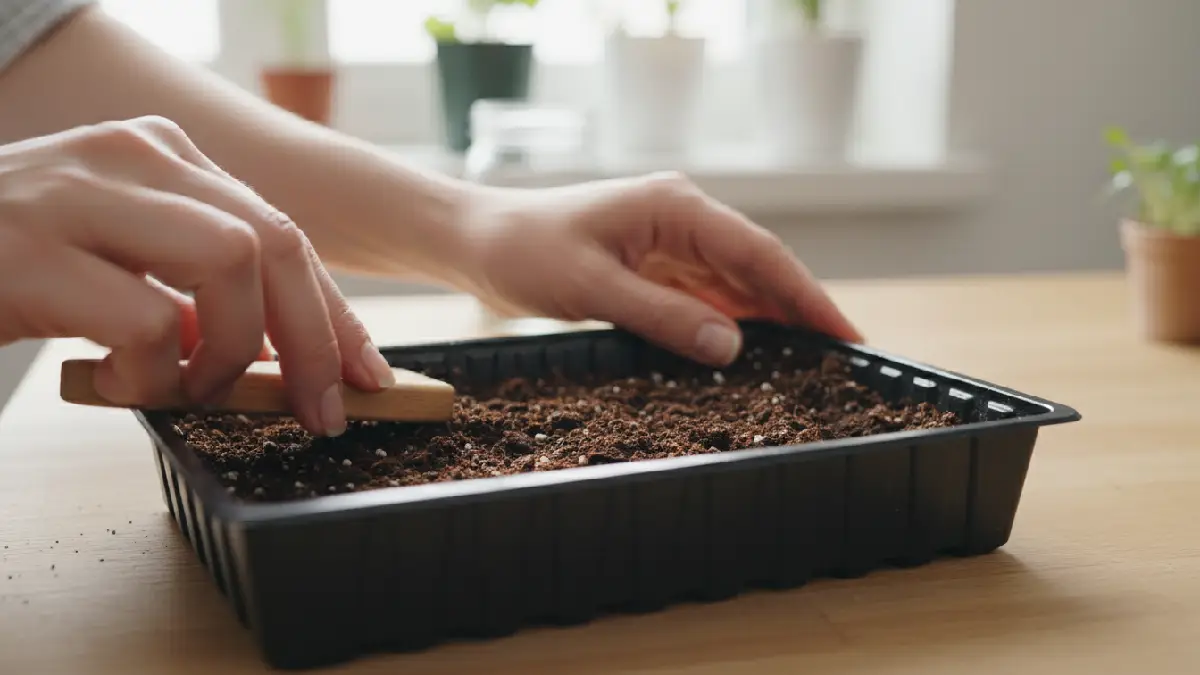
Add seed-starting mix or coco coir to the tray. Keep it loose. Don’t press down. Roots like air pockets. Level the surface with your hand. Uneven soil later gives uneven growth. Mist lightly before sowing. Moist, not soaked.
Sow Seeds Evenly
Spread seeds densely but balanced. Too many on top of each other block airflow. Weak spots appear later. Press seeds lightly so they touch the soil.
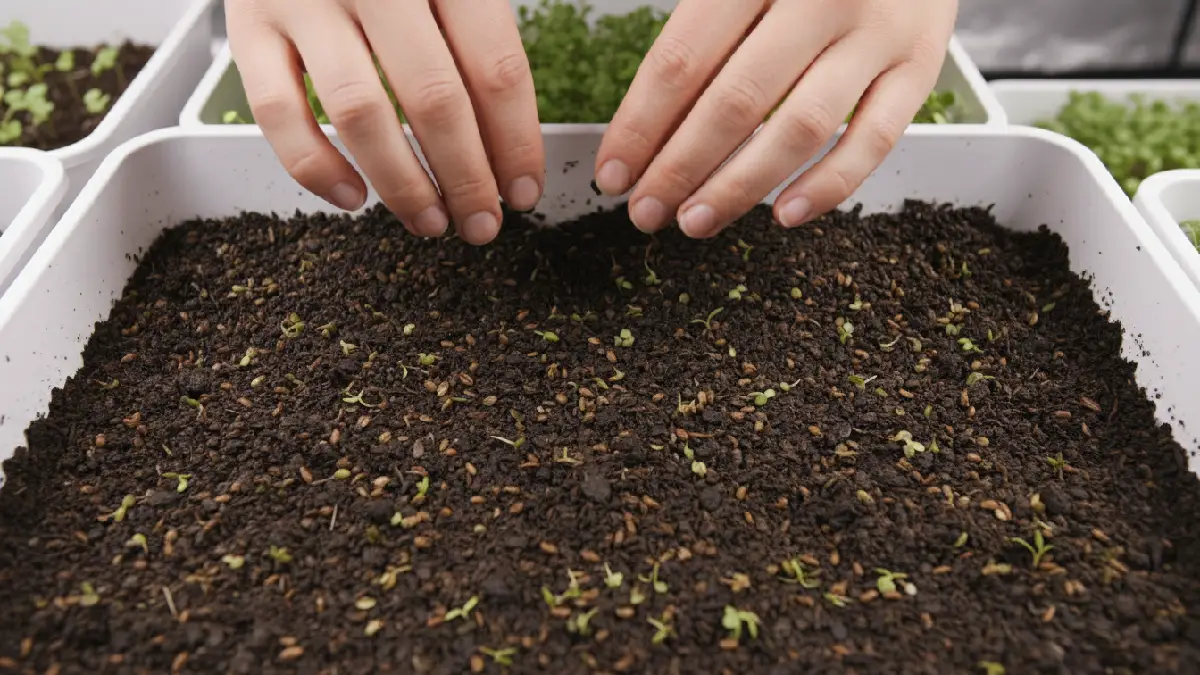
No burying needed. Even spacing keeps stems growing upright and the canopy uniform. Looks better, and harvest feels cleaner.
Water (Mist or Bottom-Water)
In the early days, use a spray bottle. Mist gently to keep seeds damp. Direct pouring can shift seeds. Overwatering shows slowly pale stems, sometimes mold.
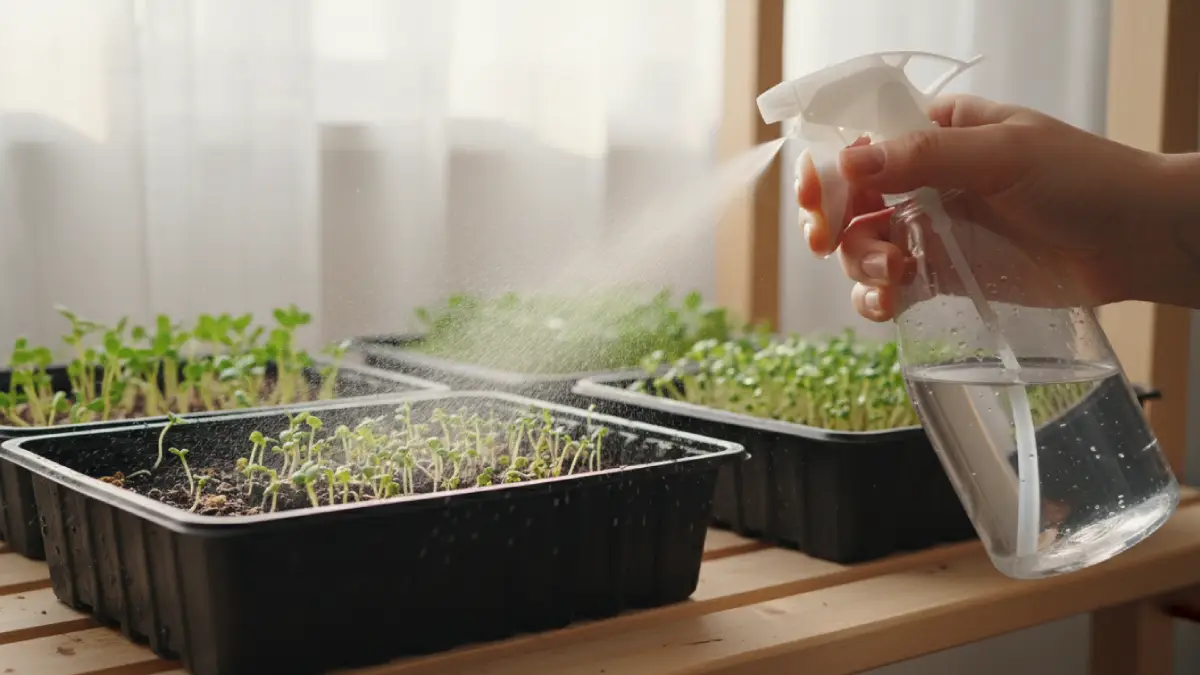
Once the roots anchor, bottom watering works better. The tray sits in shallow water. Soil absorbs moisture from below. Surface stays drier. Stems stay strong.
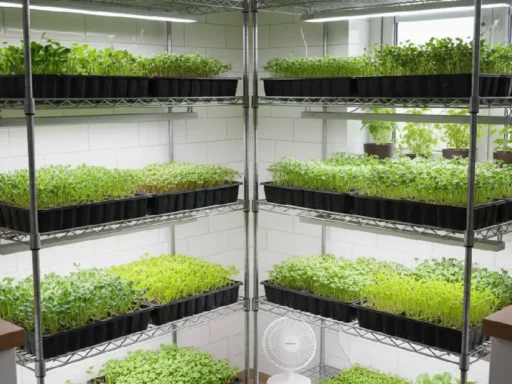
Light and Temperature Setup
Microgreens need 12–16 hours of light daily. A sunny window works if the light is steady. Otherwise, LED grow lights are more reliable. Place a few inches above the canopy. Too far stems stretch. Too close heat builds up.
Room temperature 18–24°C is ideal. Minor adjustments make big differences. For more indoor growing tips, check the hydroponics guide and seed selection guide on Rooted Urban.
When & How to Harvest
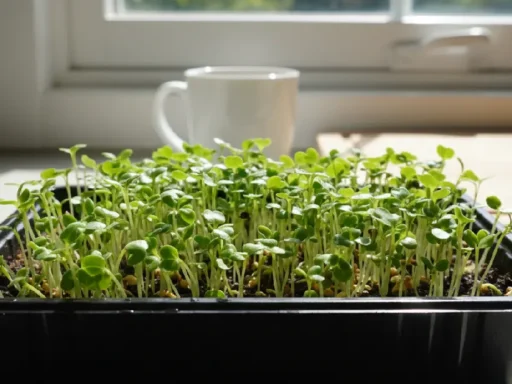
Microgreens are ready when the first true leaves open, usually 7–14 days depending on variety. Stems upright, leaves bright.
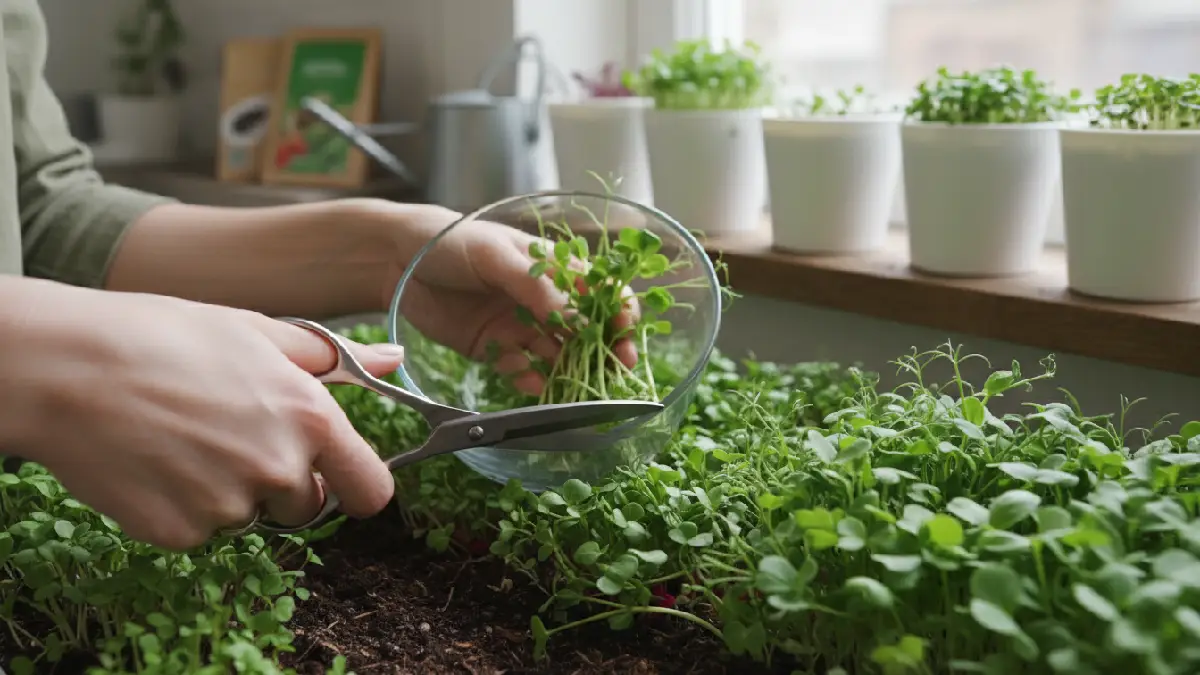
Use clean scissors. Cut just above the soil. Don’t pull roots. Harvest in small sections. Freshness and texture are noticeable immediately.
Common Mistakes & How to Avoid Them
Growing microgreens seems easy, but small errors show up fast. I’ve made all of them myself.
Each tray teaches something new. Here’s what usually goes wrong and how to fix it.
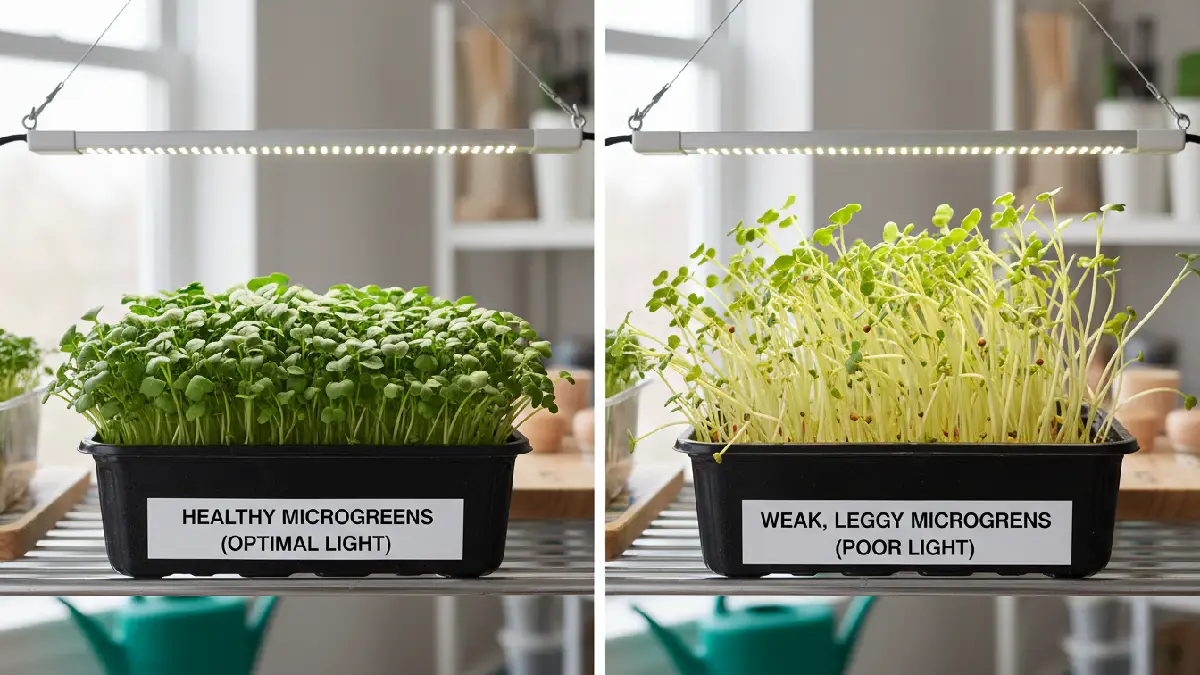
Poor Light → Leggy Growth
Once I put a tray near a window that got only morning sun. By day 10, stems were thin, long, leaning everywhere. Microgreens stretch toward light when it’s weak or inconsistent. Fix it with steady exposure. 12–16 hours of light daily works best. LED grow lights close to the canopy keep stems upright and healthy.
Overwatering → Mold & Root Rot
I remember my first tray; I watered it generously, thinking it would help. Two days later, some seeds started rotting quietly. Water is tricky.
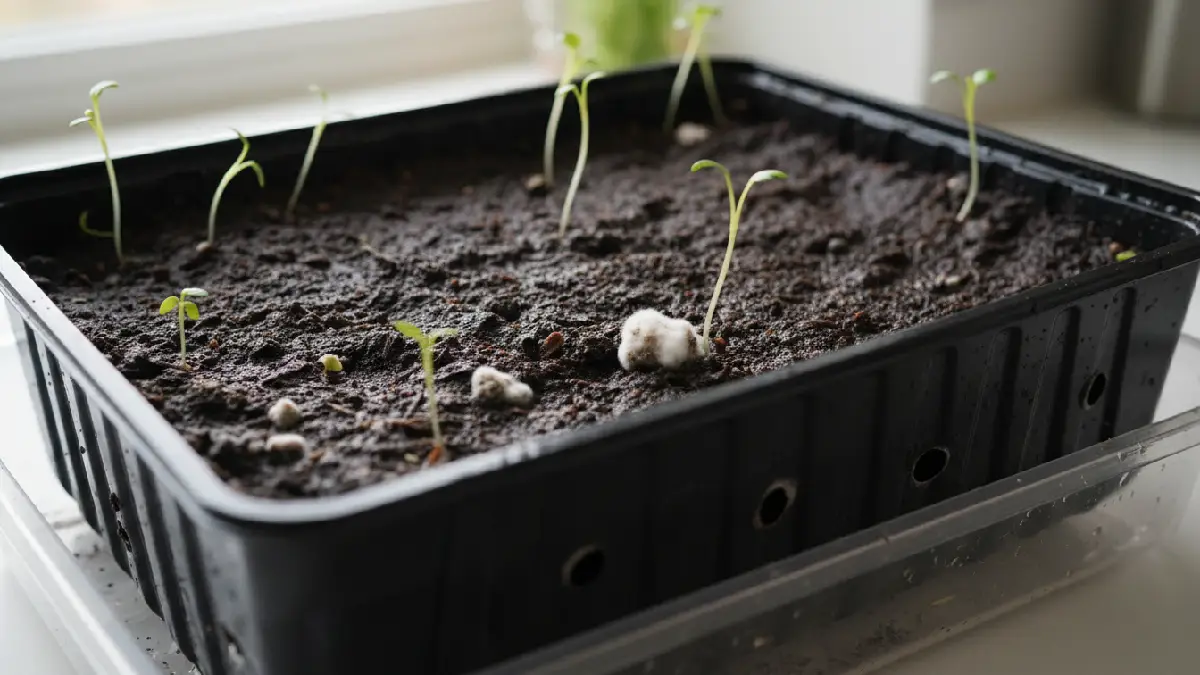
Mist lightly at early stages. Once roots are set, water the bottom trays. Keep the surface damp, not wet. Puddles mold waiting to happen.
No Airflow → Fungal Issues
Closed kitchens or shelves with no air movement are a common trap. I left a tray in a corner once mold appeared faster than I expected. A gentle breeze works wonders. Fan on low or occasional window opening keeps air moving. Stems stay strong, and fungus stays away.
Crowded Seeds → Weak Germination
Some people think “more seeds, bigger harvest.” Wrong. Too many seeds jammed together reduce airflow. Some won’t germinate properly. Press seeds lightly into the soil. Spread evenly. You get fuller, uniform trays without empty patches. Small tweaks solve these issues fast. Once you notice the signals, trays respond well, and microgreens grow thick, upright, and healthy.
Troubleshooting Your Microgreens: Simple Hacks That Actually Work
Even with a perfect setup, microgreens sometimes surprise you. I’ve had trays that looked fine on day one but developed pale spots, uneven growth, or tiny white fuzz a few days later.
Each tray teaches something new. Over time, I found small hacks that fix problems quickly without fancy tools.
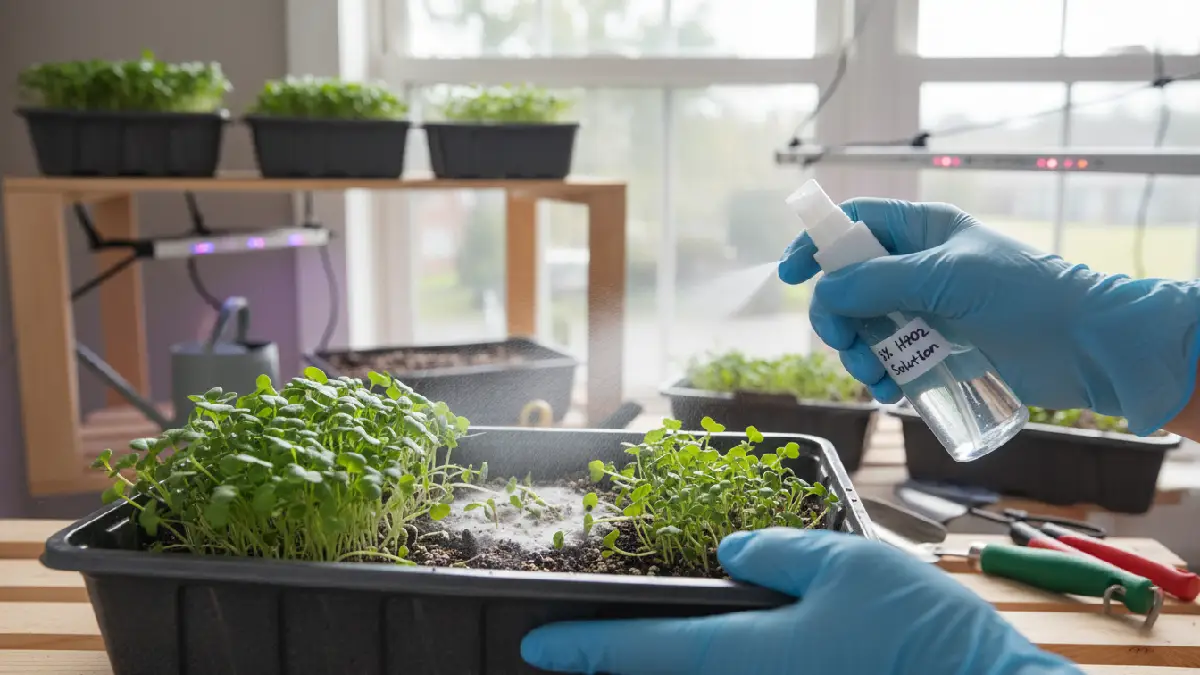
Prevent Mold with a Light Hydrogen Peroxide Spray
A tiny hydrogen peroxide mix works wonders. Just one teaspoon in a cup of water. Spray lightly over the soil if white fuzz appears. It kills mold spores but doesn’t hurt the seedlings. I had one tray showing damp patches the next day, but it looked healthy again. Quick, easy, zero stress.
Bottom Watering Keeps Roots Strong and Soil Balanced
Watering from below is easier than it sounds. Place your tray in shallow water for a few minutes. Soil soaks moisture slowly, surface stays drier.
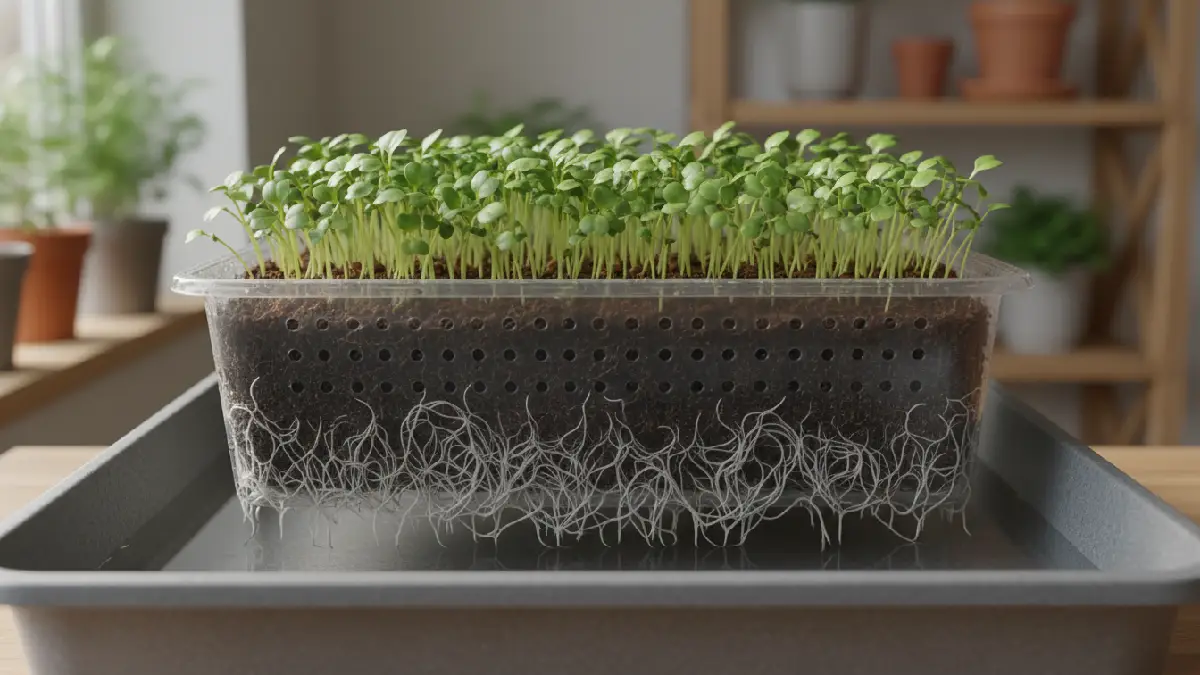
No more soggy roots or surprise mold. I used to pour from above all the time, the top got soaked, the roots struggled, and mold popped up quietly. Bottom watering fixes that effortlessly.
Rotate Trays for Even Light and Upright Stems
Light direction matters more than most beginners think. I once left trays near a corner window. By day ten, stems leaned everywhere. Rotating trays every day or two gives them balanced exposure. They grow upright, leaves open evenly, and the harvest looks fuller and simpler, with visible results with almost no effort.
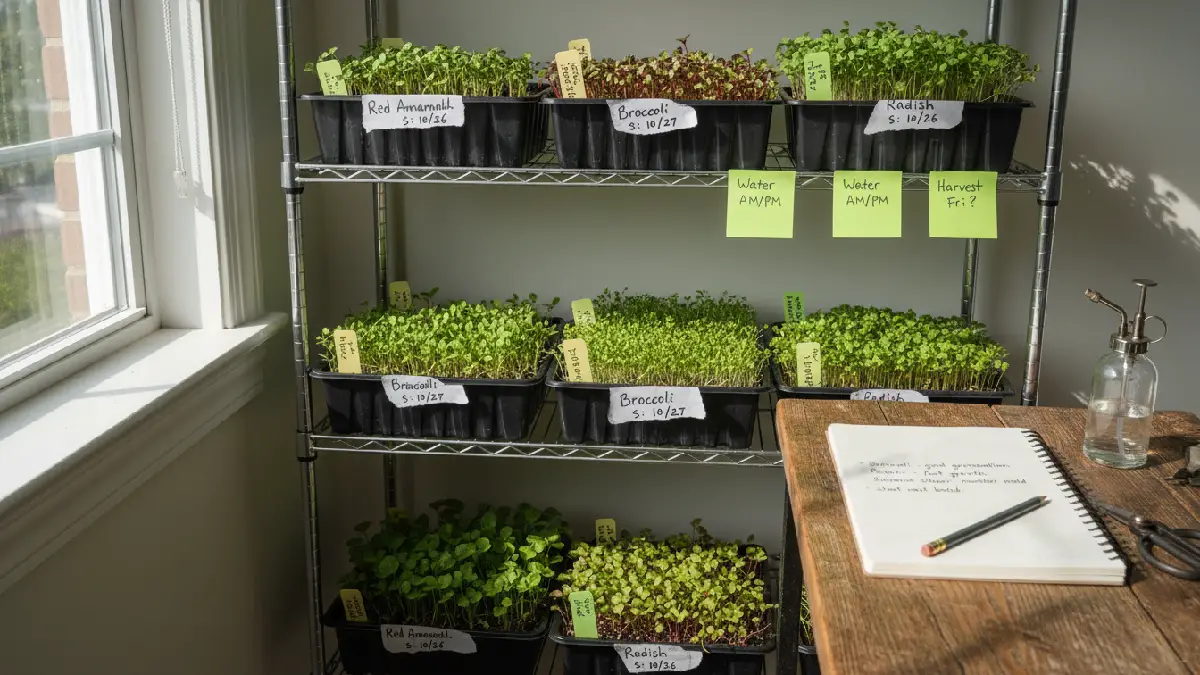
Keep Labels and Notes to Track Your Progress
Every tray tells a story. I started adding sticky labels and jotting notes: seed type, sow date, light hours, watering style. Later, I could compare trays and see which germinates faster and which dries first. It’s like a mini diary for your greens. Helps you learn faster and grow smarter.
Small observations, tiny tweaks, and practical hacks like these turn beginner mistakes into predictable outcomes. Microgreens respond fast once you notice what they actually “want.”
How to Store Your Microgreens After Harvest: Keep Them Fresh Without Losing Flavor
Cutting microgreens is always satisfying. The tray looks empty, but your hands are full of vibrant greens. You think “done,” but storing them properly is where most people mess up.
Leave them wrong, and they wilt fast, turn soggy, or even mold in a day. A few small tricks change everything.
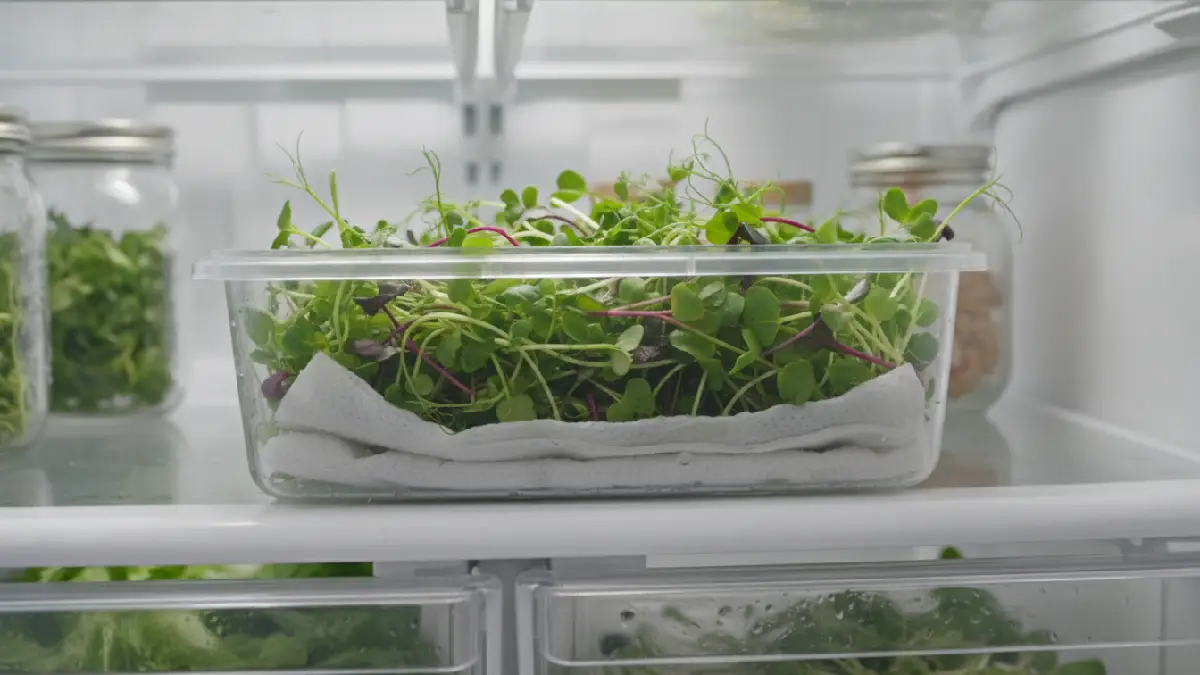
Chill Them in the Fridge
Microgreens hate heat. Right after harvest, put them in the fridge. I usually use a small container or a loose bag. Don’t seal too tight they need a bit of air. Vegetable drawer works best. Keeps temperature steady, stems firm, leaves crisp.
Paper Towels Are a Simple Lifesaver
Here’s something I learned the hard way. Line your container with a dry paper towel. Put microgreens on top. Cover gently with another towel. The paper soaks up any extra moisture. Keeps leaves from getting limp or slimy. One tray, I ignored this trick? Gone in two days. Another tray with towels? Crisp for almost a week.
Quick Storage Tips
- Don’t wash before storing. Wash only when ready to eat.
- Use within 5–7 days for the best taste and texture.
- Replace paper towels if they get damp.
Small, simple steps make a huge difference. Follow these, and microgreens stay vibrant, fresh, and flavorful much longer.
FAQs
No schema found.Conclusion: Start Your Microgreens Journey Today
Growing microgreens is easier than it looks. You don’t need fancy equipment or a big kitchen. Just a tray, some seeds, a bit of light, and attention. In 7–14 days, you can have fresh, green microgreens ready to eat.
Focus on the basics. Prep your tray, spread seeds evenly, water gently, and make sure they get enough light. Watch for small mistakes like mold or overcrowding, but don’t stress. Tiny tweaks make a big difference. Rotate trays, keep airflow, and use paper towels when storing.
The most fun part? You see results fast. One week, maybe two, and your first tray is ready. Each tray teaches something new. You’ll learn which seeds sprout fastest, which trays dry out first, and how to keep them healthy.
Start with a small tray. Observe. Harvest. Taste. Enjoy. Before long, you’ll be growing different varieties, trying new flavors, and adding fresh greens to your meals every day. It’s simple, satisfying, and a little experiment every time. Your first tray is just the beginning, fresh, green, and ready to make your kitchen a little healthier.