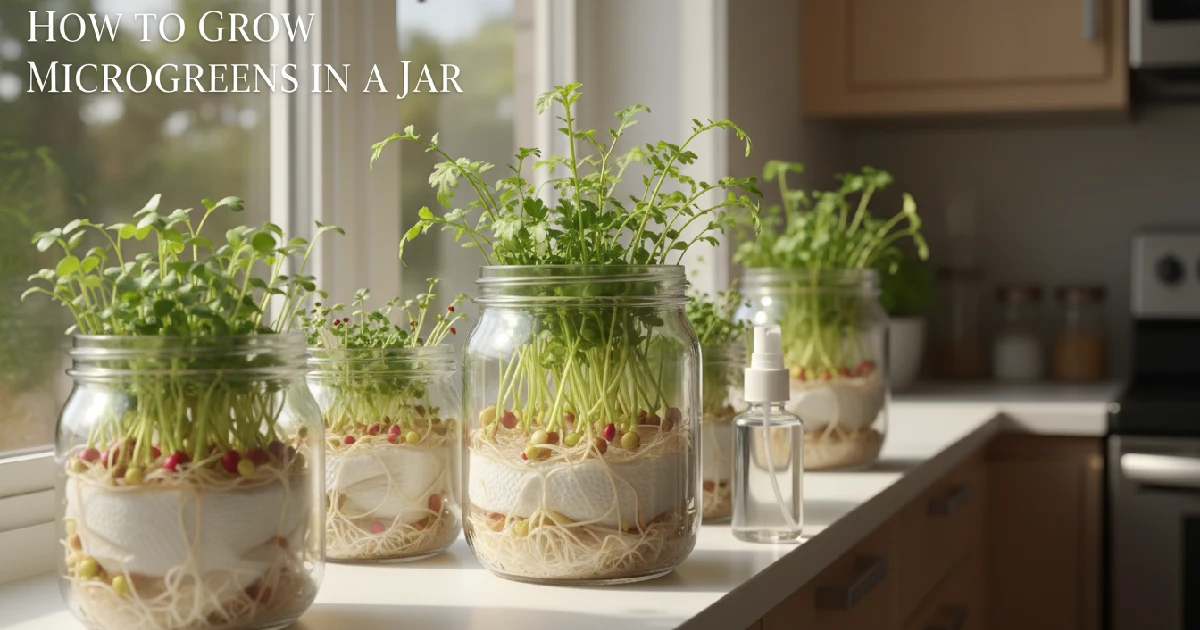
The Ultimate Guide to Growing Microgreens in a Jar
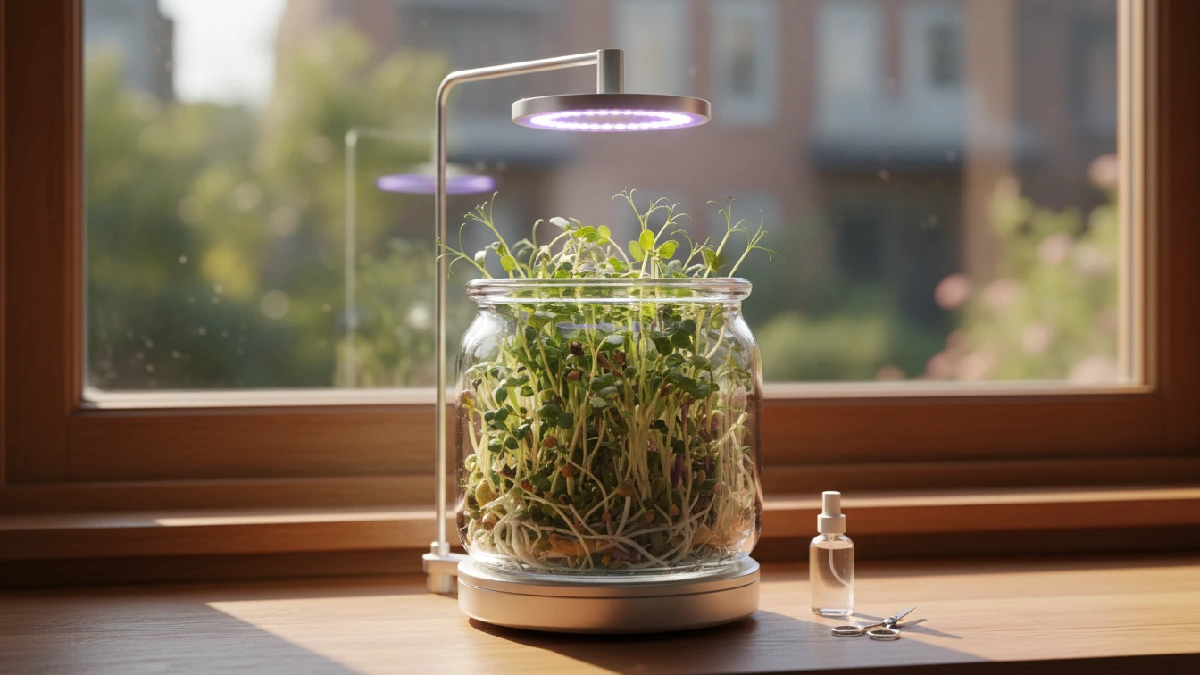
How to grow microgreens in a jar feels. Tiny seeds, little water, soft shoots. No soil mess. Windowsill works. The kitchen counter works too. Jars stack neatly. Easy to peek every day. Leaves stretch green. Flavor pops. Nutrients are packed inside. Vitamins, antioxidants, energy hits subtly.
Beginners grin. Effort small, reward big. Each jar tells a story. Tiny leaves, huge impact. Quick sprout, fast growth, simple steps. Watching roots curl, shoots push, leaves open, it feels alive. Microgreens in a jar make a home lively. Food tastes fresh. Growth surprises daily.
What Are Microgreens?
Microgreens tiny, young plants. Leaves soft, stems tender. Sprouted from seeds, usually a week or two old. Packed with flavor. Nutrients stacked inside. Vitamins A, C, and K, antioxidants wait quietly. Easy to grow indoors. Windowsill, kitchen corner, balcony, small, works anywhere.

Seeds sprout fast. Shoots push up. Leaves pop green. Energy feels subtle but real. Meals lift instantly. Beginners smile. Effort small, reward big. Watching tiny plants grow surprises me daily. Every tray tells a story. Tiny leaves, huge impact.
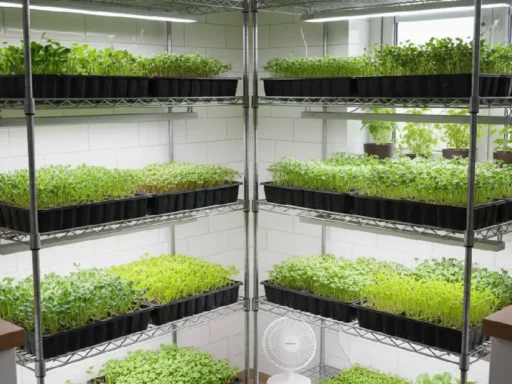
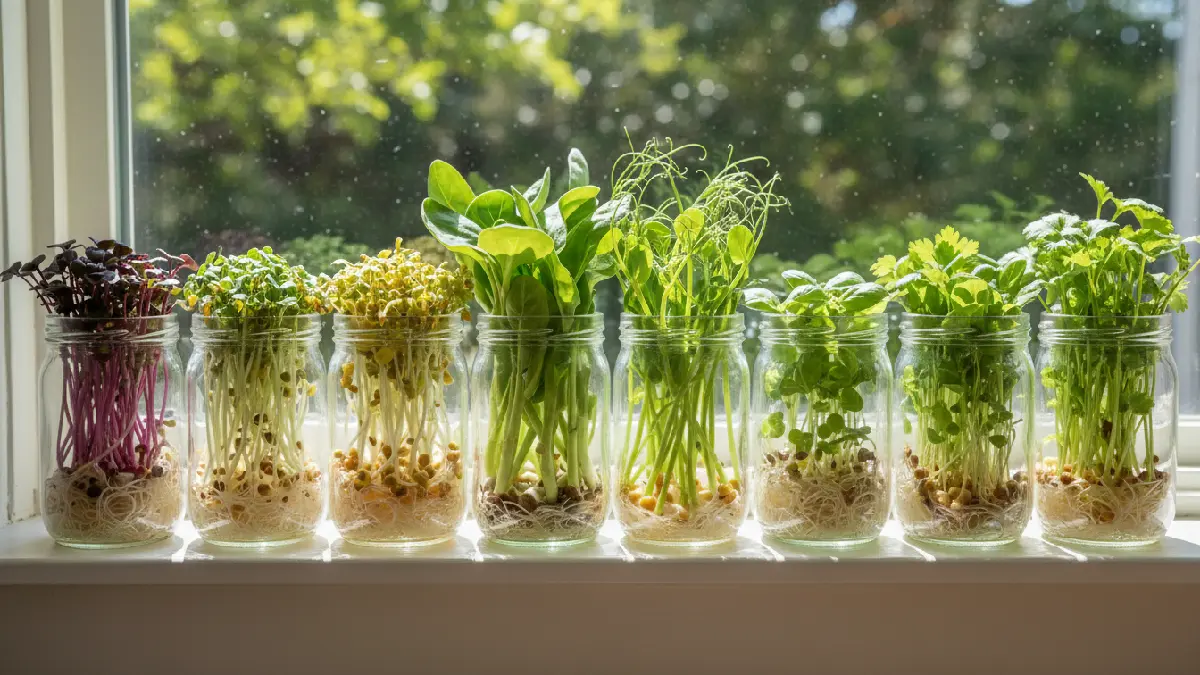
Why Grow Microgreens in a Jar?
Jars small and simple. No trays, no mess. Seeds soak, sprouts push up. Water is easy to manage. Counter or windowsill fits. Watch roots grab moisture. Growth feels alive. Perfect for kitchens, apartments, and tiny spaces. Beginners love seeing quick shots. Harvest fast, clean. Flavor hits strong.
Energy from fresh greens instantly. Tiny jar, big impact. Each batch tells a story. Mistakes are easy to fix. No heavy setup. Herbs, radish, and broccoli work well. Jars teach patience. Leaves small, taste is sharp. Microgreens in jars turn corners into green spots. Quick wins, low effort, big reward.
Benefits of Using a Jar
Growing in a jar is simple. No soil mess. Water is easy to control. Roots visible, growth exciting. Perfect for small spaces, windowsills, and counters. Harvest fast, usually in a week. Flavor strong, nutrients packed. Cleanup quickly, jars are reusable.
Seeds sprout evenly, and mistakes are easy to fix. Tiny effort, big reward. Each jar tells a story. Beginners enjoy watching shoots push up daily. Herbs, radish, and broccoli do well. Energy feels real. Microgreens are small, impact huge impact.
Jar vs Tray: Which Method Works Best?
Jars are neat, small, and simple. Great for windowsills, tiny kitchens, and indoor fun. Easy to watch roots. Fast harvest, usually in a week. Cleanup quick, reuse easy. Trays hold more seeds, bigger harvest. Good for markets, cafés, and restaurants. Light and airflow matter more.
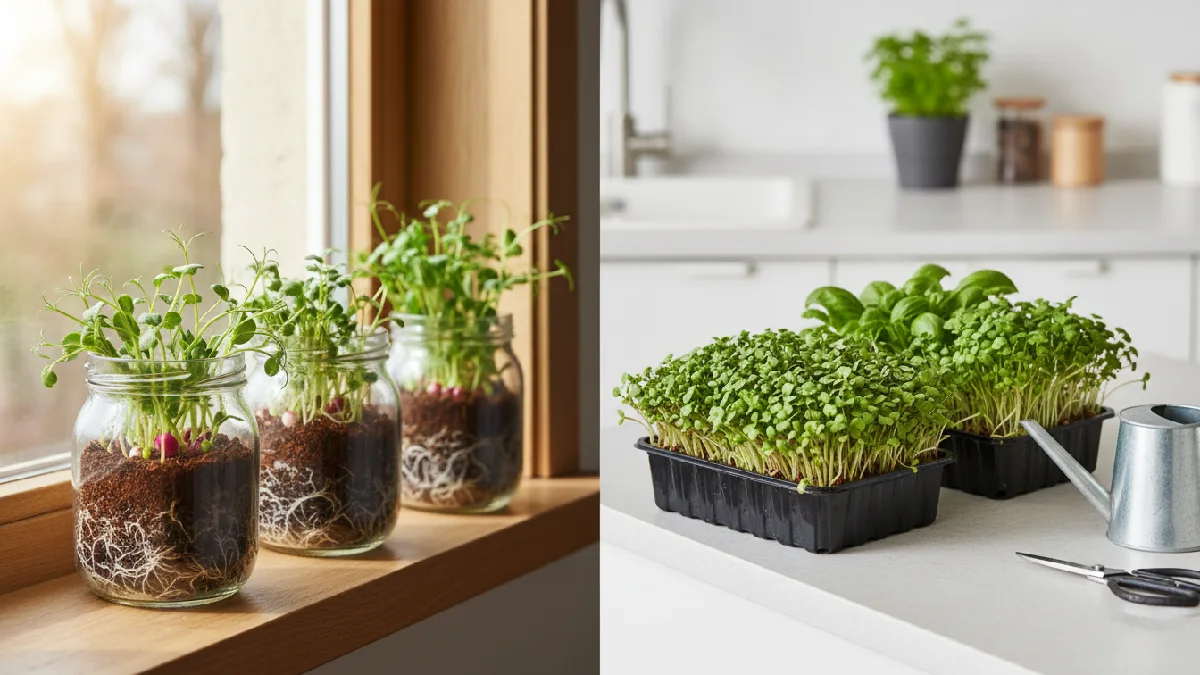
Setup bigger space needed. Mist or nutrient solution needed. Beginners start with jars. Low cost, low risk. Trays suit scaling up. Energy feels different. One small tray can feed friends, one jar teaches patience. Choice depends on goals, space, and how much green you want.
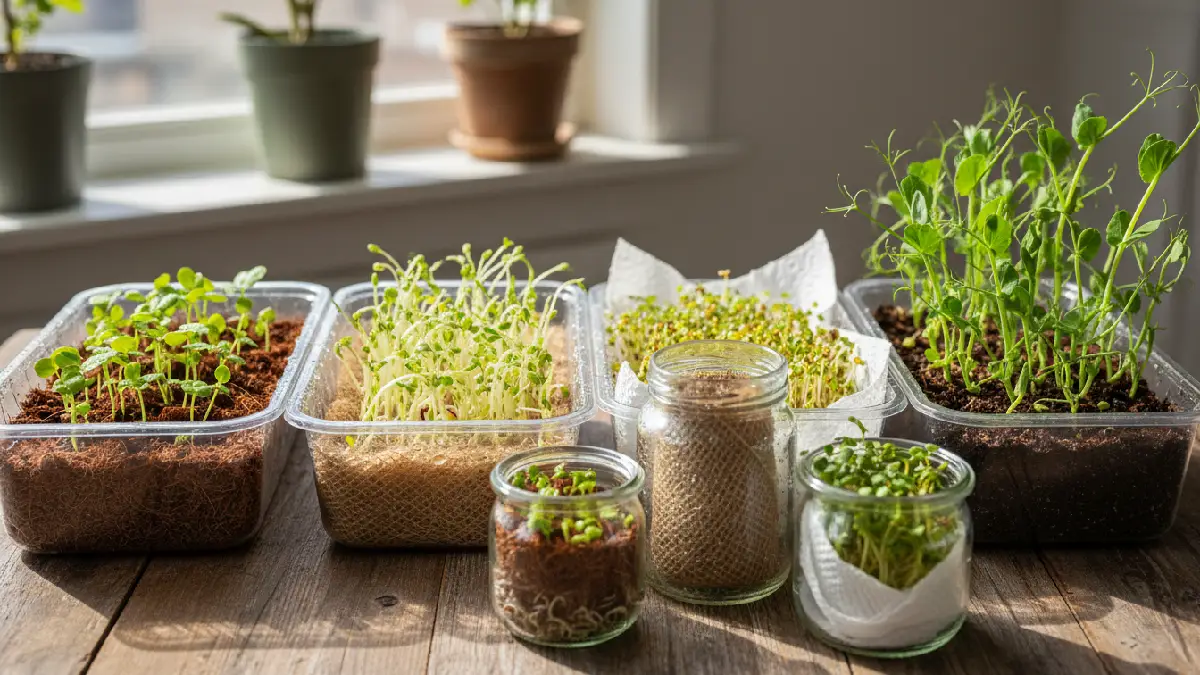
Materials Needed to Grow Microgreens in a Jar
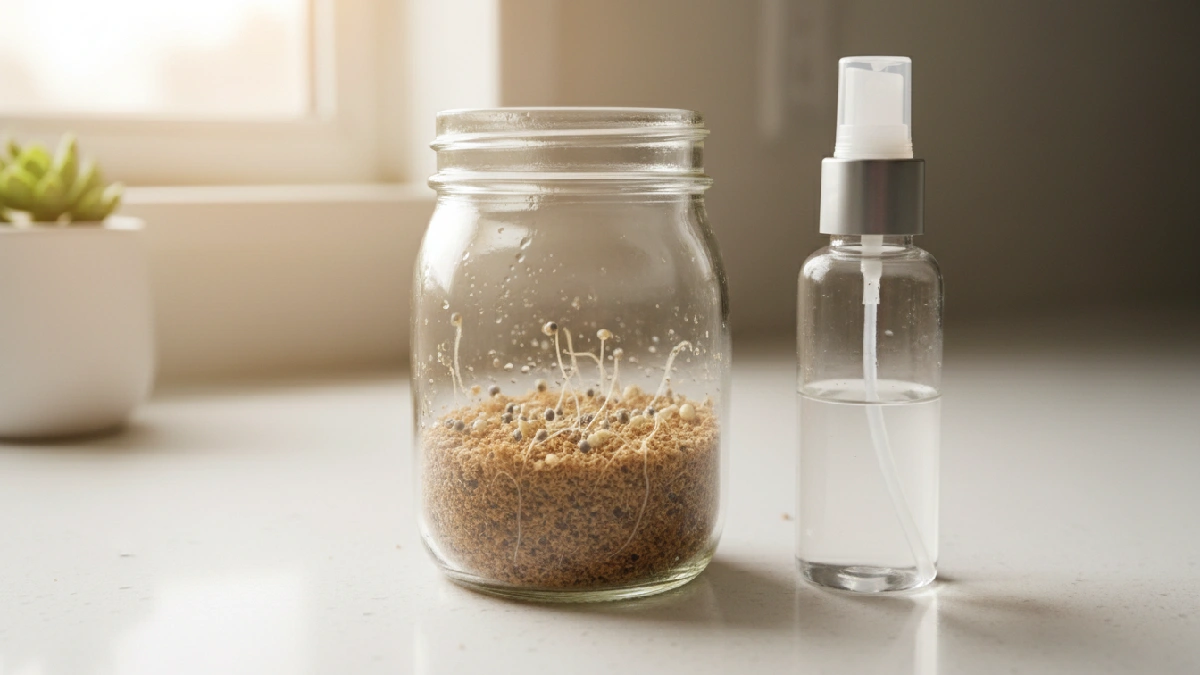
Growing microgreens in a jar feels easy, but it needs the basics. Clear glass jars first. Wide mouth better. Seeds next. Radish, broccoli, sunflower, fast, forgiving. Water matters. Filtered or clean tap works. Medium optional. Coir, hemp, or paper towels hold roots. A small spoon or funnel helps scatter seeds.
A lid or mesh keeps airflow and stops too much moisture. Light needed. The window works. LED is steady indoors. Clean jars. Mold sneaks fast. Mist gently. Watch daily. Roots grab medium, shoots push up. Effort small. Reward visible. Each jar tells a story. You tweak, learn. Tiny leaves, big impact.
Choosing the Right Jar
Pick a jar that fits your space. Wide mouth works best, seeds spread evenly. Glass is clear, easy to see roots. Small jars good for experiments. Bigger jars handle more shoots. Clean jar matters, prevents mold. Lid or mesh lets air in, keeps humidity balanced.
Avoid old jars with scratches. Water flow matters; seeds need damp, not soaking. Beginners start small, watch growth daily. Each jar teaches. Tiny leaves, big reward. Energy feels real.
Best Growing Medium for Microgreens
Microgreens need support to grow strong. Coir is soft, holds water, and roots love it. Hemp mats are clean, reusable, and steady. Paper towels are cheap, fast, and dry quickly. Soil works too, but messier. Seeds need contact, not drowning. Depth shallow, just enough for roots. Drainage matters; roots hate sitting water.
Beginners mix media, see what pops best. Each tray or jar reacts differently. Mist lightly. Observe daily. Tiny leaves push up fast. Effort small, reward big. Flavor strong, nutrients packed. Growth feels alive. Every batch tells a story. Microgreens are tiny, impact is huge.
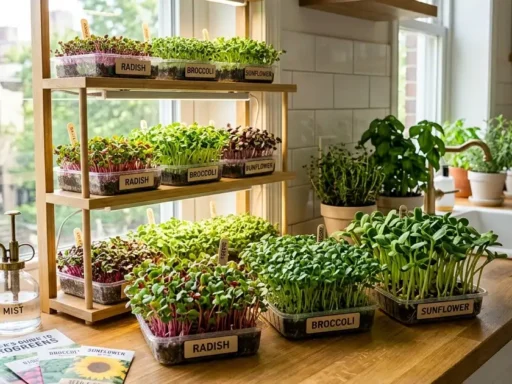
Top Seeds for Jar Gardening
Radish sprouts pop fast. Tiny jars, little space, big green. Sunflower seeds grow more slowly. Leaves thick, stems strong. Broccoli, mustard, and arugula are easy too. Small seeds first. Beginners notice fast growth. Spread seeds evenly. Mist lightly.
Roots grab water, stay cozy. Rotate jars, peek daily. Some seeds prefer dark first, then light. Taste sharp, vitamins stacked. Try a mix. Color pops. Energy feels real. Tiny effort, big reward. Watch sprouts, learn that each jar behaves differently.
Step-by-Step Guide on How to Grow Microgreens in a Jar
Start with a clean jar. Seeds ready. A paper towel or a damp cloth. Place inside the jar. Spread evenly, not crowded. Water lightly. Mist if dry. Cover the jar loosely. Dark spot first few days. Watch sprouts push. Roots grab a cloth or towel. Every day peek. Move to light when tiny leaves show.
The window works, LED better if dark. Mist gently. Rotate the jar sometimes. Leaves grow green fast. Harvest when true leaves appear. Cut above the roots. Eat fresh. Storage is short, fridge works. Every jar tells a story. Tiny effort, big reward. Beginners smile. Growth excites.
Step 1: Prepare the Jar
Start with a clean jar. Glass works best. Wide-mouth easier. Wash with warm water and mild soap. Rinse well. Dry fully. Leftover moisture makes mold. Optional: soak in vinegar. Pick a jar size. Small for radish, mustard. Bigger for sunflowers, pea shoots. Lid or mesh ready.
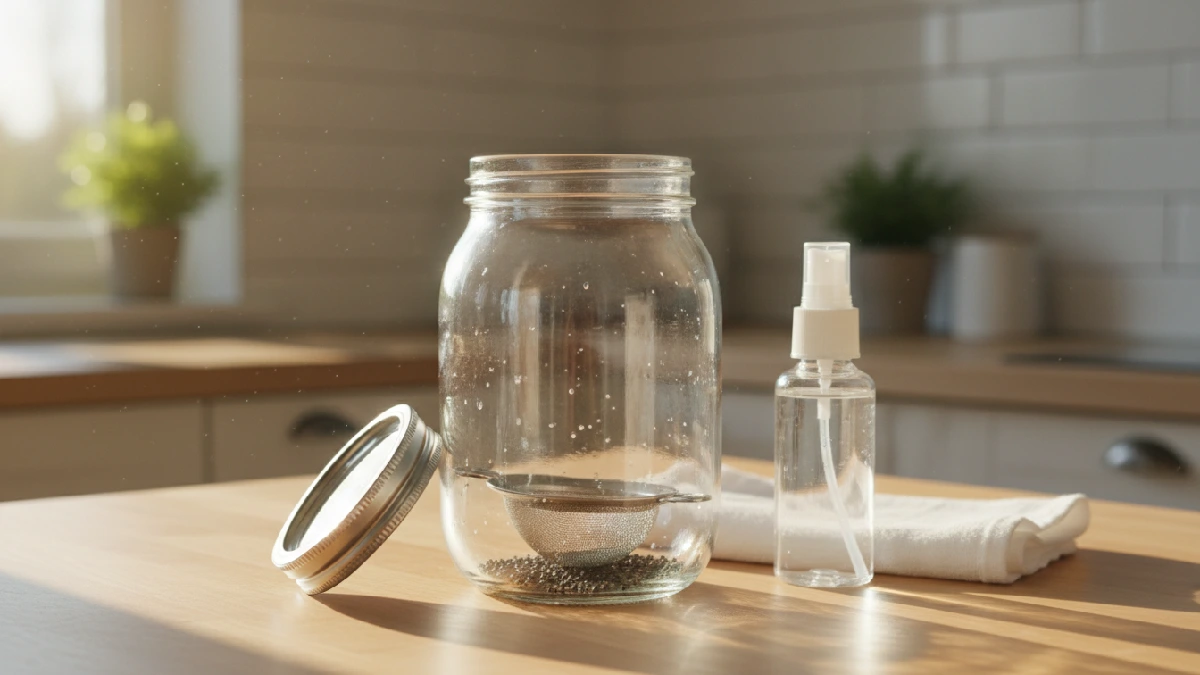
Airflow matters. Jar tiny ecosystem. Every detail counts. Beginners notice fast. A clean jar helps roots grab the medium. Shoots push up strongly. Tiny effort now saves mistakes later. Each jar tells a story. Energy feels real. Seeds are ready, growth starts.
Step 2: Soak Seeds (If Required)
Some seeds need soaking first. Radish, broccoli, and mustard are optional. Sunflower peas soak longer. Use clean water, just cover the seeds. Soak few hours to overnight. Check size, plump seeds are ready. Drain well. Too much water? Seeds rot. Too little? Slow sprout.
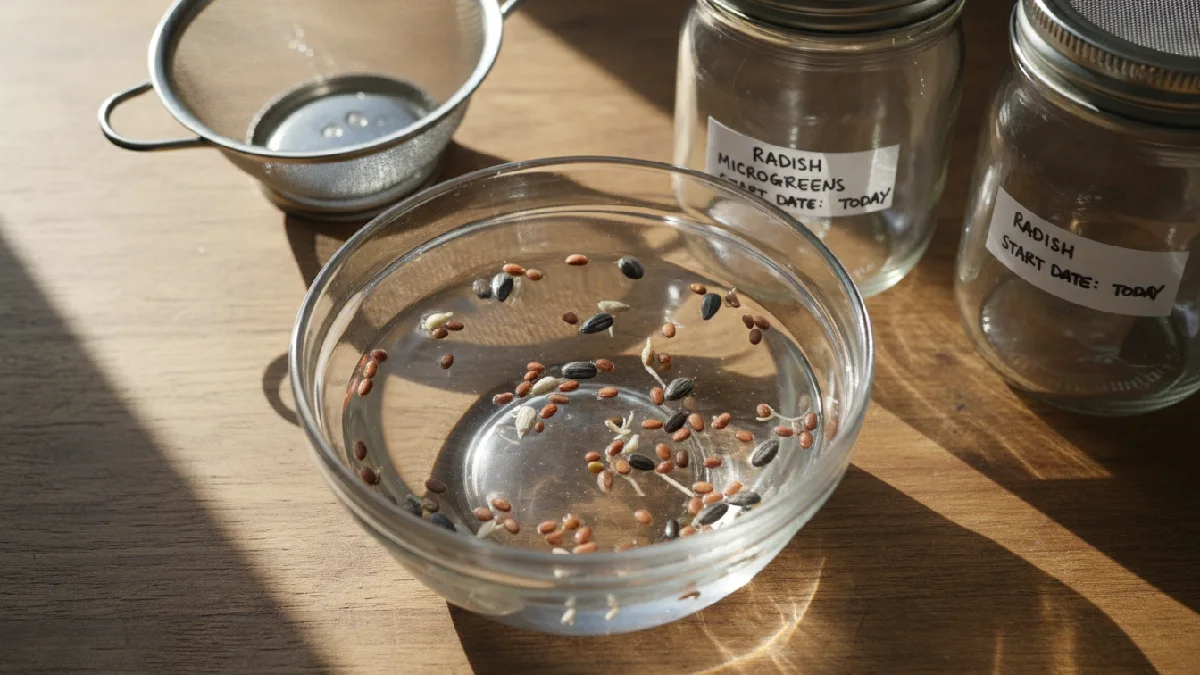
Gentle rinse after soaking. Handle seeds carefully. Tiny effort, big difference. Beginners notice fast. Seeds feel alive, ready to grow. Each jar tells a story. Energy grows as sprouts push up. Microgreens are tiny, impact huge impact. Fun starts now.
Step 3: Add Growing Medium
Pick your medium: coir, hemp mat, or paper towel. Thin layer enough for roots to grab. Don’t overfill the jar. Medium damp, not soaking. Spread evenly. Seeds need contact. Roots hate waterlogging. The light layer helps air reach the seeds. Optional: sprinkle tiny nutrients if using coir.
Beginners notice fast. Tiny tweaks change growth. Each jar reacts differently. Watch daily. Energy feels real as shoots push up. Effort small. Reward big. Microgreens are tiny, impact huge impact. Every jar tells a story. Patience matters. Growth shows fast.
Step 4, Sow Seeds Evenly
Scatter seeds carefully over the medium. Not crowded. Tiny seeds need space. Larger seeds, like sunflower need more room. Press lightly so the seeds touch the medium. Mist gently after sowing. Check for clumps, separate if needed. Beginners notice fast.
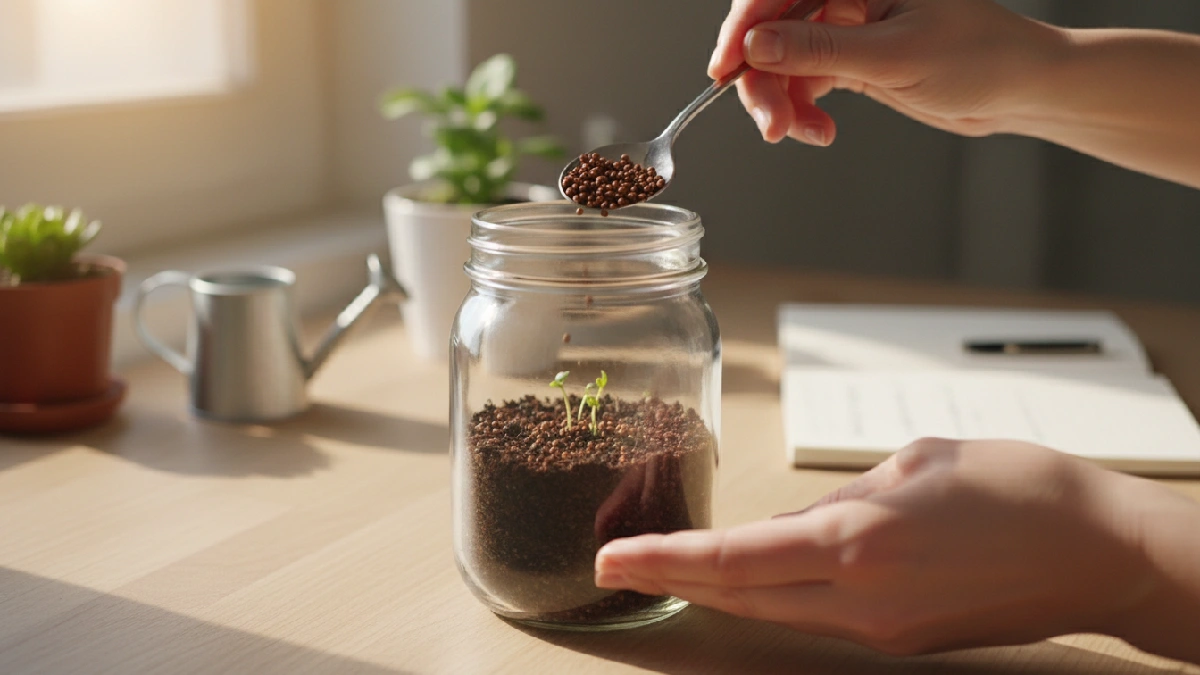
Each seed matters. Roots grab medium, shoots push green. Energy feels alive. Tiny effort, big reward. Every jar tells a story. Growth shows daily. Microgreens are small, impact huge impact. Watch seeds pop into tiny leaves. Fun starts now.
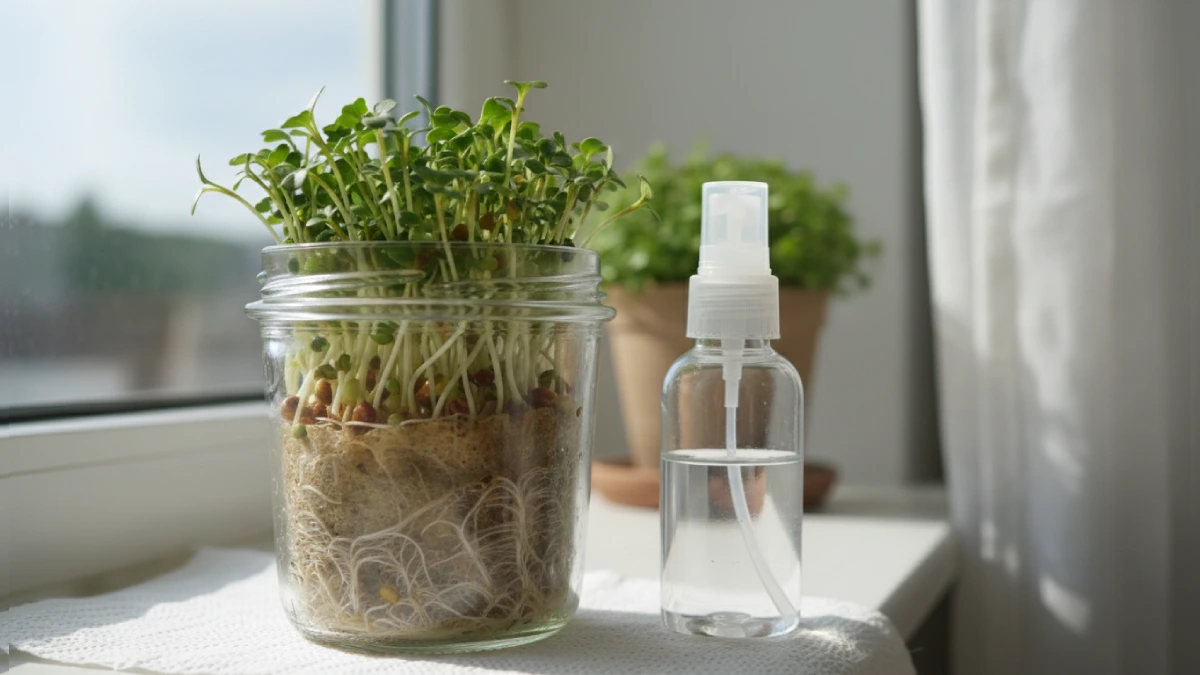
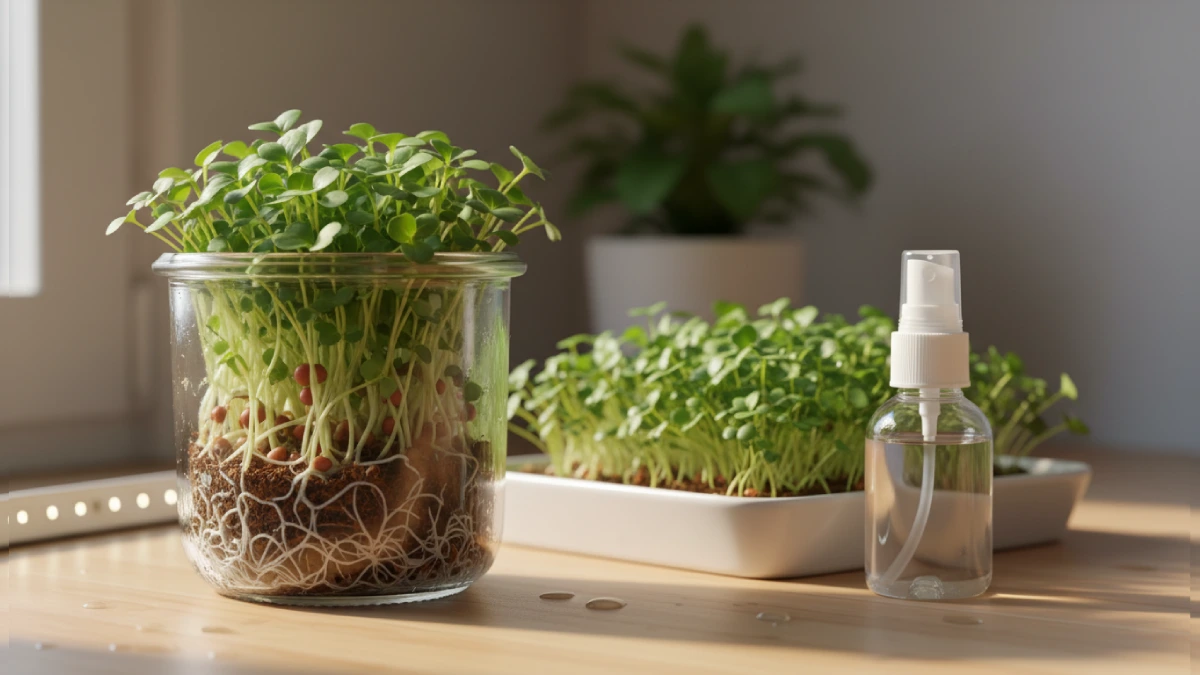
Step 5, Watering and Mist Techniques
Water carefully, not too much. Seeds need damp, not soaking. Mist lightly with a spray bottle. Check the medium daily. Roots hate sitting water. Too dry? Seeds slow. Too wet? Mold pops. Beginners notice changes fast. Gentle mist keeps leaves crisp.
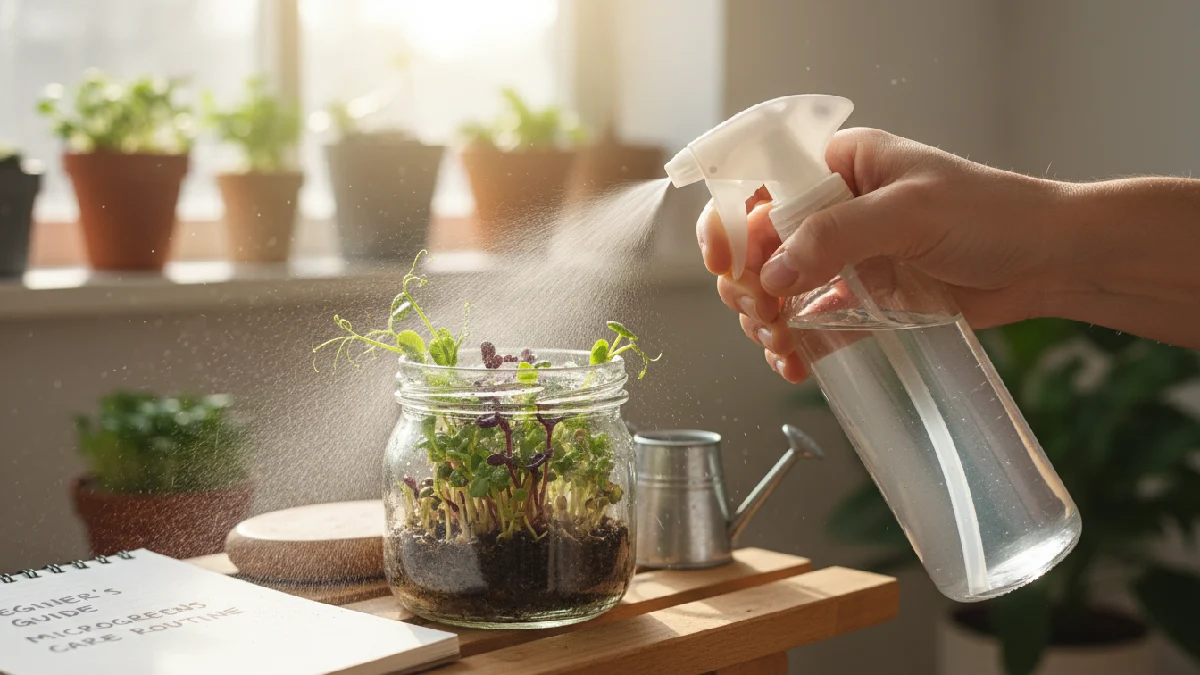
Rotate the jar if the light is uneven. Tiny effort shows big results. Energy feels real. Shoots push up green. Every jar tells a story. Microgreens are small, impact huge impact. Watch growth daily. Fun, simple, rewarding.
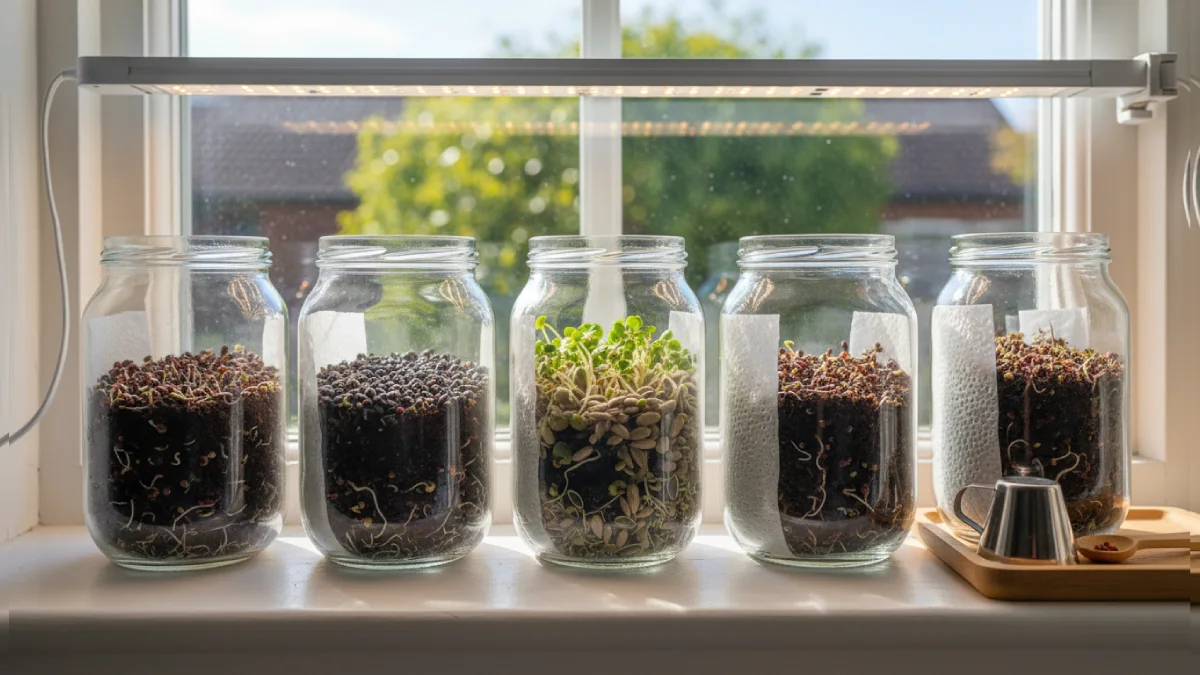
Step 6, Blackout Phase for Germination
Some seeds need dark first. Radish, broccoli, and mustard benefit. Cover the jar with a cloth or lid. Keep in a dark corner. Check daily. Mist lightly if medium dries. Roots grab moisture. Shoots stay hidden, stretching. A few days is enough, usually two to four.
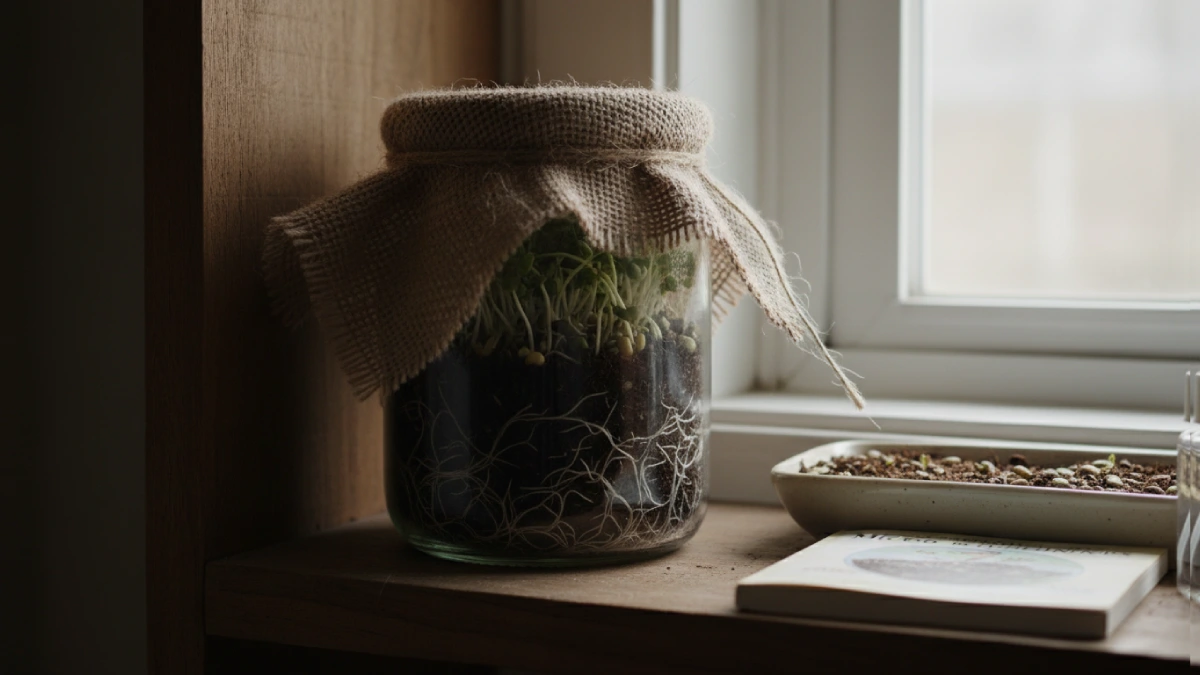
Remove cover after sprouts appear. Beginners notice changes fast. Tiny effort, big reward. Energy feels real. Microgreens are small, impact huge impact. Every jar tells a story. Growth hidden, then suddenly green. Excitement builds. Fun starts here.
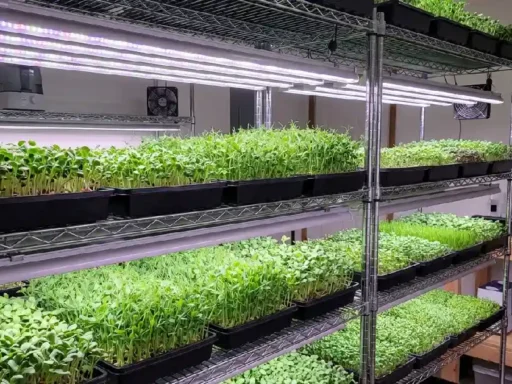
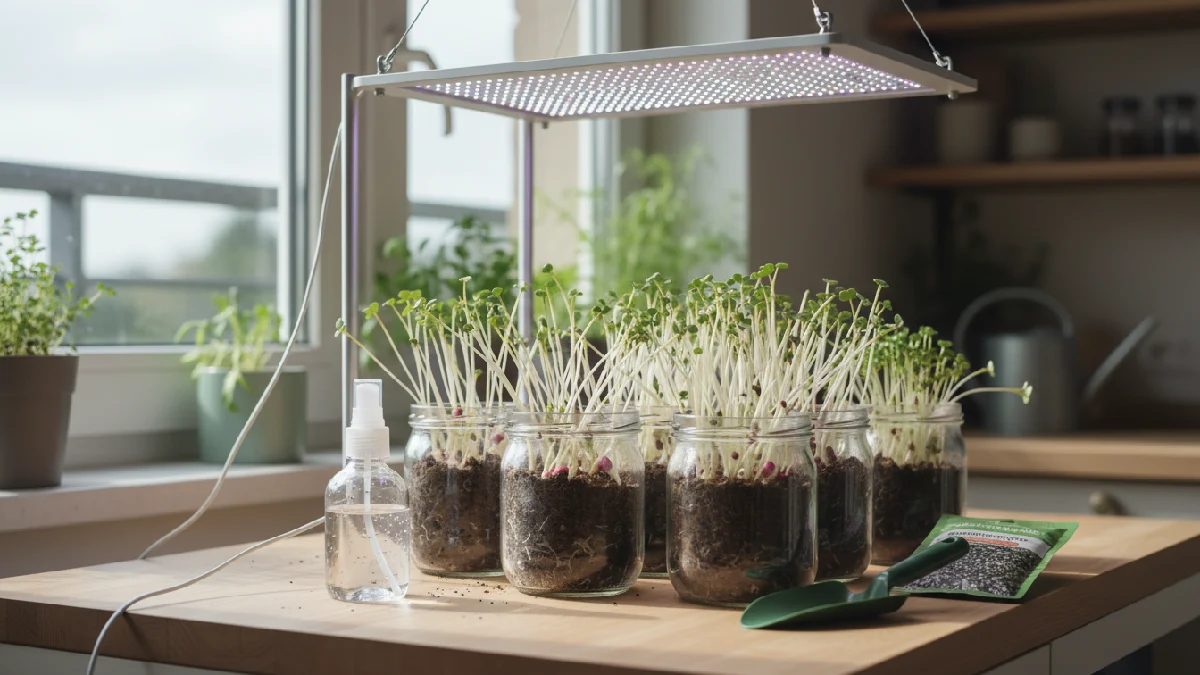
Step 7: Provide Light for Growth
Sprouts peek up. Time for light. Windowsill works. LED lights work better indoors. Keep 6to 12 inches above shoots. Rotate the jar if the light is uneven. Leaves stretch green. Daily check matters. Mist gently. Energy feels alive. Tiny effort, big reward.
Microgreens grow strong, and flavor pops. Every jar tells a story. Beginners notice progress fast. Growth feels real. Shoots push up, color bright. Patience matters. Each tray, each jar shows tiny leaves, huge impact. Fun, simple, rewarding.
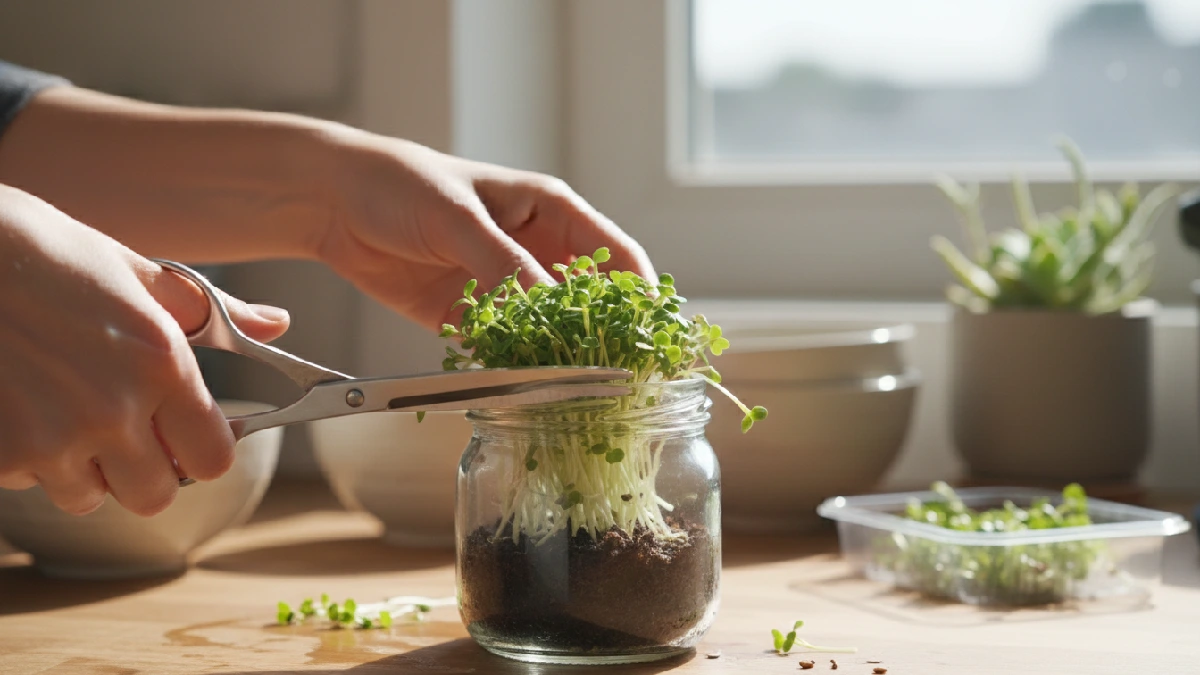
Step 8: Harvest Your Microgreens
Leaves pop green. Time to harvest. Use clean scissors. Cut just above medium. Roots stay behind. Harvest when the first true leaves appear, usually one to two weeks. Handle gently. Flavor strong, texture crisp. Eat fresh or share. Beginners notice growth fast.
Tiny effort, big reward. Each jar tells a story. Shoots push up, energy feels real. Microgreens are small, impact huge impact. Harvest carefully, enjoy instantly. Fun, simple, rewarding. Every tray or jar shows progress. Patience pays. Growth feels alive.
Common Mistakes and Troubleshooting Tips
Mistakes show up quietly. You water a bit extra, thinking more is better. Roots sit too wet. Leaves start yellowing. Smell turns strange. Cut back on water. Drain properly. Light causes issues, too. Stems stretch tall and thin when light levels are low. They lean sideways. Move the jar closer to the sun or hang the LED lower. Small shift helps. Crowded seeds create tension.
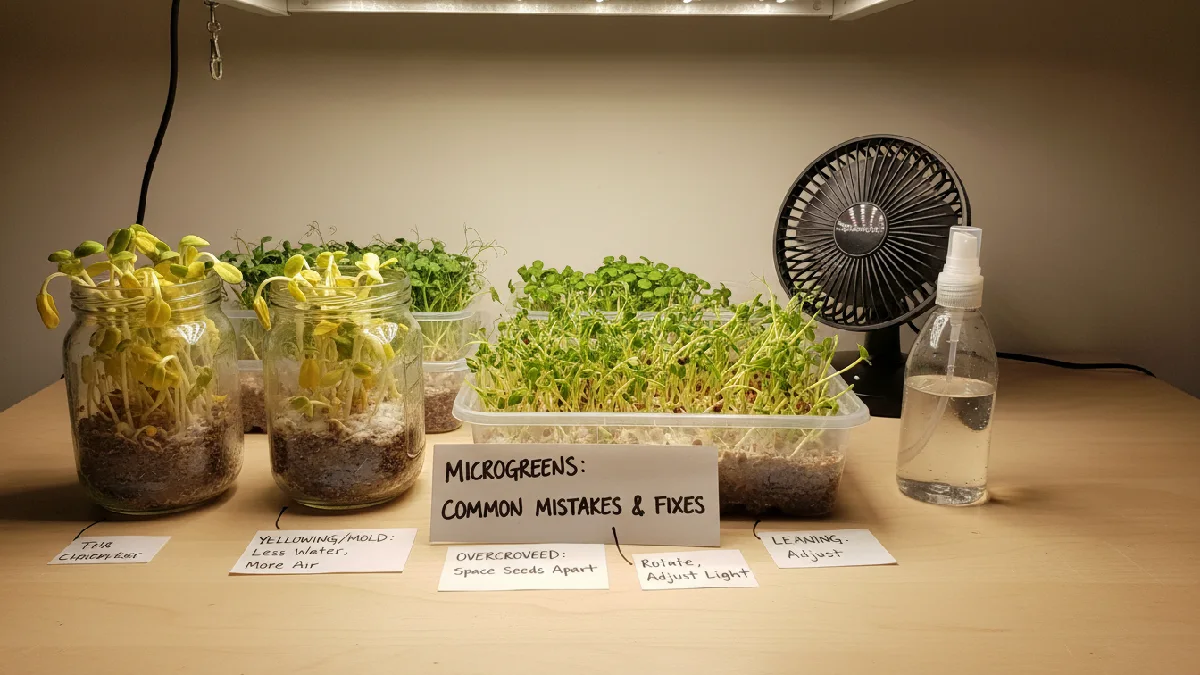
Air stuck between shoots. Mold appears fuzzy and annoying. Looks worse than it is. Reduce density next round. Add soft airflow. Clean jars and tools each cycle, even if they look fine. Harvest timing matters. Leave too long, and the taste turns bitter. Watch the first real leaves. Trim gently. Every batch teaches something, even when you mess it up.
Overwatering and How to Avoid It
Too much water kills seeds. Roots rot fast. Medium soggy? Mold appears. Leaves limp. Watch daily. Mist lightly, not heavy. Drain jars if needed. Use a shallow layer of medium. Water in small amounts often. Beginners notice change fast.
Tiny tweaks save batch. Airflow helps. Shoots stay strong, green. Energy feels real. Each jar tells a story. Microgreens are small, impact huge impact. Effort low, reward high. Growth shows quickly. Patience matters. Every spray counts.
Insufficient Light Issues
Microgreens stretch thin if the light is weak. Leaves pale, stems leggy. Growth slows. Shoots reach, energy wasted. Place jars near a window or an LED. Rotate daily if needed. Watch the color change. Mist lightly, avoid mold. Beginners notice fast.
Tiny tweaks fix the problem. Energy feels real as shoots strengthen. Each jar tells a story. Microgreens are small, impact is huge. Effort low, reward big. Growth shows daily. Patience matters. Light matters most.
Mold Growth and Prevention
Mold shows fast on damp medium. White fuzz, smell off. Overwatering common cause. Poor airflow, too. Keep the medium just damp. Mist lightly. Cover with breathable mesh, not airtight. Rotate jars for light and air. Clean jars before use. Remove affected seeds immediately.
Beginners notice mold early. Tiny effort prevents bigger loss. Shoots push green and healthy. Energy feels real. Each jar tells a story. Microgreens are small, impact huge impact. Patience matters. Growth stays strong. Every tray or jar shows progress.
Uneven Seed Germination
Not all seeds sprout same time. Some slow, some fast. Radish pops first, broccoli later. Depth matters. Too deep? Seeds stuck. Too shallow? Dry out. Water evenly. Mist gently. Rotate the jar if the light is uneven. Check daily. Remove failed seeds if needed.
Beginners notice the difference fast. A tiny effort fixes the problem. Shoots push green, growth steady. Energy feels real. Each jar tells a story. Microgreens are small, impact is huge. Patience pays. Every batch shows progress. Learning feels alive.
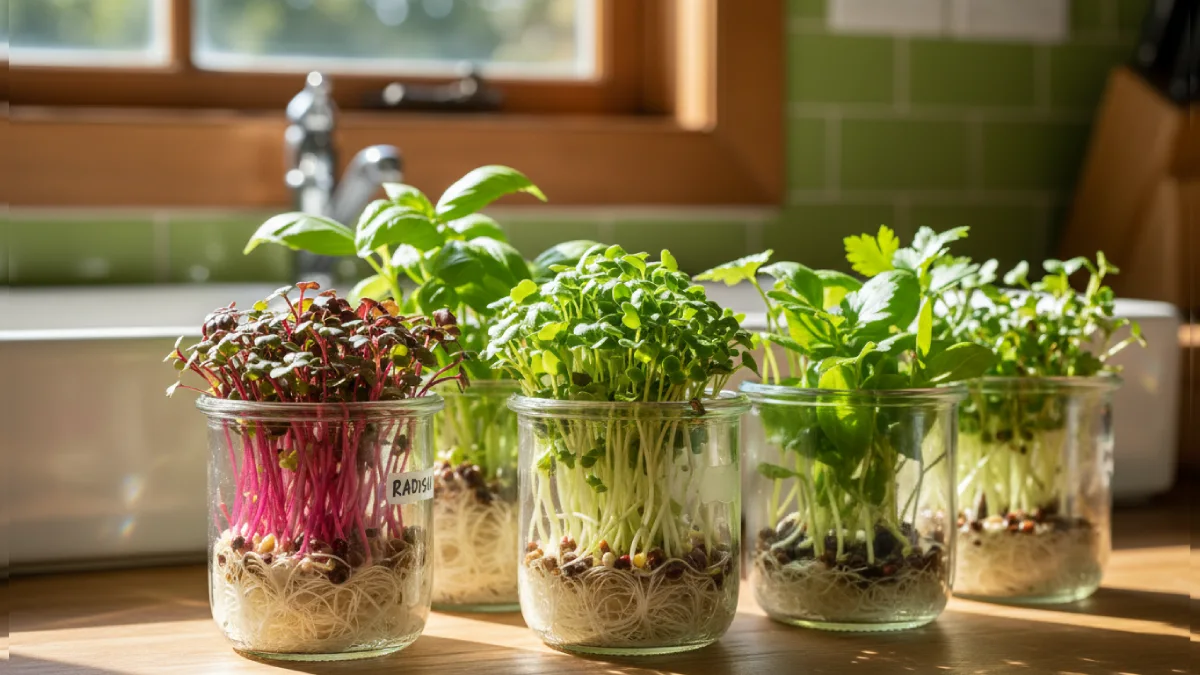
Best Microgreens to Grow in a Jar
Some microgreens just click in jars. Radish sprouts fast. Spicy taste hits sharply. Broccoli’s slower, tender stems pop. Mustard has small leaves flavor strong flavor. Sunflower tricky. Big seeds tip easily. Pea shoots stretch slowly, fun to watch. Basil, parsley, and cilantro fit jars, too.
Space is tight in jars. Pick compact types. Fast growers give instant joy. Beginners love seeing sprouts push up in days. Mix flavors carefully. Taste, color, and growth speed matter. Keep moisture right. Rotate jars for light. Tiny effort shows real results. Each jar tells a story. Leaves small, impact big.
Broccoli Microgreens
Broccoli microgreens grow fast. Seeds tiny. Leaves tender, green. Flavor is mild, peppery. Sow a thin layer on medium. Keep damp. Mist lightly. Light near the window or an LED. Roots grab medium. Shoots push up. Harvest in 7to 10 days. First true leaves are ready.
Beginners notice growth fast. Tiny effort, big reward. Energy feels real. Each jar tells a story. Microgreens are small, impact huge impact. Fun, simple, healthy, rewarding. Leaves pop. Flavor strong. Nutrients packed. Every batch teaches patience. Growth feels alive.
Radish Microgreens
Radish microgreens grow super fast. Seeds are tiny, leaves are bright green. Flavor spicy, sharp, pops in salads or sandwiches. Sow a thin layer on medium. Keep damp, mist gently. Light matters, windowsill or an LED works. Roots grab medium, shoots push up. Harvest in 4to 6 days, usually the first true leaves are ready.
Beginners notice growth fast. Tiny effort, big reward. Energy feels real. Each jar or tray tells a story. Microgreens are small, impact huge impact. Fun, simple, flavor strong, nutrients packed. Every batch teaches patience. Growth feels alive.
Arugula Microgreens
Arugula microgreens grow quickly. Leaves small, spicy, peppery flavor. Seeds are tiny, spread thinly on medium. Keep damp, mist lightly. Light near the window or LED helps shoots stretch green. Roots grab medium, growth steady. Harvest in 7to 10 days, first true leaves ready.
Beginners notice fast. Tiny effort, big reward. Energy feels real. Each jar or tray tells a story. Microgreens are small, impact huge impact. Flavor pops, nutrients packed. Patience matters. Fun, simple, rewarding. Growth shows daily, excitement builds.
Sunflower and Pea Shoots
Sunflower shoots are crunchy, fun, and slightly nutty. Pea shoots are tender, sweet, and need more space. Sow seeds evenly on medium. Keep damp, mist gently. Light matters, a window or an LED helps leaves stretch strongly. Roots grab medium, shoots push green. Harvest sunflowers in 7to 10 days, peas a bit longer.
Beginners notice growth fast. Tiny effort, big reward. Energy feels real. Each jar or tray tells a story. Microgreens are small, impact huge impact. Flavor pops, nutrition high. Patience matters. Growth feels alive, excitement builds. Fun, simple, rewarding.
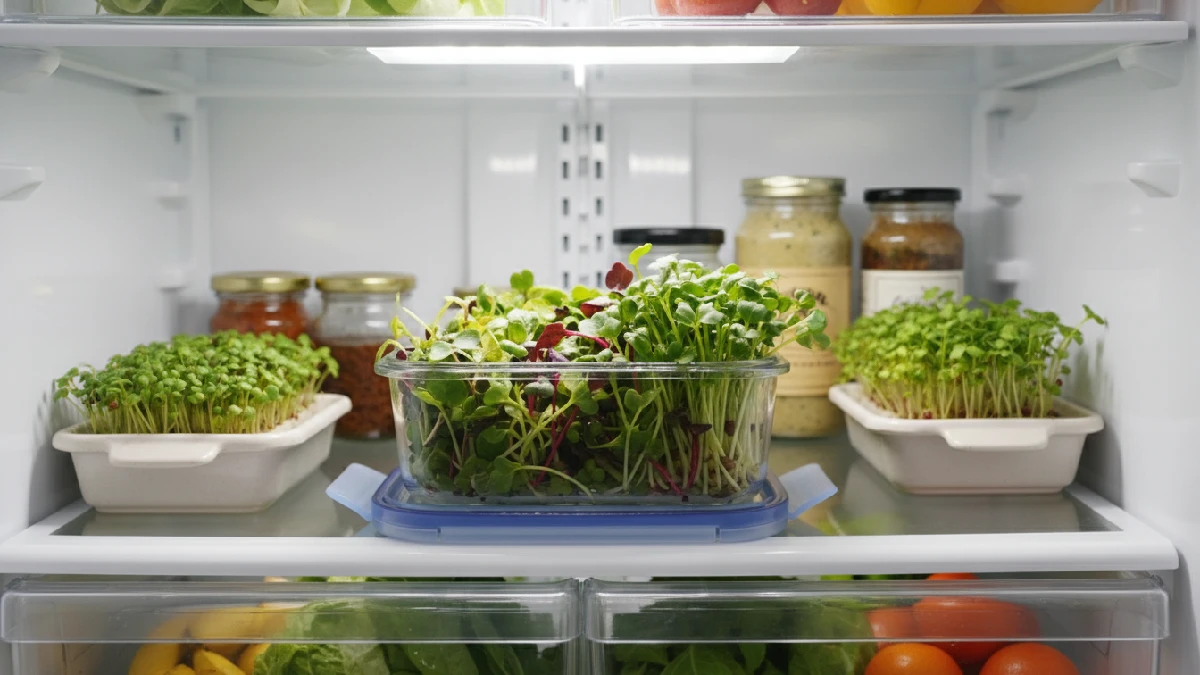
How to Store Microgreens Properly
Microgreens stay fresh if handled right. Harvest carefully, cut above the roots. Don’t wash unless needed. Excess water kills leaves. A paper towel in a container helps maintain moisture balance. Airtight container optional, loose fits better. Fridge ideal, not freezer. Temperature steady, 35, 40°F works. Rotate trays or jars.

Check daily. Remove wilted leaves fast. Storage is short, usually 5to 7 days. Flavor stays strong. Nutrients hold. Small batches better. Observe each tray. Tiny tweaks improve shelf life. Every harvest teaches. Effort low, reward visible. Freshness matters more than quantity. Energy from crisp greens real.
Refrigeration Tips
Microgreens stay fresh if stored right. Use a clean, airtight container. Leaves are delicate; handle gently. Don’t wash until ready to eat. Keep fridge temperature 34- 38°F. Avoid stacking jars or trays. Low humidity prevents mold. Beginners notice that freshness lasts longer.
Tiny effort, big reward. Energy feels real. Each jar or tray tells a story. Microgreens are small, impact huge impact. Flavor stays crisp, nutrients strong. Harvested leaves last 5to 7 days. Check daily. Patience matters. Proper storage keeps growth visible, fun, and rewarding.
Using Airtight Containers
Airtight containers keep microgreens fresh longer. Leaves are delicate; handle gently. Clean the container first. Avoid stacking too much. Seal tight, but don’t crush shoots. Fridge best, 34, 38°F. Mist lightly if medium dry. Beginners notice freshness lasts. Tiny effort, big reward.
Energy feels real. Each jar or tray tells a story. Microgreens are small, impact huge impact. Flavor pops, nutrients packed. Proper storage prevents mold. Every harvest stays crisp. Patience matters. Growth shows daily, excitement builds. Fun, simple, rewarding.
How Long Microgreens Stay Fresh
Microgreens are delicate and don’t last long. Usually 5to 7 days in the fridge. Keep in an airtight container. Handle leaves gently. Avoid washing until ready to eat. Mist lightly if slightly dry. Check daily. Spoiled leaves show limpness, and color fades.
Beginners notice freshness quickly. Tiny effort, big reward. Energy feels real. Each jar or tray tells a story. Microgreens are small, impact is huge. Flavor pops, nutrients stay strong. Patience matters. Every harvest shows growth. Fun, simple, and rewarding.
Freezing Microgreens (Optional)
Freezing microgreens works, but the texture changes. Leaves are soft after thaw. Wash gently. Pat dry fully. Chop if you like. Use an airtight freezer bag. Press air out. Label date. Freeze quickly. Thawed greens are better for soups, smoothies, not salads. Flavor stays decent.
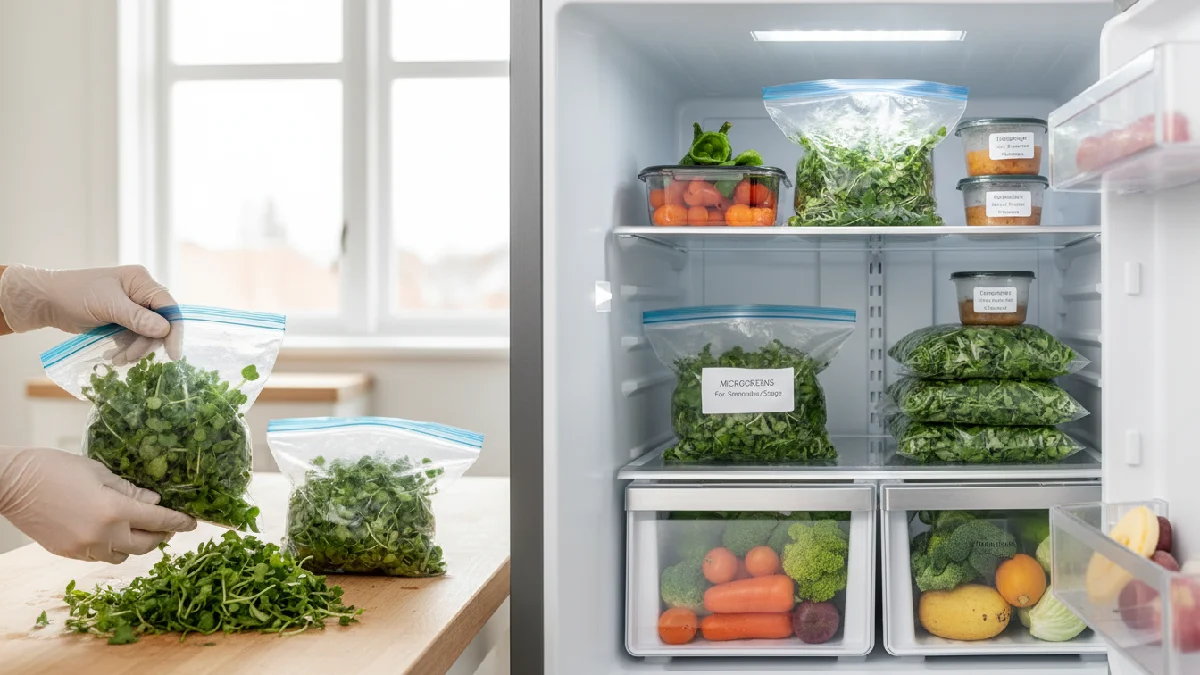
Nutrients are mostly fine. Beginners are surprised the first time. Tiny leaves act differently once frozen. Still useful. Each batch teaches something small. Energy feels real even from the freezer stash. Microgreens are small, impact is huge. Not perfect, still practical.
FAQs: How to Grow Microgreens in a Jar
Can I grow microgreens in a jar without soil?
Yes. Use water and a damp paper towel. Seeds sit snug. Roots drink. Leaves stretch. Mess is minimal. Tiny effort, fast growth.
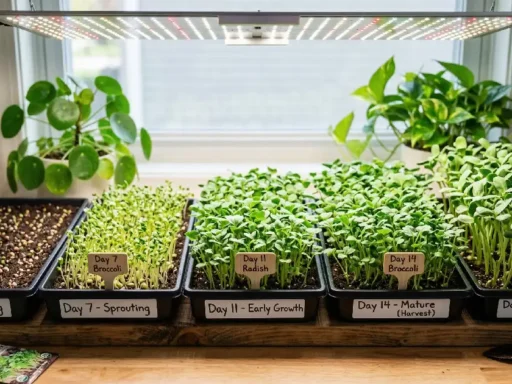
How long does it take to grow microgreens in a jar?
Microgreens grow quickly. Usually 7to 14 days. Radish fastest. Sunflower slower. Check daily. Leaves pop green. Stems firm. True leaves signal harvest time.
Which seeds are best for growing microgreens in a jar?
Radish, broccoli, mustard, arugula. Small seeds sprout fast. Easy to handle. Large seeds like sunflowers need extra support. Beginners start simple.
How do I prevent mold while growing microgreens in a jar?
Airflow matters. Don’t overwater. Mist lightly. Tilt the jar occasionally. Remove crowded seeds. Keep the environment cozy, not wet. Tiny tweaks stop mold.
Do microgreens need sunlight in a jar?
Yes, some light helps. Windowsill works. LED works too. 12 to 16 hours/day is ideal. Too little light? Stems stretch. Leaves pale.
Can I reuse microgreen seeds in a jar?
No. Seeds sprout once. Reusing weakens growth. Fresh seeds pop faster. Energy feels alive. Tiny batches, tiny success.
How do I harvest microgreens from a jar?
Wait for true leaves. Use scissors. Cut above the roots. Gentle pull avoids mess. Eat fresh. Clean the jar for the next batch. Growth feels real.
Conclusion
Growing microgreens in a jar feels easy, but it surprises you often. Seeds sit small, roots grab medium, shoots stretch green. Radish pops fast, broccoli takes time. You watch jars on counters, sometimes forget, sometimes check too much. Water needs care, not too much. Mist gently, leaves respond. Scissors ready, harvest feels real. Eat a few, share some, notice flavor sharp, vitamins packed. Beginners grin, learning curves are steep, all but lessons are real.
Some jars flop, others flourish. Each tray tells the story of patience, mistakes, and tiny victories. Growth feels alive. Microgreens turn corners into green spots. The effort seems little, the impact bigger than expected. Start small, try different seeds, and enjoy each tray. Tiny leaves carry big changes. Watching them grow teaches more than food alone.