Growing Trays for Microgreens: The Complete Indoor Growing Guide
Growing trays for microgreens are basically shallow containers that people use to grow greens indoors. Nothing complex. No system to learn first. Just a tray where seeds sit, roots spread, and greens grow fast. Most people don’t think much about trays at the start, but every indoor grow quietly depends on them.
They’re essential because trays control more than it looks like. Depth decides how roots behave. Drainage affects moisture. Even airflow around the soil starts from the tray itself. When trays are wrong, growth turns patchy. Some areas stay wet, others dry out. Mold shows up without warning. Yields drop, and people blame the seeds when the tray was the issue all along.
This guide covers what actually matters. Different types of growing trays are used for microgreens. How to pick one that fits your space and routine, and simple setup tips for indoor growing. No strict format. No over-explaining. Just practical details so microgreens grow evenly, stay clean, and don’t turn into a daily problem.
Why Growing Trays for Microgreens Are Essential
Most beginners start microgreens thinking seeds and light are the main things. Trays come later, usually after something goes wrong. Greens grow unevenly, water pools in corners, and harvest feels messy. That’s when trays stop looking like plastic boxes and start feeling important.
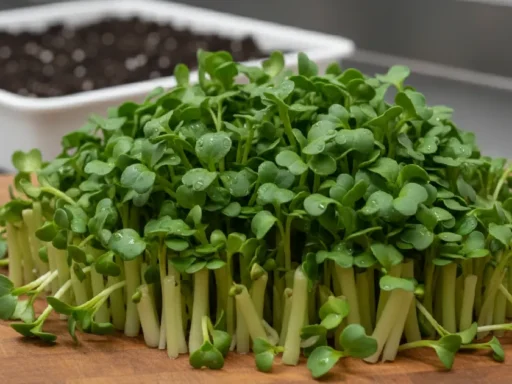
Uniform growth is the first big reason. A proper growing tray keeps the surface level, which sounds boring, but changes everything. Seeds sprout at similar times, stems rise evenly, and leaves don’t compete as much. Harvest becomes smoother. You cut once, not patch by patch, and the tray doesn’t collapse in your hands while doing it.
Contamination is another quiet issue. Microgreens grow fast, moisture stays around, and problems show up quickly. Trays with the right depth and drainage reduce standing water.
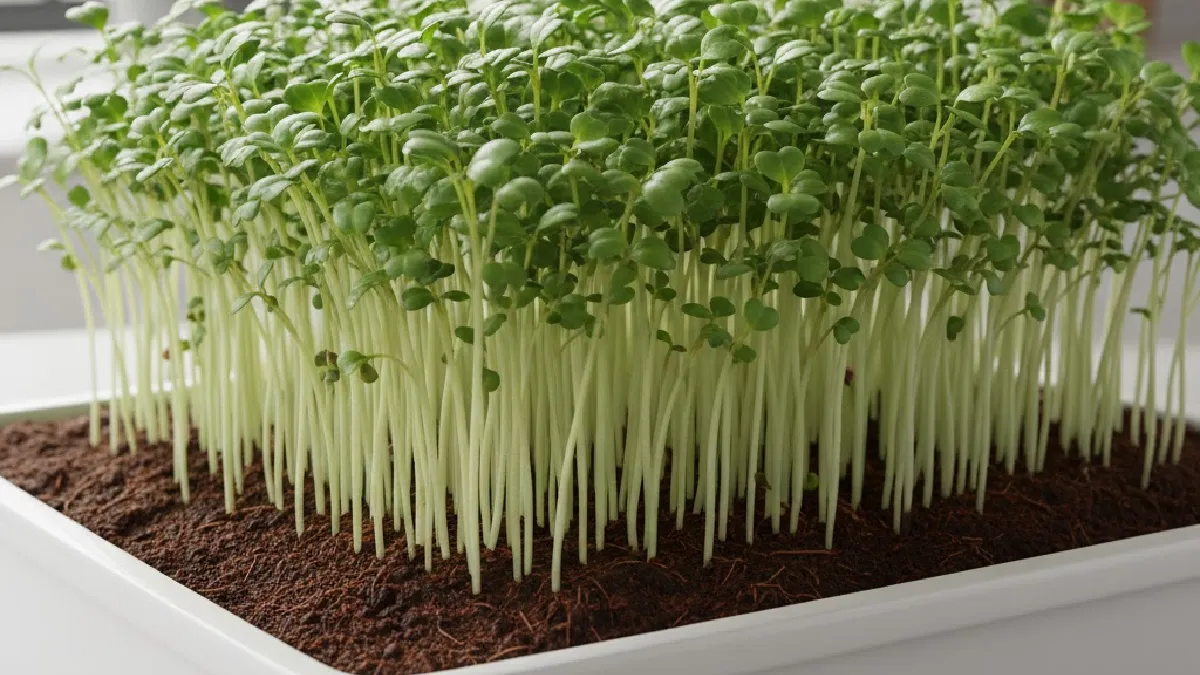
Less soggy soil means fewer chances for mold or that sour smell beginners panic about. Clean trays also make sanitizing between grows easier, even if you’re not super strict about it.
Water management improves, too. Trays control how water moves, how long moisture stays, and how roots access it. Overwatering becomes harder when excess water has a place to go. Underwatering is easier to spot when growth stays consistent across the tray.
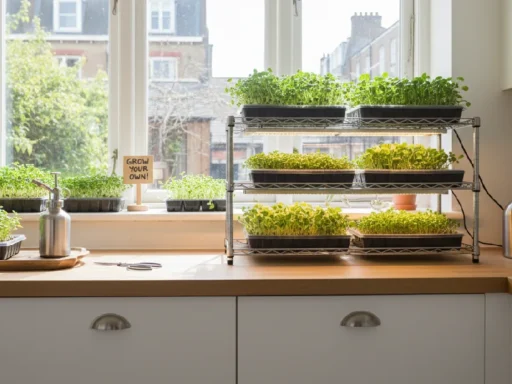
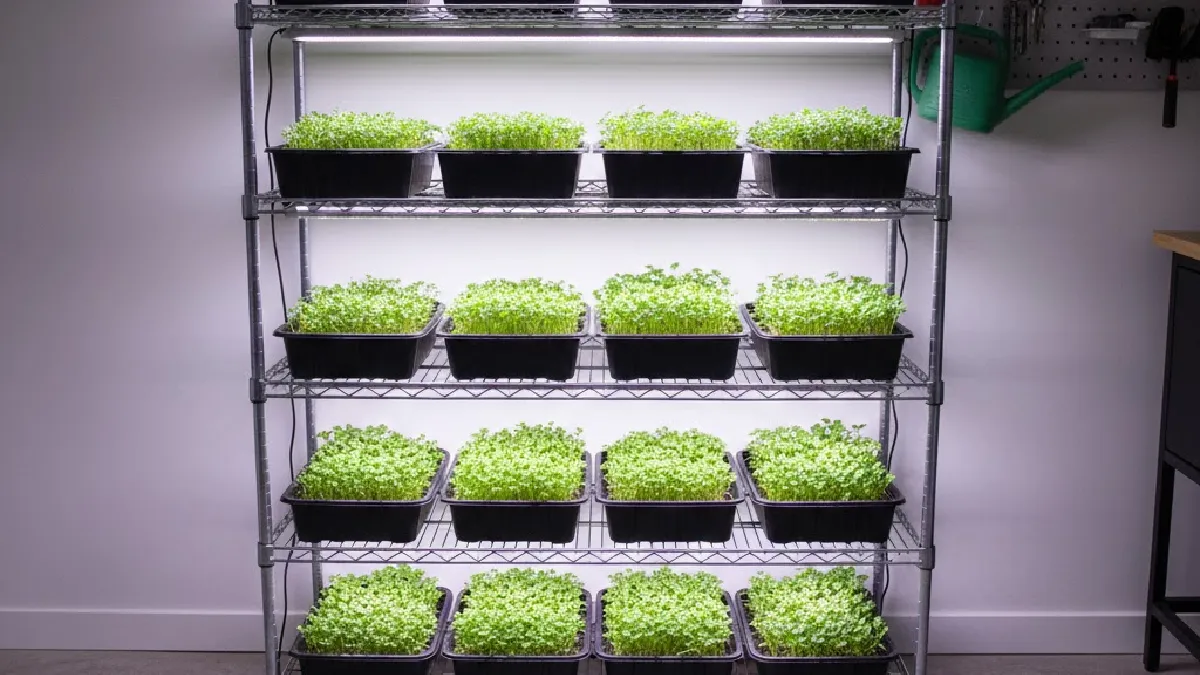
Indoor space matters more than people admit. Trays stack, slide under shelves, fit windowsills. One good tray setup can turn a small corner into a steady growing spot. If you’re learning why microgreens thrive indoors, the section on microgreens benefits for indoor gardening on RootedUrban explains this side well, especially for small homes and apartments.
Types of Microgreen Growing Trays
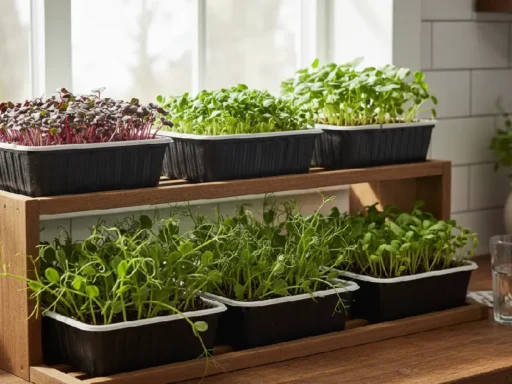
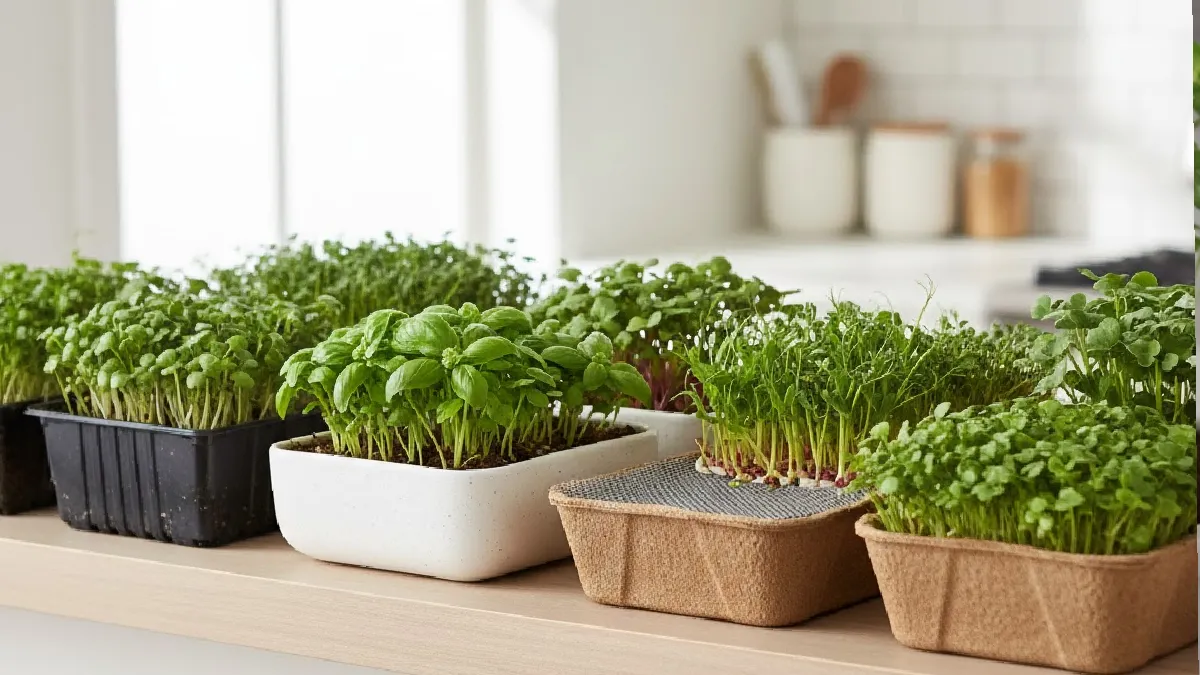
When people hear “growing trays,” they assume it’s one basic thing. In reality, trays come in a few styles, and each behaves a little differently once seeds hit moisture.
Choosing the right type early saves frustration later, especially indoors, where small issues grow fast.
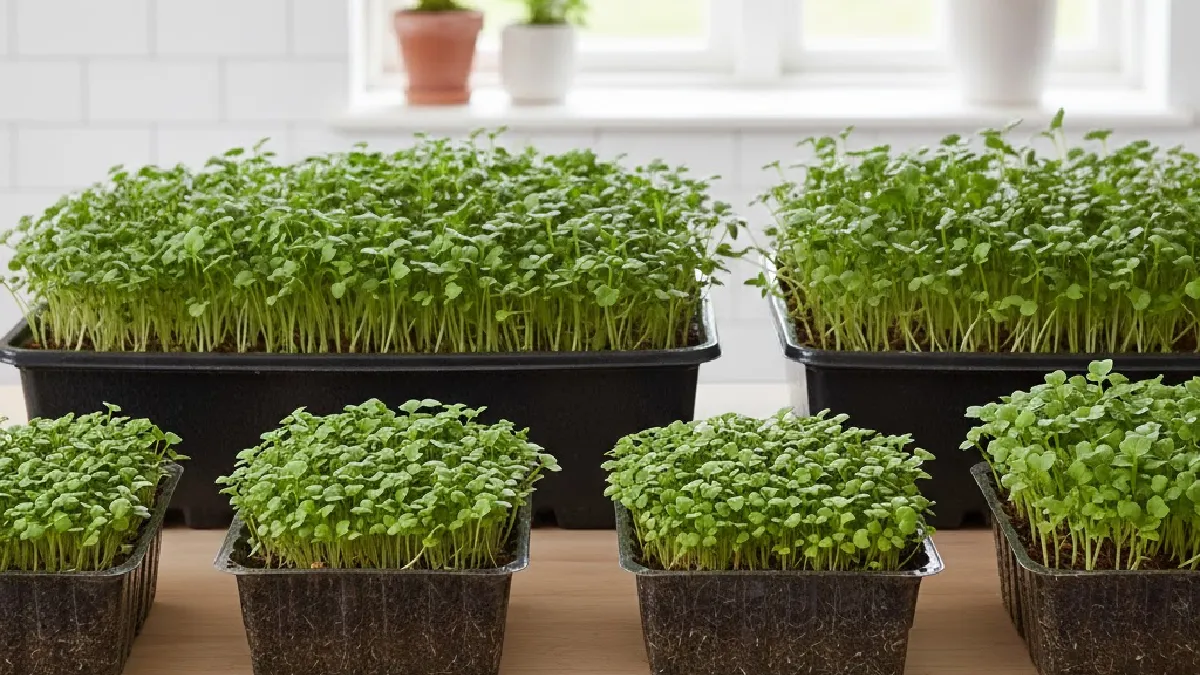
Standard Plastic Trays (10×20 / 1020)
These are the most common trays you’ll see, and for good reason. The 10×20 size fits shelves, racks, and windows easily. They work well with soil or coco coir and don’t demand special handling. Beginners usually start here without realizing it.
They’re available with or without holes, which makes them flexible. You can top water, bottom water, stack them, reuse them. They aren’t fancy, but they’re reliable. Many growers stick with these long-term simply because they don’t get in the way of the process.
Trays With Drainage Holes
Drainage trays are about control. When water has a clear exit, roots breathe better. Soil stays moist, not soaked. This matters indoors where airflow is limited.
These trays pair naturally with bottom watering systems. You pour water into a solid tray underneath, roots pull what they need, and excess stays out of the growing medium. It’s harder to overdo watering this way, which is why many people switch to holes after their first few grows.
Solid / No-Hole Trays
Solid trays don’t drain on their own, and that’s intentional. They’re often used during the blackout phase or placed under drainage trays to catch runoff.
On their own, they require attention. Water sits where you put it. Paired with a tray that has holes, they become part of a simple system. One holds water, the other manages roots. Together, they make indoor watering calmer and cleaner.
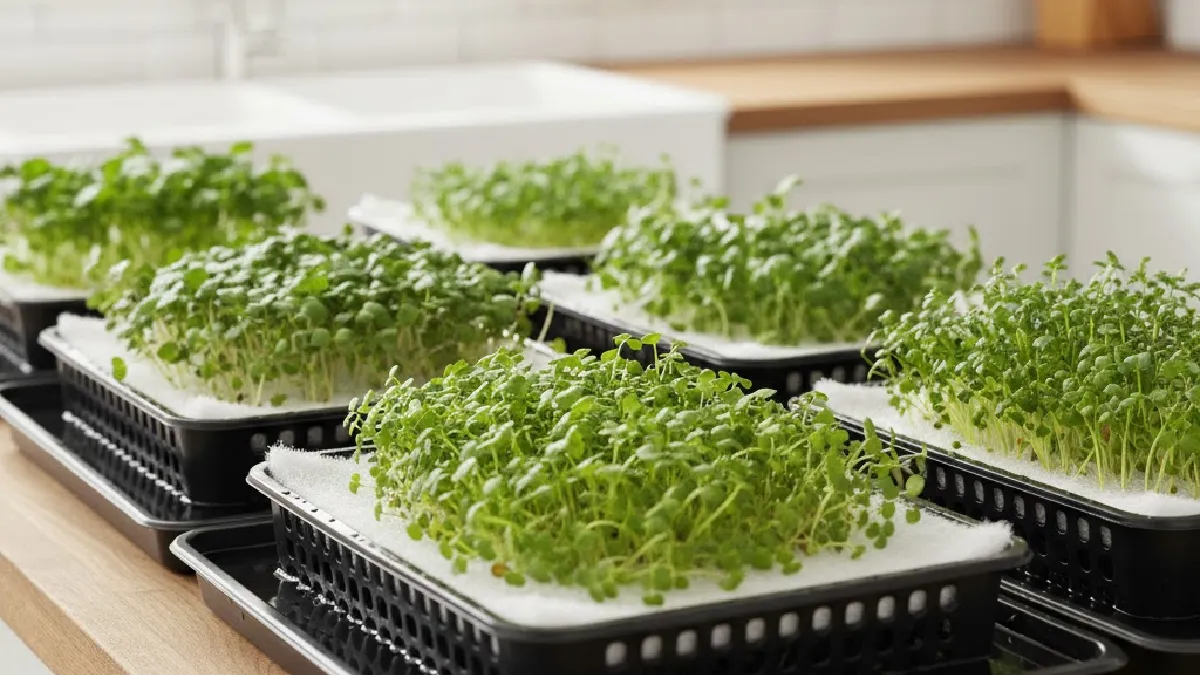
Hydroponic / Mesh Trays
These trays skip soil entirely. Seeds grow on mats with water underneath. Cleanup is easier. There’s less mess, and mold risk can drop when airflow improves around roots.
They’re useful, but less forgiving. Water levels matter more here. Once dialed in, though, they feel efficient and light.
Compostable or Eco-Friendly Trays
These trays appeal to growers trying to cut plastic use. Made from biodegradable materials, they break down faster and feel better environmentally.
They don’t always last as long. Moisture weakens them over time. Still, for sustainability-focused growers, they make sense, especially for short grow cycles.
How Trays Work Together — Two-Tray System
Most indoor microgreen growers end up using a two-tray system, even if they don’t call it that. It’s simple. One tray holds the grow. The other supports it. Together, they solve a lot of small problems that show up indoors.
The top tray is the one with holes. This is where soil or coco coir goes, seeds get spread, and roots start forming. The holes aren’t about draining everything out. They’re there so excess water doesn’t stay trapped. Roots get moisture without sitting in it. That small difference changes how healthy the tray feels after a few days.
Underneath sits a solid tray with no holes. Its job is quiet but important. It catches runoff and allows bottom watering. Instead of pouring water over the surface and disturbing seeds, you add water to the lower tray.

Moisture moves upward as needed. The surface stays calmer. Greens stand straighter.
Soil doesn’t crust over as fast. People on Reddit talk about this setup a lot, especially beginners, comparing mold issues. Many say switching to bottom watering reduced white fuzz problems without changing seeds or temperature. Some prefer fewer holes, others more, but the pattern stays the same. Standing water on the surface causes trouble. Pulling water from below feels safer.
There’s also flexibility here. During a blackout, some growers stack an extra tray on top for weight. Later, the same solid tray becomes a watering base. Nothing goes to waste. Once you try the two-tray system, going back to single trays usually feels harder, not easier.
How to Choose the Right Tray
Picking a tray seems small, but it actually matters a lot. One wrong tray and suddenly watering is tricky, growth looks patchy, maybe even some mold sneaks in. Start with the right one, and indoor growing feels way easier.
Tray Size
Most people go for the 10×20 tray. Works for a decent harvest, fits on shelves or windowsills, not too bulky. Beginners stick to it because it just works.
Smaller 10×10 trays? Handy if you’re testing new seeds or want tiny batches. Saves space. Less waste.
Bigger trays are usually for commercial setups. More yield, but tricky indoors. Corners can stay wet while the middle dries. That’s when problems start.
Material & Durability
Food-safe polypropylene is the go-to. Lasts multiple washes, easy to wash. Cheap plastic might warp, crack, or fade under lights.
Using LED lights or sunny spots? UV-stabilized trays hold their shape and color longer. Makes the setup look cleaner over time.
Drainage & Watering Needs
Top watering or bottom watering? Decide first. Trays with holes work for top watering. Solid trays are best for bottom watering.
Airflow matters too. Even lifting the tray slightly helps moisture move around, keeps roots happy, and lowers mold risk. Small tweak, big difference.
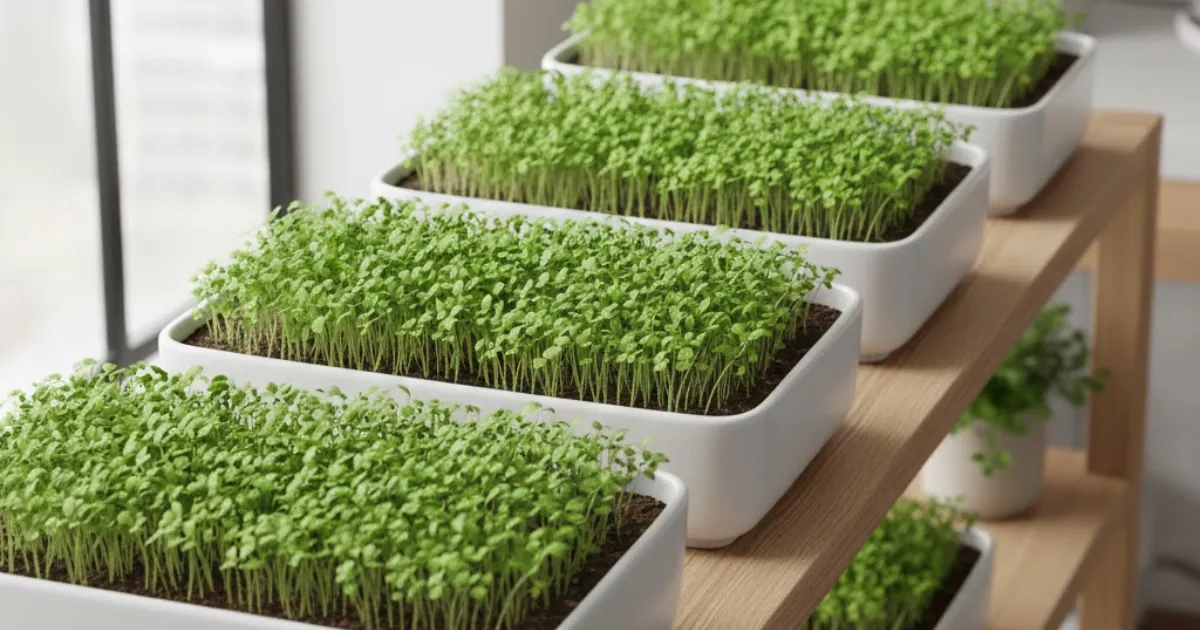
Stackability & Space Saving
Stackable trays are a lifesaver indoors. You can use vertical racks, multiple layers in a tiny corner. Water from upper trays drips safely into the lower trays, no mess. Tray choice links with the rest of your setup. Spacing, lighting, and water all matter.
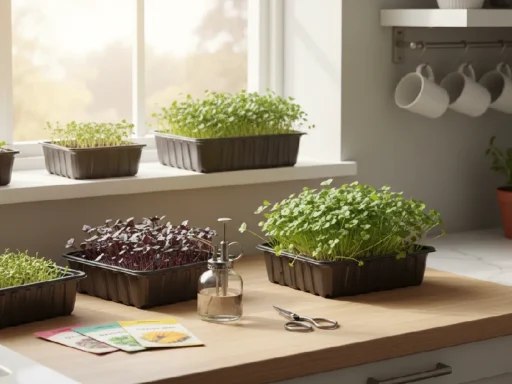
How to Set Up Your Trays for Best Results
Setting up trays might sound simple, but it’s easy to get wrong. Even good seeds can flop if trays sit in the wrong spot or get too much water. Indoors, you’ve got two main options: a sunny windowsill or a grow light. Both work, just pay attention.
Find a spot where light hits the whole tray. On a windowsill, rotate trays every few days. Seedlings lean if light hits only one side. Under grow lights, keep them a few inches above the tops. Too high, seedlings stretch. Too low, leaves burn. It’s a small adjustment, but it changes everything.
Bottom watering is a lifesaver. Put your top tray (with holes) on a solid tray beneath. Pour water in the bottom tray, let the roots drink. Don’t water from above; that’s how mold and crusty soil show up. Check trays after 10–15 minutes, dump extra water. Easy, makes a big difference.
Airflow matters. Don’t squeeze trays too close, especially if you have stacked layers. A tiny gap lets air move, keeps mold away. Some growers even lift trays slightly with little risers. Works surprisingly well.
Best Trays for Different User Needs
Not every grower needs the same tray. How often you grow, how much space you have, and how messy you’re okay with getting these decide what works. Pick right, and growing feels simple. Pick wrong, and you spend more time fixing problems than growing greens.
Heavy-Duty Reusable Trays
Grow a lot? Heavy-duty trays are the safe bet. They last many cycles, survive repeated washing, and don’t bend or crack easily. Stack them, move them around, use them often, and they stay steady. You don’t need fancy brands. Strong plastic with holes and a solid base does the job. That’s it.
Beginner Budget Trays
Just starting? Cheap trays work fine. Small 10×10 or standard 10×20 trays with holes are easy to handle. Perfect if you want to test seeds without wasting medium. They might warp after a while, but that doesn’t matter at the start. Learn first. Upgrade later.
Hydroponic / Soil-Free Trays
No soil at all. Seeds grow on mats with water underneath. Cleanup is simple, no mess everywhere. Perfect for kitchens or small apartments. Mold risk is lower if you watch water and airflow. They also stack nicely, save space, and make indoor growing cleaner.
The main idea: don’t overthink brands or price. Heavy-duty, budget, hydroponic, pick what fits your routine, space, and watering style. Growth consistency, ease of cleaning, and less mold matter weigh way more than fancy trays.
Frequently Asked Questions
Do microgreen trays need holes?
Not really. Holes help water drain, and bottom watering works better. But solid trays are fine too. Just put a tray under to catch water. That’s it.
Can I use ordinary trays instead of microgreen trays?
Sure, any shallow, clean tray works. Make sure it’s flat, easy to wash, and fits your space. Many beginners do this.
How deep should a microgreen tray be?
1–3 inches. That’s all roots really need. Too deep, and watering becomes tricky. Seeds can sit in too much water and fail. Shallow trays are simpler.
What’s the best size tray for home microgreens?
10×20 trays are standard. Fits shelves, windowsills, and small racks. Gives a good harvest without taking over space. 10×10 trays are handy for tiny tests or small batches.
Conclusion
Trays are more important than they look. They keep microgreens healthy and make indoor growing simpler. Pick a tray that fits your space and your watering method, top or bottom, whichever feels easier. Stack trays if space is tight. Light matters too. Windowsill or grow light, make sure seedlings get it evenly.
With the right tray, watering routine, and light, growth is steady, mold stays away, and harvesting is easier. Start simple, watch what happens, adjust as you go. Soon, trays and setup will feel natural, and growing microgreens won’t feel tricky at all.