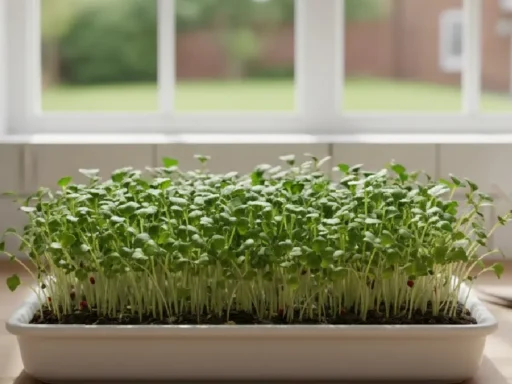

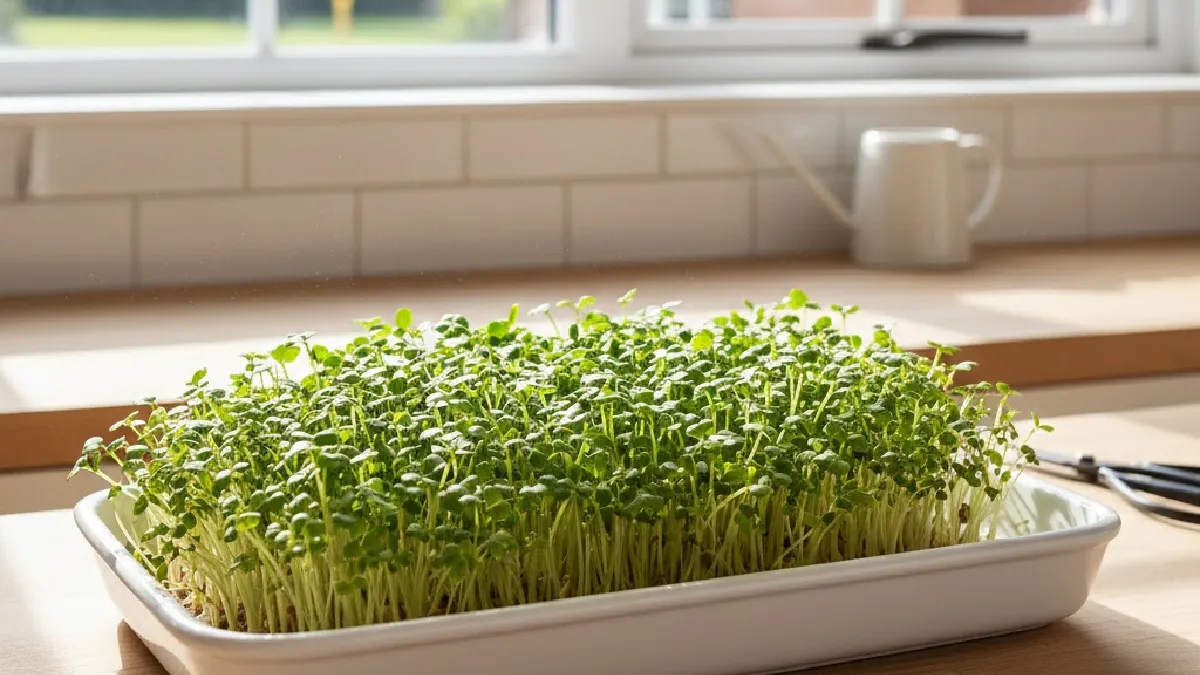
How to Grow Microgreens Indoors
The idea of growing microgreens indoors usually feels bigger than it really is. Most people imagine lights, racks, and a complicated system. I had the same picture in my head at first. Then one evening, I placed a shallow tray near the kitchen window and dropped in a handful of seeds. That small action changed the whole perception. It didn’t feel technical anymore.
Microgreens are simply young plants harvested early. Not sprouts. Not full vegetables either. Somewhere in between. This stage is where flavour starts showing up properly, and nutrients stay concentrated. Growing them indoors keeps things predictable. Outside conditions stop mattering.
Heatwaves, cold mornings, dusty air. None of that interferes. Many beginners hesitate because they think indoor growing needs perfect conditions. Special lights. Perfect temperatures. That belief alone stops most people. In reality, microgreens are forgiving.
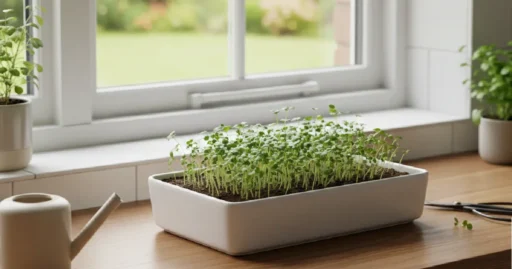
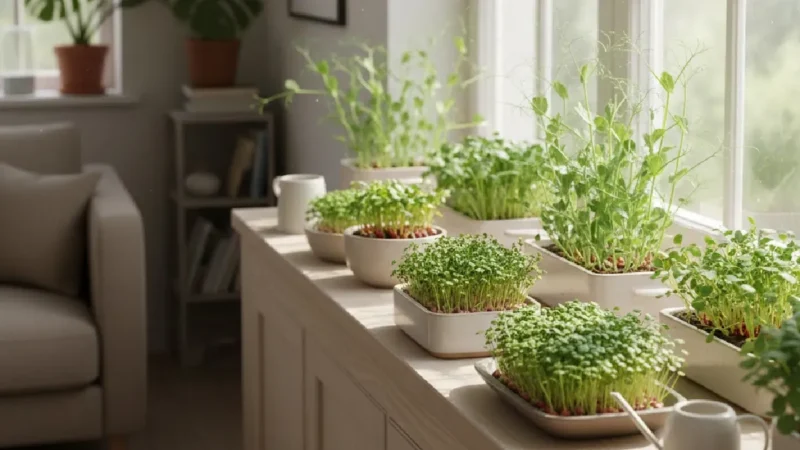
They grow in basic containers, regular soil, and simple light exposure. Once the seeds crack open and green tips appear, the fear fades quietly. Indoor growing works well for people with limited space. Apartments. Shared homes. Even small rooms. A windowsill often does enough. Sometimes a shelf works fine, too.
This flexibility explains why indoor microgreens attract attention online. They fit into everyday life without demanding space or time. This guide is written from a practical angle. No strict structure. No textbook tone. Just what actually helps when you are standing there with seeds in your hand?
How much water feels right? When light becomes important. Why do certain mistakes happen without warning? These things matter more than theory. Growing microgreens indoors slowly turns into a habit. One tray leads to another. A small harvest becomes routine. Fresh greens appear every few days without much effort. That quiet consistency is what makes people stick with it. Not because it’s impressive. Because it works.
Introduction
Microgreens are tiny plants harvested very early. Just after the first leaves appear. They look small, but they pack a punch in taste and nutrition. Many people see them on restaurant plates and think, “This must be hard to grow.” That’s where fear starts. But actually, growing them is easier than it seems.
People grow microgreens indoors for simple reasons. Space is small. No backyard or garden. Fresh greens at home feel better. They grow fast. Some are ready in just a week. A small shelf or windowsill is enough. You don’t need a fancy setup.
Beginners often hesitate. What if I water too much? What if seeds die? What if it fails? These fears are normal. Almost everyone thinks this way. The good news? Microgreens forgive small mistakes. They keep growing even if things aren’t perfect.
This guide keeps things simple. No complicated tools. No long explanations. Just what works. Step by step. Anyone can follow it. Indoor microgreens suddenly feel doable. Even fun.
What Are Microgreens?
Microgreens are young plants cut early, before they grow into full vegetables. They aren’t rushed. They’re stopped on purpose. This stage keeps the plant tender, sharp in taste, and surprisingly rich. People often underestimate them because of their size. That mistake goes away after the first bite.
Sprouts usually enter the same conversation, though they follow a different path. Sprouts grow without soil and are eaten completely, roots included. Microgreens need a surface to grow on, even if it’s thin. Only the upper part is used; the feel in the mouth changes. The flavour lasts longer.
Nutrition plays a quiet role here. Vitamins like A, C, and K show up naturally. Minerals such as iron and calcium come along too. You don’t need a bowl full. Even a small portion adds something real to a meal.
In the kitchen, microgreens don’t ask for rules. They fall into salads easily. Sit inside sandwiches without effort. Some people drop them on hot food at the last moment. Others just scatter a few leaves on top. That’s enough. They don’t replace vegetables. They support their simple role. Clear purpose.
Benefits of Growing Microgreens Indoors
Growing microgreens indoors gives you fresh food right in your own space. You know exactly how they were grown. No sprays. No chemicals. No guessing. Just clean greens that go straight from the tray to your plate. That feeling of control matters more than people expect.
Indoor growing also removes the season problem. The weather doesn’t decide anything. Summer, winter, rain, heat. It all becomes irrelevant. Microgreens keep growing the same way throughout the year. One batch finishes, and another can start immediately. There is no waiting for the “right time”.
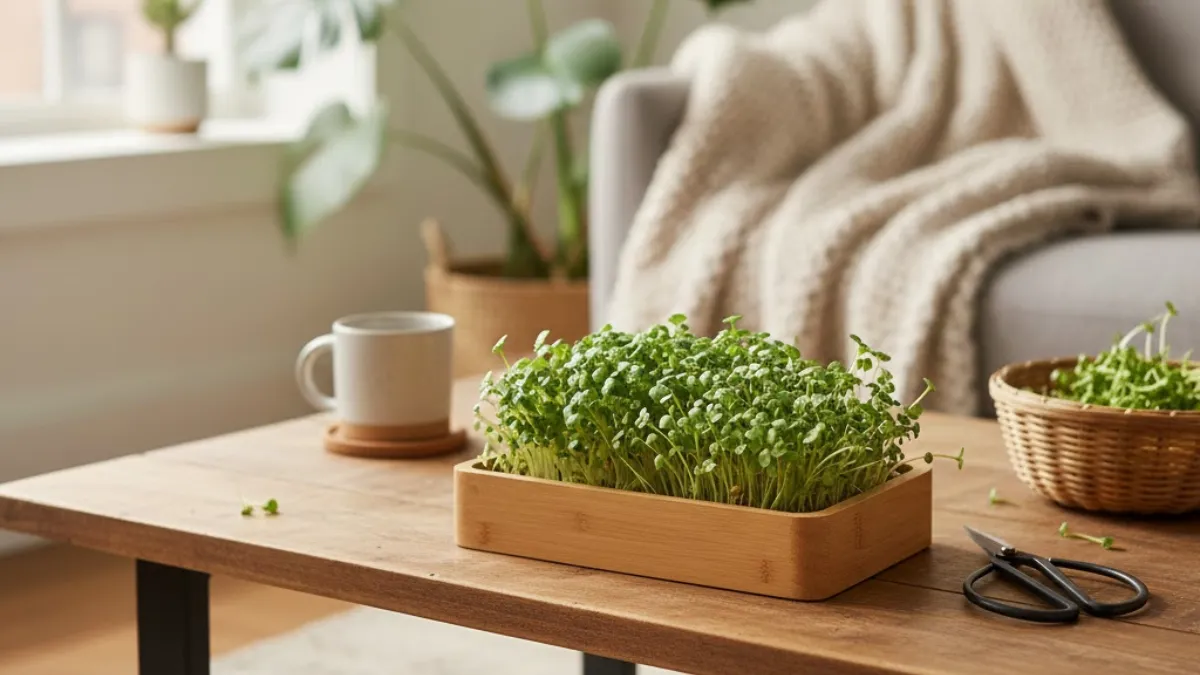
Space is rarely an issue with microgreens. They don’t demand a garden or even a balcony. A small shelf, a table corner, or sometimes just a windowsill works fine. The cost stays low, too. Seeds, a tray, and basic soil. Nothing heavy. That simplicity is what attracts beginners.
The speed surprises most people. Some varieties are ready in a week. Others take a little longer, maybe ten to fourteen days. That quick harvest keeps motivation alive. You don’t lose interest. You see results fast. Fresh greens appear before doubt even settles in. Indoor microgreens fit into real life easily. That’s their biggest benefit. Simple setup. Fast growth. Reliable results.
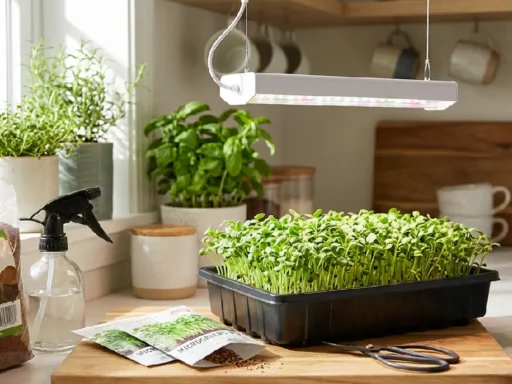
Things You Need to Grow Microgreens Indoors
Most people think they need special trays. They don’t. Any shallow container usually works. Old food boxes. Plastic trays. Even a small baking pan lying around. Roots just need a little room. Drainage helps, but it isn’t a deal breaker at the start.
The growing medium decides how easy things feel. Regular potting soil is fine and familiar. Coco peat stays lighter and cleaner. Grow mats keep things tidy if mess annoys you. All three can work. Choice depends on what you’re comfortable handling.
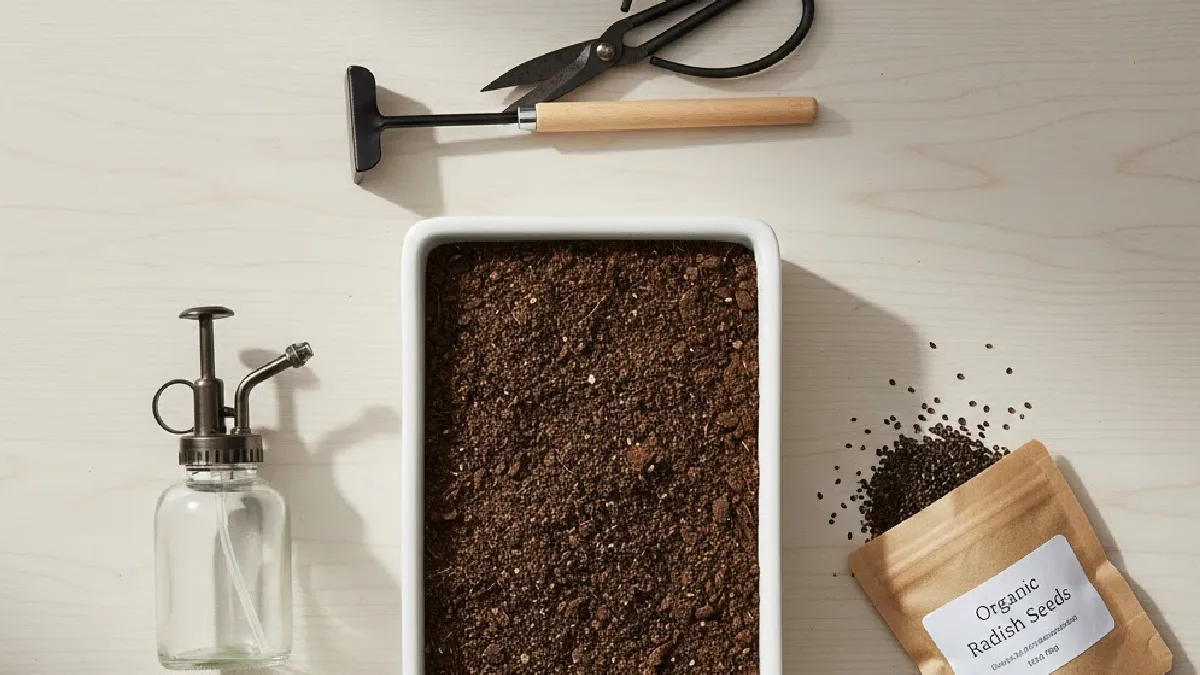
Seeds deserve attention. Go for organic, untreated ones meant for eating. Garden seeds sometimes come coated. That’s not ideal indoors. Simple varieties make life easier in the beginning. Radish. Broccoli. Peas. They grow fast and don’t complain much.
Light doesn’t need drama. A bright window often does enough. Consistency matters more than strength. When daylight is weak, a basic grow light fills the gap. Nothing fancy. Just enough so plants don’t stretch and fall over.
Watering should stay gentle. A spray bottle keeps things under control. Heavy pours disturb seeds and compact the surface. Light misting keeps moisture where it’s needed. Small habit. Big difference.
Step-by-Step Guide: How to Grow Microgreens Indoors
Step 1: Prepare the Tray
I used a shallow tray from my kitchen. Nothing special. Drain holes? Nice, but not necessary.
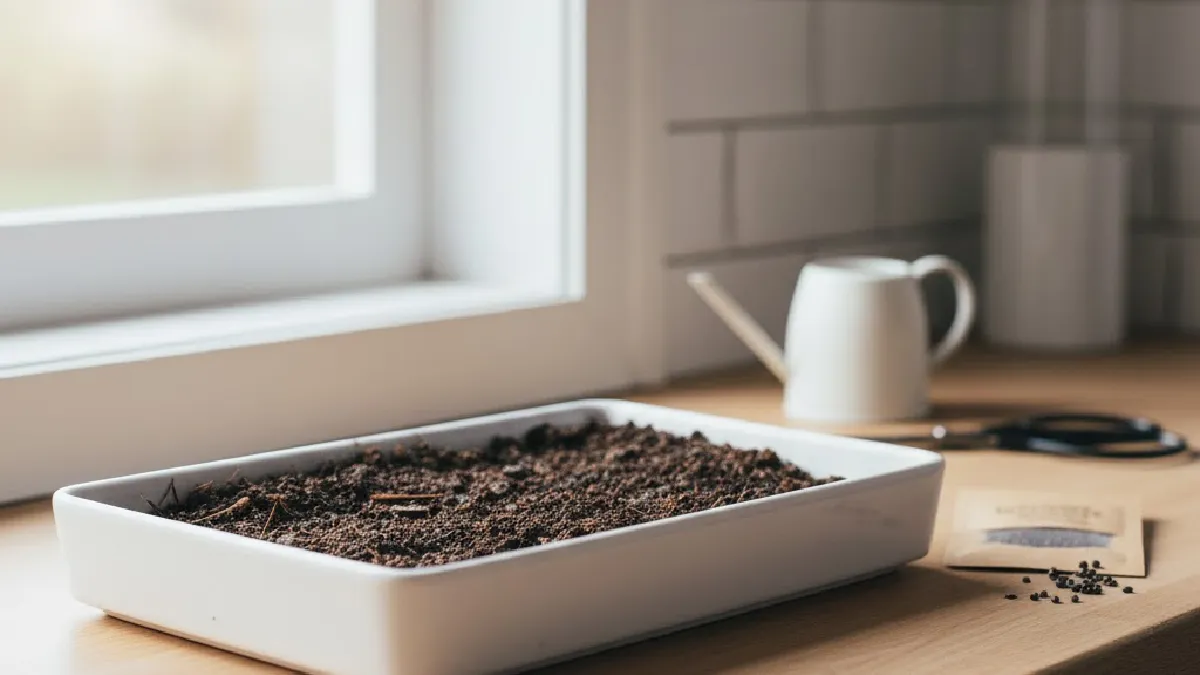
Add soil or coco peat. Spread it lightly. Don’t press. Loose soil helps roots grow easily. That’s all.
Step 2: Sow the Seeds
Sprinkle seeds gently on top. Don’t dump. Keep it even. Crowded seeds struggle.
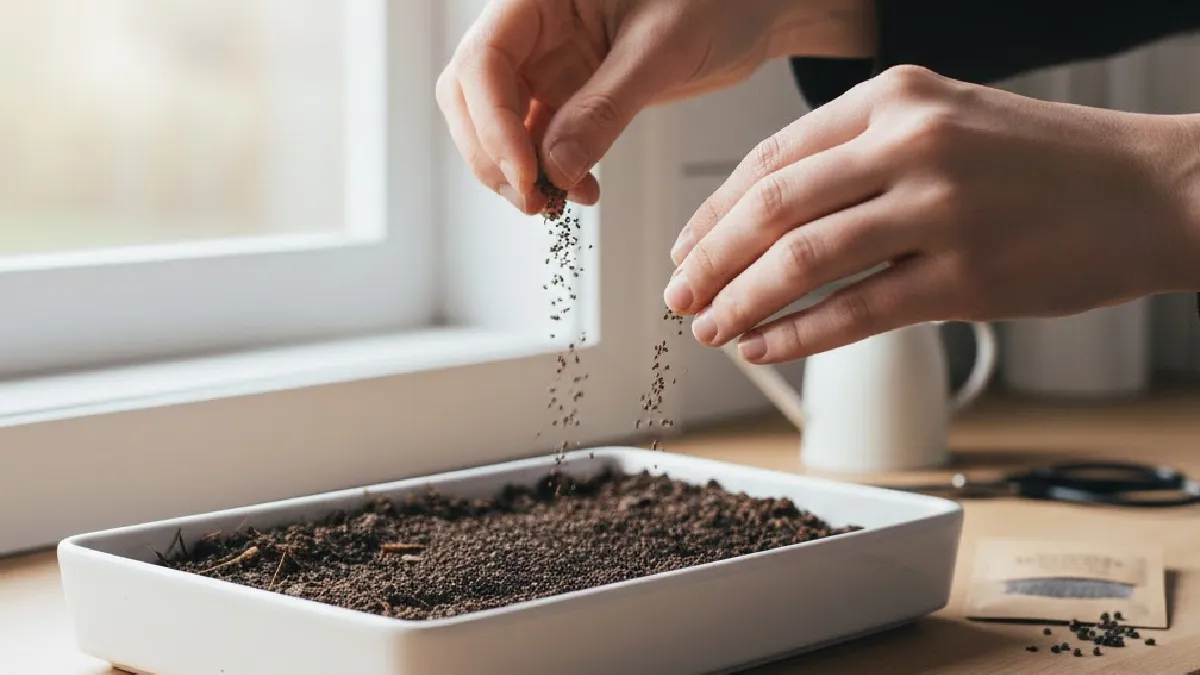
Tiny gaps are fine. Seeds adjust themselves. Soon, tiny green tips appear.
Step 3: Water & Germination
Use a spray bottle. Mist lightly. Keep it moist, not soaked. Cover with a dark lid or another tray.
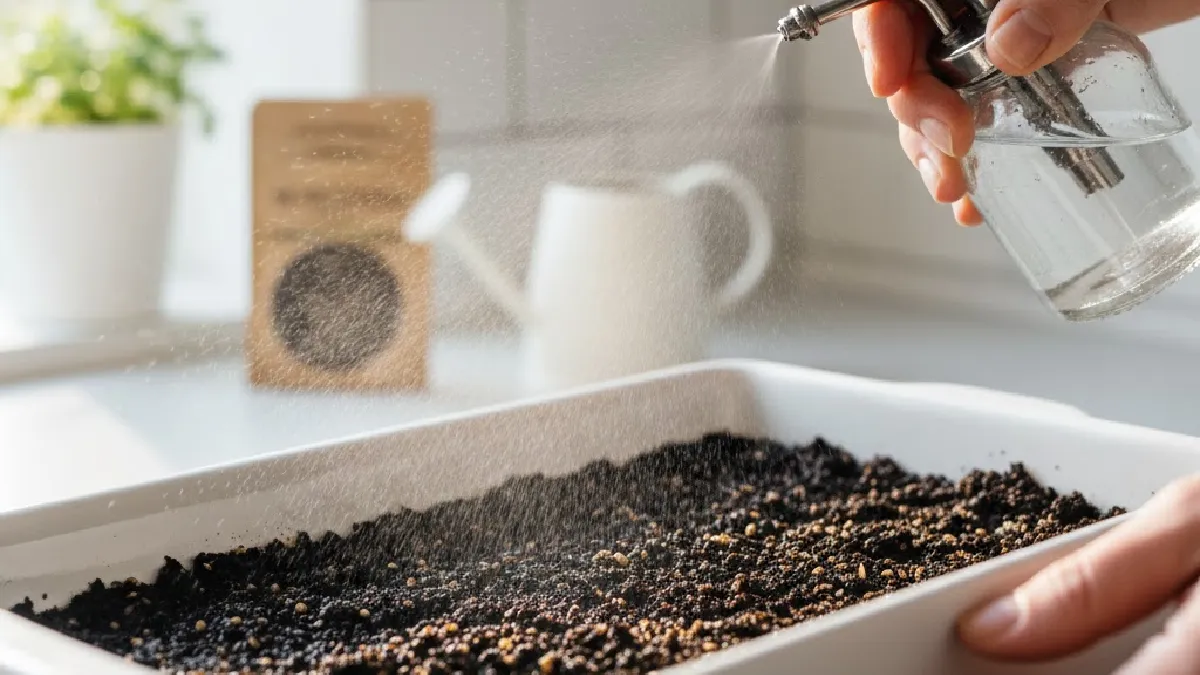
Leave for 2–3 days. Don’t peek too often. Shoots push up slowly.
Step 4: Light & Growth
Move the tray near a bright window. Morning light works well. Weak sunlight?
Use a small grow light. Ten to twelve hours a day. Routine matters more than intensity.
Step 5: Care Until Harvest
Check the soil daily. Mist if dry. Keep airflow. Don’t trap the tray in a corner.
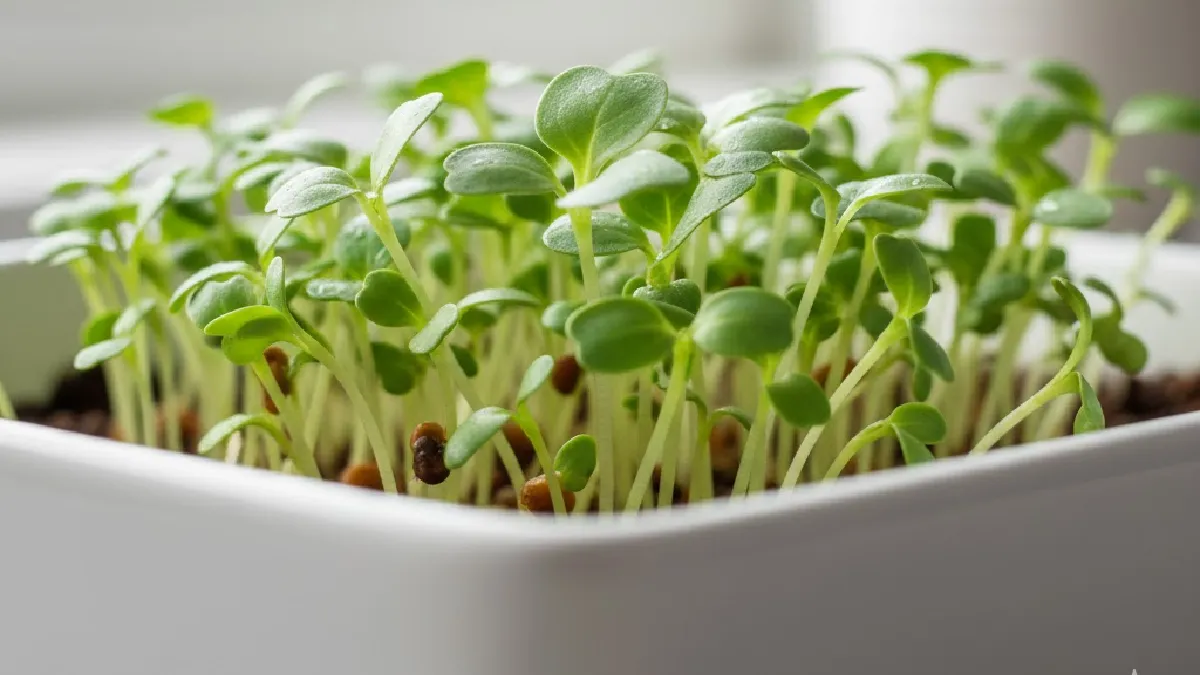
In 7–14 days, microgreens are ready. Cut above the soil. Eat fresh. Feels like a small victory.
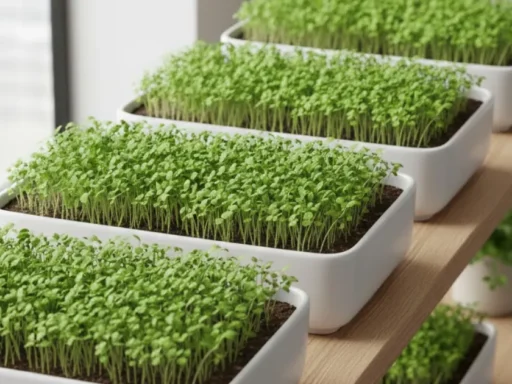
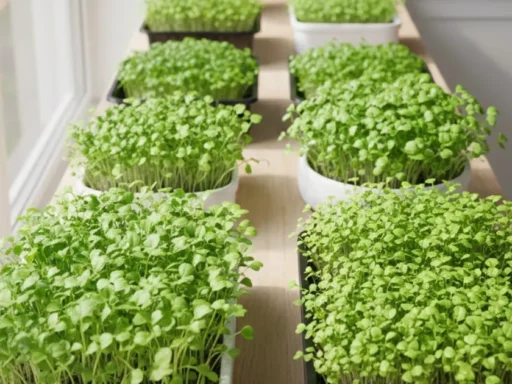
Best Microgreens to Grow Indoors
I learned one thing early. Not every seed behaves the same indoors. Some grow without drama. Some don’t. Beginners usually do better when they pick the easy ones first.
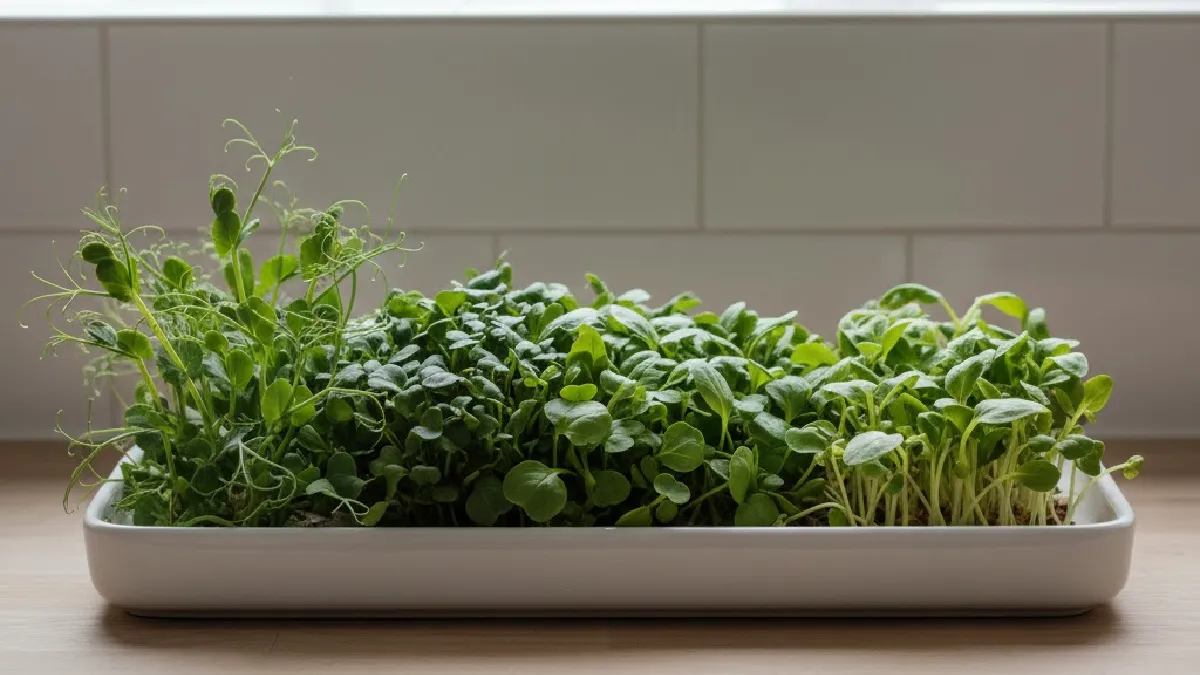
These microgreens fall into that category. Simple to grow, quick results, decent taste.
Radish
Radish microgreens grow fast. Really fast. The taste is sharp, a bit spicy, and sometimes surprising. They wake up to boring food. Indoor light works fine for them. Most trays are ready in roughly 7 to 10 days.
Broccoli
Broccoli microgreens stay mild. Nothing strong. Easy to eat with anything. Growth feels calm and steady indoors. They don’t panic if conditions are not perfect. Harvest usually shows up around day 8 to 12.
Pea Shoots
Pea shoots taste fresh and slightly sweet. Almost juicy when young. They feel heavier than leafy greens. Growth is slower but manageable. Indoors, harvest normally happens between 10 and 14 days.
Sunflower
Sunflower microgreens are thick. Strong stems. Nutty flavor. They need more space, or things get messy. Care is still simple, though. Most indoor trays are ready in about 10 to 14 days.
Arugula
Arugula microgreens hit hard. Spicy taste. Not for everyone. They grow quickly indoors and don’t ask for much. Light care works. Harvest usually lands around 7 to 10 days.
Light, Temperature & Environment Tips
Growing microgreens indoors is not rocket science. I keep them happy, that’s it. A few small things make them stronger. Beginners often miss these little details.
Natural Light vs Grow Light
If you have a sunny window, that’s usually enough. Morning sun or bright indirect light works fine. Dark room? Just use a small grow light no fancy setup needed. Ten to fourteen hours a day keeps them compact and healthy.
Ideal Temperature
Microgreens like cozy, normal room temperature. Around 18–24°C feels right. Too much heat dries the soil fast. Too cold slows growth. No heaters or fancy devices needed. Normal indoor room works perfectly.
Air Circulation
Airflow is surprisingly important. Still air makes moisture stick, invites mold, or weakens stems. Don’t need a big fan. Just move the tray a little if the air feels trapped. Tiny breeze keeps them strong.
Prevent Mold
Mold comes from overwatering and trapped air. Mist lightly. Let the soil surface dry a bit between sprays. Keep trays and medium clean. See fuzz? Move the tray to a brighter, breezier spot. Usually fixes it fast.
Common Mistakes When Growing Microgreens Indoors
Growing microgreens seems simple. You think, just water, wait, harvest. But beginners mess up, even if it looks easy. I’ve killed a few trays myself. Tiny mistakes can ruin everything. You feel frustrated, waste seeds, and lose confidence. It happens.
Overwatering
Too much water is the classic trap. Leaves turn yellow. Stems go soft. Mold pops up fast. Soil stays soggy. Roots drown quietly. I learned the hard way. Now I spray lightly, touch the soil with fingers, and wait. Let the surface dry a bit. That small habit saves most trays.
Low Light
Not enough light stretches plants weirdly. They lean, stems get thin, growth looks weak. Morning sun works great. Dim room? A small grow light is enough. Ten to twelve hours a day keep microgreens compact and strong. Plants don’t care about perfection. They just like steady light.
Crowded Seeds
Throw too many seeds in a tray, and plants fight. They jostle for space, stems thin out, growth slows, and mold risk rises. Spread seeds evenly. Tiny gaps matter more than you think. In a few days, you’ll notice shoots growing stronger, healthier.
Dirty Trays & Soil
Old soil, leftover roots, tiny mold spots, these ruin new batches fast. I wash trays every single time now. Fresh soil, clean mat. Tiny effort, huge difference. Start clean. Always. It makes growth predictable and reduces headaches.
Ignoring Airflow & Humidity
Still air invites problems. Microgreens like a little breeze. Cornered trays trap moisture. Mold appears. I just move trays to a brighter spot or leave a small gap for air. Nothing fancy. Just a little circulation goes a long way.
Rushing Harvest
Beginners often cut too early or too late. Too early, stems are weak. Too late, leaves toughen or get bitter. Watch daily, touch stems gently. Harvest at the right moment. Timing makes flavor and texture much better.
Common Problems & Solutions for Indoor Microgreens
Growing microgreens sounds simple. But it’s not always. Trays fail. Seeds rot. Beginners panic. I’ve done it myself many times. Tiny mistakes ruin everything. Knowing what can go wrongand small fix saves seeds, time, and nerves.
Mold
Mold shows up if the soil is wet for too long or the air doesn’t move. White fuzzy spots appear. Don’t freak out. I move trays to a brighter spot, let some air pass. Mist lightly. Don’t soak. Usually, it stops fast if you act quickly.
Yellow Leaves
Leaves turn yellow from too much water or too little light. Stems get soft, growth slows. I’ve watched trays fade just from dim corners. The fix is simple: more light, a little less water. Microgreens bounce back fast.
Slow Growth
Crowded seeds or a cold room slow sprouts. I once packed seeds tightly, watched them barely grow for days. Spread seeds evenly, keep the room cozy, enough light. They catch up. Patience works.
Bad Smell
Soggy soil or decayed roots bad smell. Warning: something is wrong. Drain trays well. Bottom water helps. Keep soil and trays clean. Tiny care now saves bigger problems later.
Quick Fixes
Give more light if plants are weak. Keep air moving. Don’t overcrowd seeds. Touch soil before watering. Most problems can be fixed quickly if noticed early. Small habits big difference.
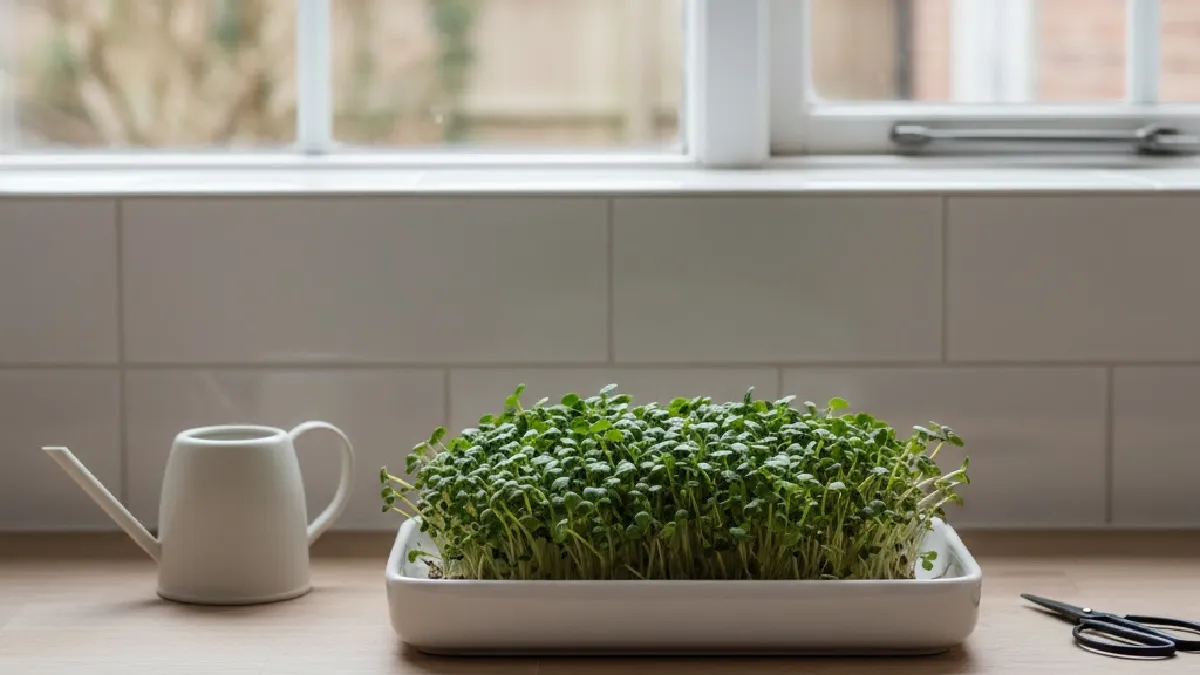
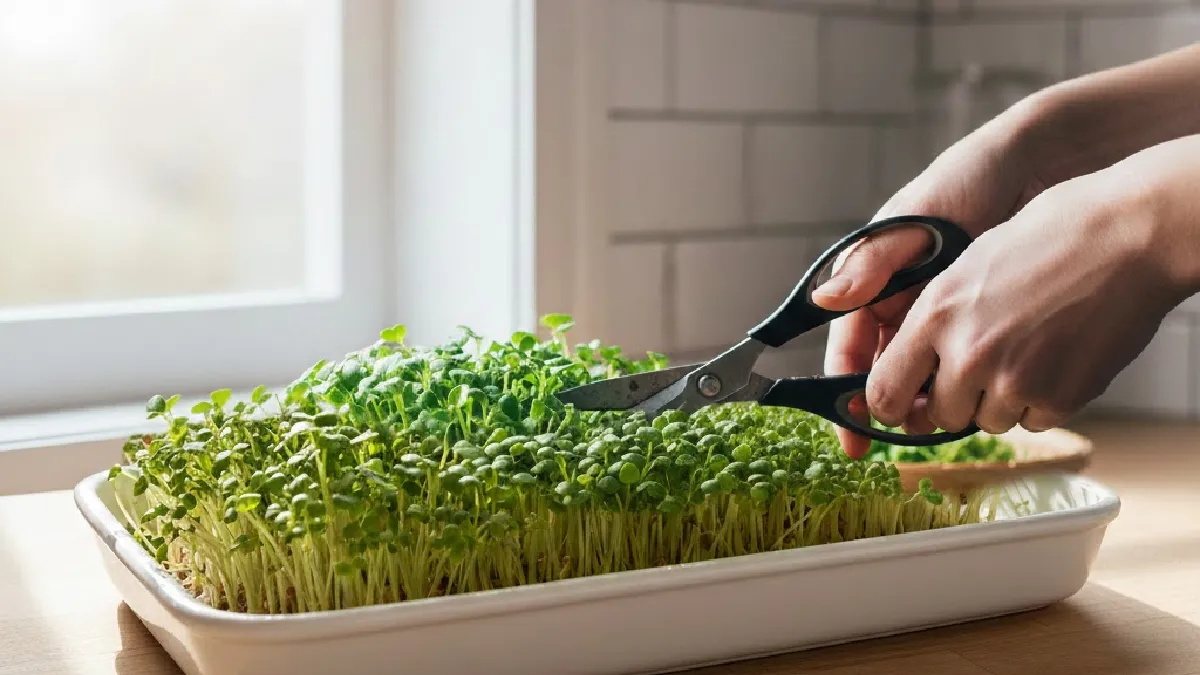
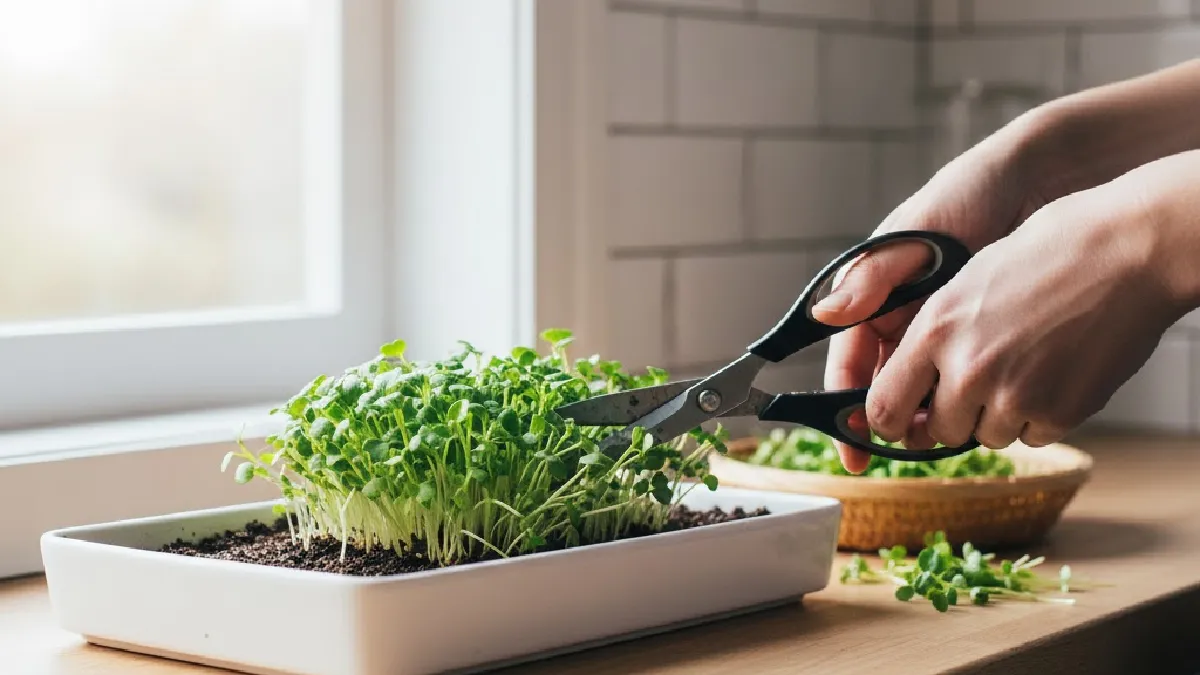
How to Harvest & Store Microgreens
Harvesting microgreens feels satisfying, but timing matters a lot. Too early, and stems feel weak. Too late and taste changes. I usually harvest when the first true leaves appear and stems feel firm when touched. No strict day count. Just look and feel. Plants tell you when they’re ready.
Cutting should be gentle. Use clean scissors or a sharp knife. Cut just above the soil line. Don’t pull plants out. Pulling damages roots makes the tray messy. I’ve made that mistake before. Cutting clean keeps the remaining soil and tray healthy. After cutting, you can rinse lightly if needed. Don’t soak them. Excess water ruins texture fast.
I place them on a paper towel and let them dry a bit. Wet leaves spoil quickly, especially in the fridge. For storage, shallow containers work best. Don’t pack microgreens tightly. A little space helps them breathe. Store in fridge, vegetable section. Most stay fresh for 3–5 days. Some last longer, depending on the variety. I always check
daily and remove any wilted pieces. Fresh taste is always better than long storage.
Clean trays after harvest. Old roots and soil cause problems later. A fresh start makes the next batch easier.
Frequently Asked Questions
How long do microgreens take to grow indoors?
There isn’t one number. Some trays look ready in around a week. Some wait longer. Ten days. Two weeks. Radish moves quickly. Peas slow down. Room warmth matters. Light hours matter. I don’t track days anymore. I watch leaves when they open. When stems feel okay. That’s it.
Can I grow microgreens without sunlight?
Yes. Sun helps, but it’s optional. I’ve used simple lights. Nothing special. Just keep it regular. Every day. Weak light gives thin stems. Not dead plants. Regular light keeps them moving.
Which soil is best for microgreens?
Loose soil works. Clean soil, too. Potting mix. Coco peat. Seed mix. Heavy garden soil causes issues indoors. Drainage matters more than food. Roots want air. Space.
How often should I water microgreens?
No schedule. I check the soil. With fingers. Dry on top? I spray. Still moist? I wait. Overwatering ruins trays fast. Bottom watering helps sometimes. Leaves stay dry. Fewer problems show up.
Are microgreens healthy?
Yes. Small plants. Strong nutrition. Vitamins. Minerals. Fresh taste. People add them for a reason. You don’t need much. A little already changes the meal.
Conclusion
Growing microgreens at home is simple. Really. You just need a tray, some seeds, and a bit of light. Care is easy. First try may look messy. Leaves pale, stems thin. That’s fine. Happens to everyone. You learn by doing.
Beginners, start small. One variety first. Radish and broccoli are easy to wash and cut. Water, light, and small checks every day. When you get it, try another type. Step by step works better.
Harvest fast, eat fresh. Small tray, quick reward. Repeat. Mistakes don’t matter much. They teach you more than success sometimes. Found this useful? Comment on your experience. Check the full guide. Follow for more tips.