Microgreens Growing Kit, Complete Guide for Beginners
Indoor gardening feels strange sometimes. Dirt, water, light, beginners get confused. Kits change that. You open a box: seeds, trays, medium, instructions. Everything ready. No extra tools. No stress.
Sprouts wake slowly. Then suddenly they grow. Tiny leaves push through. Some mornings nothing. The next day green everywhere. Watching them feels alive. The counter becomes a little garden. Confidence builds quietly. Mistakes feel small. Daily growth surprises you.
Fresh microgreens on your counter. Cut gently. Taste stronger than store-bought. Kids notice. Adults forget. Small spaces work too. Windowsills, shelves, corners. Kits make indoor gardening simple, fun, and peaceful.”
Introduction to Microgreens Growing Kits
Indoor gardening feels complicated. Dirt, water, light, beginners get confused. Kits make it simple.
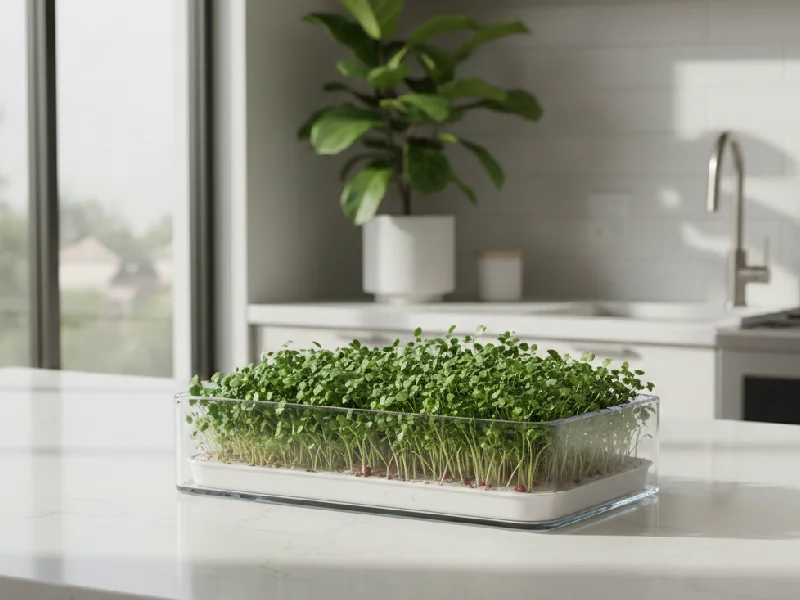
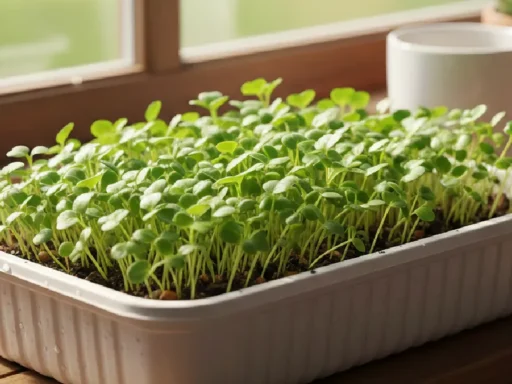
A microgreens growing kit for the home provides everything. Seeds, trays, medium, and guide. No extra guesswork. Watching sprouts appear is satisfying. Tiny green shoots brighten rooms. Apartments can grow their own mini gardens.
What Is a Microgreens Growing Kit?
A microgreens kit sits quietly on your counter. It has seeds, trays, and medium. You open it. Beginners pause. Sprouts appear faster than you expect. Watching them is strange but satisfying. Tiny green leaves push out slowly. You water lightly. Some mornings nothing. Others, green everywhere.
The purpose is simple. Grow fresh microgreens at home. No backyard needed. Kits save time and reduce effort. Mistakes stay small. Even tight spaces work. It feels alive. You notice it slowly. Confidence builds. Every day is a little surprise.
Seeds start small. Then leaves appear. You cut them gently. Taste is different than store-bought. Touch soil, smell freshness. Some days, plants lean. Some days stand tall. Kids notice. Adults forget. The kit teaches without pushing. Gardening suddenly feels easy.
Definition & Purpose
Imagine fresh greens on your kitchen counter. That’s the magic a kit provides. It motivates beginners to grow at home. Indoor gardening suddenly feels easy and fun.
The purpose is simple. Grow nutrients, Rich sprouts quickly indoors. Kits save time and reduce effort. They remove the usual gardening stress for beginners.
Mistakes are minimal with kits. Results are almost always predictable. Even small spaces won’t be a problem. Beginners gain confidence rapidly while watching plants grow.
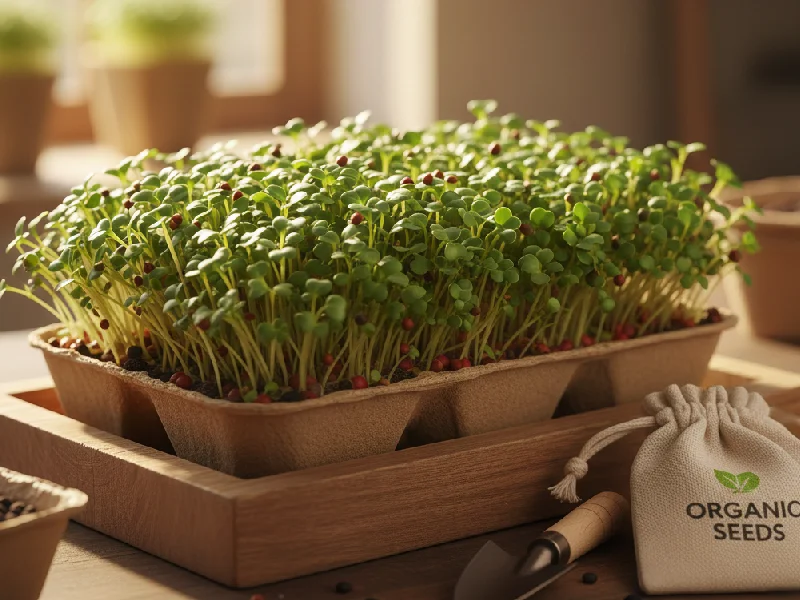
Items Included in a Microgreens Kit
Every microgreens kit comes with a few essential things. Trays, seeds, and growing medium are included. Instructions are also provided. Beginners can start without extra tools.
Growing trays hold seeds neatly. They keep moisture balanced. Stackable trays save space. It makes indoor gardening convenient and easy.
Seeds are pre-selected. Radish, broccoli, sunflower, and others sprout quickly. The medium supports roots and retains water. Guides help avoid common mistakes.

Benefits of Using a Microgreens Growing Kit
A microgreens growing kit makes home growing feel simple and real. Everything comes ready, so your mind stays relaxed. Seeds and trays already fit together. Beginners feel less pressure starting like this.
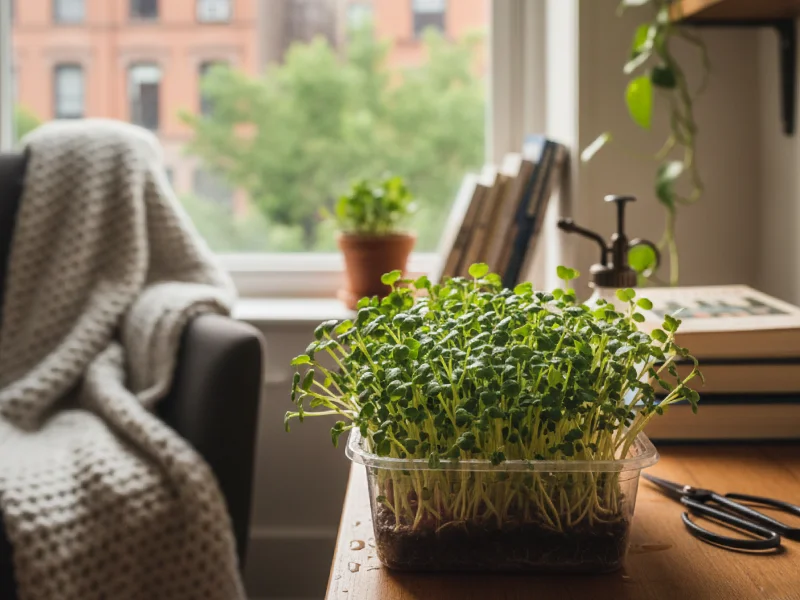
This kit works well inside the house. A corner table or window is enough space. Microgreens grow fast without much attention. Seeing green leaves show up feels nice.
Using a kit saves daily effort. Plants do not ask for much care. Small mistakes usually don’t matter much. Fresh greens stay close to you.
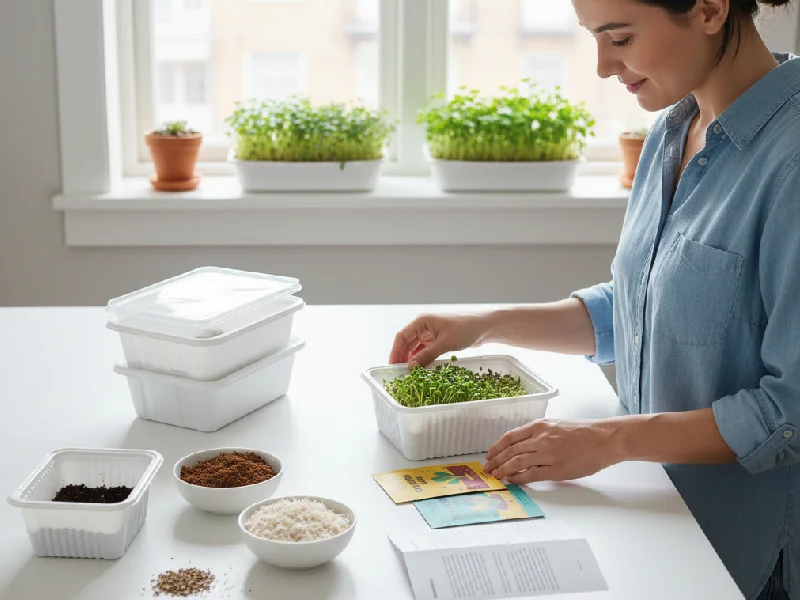
Easy Setup for Beginners
Setup takes only a few minutes. Open the box and arrange trays. Add the growing medium carefully. No extra tools are needed. Everything is sized perfectly. Beginners don’t have to measure. A step-by-step guide is included. Following it is simple and clear.
Fast results keep you motivated. Seeing sprouts appear is exciting. Each batch teaches little tricks. Indoor gardening feels fun and easy.
No Gardening Experience Required
You don’t need any gardening skills. Everything comes ready in one box. Seeds, trays, and medium are included. Beginners feel confident immediately.
Instructions are simple to follow. Step-by-step guidance is in the kit. Mistakes don’t ruin the plants. Microgreens grow quickly at home. Even small spaces are enough. Windowsills or shelves work well. Growth happens in a few days. Fresh green leaves look satisfying.
Ideal for Indoor & Small Spaces
Kits fit in small apartments. Windowsills and shelves work fine. Even a kitchen counter is enough. No backyard or garden is needed.
Plants grow well indoors. Natural or LED light is enough. Space doesn’t limit growth at all. Indoor gardening becomes practical. Beginners can see progress daily. Tiny green leaves brighten rooms. Watching sprouts grow is fun. Small spaces still feel alive.
Fast Growth & Quick Harvest
Microgreens grow very fast. Some are ready in one week. Radish sprouts fastest of all. Broccoli and sunflowers take slightly longer.
Quick growth keeps beginners motivated. Watching leaves appear is exciting. Each day showsa visible change. Harvest feels rewarding and satisfying. You don’t need to wait months. Small trays produce fresh greens fast. Frequent harvests help you learn. Results make indoor gardening fun.
Cost-Effective Home Gardening
Buying greens from the market feels expensive. Microgreens kits help save money. Everything comes in one box. You grow fresh greens at home.
Reusable trays make planting cheaper. You can harvest many times. No need to buy every week. Less waste is produced, too. Home-grown greens are healthy. You know what you are eating. It feels satisfying and simple. Gardening becomes easy and cheap.
Types of Microgreens Growing Kits
Some kits use soil to grow microgreens. Roots stay strong. Growth is steady. Beginners like the traditional feel. Hydroponic kits use water and nutrients. No soil mess at all. Plants grow faster. Maintenance is easy even in small spaces.
Organic kits include natural seeds and medium. No chemicals used. Flavor is fresh and healthy. People who care about health prefer them.
Soil, Based Microgreens Kit
This kit uses regular soil to grow greens. Roots stay strong and healthy. Growth is steady and natural. Beginners enjoy the traditional feel.
Soil holds moisture well for seeds. Plants grow thick and flavorful. Small mistakes don’t spoil the batch. It feels like real gardening at home. Cleanup takes a little effort. The tray can be reused carefully. You see results in a few days. Experience is simple and satisfying.
Hydroponic Microgreens Kit
Hydroponic kits use water, not soil. Plants grow directly from nutrients. No mess on your counter. The setup feels modern and clean.
Growth can be faster than the soil. Roots stay tidy and healthy. Maintenance is easy for beginners. You check the water and light. Some kits have self-watering trays. Small spaces are enough to grow. It looks futuristic on a shelf. Perfect for apartments and kitchens.
Organic Microgreens Growing Kit
Organic kits use natural seeds and soil. No chemicals or pesticides included. Flavor is fresh and healthy. Good for people who care about food.
Plants grow steadily and strongly. Medium keeps roots supported. Harvest is safe to eat directly. No artificial additives or sprays.
Health-conscious users prefer this. Kits feel clean and eco-friendly. Easy to maintain for beginners. Perfect for home-grown nutrition.
Reusable Microgreens Kits
Trays and mats last many cycles. Seeds go in again easily. Cost stays low over time. You save money. It feels good. Eco-friendly option too.
Cleaning is simple. Warm water works. Soap is sometimes needed. Trays dry fast. Ready for next use. With care, the kit lasts months.
Small spaces don’t feel tight. You can put the tray anywhere. The kitchen counter works. Shelves too. Watching sprouts grow is fun. Waste is little. Plastic gets reused. Routine becomes part of life.
Kids & Educational Kits
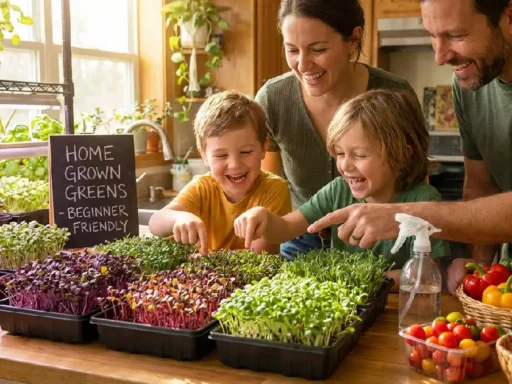
Kits are colorful and fun for kids. Seeds, trays, and medium are all included. Children learn by growing their own greens. Sprouting becomes an engaging activity.
Quick results keep kids interested. They see leaves grow every day. Patience and responsibility develop naturally. Parents enjoy helping them along. Many seed types are included. Kids can taste what they grow. Learning mixes with fun easily. Healthy habits start early at home.
How to Choose the Best Microgreens Growing Kit
Growing medium and light matter. Soil, coir, and hydro mats each feel different. Some need more water. Some less. Sunlight works. LED works. Easy instructions help beginners. Step-by-step guides make setup simple.
Seeds matter first. Good seeds sprout fast. Old seeds fail. Beginners get frustrated easily. Variety is fun too. Radish, broccoli, sunflower, pick what you like. Fresh seeds make harvest predictable.
Tray size and material count. A big tray means more greens. Small tray fits counters. Plastic, bamboo, reusable, all options exist. Drainage holes help. Water stays controlled. Roots stay healthy.
Seed Quality
Good seeds grow strong plants. Old or poor seeds fail quickly. Beginners get better results with fresh seeds. High germination means less disappointment.
Different seeds taste different. Some grow faster than others. Choose seeds that match your preference. Flavor matters more than quantity sometimes. Reliable seeds make growth predictable. Harvest looks uniform and healthy. Beginners stay motivated easily. It reduces stress while learning to grow.
Tray Size & Material
Tray size affects how much you grow. Bigger trays give more greens. Smaller trays fit tight spaces. Choose what works for your home.
Material matters for long use. Food‑safe trays are best. Durable plastic lasts many cycles. Cheap trays may break soon. Some trays are reusable and strong. Easy‑to‑clean trays save time. Light trays are easy to move. Good trays make growing simple.
Growing Medium Type
Medium holds roots in place. Soil, coco peat, or mats are used. Soil feels natural for beginners. Coco peat keeps water steady. Hydro mats are clean and light. No dirt mess during harvest. Each medium affects growth a bit. Choose what fits your routine.
Ready‑to‑use mediums save mistakes. Even spreading helps sprouts grow. The proper medium makes harvest easy. Beginners feel confident and relaxed.
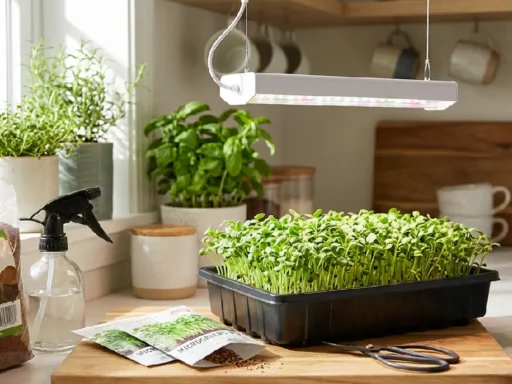
Light Requirements
Light helps microgreens grow strong. Sunlight is enough for many kits. A windowsill or balcony works fine. Too little light slows growth. LED lights help in darker rooms. Artificial light works for apartments. Balance matters for color and taste. Rotate trays for even sunlight.
Check the light daily during sprouting. Too much sun can burn leaves. Consistent light gives uniform growth. Beginners see healthy greens faster.
Beginner-Friendly Instructions
Instructions guide every step clearly. Beginners follow without confusion. Pictures or diagrams make it easier. Step-by-step tips prevent common mistakes.
Some kits include videos, too. Watching helps understand watering and light. Confidence grows with each successful tray. Learning happens naturally while doing.
Simple instructions save time and effort. Mistakes do not ruin the process. Microgreens still grow healthy and fast. Beginners feel proud with each harvest.
How to Use a Microgreens Growing Kit (Step-by-Step)
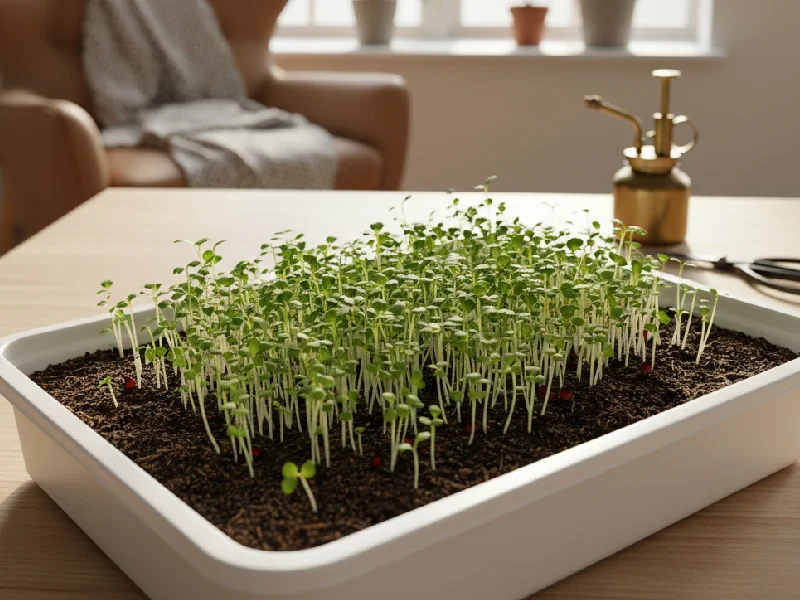
Open the kit. Trays, seeds, and medium are ready. Place the tray on the counter. Sunlight touches it. Fluff the soil lightly. Spread it evenly. Not too thick. Seeds go on top.
Water misted softly. Growth feels alive. Check leaves every day. Yellow leaves mean too much water. Dry soil means thirsty plants. Rotate the tray slowly. Roots hate puddles. Tiny leaves grow fast. Smell fresh. Color is bright. Instructions guide you. Mistakes stay small. Confidence grows. Harvest when leaves are 1–3 inches.
Step 1 – Setting Up the Kit
Open the kit. Take out the tray, seeds, and medium. Put the tray on a flat surface. Keep it near a window or a light. Check that all items are there. Seeds, tray, medium, guide. Remove covers. Make space around the tray.
The tray should be stable. Easy to water. Windowsill or counter works. Everything ready. Start growing.
Step 2 – Preparing the Growing Medium

Take the growing medium. Spread it evenly in the tray. Do not pack it too hard. Keep the thickness the same everywhere. Moisten the medium lightly. Not too wet, not too dry. Roots need space to grow. An even layer helps sprouts grow fast.
Check the guide if needed. Follow instructions carefully. The tray is ready for seeds. The next step is sowing seeds.
Step 3 – Sowing Seeds
Take your seeds. Sprinkle evenly over the medium. Do not crowd seeds. Give space for each sprout. Press seeds gently. Do not bury them deep. Some kits say cover lightly. Helps seeds germinate faster.
Check instructions if needed. The tray is now ready for water and light. The next step is watering and light care.
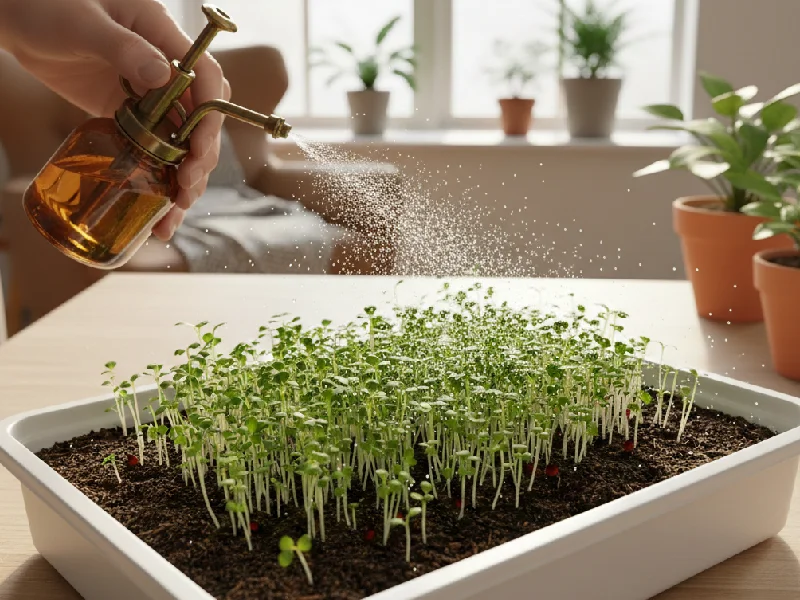
Step 4 – Watering & Light
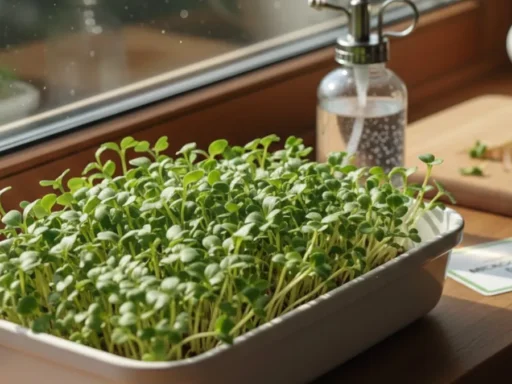
Spray water gently. Do not pour heavily. Keep medium moist, not soggy. Check daily for dryness.
Place the tray near the light. Sunlight or LED works. Rotate the tray for even growth. Adjust if leaves look yellow.
Consistent care helps sprouts grow strong. Light and water balance are key.
Step 5 – Harvesting Microgreens
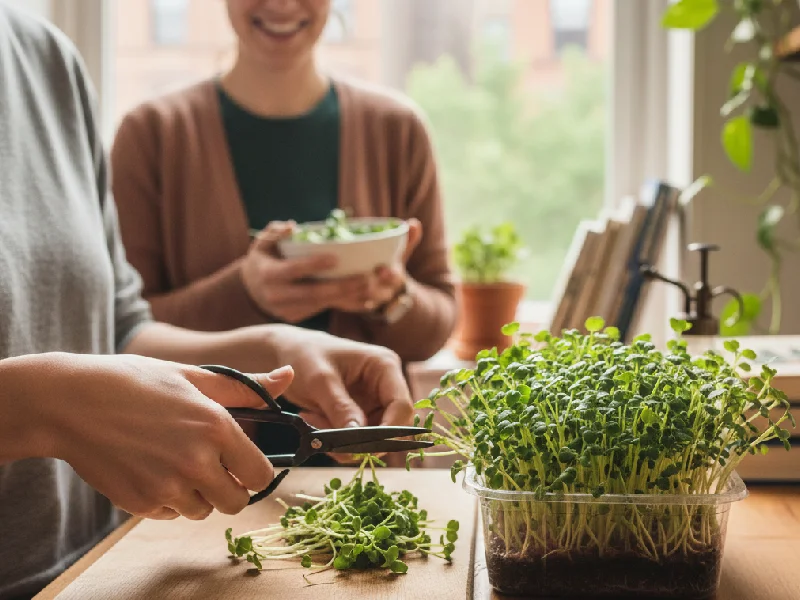
Check leaves. Cut when 1–3 inches. Use scissors. Cut above the soil. Take only what you need. Greens stay fresh and tasty.
Harvest is fun. You see plants grow. Roots stay. New sprouts come. The next batch grows easily. Keep greens in fridge.
Eat in a salad or a sandwich. Home-grown greens taste better. Beginners feel happy and proud.
Best Microgreens to Grow with a Kit
Radish microgreens grow fast. I planted them first. Leaves pop up in a week. Taste is slightly spicy. The kitchen feels lively. Broccoli microgreens take a bit longer. Still easy for beginners. Leaves are tender.
Kids eat them in sandwiches. I sprinkle some on salads, too. Pea shoots grow tall. Sweet and crunchy. Need a little more space. I keep them near the light. They make every dish fresh. Sunflower microgreens feel hearty.
Nutty flavor stands out. Leaves stay thick. Perfect for salads. I cut only what I need. Mixed greens are fun. Radish, broccoli, and sunflower together. Colors mix nicely. Flavors balance naturally. Each tray looks like a little garden.
Radish Microgreens
Check radish sprouts. They grow fast. Leaves are small and bright green. Taste a little spicy. Perfect for beginners. Seeds sprout in 3–5 days. Ready to harvest in a week. Stems are crunchy and soft. Good in sandwiches or salads.
Easy to grow at home. Small trays work fine. Watching sprouts grow is fun. Quick results keep you motivated.
Broccoli Microgreens
Broccoli microgreens grow fast. Leaves soft, color bright. Tiny plants, but packed with nutrients. You place them in the tray and wait. Days pass, sprouts pop up. Surprisingly, how quickly they appear. Touch them, smell fresh. Kids are often curious, so poke gently.
They taste mild, not bitter. Great for sandwiches. Salads feel alive with them. Sometimes stems twist oddly, still edible. You cut with scissors, and clean quickly. A few drops of water, and they perk again. Growth is forgiving.
Even beginners get results. No long rules. Seeds need enough space and enough light. Watching leaves unfold is oddly satisfying. One tray can last a few meals. Confidence builds quietly. You repeat, next batch better.
Pea Shoots
Pea shoots grow upright. Stems are thin but strong. Leaves are small, green, and soft. You sprinkle seeds in a tray. Press lightly. Days pass. Sprouts push through. Sometimes lean sideways. Still alive. Fresh smell comes. Kids enjoy touching them.
Taste is sweet and crunchy. Good for salads. Good for stir-fries. Cut with scissors. Some leaves remain, keep growing. Mist water often. Overwatering harms roots. No big mistake ends the crop.
Beginners like watching growth. One tray enough for meals. Sunlight or LED changes speed. Sprouts sway gently. You try the next batch. Confidence builds slowly.
Sunflower Microgreens
Sunflower sprouts thick. Stems strong. Leaves are broad and slightly fuzzy. Seeds soak first. Then tray. Water gently. Days pass. Sprouts push upward. Sometimes bend. Still healthy. Fresh smell strong.
Nutty flavor. Crunchy bite. Good for sandwiches. Good for salads. Cut with scissors. Roots stay in the medium. Leaves keep growing a little longer. Mist daily. Too much water rots roots.
Watching them grow feels alive. Tray brightens the kitchen. Kids like pulling sprouts gently. You try harvesting slowly. Learn small tricks. Confidence grows. The next batch seems easier.
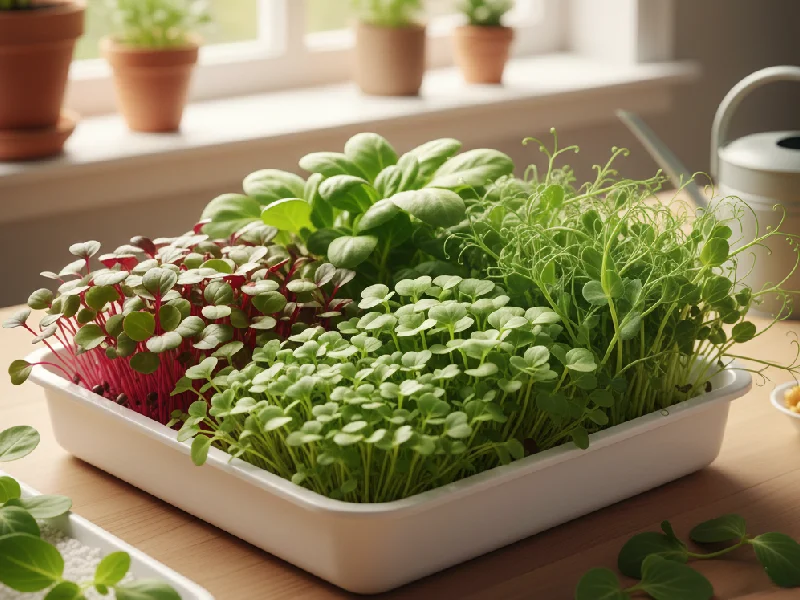
Mixed Greens
Mixed greens mean variety. Radish, broccoli, sunflower, mustard. Seeds are spread in a tray. Some overlap. Leaves appear in different shapes. Colors mix. Tiny sprouts push through the soil. Sometimes a crowd. Still grow. Some tilt. Some stand tall.
Taste changes with type. Spicy, mild, nutty, sweet. You harvest carefully. Scissors work best. Some sprouts stay for later. Water lightly. Check the light. Sun or LED helps. Beginners watch daily. Fun to see the mix grow together.
Tray looks lively. Meals become colorful. Flavor is different each time. Learning happens without pressure. Every batch surprises. You try again. Confidence grows slowly.
Care, Maintenance & Reuse Tips
Mold sometimes. Too much water makes roots soft. Too little or too much light affects growth. If you see small patches, remove them immediately. Plants survive better that way.
Trays need to be cleaned gently. Soap optional. Avoid scratches. Dry completely. Moist trays invite mold. The next batch will be ready faster. Reusable kits last longer. Saves money too.
Handle growing medium carefully. Soil, coir, and hydro mats behave differently. Don’t over-soak. Uneven spread slows growth. Watch daily.
Preventing Mold
Mold can ruin sprouts quickly. I once left my tray too wet. Roots started smelling. The leaves looked weak. It was disappointing.
Water carefully. Misting works better than pouring. Air must move around. I put a small fan once. Growth improved. Check every day. Remove bad sprouts fast. Healthy ones stay. Small observation matters more than any perfect schedule.
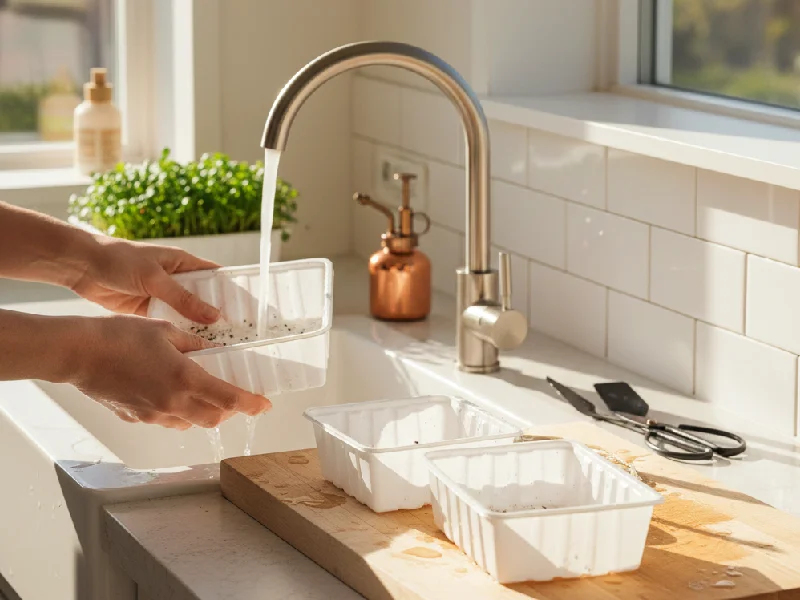
Cleaning & Reusing Trays
After harvest, the trays look messy. I rinse them first. Warm water works fine. Soap is optional; I use it sometimes. Scrubbing feels too much. Trays must dry fully. Moisture stays hidden. Left wet, mold appears. The sun helps if you can. I usually air-dry.
Reusing saves money. Each tray lasts multiple cycles. Care matters more than tools. Patience grows with each batch.
How Long Does a Kit Last?
Kits last different times. Hydro mats stay longer. Soil gets tired fast. I learned to check the medium every batch. Plants show signs slowly. Trays can go 3–5 cycles. Some go more. Depends on care. I never push it too hard. Cleaning matters more than I thought.
Seeds run out first. I keep extras sealed. A cool, dry place works best. Humidity ruins them quietly. Each batch teaches patience.
Storing Extra Seeds
Seeds like cool, dry places. Airtight jars work best. Humidity sneaks in. Germination goes down fast. Sometimes I forget old packets. Labels help a lot.
Old seeds first. New ones stay safe longer. Mixing is confusing. I always check before planting. Small check, big results. Proper storage keeps sprouts strong. They pop up reliably. Each tray feels satisfying. No surprises when you plant again.
Frequently Asked Questions
How long do microgreens take to grow?
Usually 7–14 days. Some seeds grow faster. I once planted radish; 5 days later, tiny green shoots popped out. Light, water, medium matter. Check daily. Growth feels alive. Beginners get surprised. Timing is not always exact. Plants do their own thing.
Can a kit be used without sunlight?
Yes. LED works fine. I kept a tray in a dark corner once. Growth slower. Leaves pale. But sprouts still came. Artificial light helps. Some kits include small LEDs. Rotate trays occasionally. Plants notice.
How often should microgreens be watered?
Medium moist. Not soaked. Mist lightly once or twice daily. I used to pour too much. Roots rotted. Lesson learned. Check the surface, feel moisture. Every seed reacts slightly differently.
Can the kit be reused?
Yes. 3–5 rounds possible. Trays need washing. Medium is sometimes replaced. Seeds added. Cleaning matters. Skip it, mold comes. Reusable kits save money. Eco-friendly too.
Is a microgreens growing kit worth it?
Absolutely, beginners love it, and small spaces work. Fast growth keeps motivation high. Fresh, nutritious greens anytime. Costs less than store-bought. Easy, fun project even kids enjoy. Learning happens quietly.
Conclusion
The microgreens kit is simple. Indoor gardening feels possible. No backyard needed. No huge effort. You open the kit, add water, light, and watch sprouts. Tiny greens appear. Confidence builds. Routine stays normal. Harvest comes fast. Taste fresh. Costs low. Beginners, kids, and apartment dwellers all win. Each kit changes space quietly. The kitchen feels alive. Gardening feels small but rewarding.