
Microgreens Growing: Complete Beginner’s Guide
Microgreens growing often begins with a simple idea. Fresh food at home. Something clean. Something you can trust. Many beginners arrive here after seeing small green trays on a kitchen shelf and wondering if it really works. It does, though not in a perfect way. Micro greens are young plants harvested early. They grow fast. They need very little space. A small corner with light is usually enough.
At the start, everything feels confusing. Seeds look similar. Trays feel unnecessary. Watering becomes a guessing game. This is normal. With time, things slow down in your head. You understand the rhythm. Microgreens growing fits into daily life without much effort. People start for different reasons. Health matters to some. Fresh taste matters to others. A few simply like growing their own food. Mistakes happen along the way. Sometimes too much water. Sometimes not enough light. The process keeps going. Each tray teaches something new.
Introduction
Microgreens growing is easy to start. People try it at home for fresh food. Store-bought greens rarely feel fresh. Tiny plants grow fast. A little water, some sunlight. Space is never a problem. A small shelf or window works. Beginners feel unsure at first. But once you start, it feels natural.
Many grow micro greens for health and to save money. Fresh greens are full of nutrients. Taste is better than anything bought from stores. You know exactly what goes into them. No chemicals, no hidden stuff. Small effort, but the benefits are clear. Eating what you grow yourself feels good.
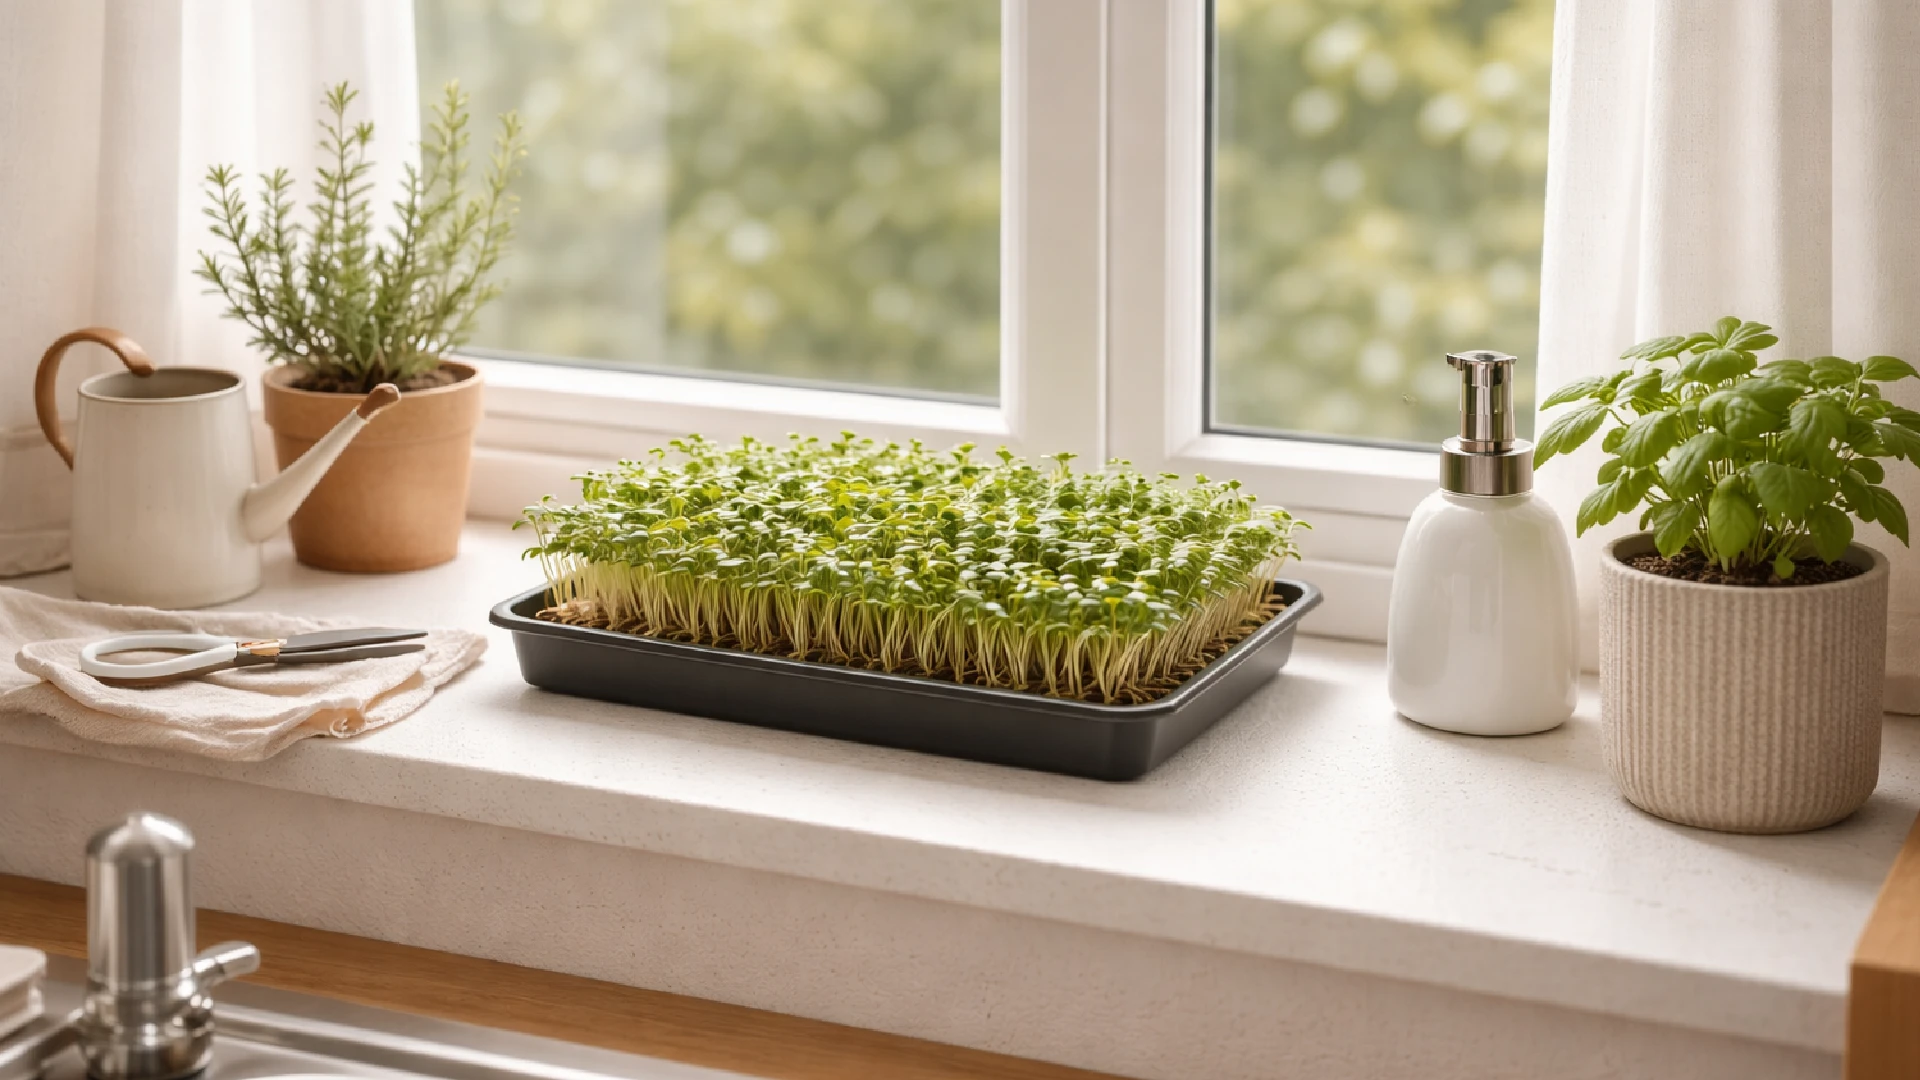
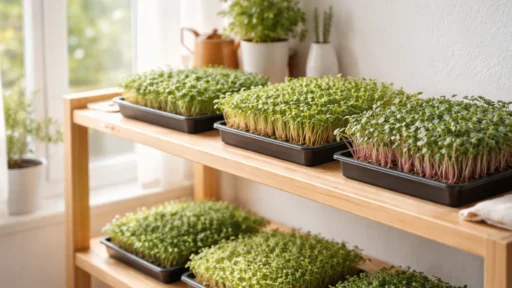
Micro greens fit small spaces perfectly. Apartments, small kitchens, crowded rooms—all are fine. A few trays and seeds are enough. Mistakes happen at the beginning. Too much water, insufficient light, incorrect placement. All normal. Every tray teaches something new. You learn as you go.
This guide helps you start confidently. Which seeds to pick, which tools really matter, and common mistakes to avoid. By the end, you can grow your own plants in a tray. Fresh, simple, satisfying. There is something special about eating greens you grew yourself.
What is Micro greens Growing?
Micro greens growing is about letting plants grow for a short time, then cutting them. Not waiting for full size. Not keeping them too long. Just that early phase when leaves show up and flavor feels sharp. They look small. They don’t act small. That part surprises most people.
People often mix microgreens with sprouts. It happens a lot. Sprouts sit in water and grow fast. You eat everything, even the root. Microgreens don’t work like that. They grow in soil or something similar. Roots stay there. Only the top part is used. This feels cleaner for home growing. Less risk. Less mess.
Seeds behave differently. Some pop up quickly. Some slow things down. Radish barely waits. Peas take their time. Sunflower feels heavier in the hand. The method stays simple, though. Seeds go down, water goes on, light stays around. You mostly watch and adjust.
Growing microgreens gives control back. Food doesn’t travel. Nothing sits on shelves. You cut when ready. You eat the same day. Small trays strangely teach patience. That’s why people keep doing it, even after mistakes.
Microgreens are young plants grown for a short time. They are cut early, when the first real leaves show. Not vegetables. Not seeds anymore. Just a small stage in between. They look light and simple, but taste strong. That early cut is the whole idea behind microgreens.
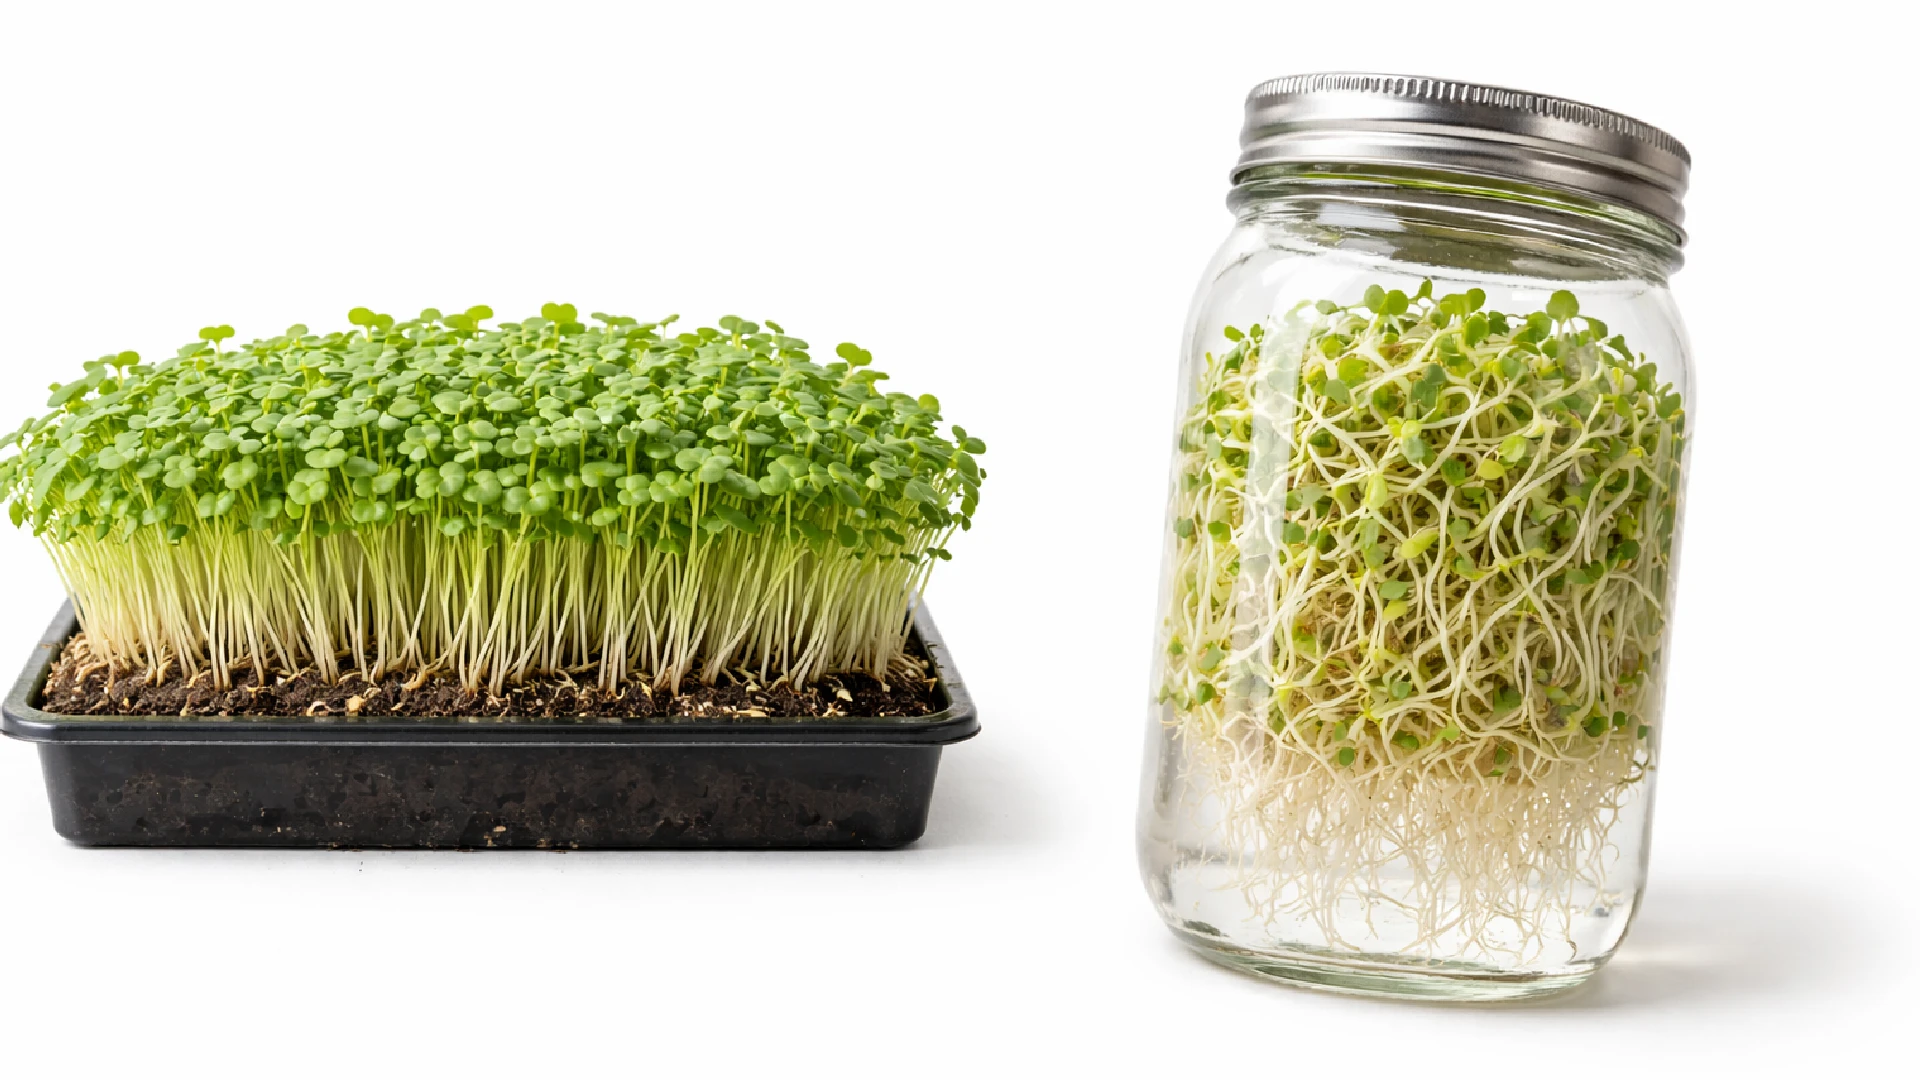
Sprouts often get mixed up with microgreens. It happens a lot. Sprouts grow only in water. You eat everything, roots included. Microgreens grow in soil or a growing base. Roots stay there. Only the top part is taken. This feels easier and cleaner for people growing food at home.
Different seeds turn into microgreens. Radish shows up fast. Broccoli takes a bit more time. Peas grow tall and soft. Sunflower feels thick when you cut them. Each one behaves in its own way. The process stays basic. Seeds go down. Water goes on. Light stays around.
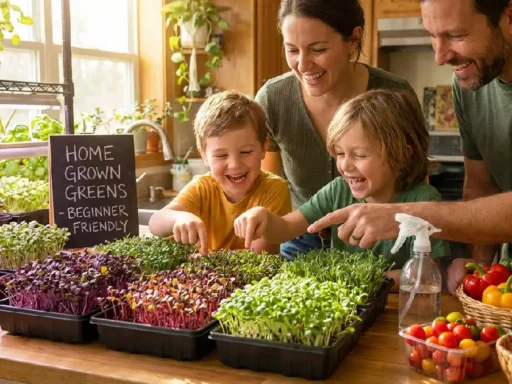
Microgreens growing suits people who want simple results. Home users like the control. Gardeners like the speed. Small spaces are not a problem. You don’t need experience to start. One tray is enough to understand how it works.
Benefits of Microgreens Growing
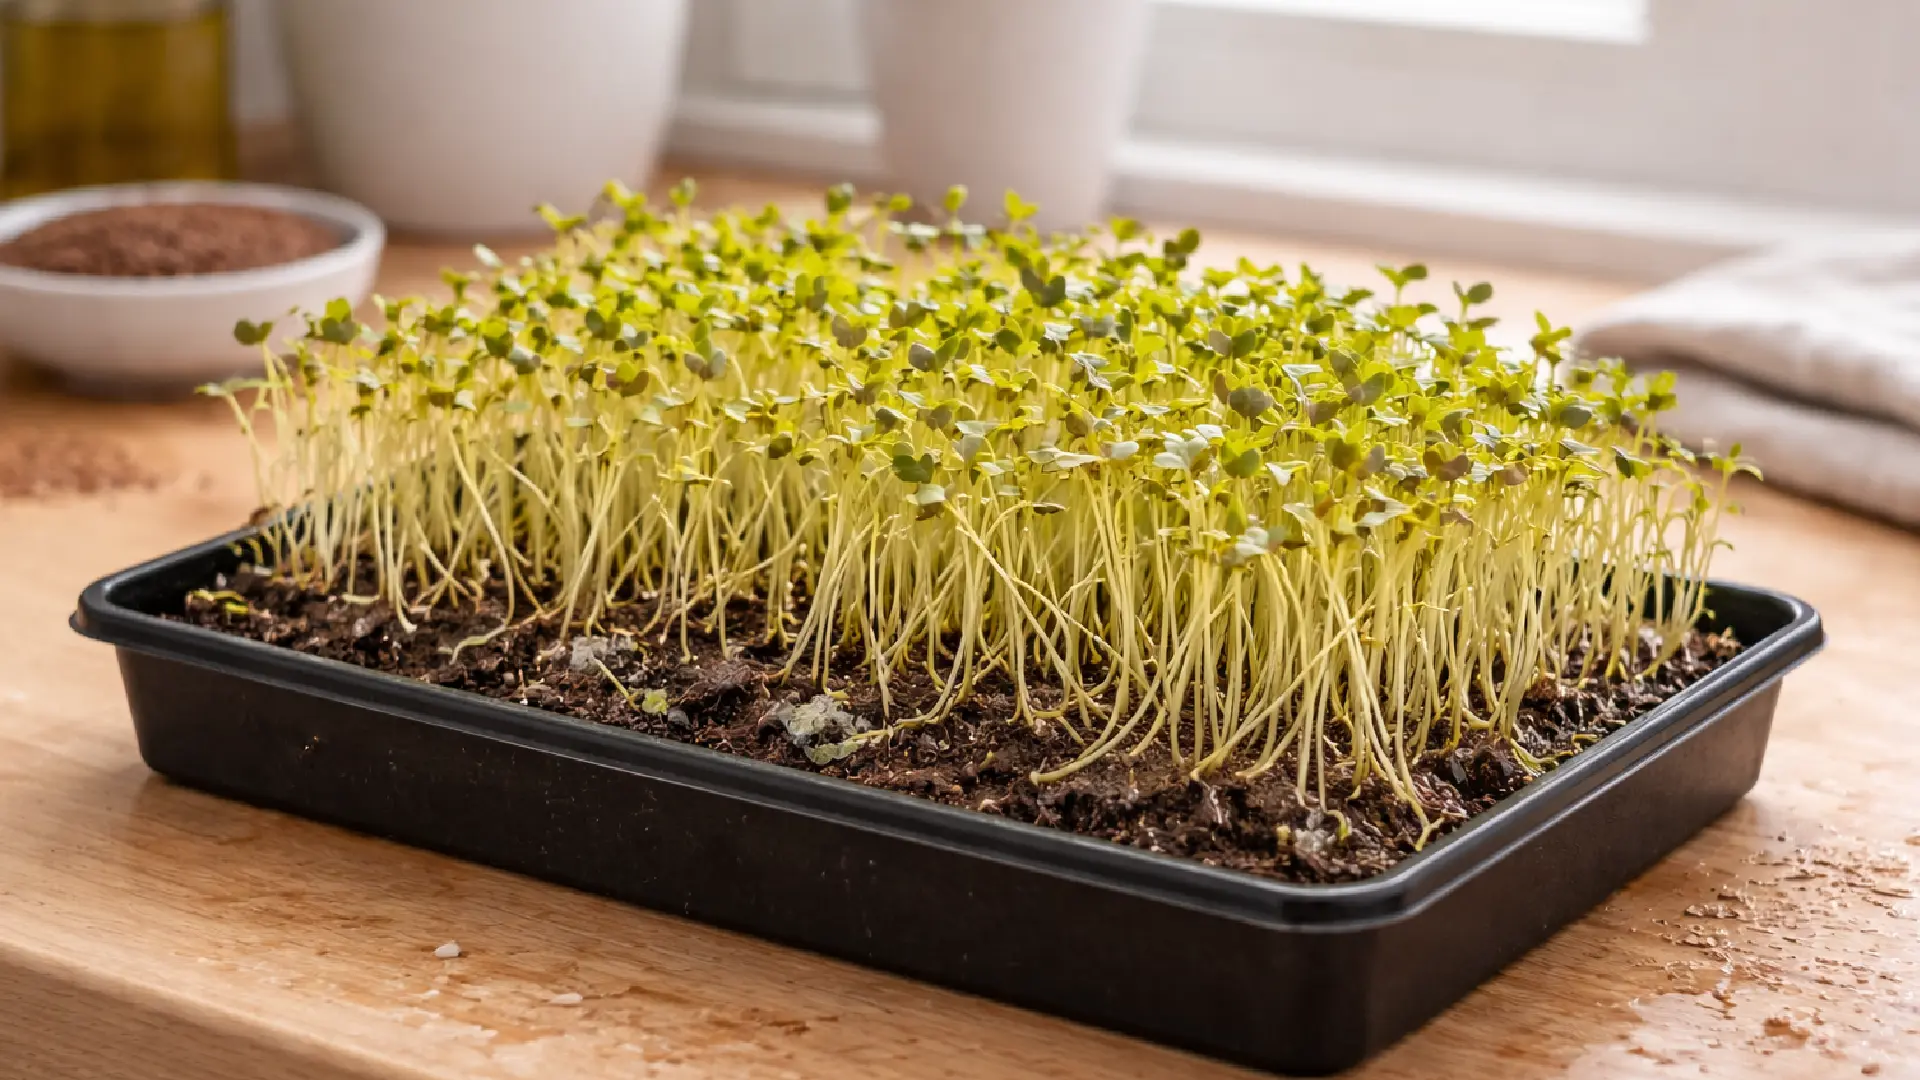
The biggest thing about microgreens is that they are fresh. You cut today, you eat today. Nothing in between. Stored greens sit around, lose taste. Little leaves, but full of punch. Small size, big flavor. Using them daily changes the meals. You notice it after a few bites.
Another thing, it’s simple. Cheap. Takes little space. All done at home. People like doing it themselves. Planting, cutting, watching grow. Garden or no garden, it works. Beginners like it because results come quickly. You see the tray turn green, and it feels good.
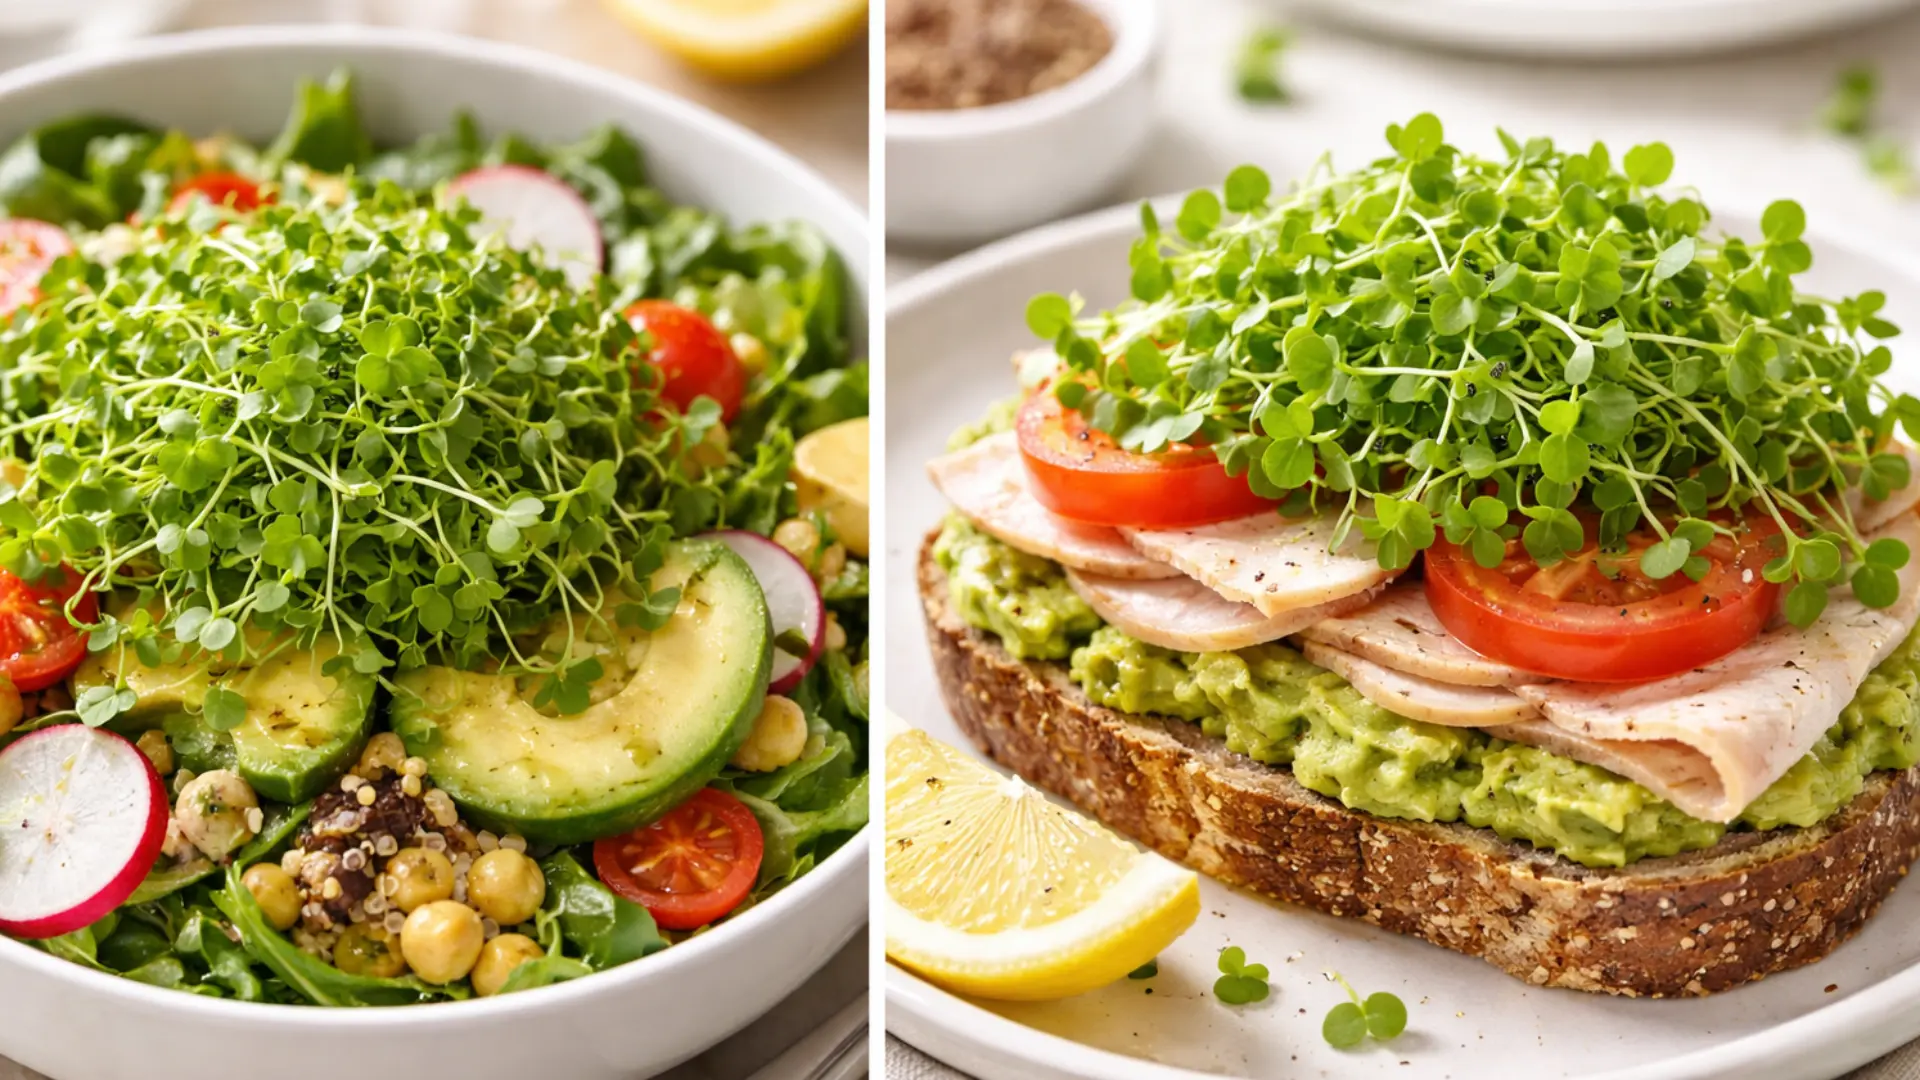
Microgreens give a lot in health. Tiny leaves, but full of vitamins. Minerals are packed inside. People feel lighter and fresher after eating them. They stay raw, so nothing is lost. Big vegetables don’t always give this punch. Just a little tray, and suddenly your meals are different.
They grow fast. Really fast. Some seeds pop in a few days. Some take a bit more. You see results quickly. No waiting months like normal gardening. It feels good to watch green shoots appear. Even short growth gives strong nutrition. That is what makes them fun.
Space and money are not a problem. A small shelf, a corner, that’s enough. Few seeds, small trays, little water. Cheap to start. Some people sell extra trays, too. Small effort, small cost, some earnings too. Beginners like it for that. Easy, simple, and satisfying.
Microgreens Growing at Home (Step-by-Step)
First, seeds. You pick what you like. Radish, peas, broccoli, and sunflowers. Some pop up fast, some take more time. Beginners usually start with radish or peas. Easy and quick. You see green in a few days. Makes you want to do more.
Tray and soil come next. Nothing fancy. Small kitchen trays work fine. Soil needs to hold water, not too wet. Cocopeat, potting mix, anything soft works. The tray should catch extra water. The kitchen stays clean. That’s it.
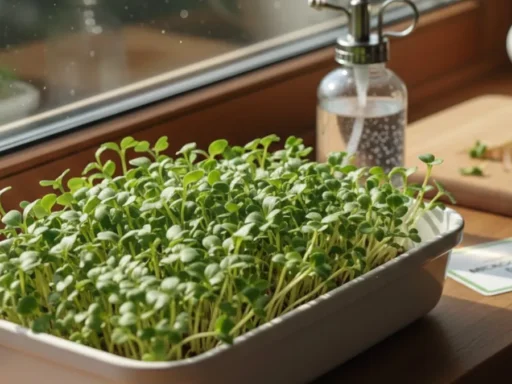
Sowing is easy. Spread seeds, not too thick. Press lightly. Sprinkle water. Keep near the light. Not too harsh. Check daily. Mist if dry. Don’t flood. Just a small care every day.
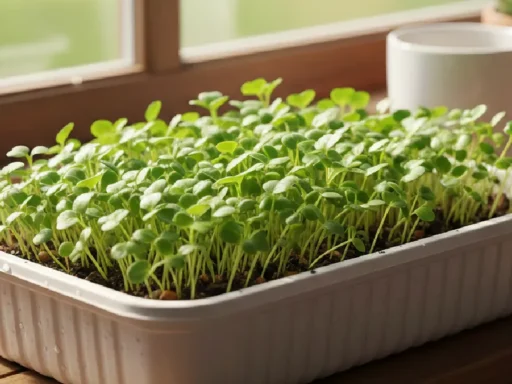
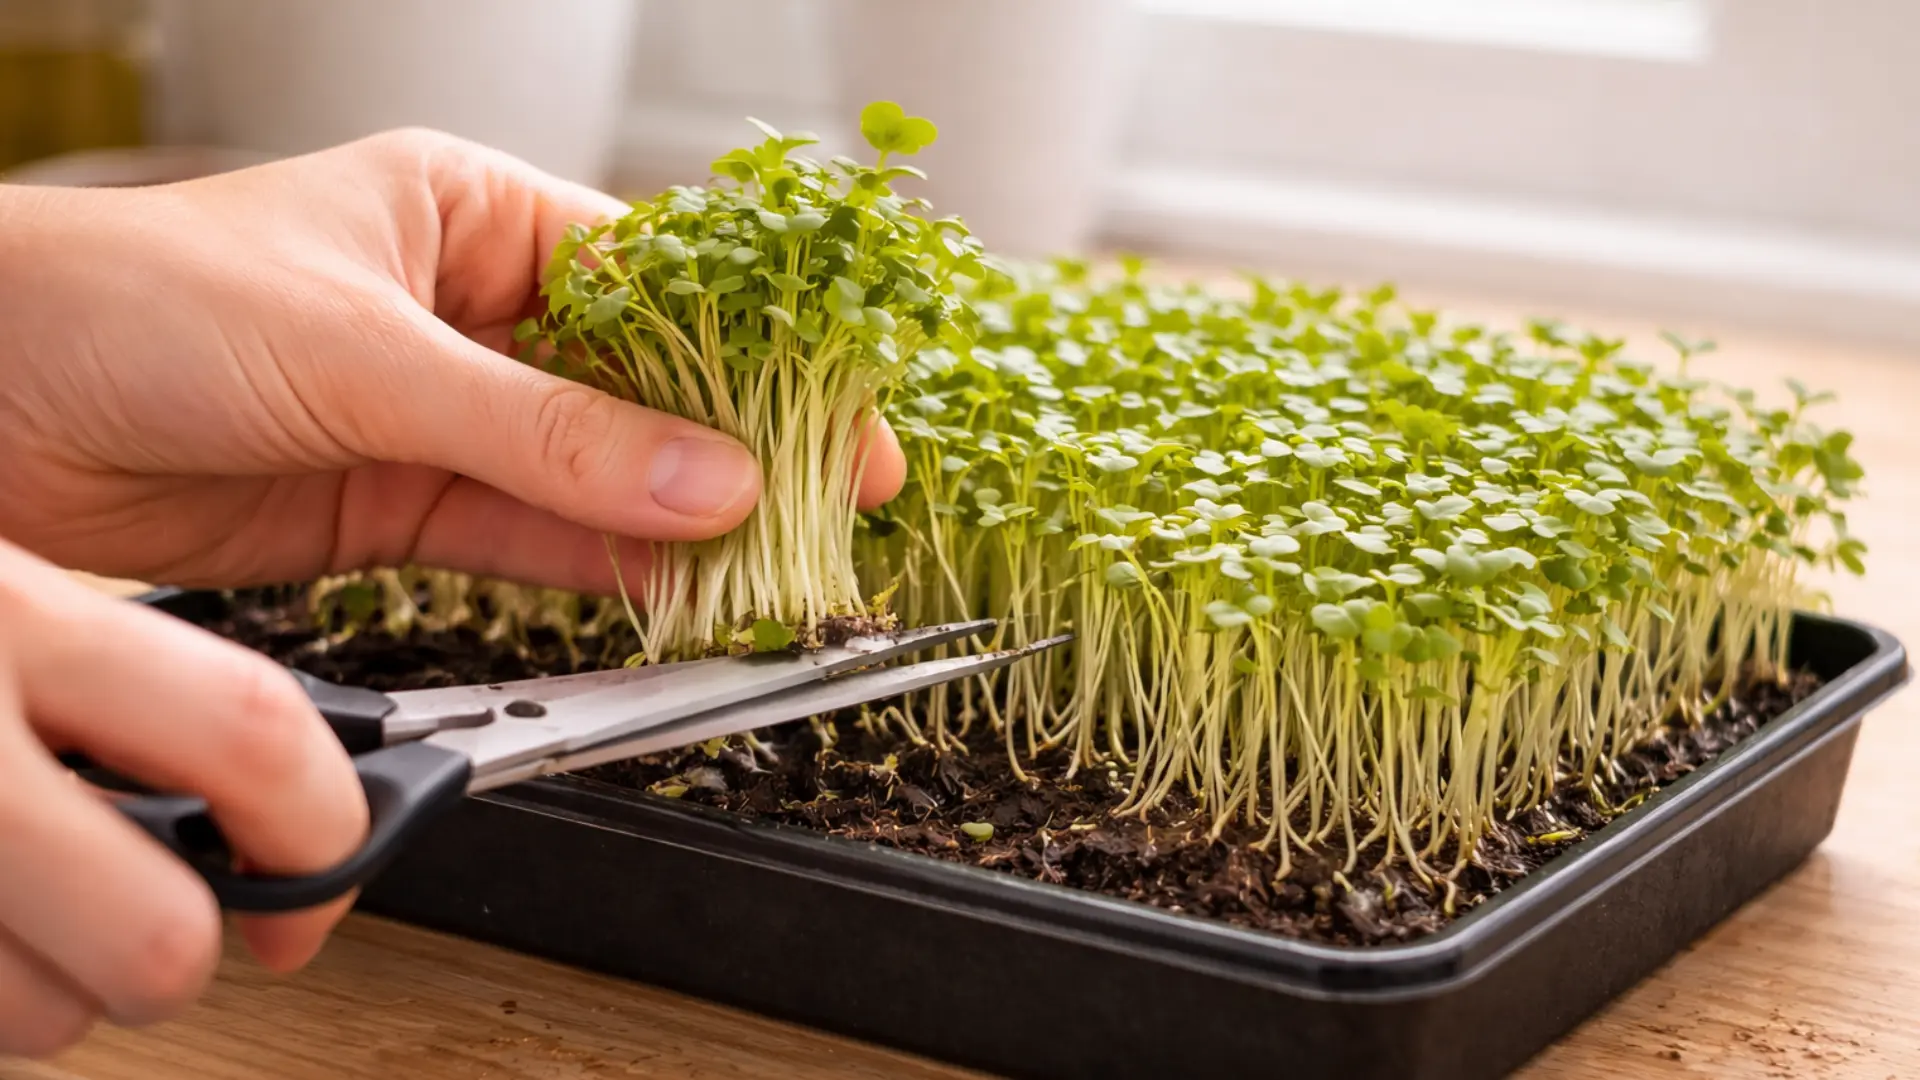
Watching them grow is fun. Green shoots appear soon. That first peek feels exciting. Care a little, water a little. Microgreens grow fast. Mistakes don’t matter much. Every tray teaches. Harvest feels good. You eat what you grow. Simple, small, satisfying.
Watering is a small job keep the soil a bit wet. Not too much mist if dry. Light should be bright, not strong. Temperature normal, as room microgreens grow fast. Watch the tray daily harvest when the leaves are small and green. Cut carefully, eat fresh.
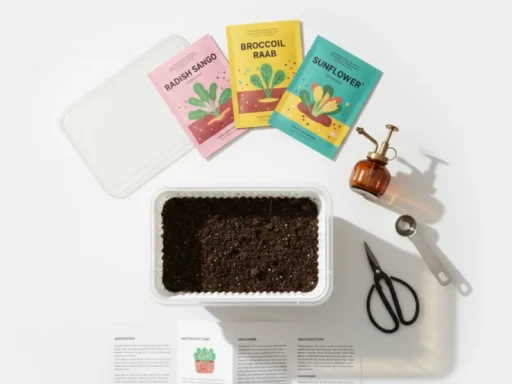
Tools & Supplies Needed for Microgreens Growing
First, seeds. Pick what you like. Radish, peas, broccoli, and sunflowers. Some grow fast, some slow. Beginners usually start with radish or peas. Small trays, small effort. Seeds are the heart of microgreens. They decide taste, growth, and speed.
Next, trays. Nothing fancy. Small kitchen trays work fine. They hold soil or cocopeat. Some have holes, some don’t. Pick what fits your space. A clean tray makes growing easy. Even a shelf tray works. You just need a shallow, flat tray for sprouts to grow.
Soil or cocopeat comes next. Must hold water but not be soggy. Roots need a soft bed. Cocopeat, potting mix, anything soft works. Sprinkle some water. Keep soil moist. Not too wet. That is all. Plants start growing fast.
Spray bottle and light are last. Mist plants daily. Don’t flood them. Light can be natural or artificial. South-facing window works. LED light works too. Keep tray where light reaches. Little care daily makes a big difference.
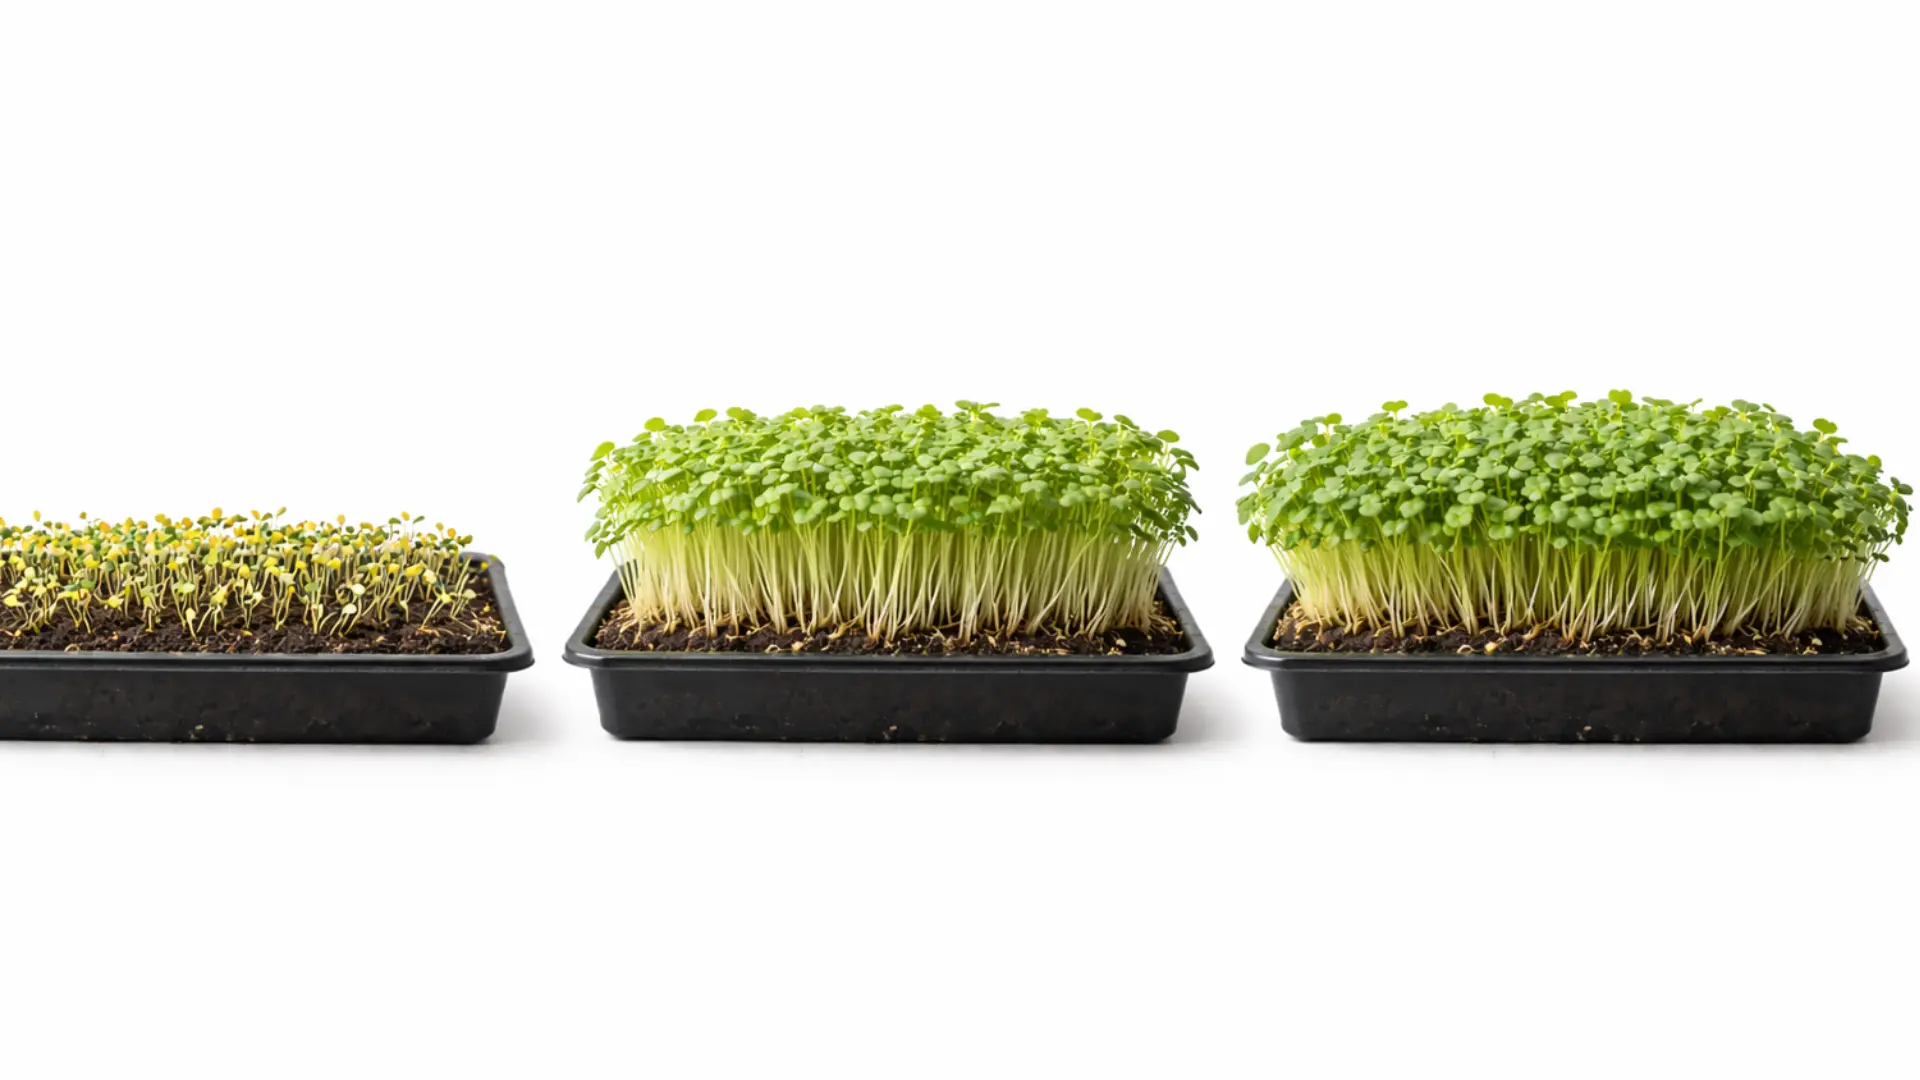
How Long Do Microgreens Take to Grow?
Microgreens grow fast. Usually 7 to 14 days. Radish and mustard sprout first. Peas and sunflowers take longer. Tiny green shoots show in a few days. Beginners like watching this. The tray slowly turns green. Feels exciting. Makes you happy seeing seeds grow.
Growth depends on the things around it. Light, water, temperature, and seed type. Too much water slows roots. Too little dries leaves. Bright light helps. Room temperature works fine. Every tray acts differently. Watch daily. Adjust a bit. You learn little things every day.
Some microgreens grow really fast. Radish, mustard, and cress pop up in days. Slow ones like peas and sunflowers take more time. Seed type, size, and thickness matter. Patience needed. Watching them grow teaches care. Small green tips appear. Feels satisfying.

Fast or slow, it is fun. Mistakes happen. Water too much, less light, crowded seeds. That’s normal. In two weeks, most are ready to harvest. Cut carefully. Eat fresh. Feels good. Eating what you grew yourself is simple, small, and special.
Common Mistakes in Microgreens Growing
Overwatering is a big mistake. People get excited and pour too much water. Soil stays wet. Roots struggle. Leaves yellow or rot. Mist lightly. Check the soil daily. A little water is enough. You learn how much with practice.
Wrong seeds cause problems. Not all seeds grow indoors. Some take long. Some fail. Beginners pick big seeds needing space. Start with small radish, mustard, and peas. Fast seeds grow quickly. Less frustration. More fun.
Lack of light is another trap. Microgreens need bright but soft light. Dim spots make stems stretch. Leaves weak. Check trays daily. Move near the window or use small artificial light. Light changes growth and color fast. Mold and poor airflow ruin trays. Crowded seeds and damp soil make mold. An open window or a small fan helps. Watch trays daily. Remove bad leaves if needed. Little care prevents big losses.
Pro Tips for Successful Microgreens Growing
Experts say small changes matter a lot. Watch light, water, and temperature. Don’t overthink. Check trays every day. Move if the light is low. Mist lightly. Tiny things make plants stronger and faster. Small daily care shows results.
Beginners can take shortcuts. Fast seeds like radish or mustard work best. Small trays are easier to handle. Mist every day. Don’t overcrowd seeds. Simple steps save time. Green shoots appear fast. Feels good to see them grow quickly.
Hygiene is very important. Wash trays before use. Use clean soil or cocopeat. Remove dead leaves fast. Air circulation helps. Wash your hands before touching plants. Small habits prevent mold. Keeps plants healthy and growing well.
To improve yield, layer seeds lightly. Avoid thick clusters. Bright light helps. Rotate trays sometimes. Some people grow a second tray while the first is ready. Little care each day gives a bigger harvest. You get more greens with less stress.
Are Microgreens Growing Profitably?
Growing microgreens at home is easy. You save money on store-bought greens. Little space, little cost. Harvest in days. Eat fresh. No big investment. Mainly for personal use. Feels good to eat what you grew yourself.
For business, the cost is small, but the plan helps. Trays, seeds, soil, and light are needed. Small start, good returns possible. Beginners can start with a few trays. Expand slowly. Microgreens sell fast in local markets or cafes.
Selling is simple. Farmers’ markets, local shops, friends, neighbors. Package small trays for daily use. Freshness matters most. Social media helps. Good quality brings repeat buyers. Little care daily keeps profits steady.
Who should start? People witha small space and time. Those who like gardening. Beginners can try a small scale first. Want extra income or a home business? Microgreens growing is easy to start, fast to learn, and can make money if done right.
FAQs About Microgreens Growing
What are microgreens?
Tiny plants you pick a few days after sprouting. Small leaves, packed with nutrition. Eat fresh. Taste better than store greens. Very easy to grow at home.
Are microgreens easy to grow?
Yes, small trays, little space, and simple care. Watch water, light, and temperature. Mist daily in a week or two. Beginners enjoy seeing green shoots. Feels nice watching them grow.
Can I grow microgreens without sunlight?
Yes, use artificial light; an LED or small bulb works fine. A few hours every day is enough. Too little light makes stems weak. Window light works too.
Which seeds are best for beginners?
Radish, mustard, peas. Fast seeds. Sprout quickly easy to handle, and good for small home trays.
How often should I water microgreens?
Check the soil every day and mist lightly. Keep moist, not soggy; too much water kills roots. Little water works fine.
Are microgreens safe to eat daily?
Yes, tiny leaves are safe, packed with vitamins and minerals. Eat raw or in a meal,s fresh microgreens are healthy every day.
Final Thoughts on Microgreens Growing
Growing microgreens is easy and fun. Tiny plants, big nutrition harvest comes quickly. Taste fresh and strong. You don’t need a big space or money. Just a little care every day. Watching green shoots pop up feels nice, feels real.
Beginners, don’t stress,s start small, radish or mustard is easy. Watch, learn, enjoy mist lightly. Give enough light. Check trays daily; mistakes happen; it’s normal. They teach you that microgreens are forgiving you learn fast.
Try it at home, a few trays in the kitchen or near the window. See results in a week or two, eat fresh, save money. Feel happy watching plants grow. Share your experience. Comment or read more tips little effort givesa big reward.